Carpenter ant damage to baseboard
Figure out whether carpenter ant damage in a baseboard is shallow trim damage or a sign of wet, hollow wood behind it, then choose the right repair path without patching over an active problem.
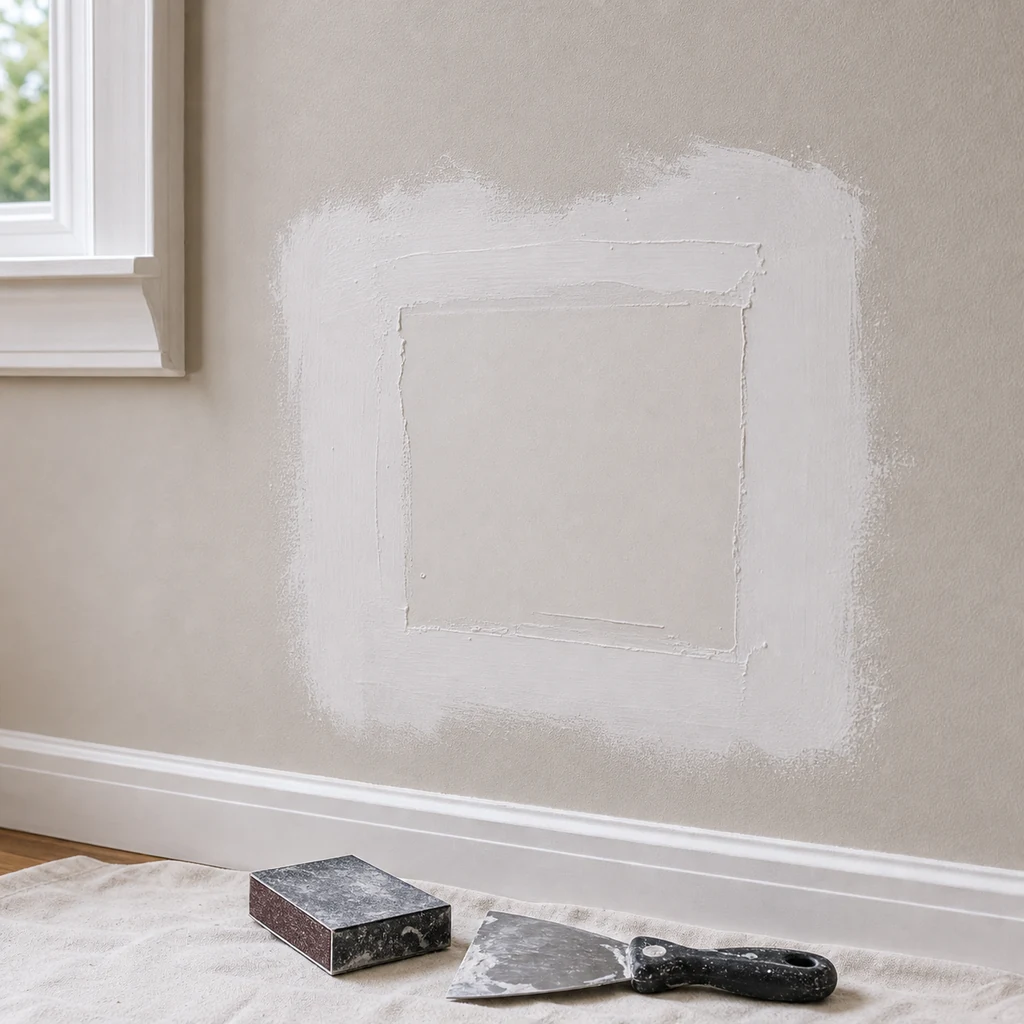
Use trim and baseboard symptoms like gaps, cracked caulk, loose boards, chew damage, swelling, or water marks to choose the right repair before patching or replacing material.
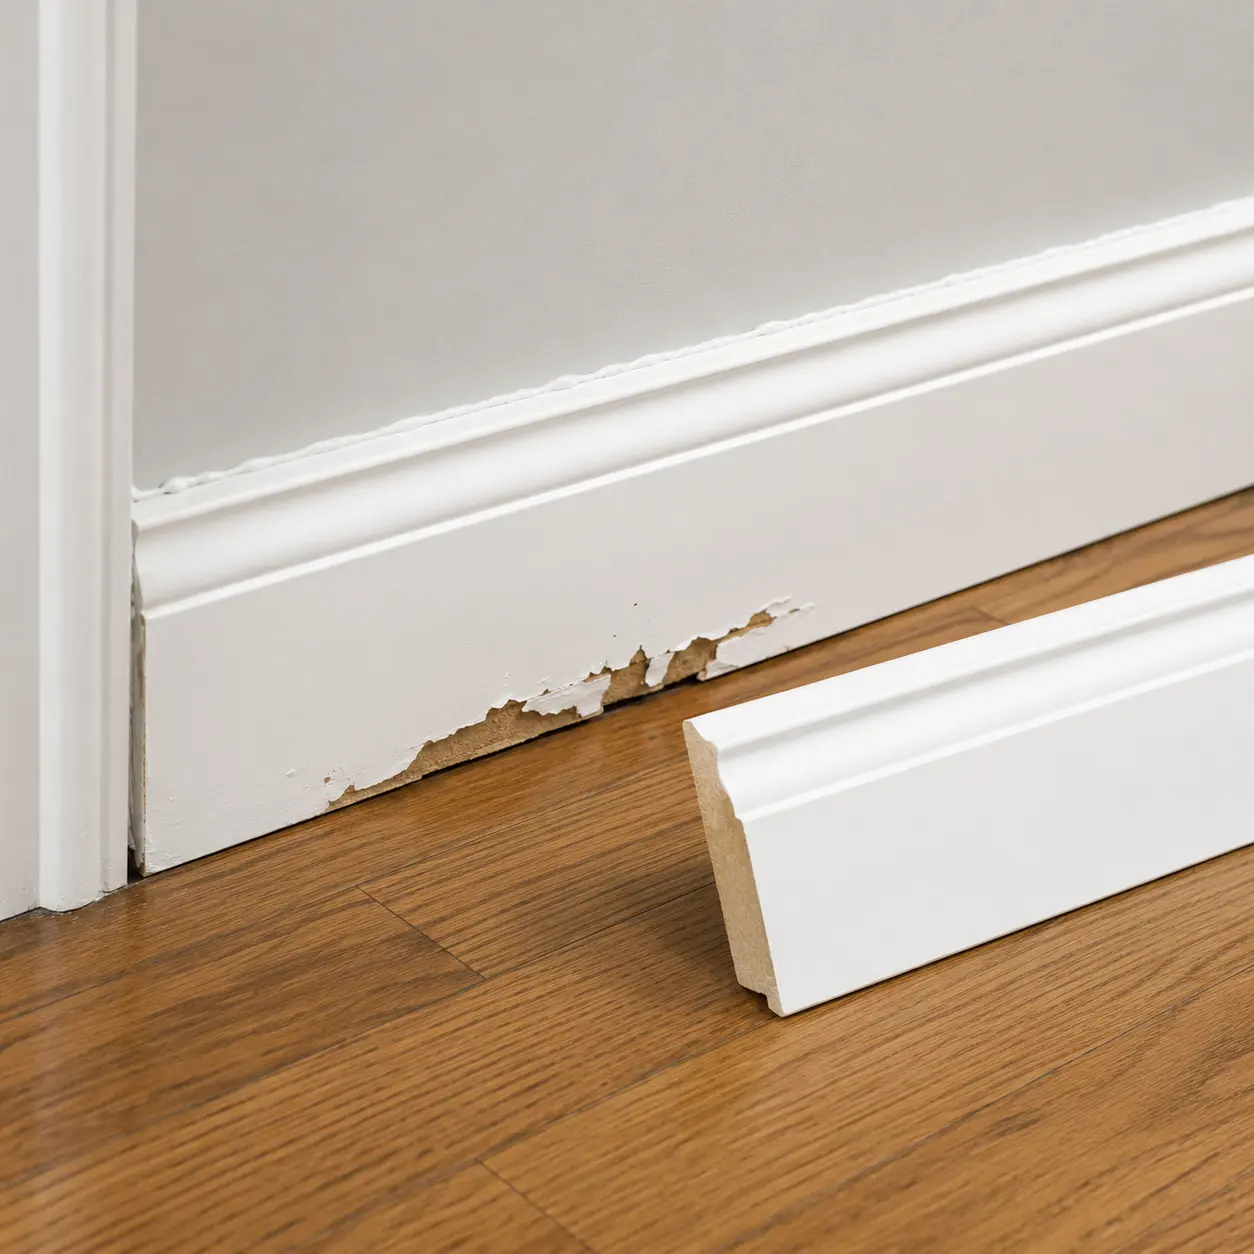
Figure out whether carpenter ant damage in a baseboard is shallow trim damage or a sign of wet, hollow wood behind it, then choose the right repair path without patching over an active problem.
Find out whether carpenter ant damage in trim is shallow or hiding a bigger moisture problem, then repair the trim the right way without patching over active activity.
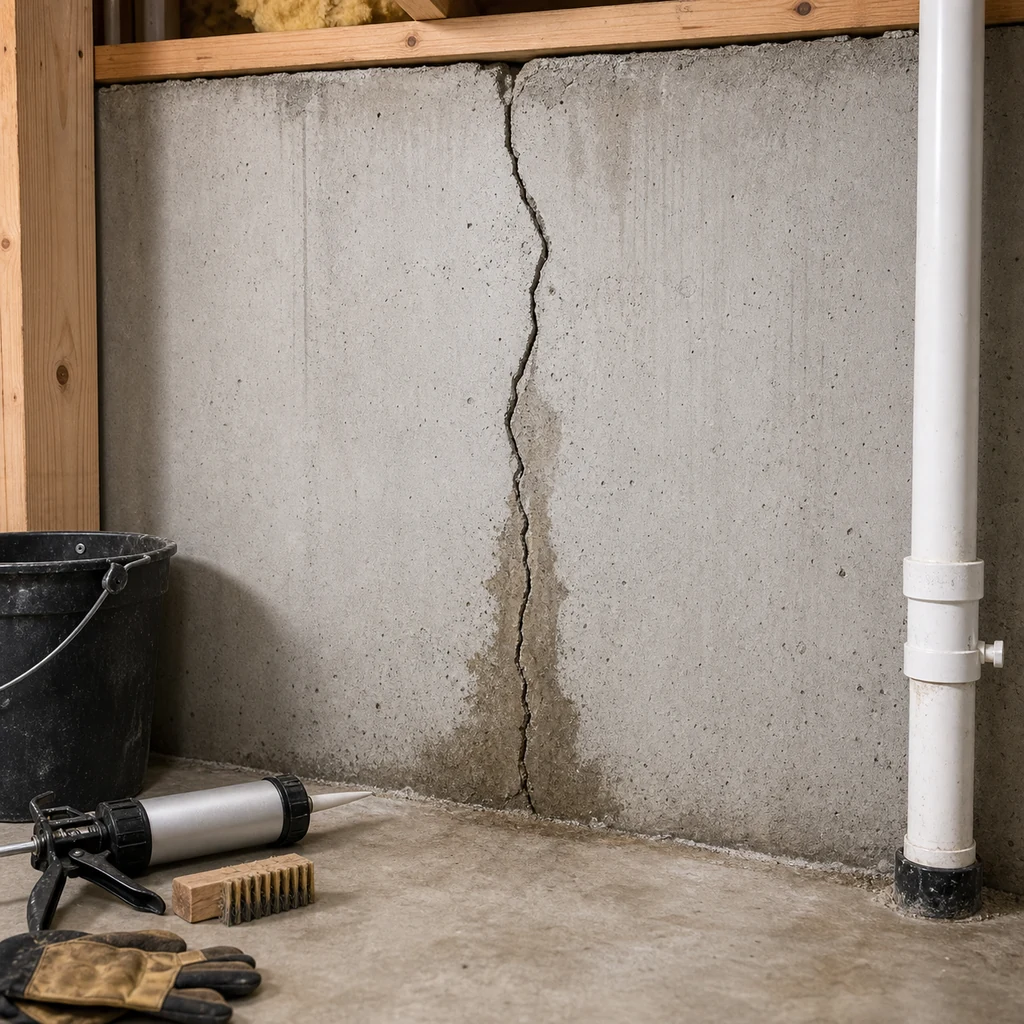
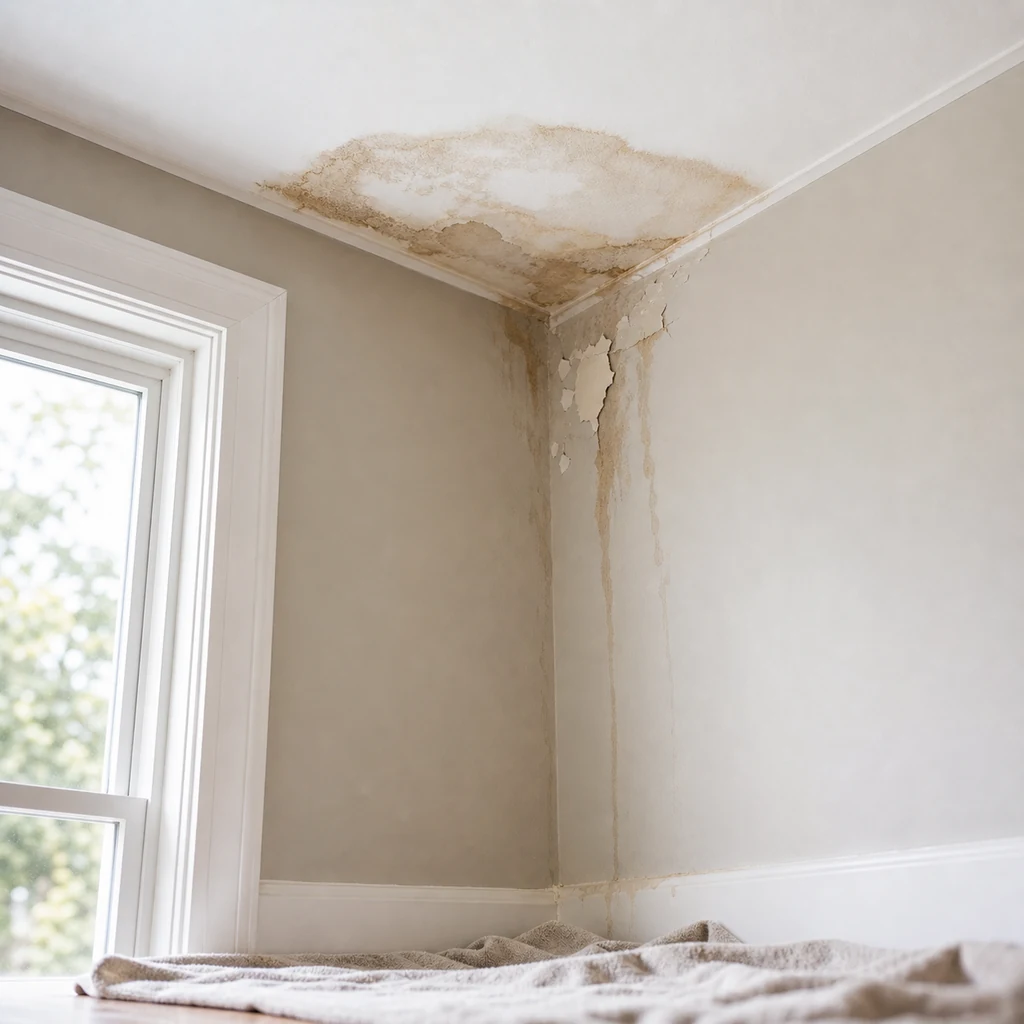
Seeing carpenter ant frass behind a baseboard usually means ants are excavating nearby wood or a wall void. Start by confirming frass, checking for moisture-softened trim, and deciding whether the baseboard can be repaired or needs replacement after treatment.
Seeing carpenter ant frass in trim usually means ants are excavating damp or softened wood nearby. Start by confirming it is frass, checking for moisture, and deciding whether the trim can be repaired or needs replacement.
Find out whether holes in eave trim are active carpenter bee damage, old damage, or rot, then choose the right repair path before patching or replacing trim.
Find out whether exterior corner trim damage is active carpenter bee boring, old holes, rot, or another pest issue, then repair the trim the right way.
Find out whether holes in fascia trim are active carpenter bee damage, old damage, or rot. Start with simple checks, repair the trim correctly, and know when replacement is the better move.
Figure out whether porch trim damage is active carpenter bee boring, old holes, or rot hiding behind the paint. Start with safe checks, then repair the trim only after the source is under control.
Figure out whether your rake board has active carpenter bee damage, old holes, or rot, then choose the right repair path before patching or replacing trim.
Figure out whether shed trim damage is active carpenter bee boring, old holes, or rot, then repair the trim without trapping the problem behind filler or paint.
Find out whether holes in siding trim are active carpenter bee damage, old damage, or rot, then choose the right repair from patching to replacing trim.
Figure out whether trim board holes are active carpenter bee damage, old damage, or a lookalike problem, then repair the trim the right way without patching over an active nest.
Find out whether holes in fascia trim are active carpenter bee damage, old damage, or rot-softened wood, then choose the right repair path before patching or replacing trim.
Find out whether the holes in your gable trim are active carpenter bee damage, old damage, or rot-softened wood, then repair the trim the right way without sealing bees inside.
Find out whether the holes in your porch trim are active carpenter bee damage, old patched damage, or moisture-softened wood that needs replacement. Start with safe checks, then repair the trim the right way.
Find out whether holes in a rake board are active carpenter bee damage, old patched holes, or moisture-softened trim. Start with safe checks, then repair the wood the right way.
Find out whether the holes in your shed trim are active carpenter bee damage, old damage, or rot. Start with simple checks, stop repeat nesting, and repair the trim the right way.
Find out whether round holes in siding trim are active carpenter bee damage, old exit holes, or deeper rot. Start with safe checks, then repair the trim the right way.
Find out whether the holes in your soffit trim are active carpenter bee damage, old damage, or rot that needs a different repair path. Start with safe checks, then patch or replace the right trim section.
Round holes in exterior trim are usually carpenter bee damage, but soft wood, hidden moisture, or ant activity can change the repair. Check the hole pattern first, stop active bees, then decide whether to fill, patch, or replace the damaged trim.
Find out whether holes in trim are from carpenter bees, how to check for active tunneling, when filler is enough, and when the trim board needs to be replaced.
Figure out whether your cat-damaged baseboard needs a simple fill-and-paint repair or a full baseboard section replacement. Start with moisture, swelling, and loose trim checks first.
Figure out whether cat-damaged trim needs filler, spot replacement, or full trim replacement. Start with moisture and loose trim checks before cosmetic repair.
Figure out whether cat-damaged door trim needs filler, a partial casing replacement, or a full trim section swap. Start with loose wood, moisture, and paint damage before repairing.