Is the hole clean, round, and about finger-width or smaller?
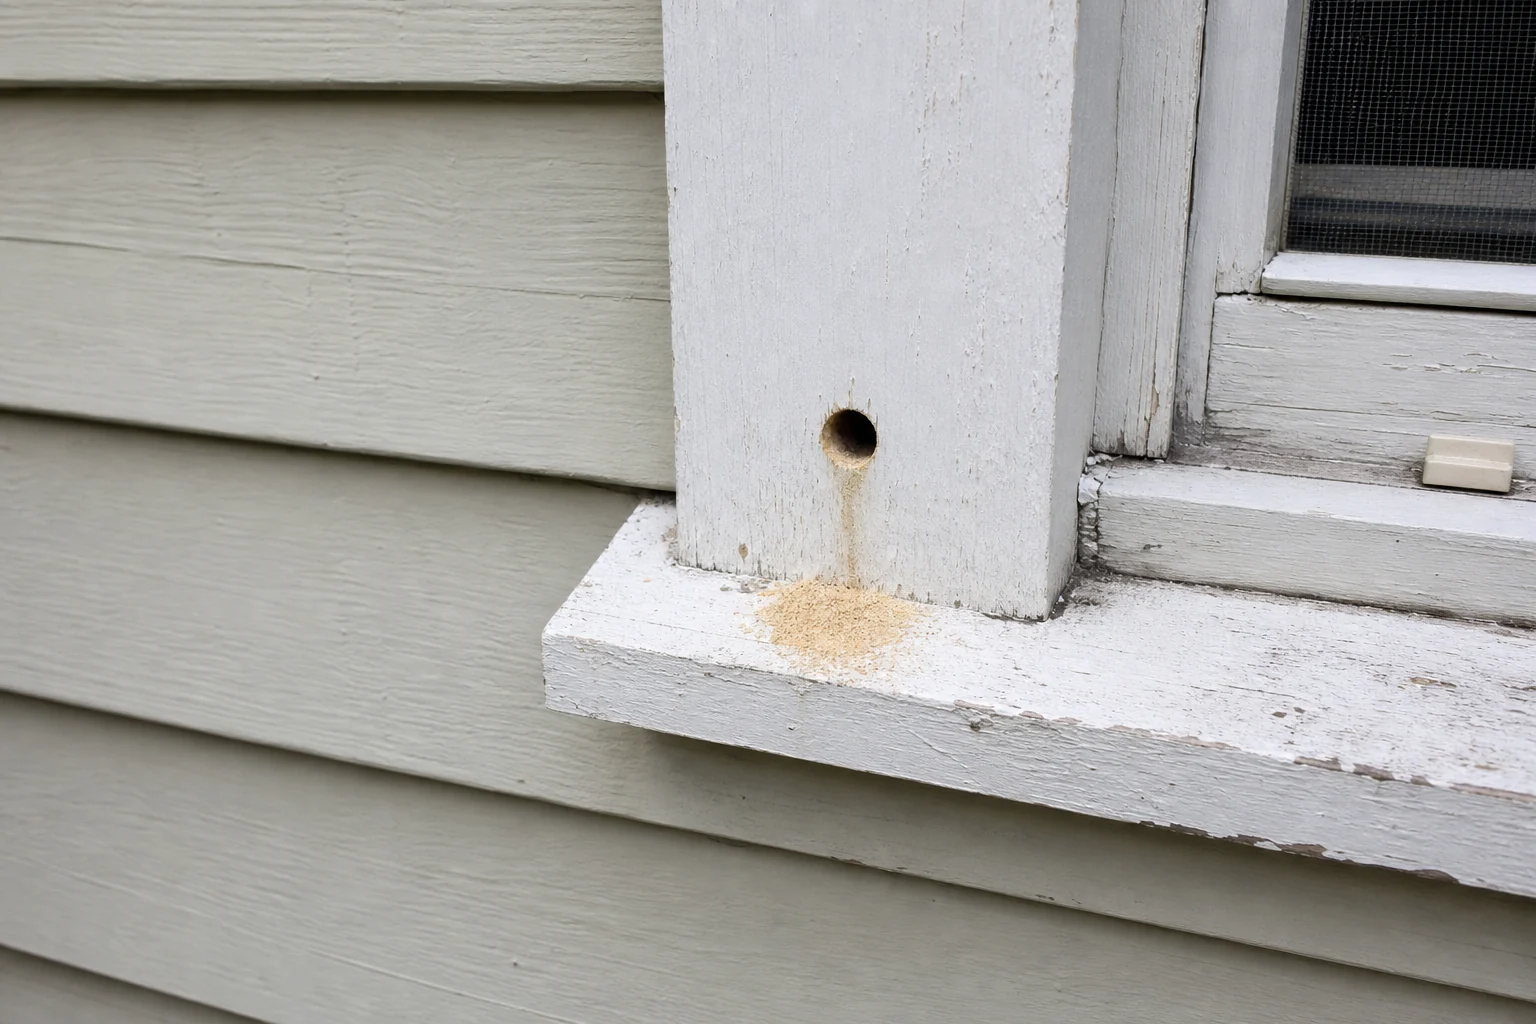
Carpenter bee damage moves up the list. Look for fresh pale dust and watch the opening from a safe distance before cleaning or filling it.
Clean round holes with fresh pale dust usually mean carpenter bees are using the trim. Confirm activity, wood firmness, moisture, and safe access before you patch anything.
The usual case is one or two active or recently used holes in otherwise solid fascia, corner trim, rake trim, or window casing.
One neat hole can hide a longer gallery. Firm, quiet trim can be patched; soft wood, active traffic, or unsafe ladder access changes the job.
Don’t start with: Do not smear caulk over the holes or replace long trim runs before you know whether the board is solid, damp, or still active.
Carpenter bee damage moves up the list. Look for fresh pale dust and watch the opening from a safe distance before cleaning or filling it.
Treat the opening as active or recently active. Do not seal it shut until activity is handled and the gallery is cleaned out.
The repair is no longer just an insect hole. Find the moisture source and plan on cutting back to sound trim if the board will not hold filler.
Skip the tiny patch mindset. Probe the full board and compare localized filling with replacing the damaged trim section.
Stop at inspection unless access is solid and the trim detail is clear. Exterior repair or pest-control help is cheaper than a bad ladder setup or a water leak.
Use the hole shape, dust, board firmness, and moisture clues together. A clean entry hole in firm dry trim is a different job from a soft board with hidden water damage.
Do not buy exterior filler, replacement trim, or pest supplies until the board tells you what it needs. Match the exact diagnosis first: active hole, firm old gallery, soft wet trim, or long hollow run. Then match any replacement to the trim profile, thickness, material, exposure, and paint system.
Carpenter bees do not eat the trim the way rot consumes wood. They bore a clean entry hole and make a gallery behind the face. The repair depends on whether that gallery is active, old and dry, or mixed with moisture damage.
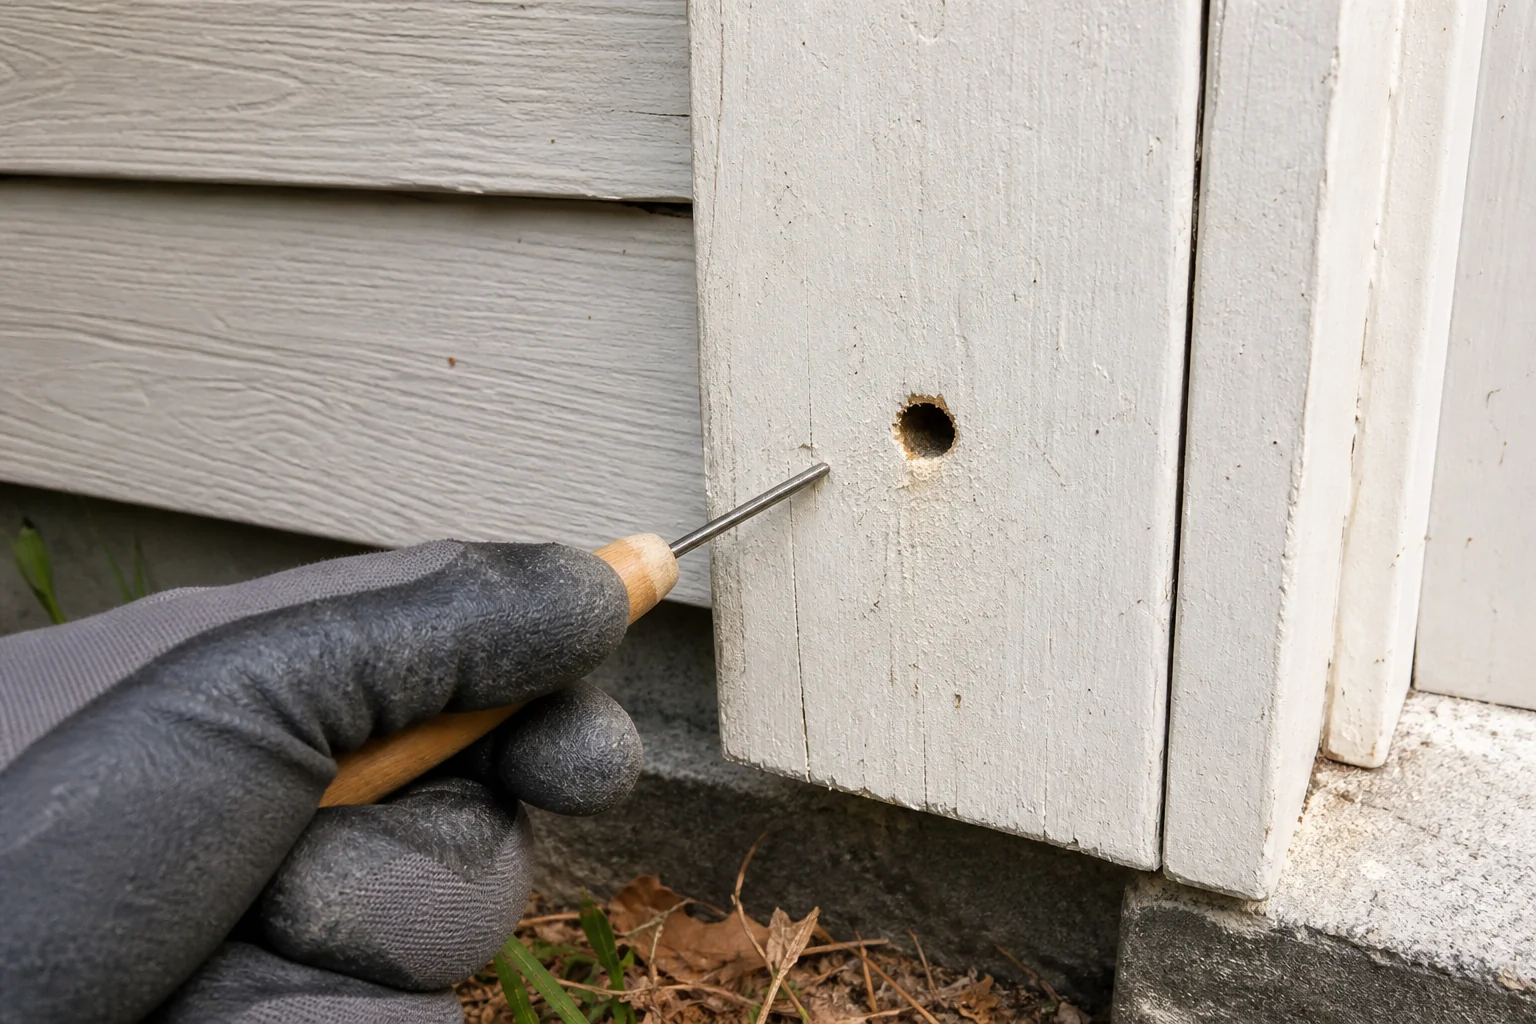
Use a small awl or screwdriver, not a pry bar, for the first pass. Press around the hole, along the grain, near trim joints, and at board ends where water often gets in.
| What you find | What it usually means | Next move |
|---|---|---|
| Clean round hole, firm dry trim, no current activity | Old or limited carpenter bee gallery in sound wood. | Clean loose debris and use an exterior wood repair filler made for painted trim. |
| Fresh pale dust or bees entering the same opening | Active or recently active gallery. | Handle activity first, then repair the wood after the opening is quiet and cleaned. |
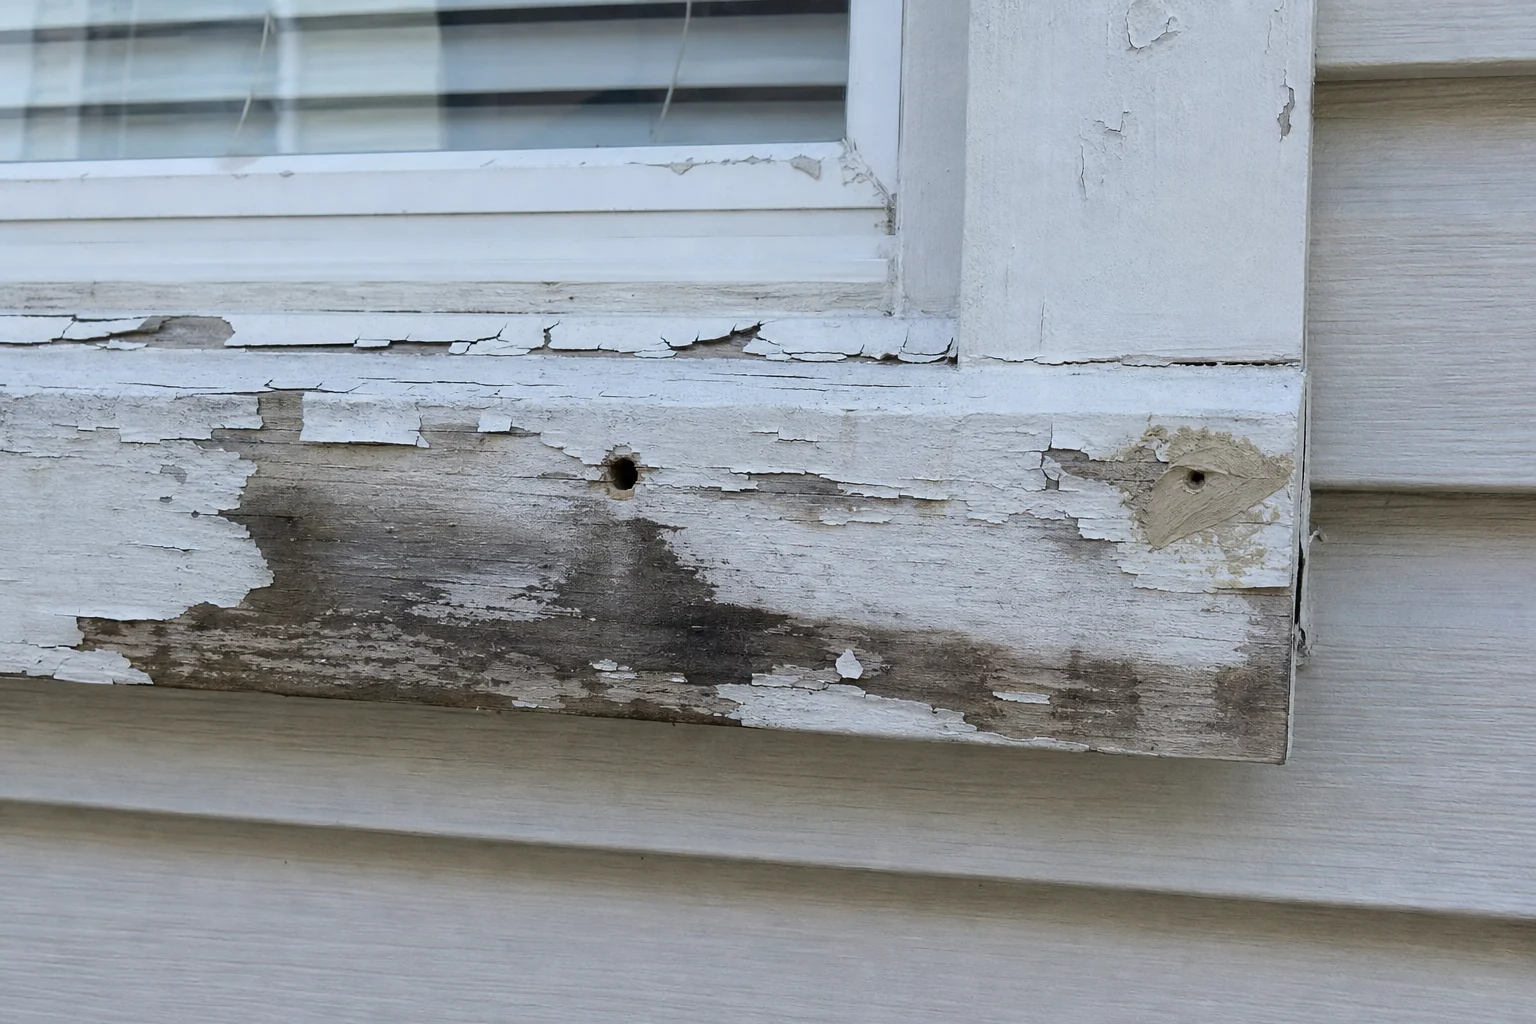
| Soft, dark, damp, or crumbly wood around the hole | Rot or water entry is part of the failure. | Find the water source and replace damaged trim back to sound material. |
| Several holes or a hollow sound along a long run | The visible holes may connect to a larger gallery pattern. | Compare section replacement with localized patching before buying filler. |
| Ragged openings, ant debris, or insect parts in damp wood | This may not be carpenter bee damage alone. | Pause the patch and identify the pest or decay pattern before sealing anything. |
A repair holds better when the gallery is quiet, dry, and cleaned out. If bees are still using the opening, the first job is not sanding and paint; it is safe triage.
For isolated holes in firm trim, the goal is a tight, paintable repair that sheds water. The repair does not need to become a full trim replacement unless the board has lost too much material.
Replacement makes sense when the board will not hold a repair. That usually shows up as soft wood, splitting, long hollow sections, or damage tied to water getting behind the trim.
A finished repair should feel firm, stay dry after rain, and show no fresh dust or new round holes during the next warm stretch. Paint is part of the repair, but it is not a force field.
These are for reachable, homeowner-level inspection and repair. Skip ladder work, hidden flashing work, and widespread active insect work when the setup is not controlled.
Paid links. As an Amazon Associate I earn from qualifying purchases. Repair Riot may earn a commission at no extra cost to you.

Helps when: Use an awl or small screwdriver to probe around the hole and along the grain so firm trim is separated from soft or hollow wood.
Skip it when: Skip probing if the trim is high enough that you would have to lean off a ladder.
Compare awls and small screwdrivers on Amazon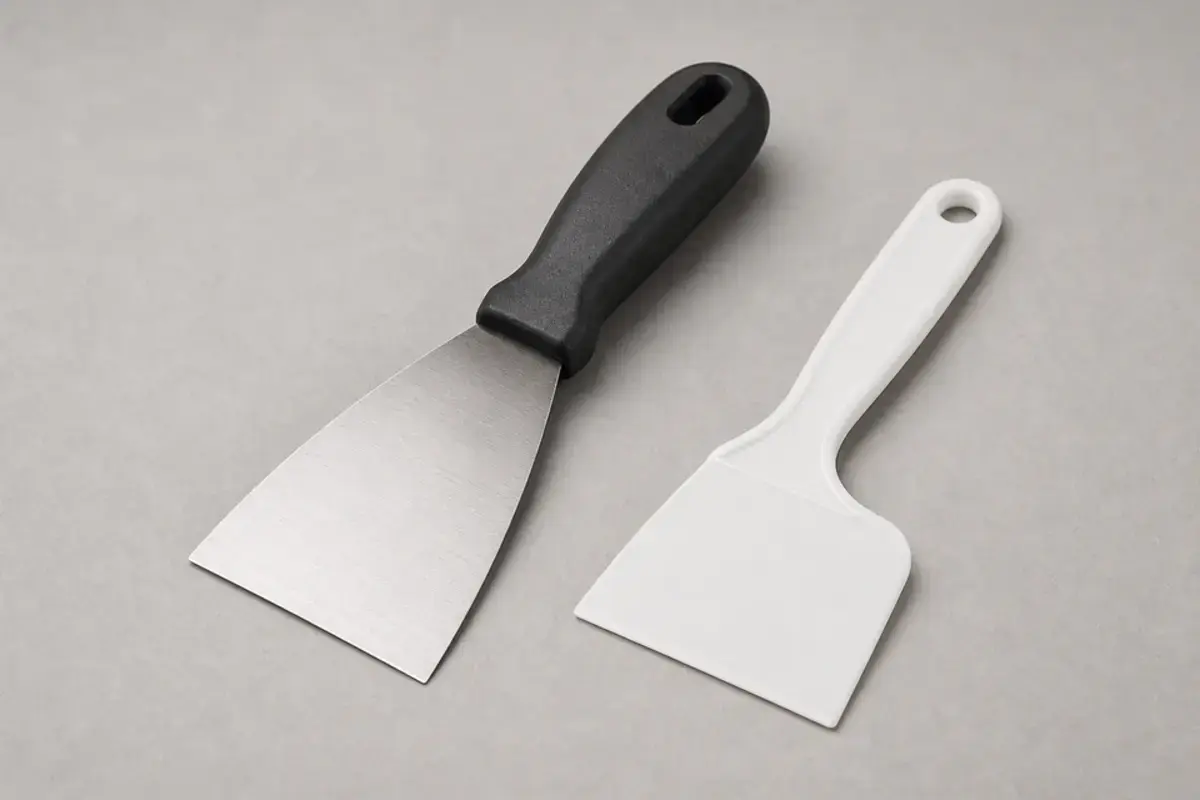
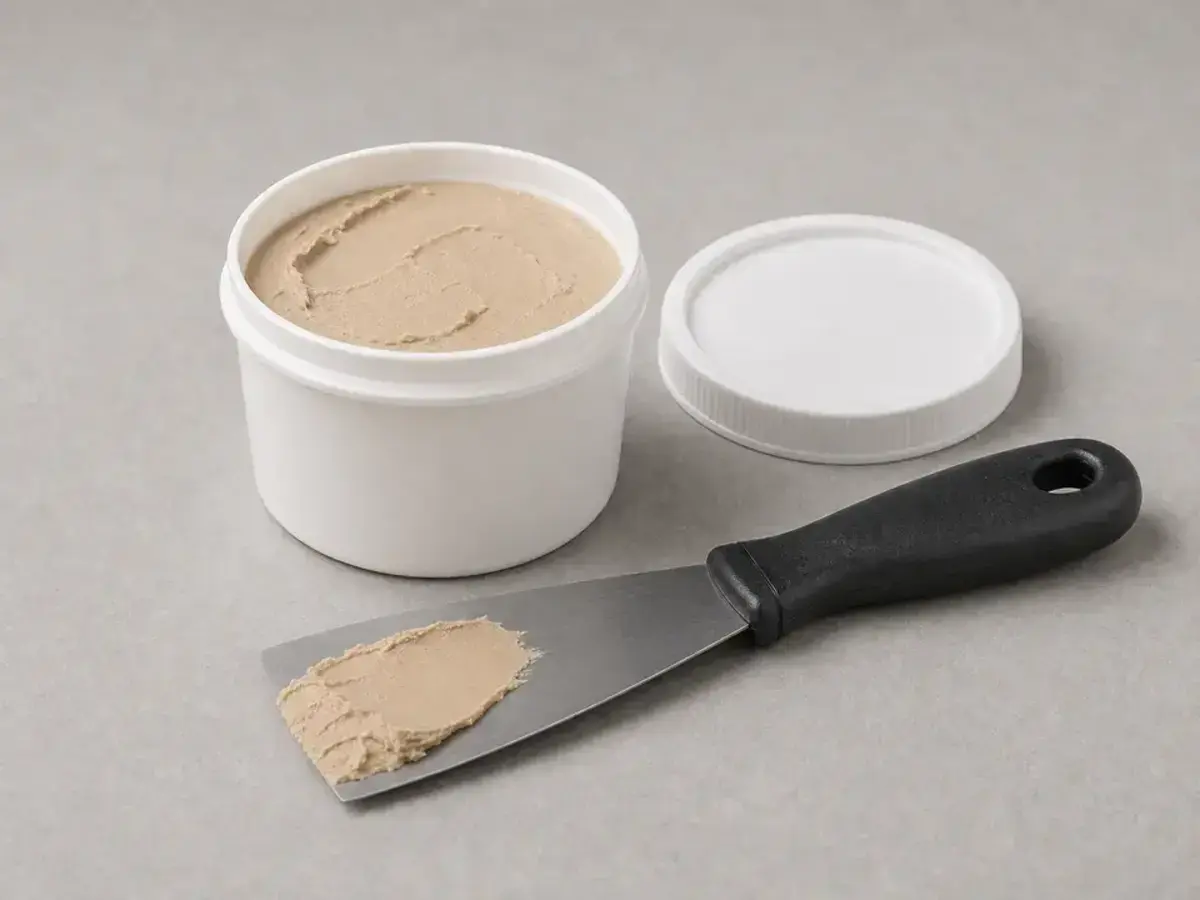
Helps when: Use a putty knife to lift loose filler, loose paint, and crumbly material before a small inactive hole is patched.
Skip it when: Skip surface prep if old paint may contain lead and you are not set up for lead-safe work.
Compare putty knives on Amazon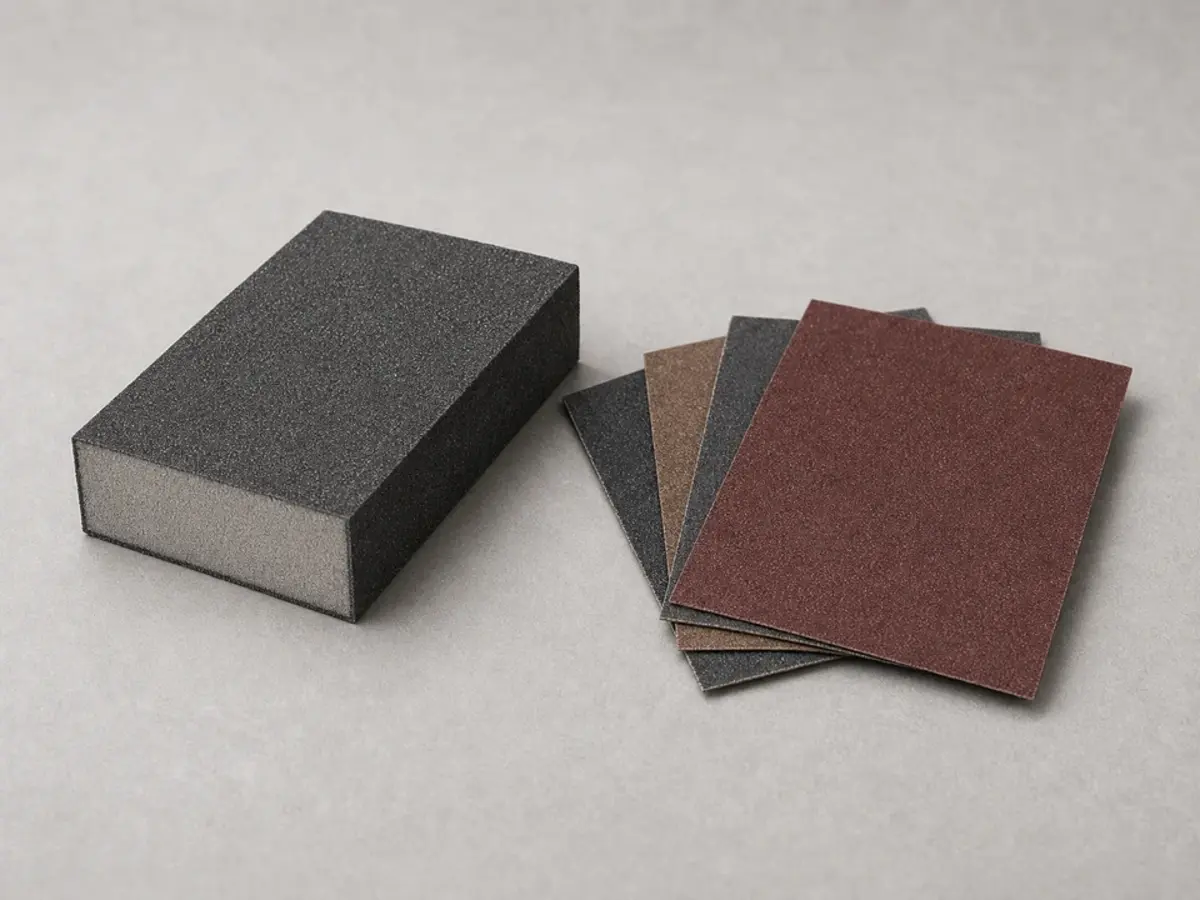
Helps when: Use a sanding block to shape cured filler flush with the trim face before primer and paint.
Skip it when: Skip sanding if the patch is still curing, the trim is wet, or old paint needs lead-safe handling.
Compare sanding blocks on Amazon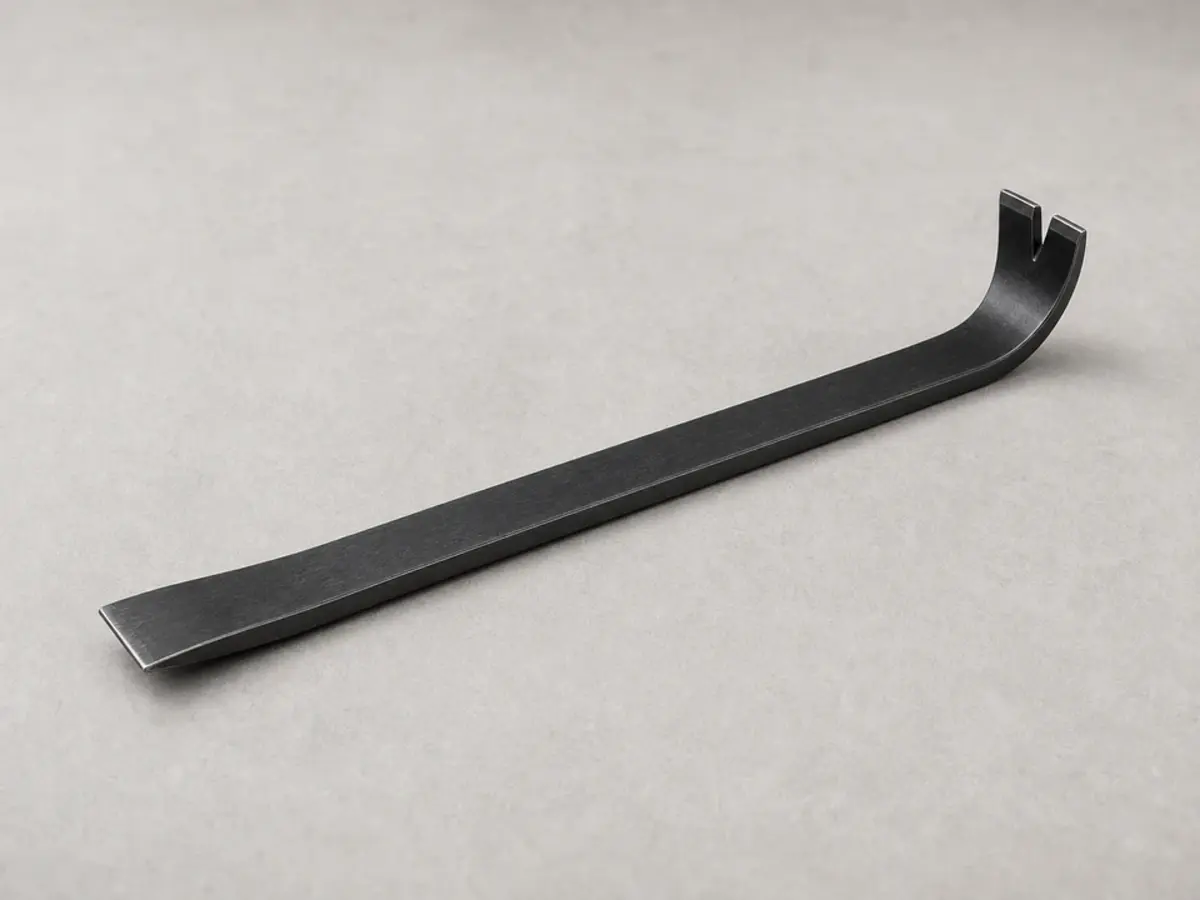
Helps when: Use a pry bar only after probing shows the trim section has failed and patching will not hold.
Skip it when: Skip prying if the board is tied into flashing, window waterproofing, or a roof-edge detail you cannot identify.
Compare flat pry bars on AmazonBuy the repair material after the board passes the checks. A small solid hole, a soft wet board, and a long hollow trim run need different materials.
Paid links. As an Amazon Associate I earn from qualifying purchases. Repair Riot may earn a commission at no extra cost to you.
Helps when: Use exterior wood repair filler when the hole is isolated, activity is handled, and surrounding trim is firm enough to hold a shaped patch.
Skip it when: Skip it if the board is soft, wet, split, hollow over a long run, or crumbles when probed.
Compare exterior wood repair fillers on Amazon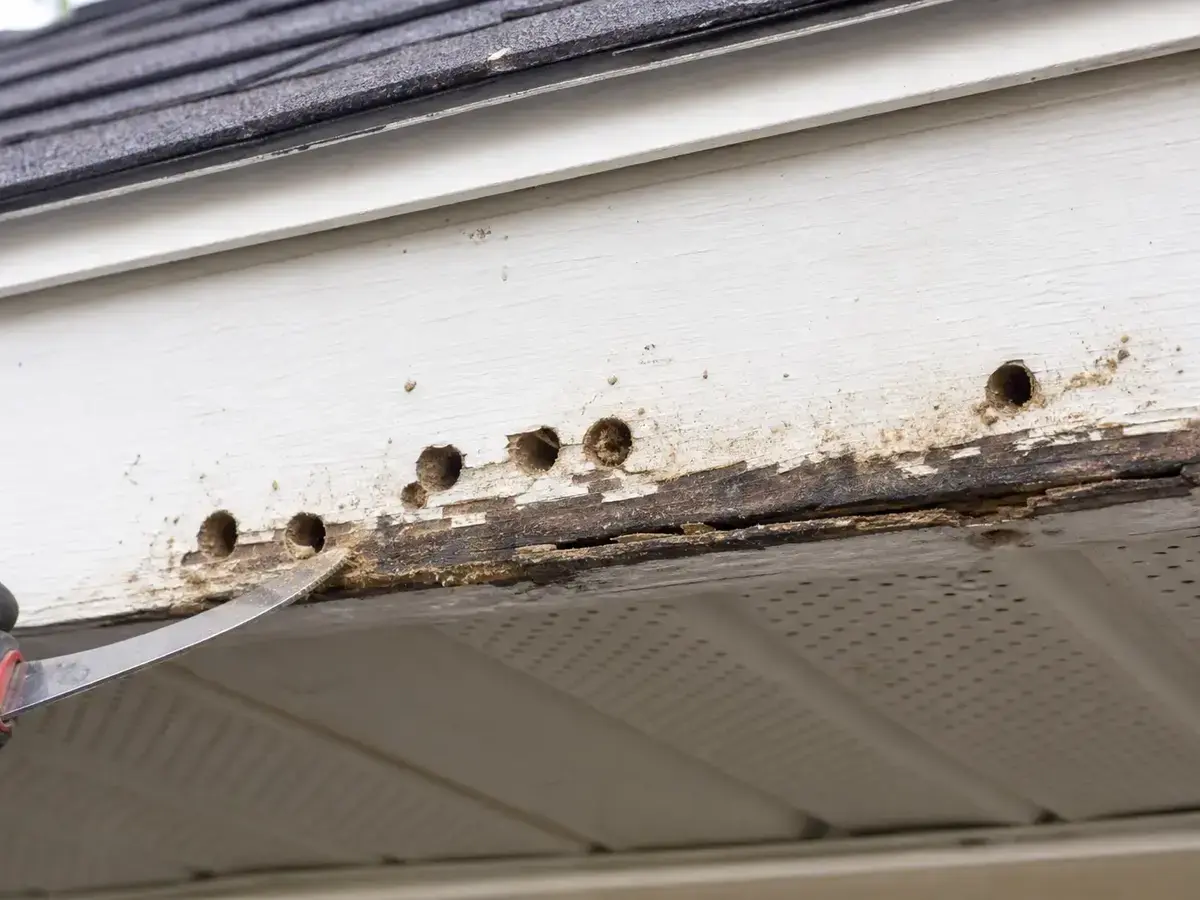
Helps when: Use a matching exterior trim board when the damaged section is soft, split, hollow, rotten, or too thin after the gallery is cleaned out.
Skip it when: Skip it if the surrounding board is firm and the damage is limited to one small inactive hole.
Compare matching exterior trim boards on Amazon
Helps when: Use exterior primer when bare wood, cut ends, or cured repair material need sealing before the finish coat.
Skip it when: Skip it if the repair material or trim product calls for a manufacturer-specific coating system.
Compare exterior primers on Amazon
Helps when: Use exterior trim paint after the repair is cured, sanded, primed as needed, and ready for a weather-shedding finish.
Skip it when: Skip it while the trim is damp, insect activity is active, or the patch has not cured.
Compare exterior trim paints on AmazonCarpenter bee holes are usually clean and round. Carpenter ant damage is more irregular and often shows up in wood that is already damp or decayed. If the wood is soft and the debris includes insect parts, ants move higher on the list.
Not as a first move. Caulk over an active or deeper gallery usually fails, and it does not rebuild lost wood. Use a proper exterior wood repair filler only after you know the trim is still solid and the activity has stopped.
Replace it when the board is soft, split, hollow over a longer stretch, or keeps crumbling when you probe it. A patch works best for isolated holes in otherwise sound trim.
Usually no. Most jobs are limited to trim boards, fascia, or other exposed wood. But if you find wet sheathing, rotten backing, or long hidden tunnels behind the trim, the repair has grown beyond a simple patch.
A good paint finish helps because it seals and protects the wood, but it is not magic by itself. The best results come from repairing the damaged area properly, keeping the trim dry, and watching for new activity during the next warm season.
It can be. Old holes can reopen, hold water, and invite reuse. If the wood is still solid, repair and seal it. If the board has gone soft or hollow, replace that section before repainting.
It is usually pale, coarse, and sawdust-like rather than muddy or pellet-like. Fresh dust below a clean round hole means the opening deserves an activity check before any filler goes in.
No. Foam does not rebuild damaged wood, can hold moisture, and often leaves a weak face under paint. Use an exterior wood repair method only after activity is handled and the trim is still solid enough to keep.
Repair Riot built this page around homeowner-visible clues: round hole shape, fresh frass, active bee traffic, soft trim, moisture staining, and whether the damaged board can still hold a paintable repair. The repair sequence is original guidance; the links below support pest identification, safe pesticide-label discipline, and lead-safe paint handling.