Trips at switch-on?
Switch, canopy, receiver, or short path.
If a ceiling fan trips the breaker, stop using it until the fault path is isolated. The trip can come from canopy wiring, a wall switch, receiver, light kit, capacitor, motor fault, pinched conductor, or a wider circuit issue.
Good clues are a trip at the wall switch, only when the light turns on, only when the fan starts, after a recent install, after a wobble event, or when a remote receiver changes speed.
A breaker trip is a stop-and-isolate symptom, not a normal fan annoyance.
Don’t start with: Do not buy a fan, receiver, or breaker. First identify which action trips the circuit and leave power off for heat, scorch, arcing, or any second trip.
Switch, canopy, receiver, or short path.
Light kit, socket, bulb base, or light lead path.
Motor, capacitor, receiver, or drag path.
Pinched or loose canopy wiring path.
Leave it off and call for help.
A breaker trip needs action-by-action isolation. Fan startup, light kit, wall switch, and canopy wiring point to different repairs.
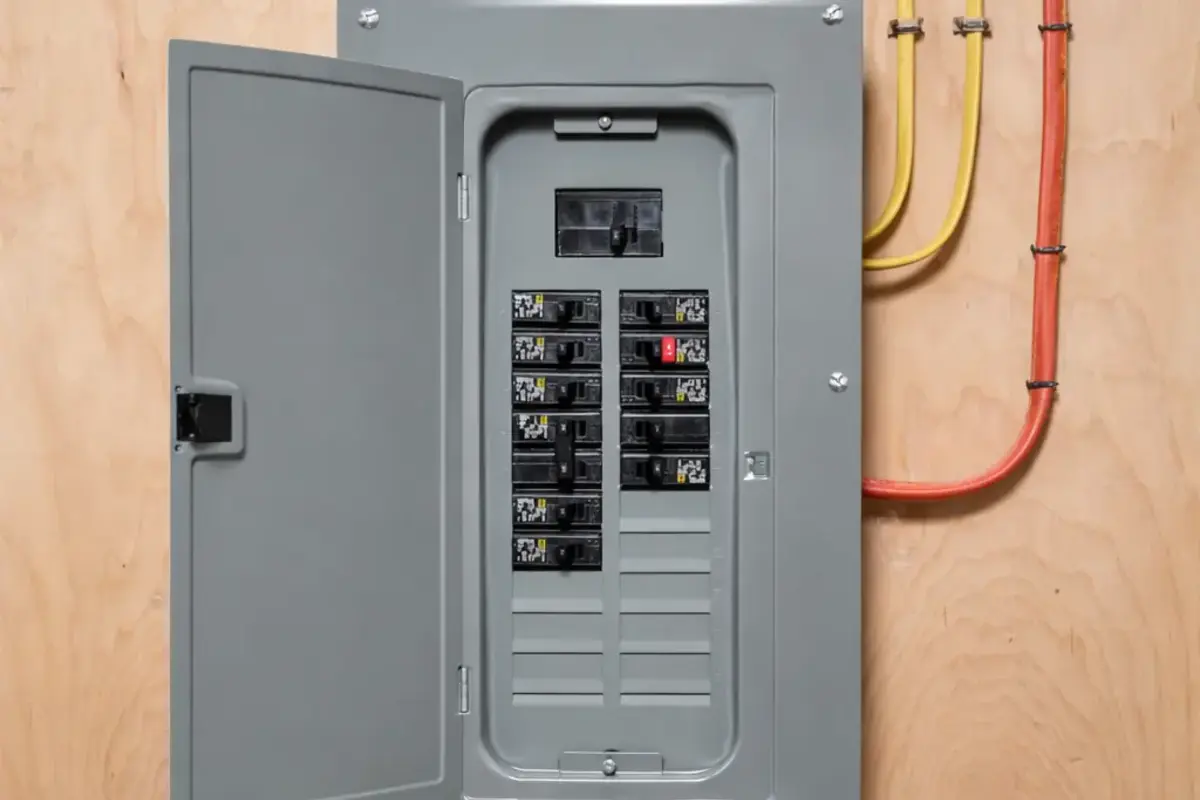
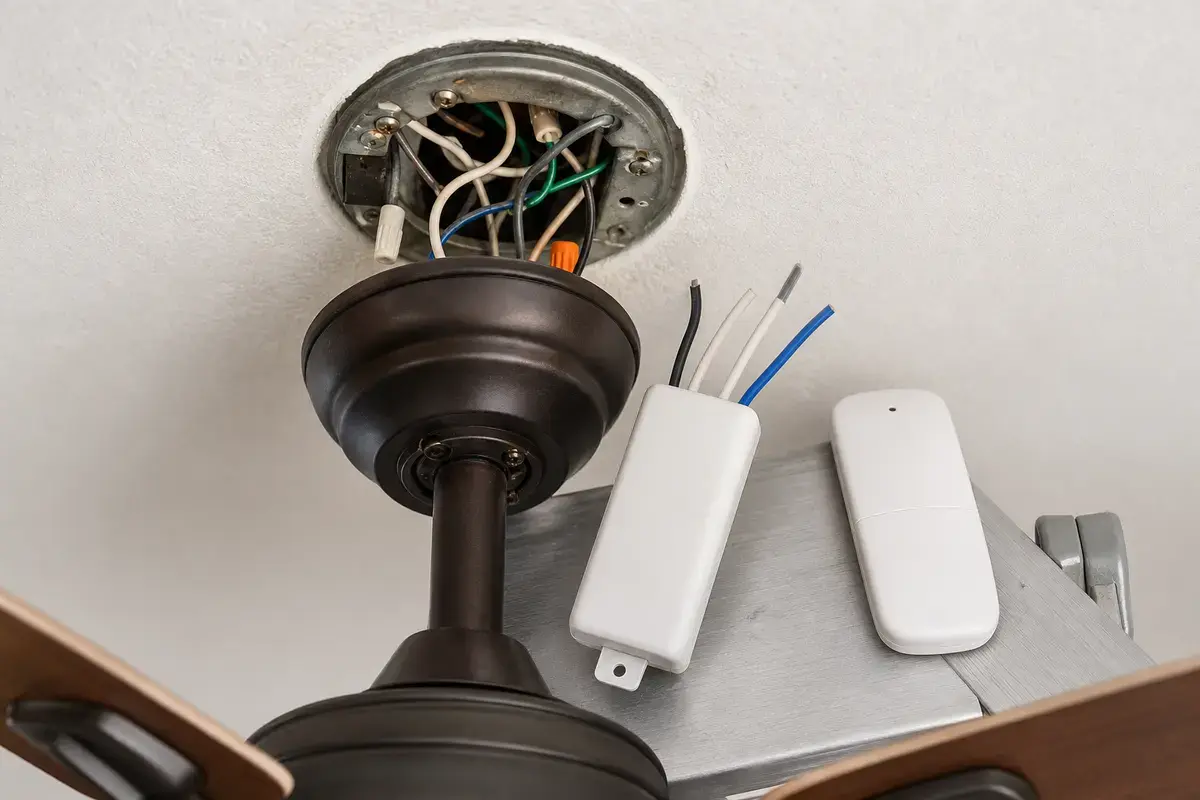
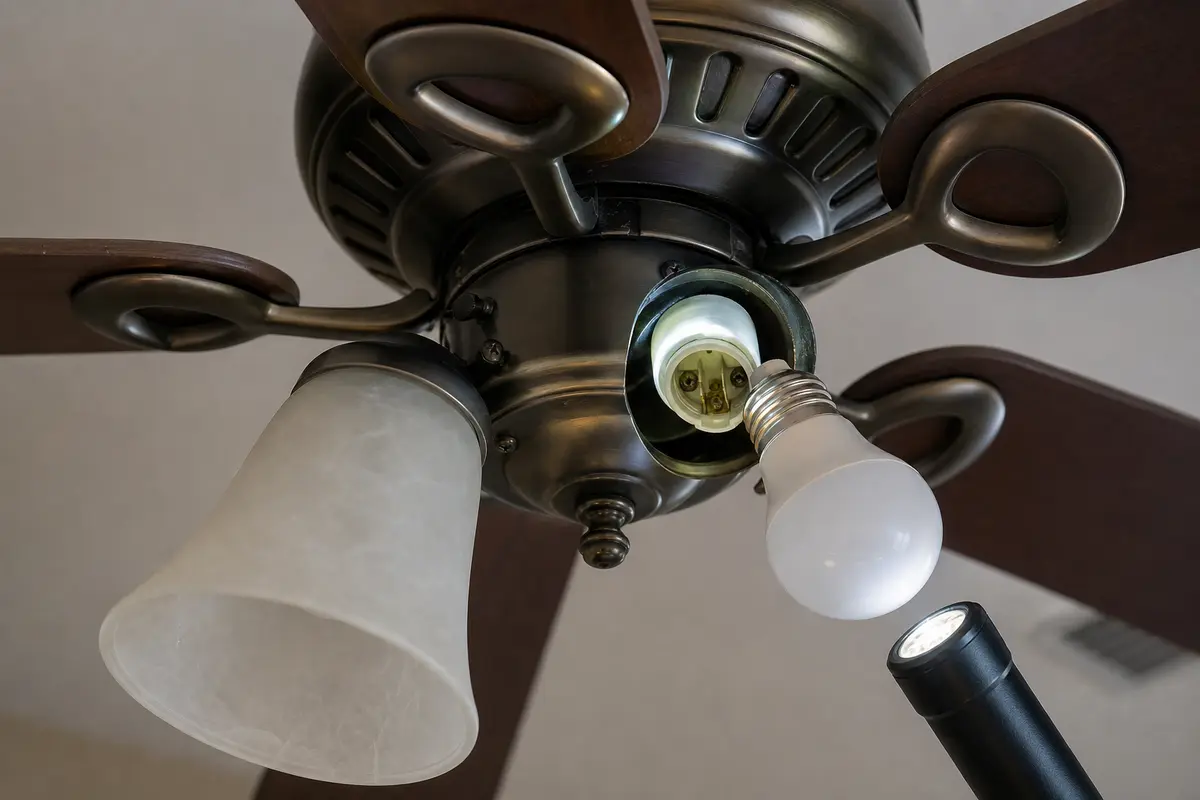
Confirm whether the breaker trip follows wall switch-on, light kit, fan startup, remote receiver, canopy wiring, capacitor or motor load, recent installation, or a wider circuit fault. Match the exact fan model, control setup, symptom pattern, measurements, ratings, wiring layout, and confirmed diagnosis before ordering anything.
The breaker is telling you something on the circuit may be drawing too much current, shorting, arcing, or faulting. The first job is to leave power off after a second trip and identify the exact action that caused it.
The usual mistake is replacing the breaker or buying a fan part before isolating the trip. Good clue: breakers usually trip because of a downstream condition, not because the breaker wants a ceiling-fan accessory.
Use the exact trigger to choose the path. Startup, light-only, remote-only, and immediate switch trips are different problems.
| Pattern | Likely path | Next move |
|---|---|---|
| Trips immediately at switch | Short/feed/canopy/switch | Leave off and inspect safely. |
| Trips when light turns on | Light kit or socket | Remove bulbs only with power off. |
| Trips when fan starts | Motor/capacitor/receiver/drag | Check blade coast and heat clues. |
| Trips after remote command | Receiver output | Match receiver only after wiring is safe. |
| Second trip or scorch | Unsafe fault | Call an electrician. |
A ceiling fan has several connection points that can fault independently. Good clue: recent installation, cleaning, wobble, or receiver work moves canopy and receiver checks higher.
A light-only breaker trip is not the same as a fan-start trip. Separate the load before buying parts.
These tools support documentation and power-off screening. They do not make live fault testing a DIY task.
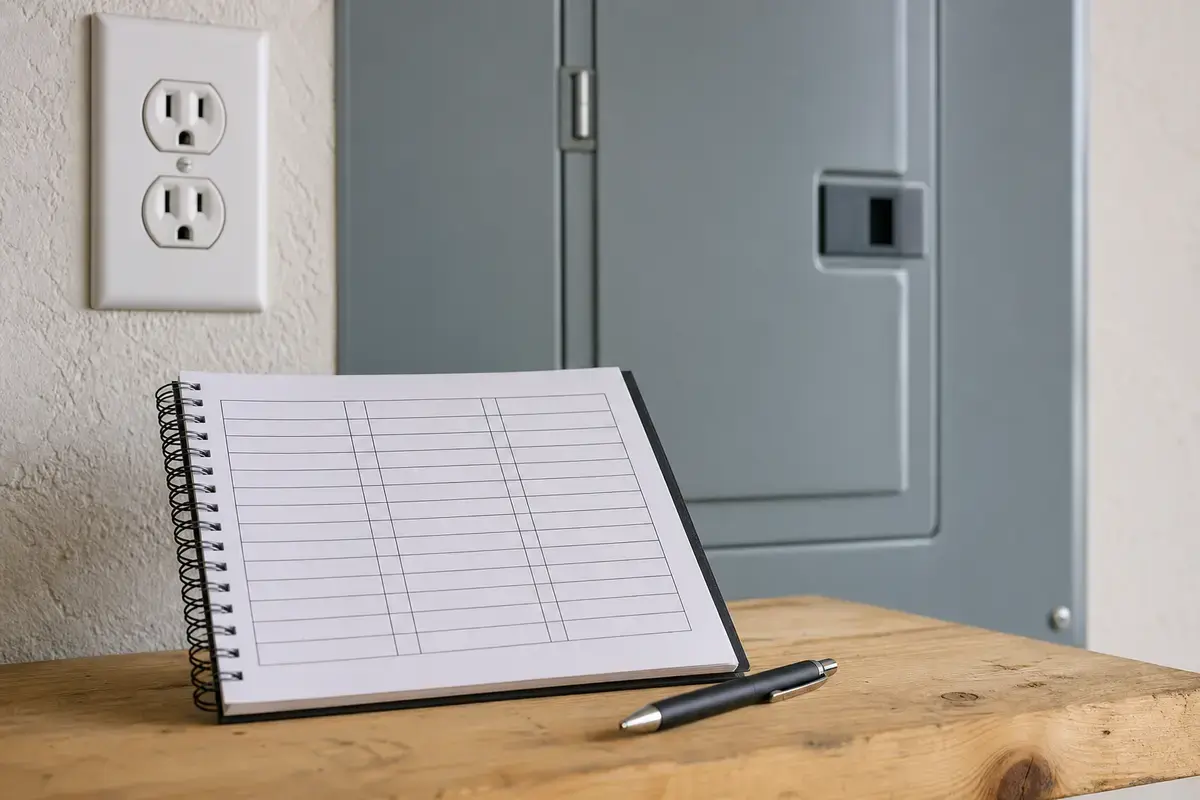
Helps when: Helps document which breaker feeds the fan so repeated trips, wall-switch tests, and room-side loads are not mixed together.
Skip it when: Skip DIY breaker mapping if the panel is damaged, wet, buzzing, warm, unlabeled in a confusing way, or trips repeatedly.
Compare circuit label kits on Amazon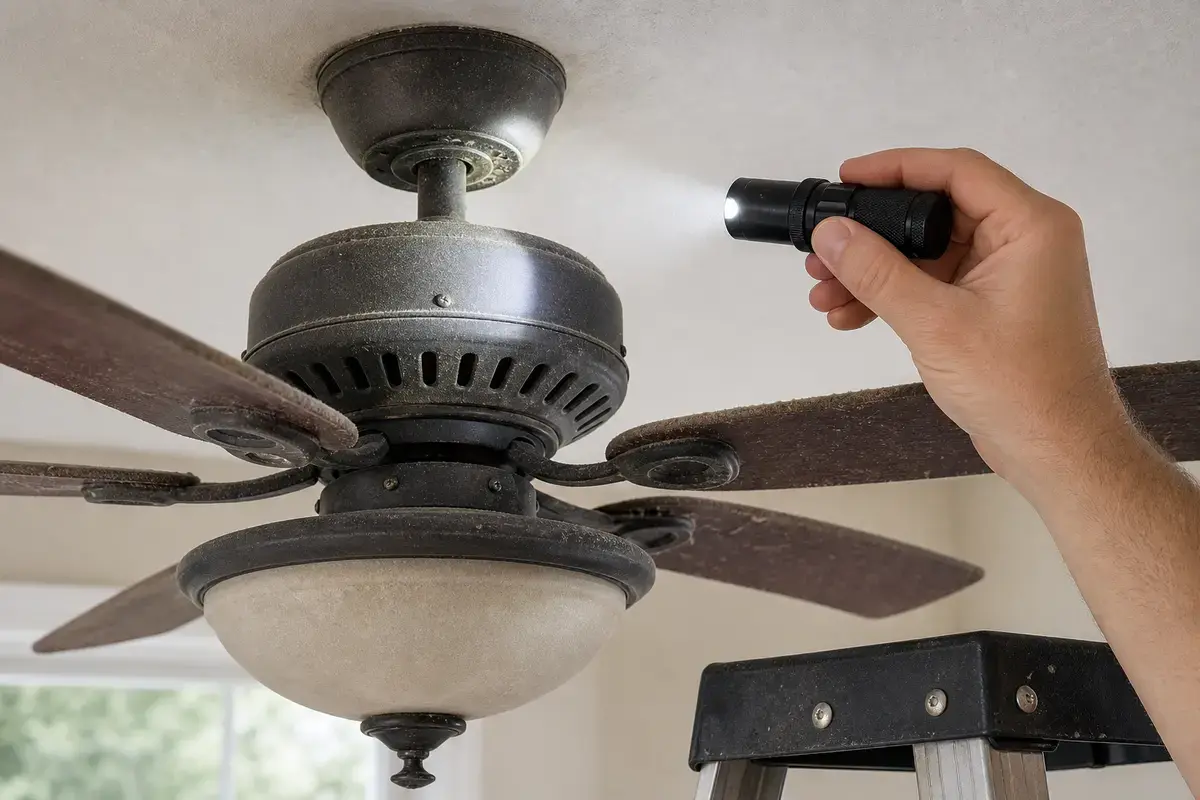
Helps when: Helps see heat staining, loose trim, wire labels, switch markings, receiver labels, blade hardware, and motor vents with power off.
Skip it when: Skip overhead inspection if better light still leaves you unsure about support, wiring, heat, or power-off status.
Compare inspection flashlights on Amazon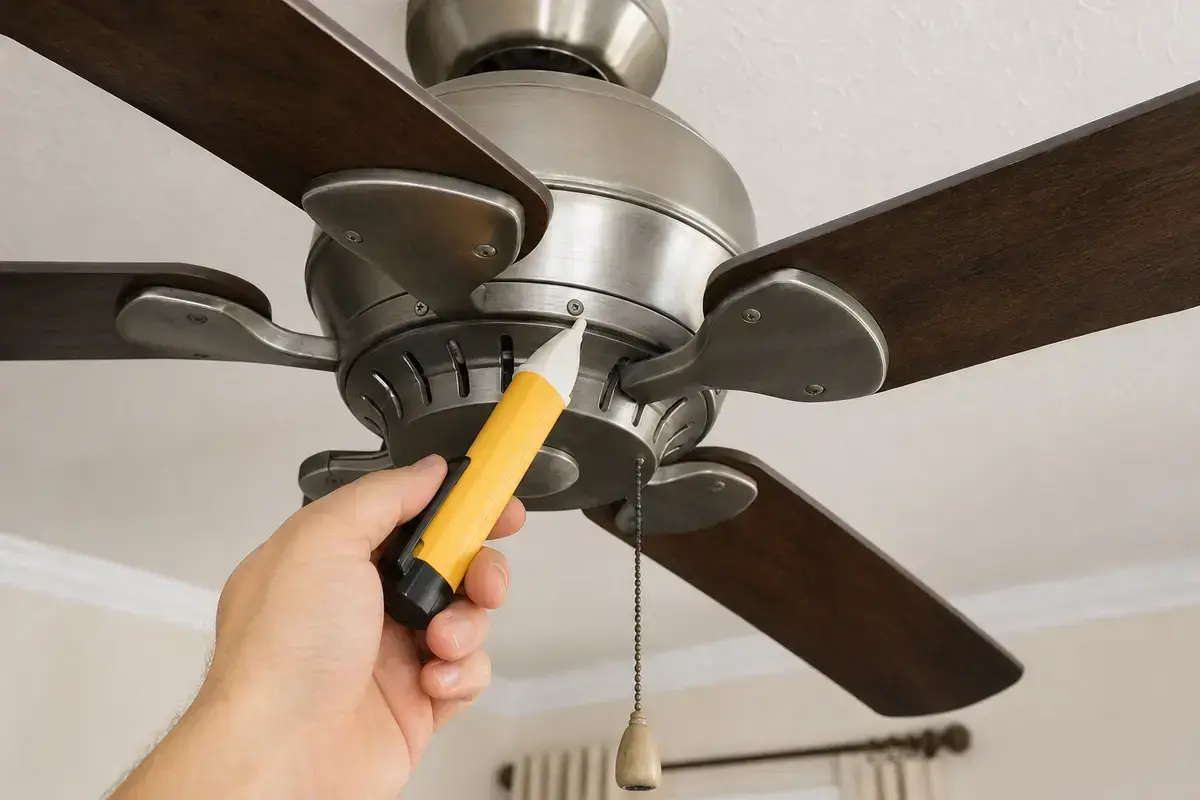
Helps when: Screens for power after the breaker is off before opening a canopy, switch box, receiver area, switch housing, or capacitor compartment.
Skip it when: Skip DIY electrical checks if readings are confusing, the breaker trips again, or the fan wiring is unfamiliar.
Compare voltage testers on Amazon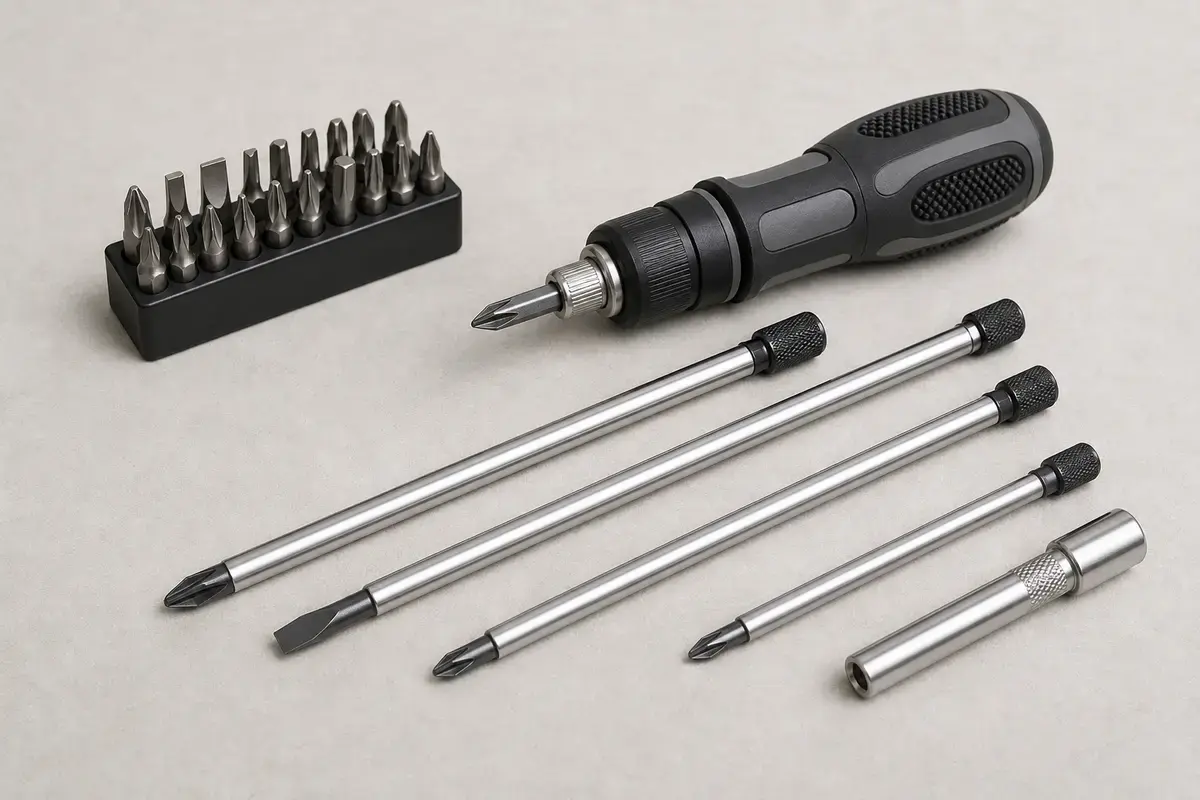
Helps when: Tightens canopy screws, blade arms, switch-housing screws, receiver covers, wall-control plates, and light-kit hardware without stripping them.
Skip it when: Skip tightening if the fan is moving at the box, the ladder position is unsafe, or the screw head is damaged.
Compare screwdriver sets on AmazonAs an Amazon Associate I earn from qualifying purchases. Repair Riot may earn a commission at no extra cost to you.
Only consider fan parts after the fault path is isolated and no damaged wiring, heat, scorch, or second-trip condition remains.
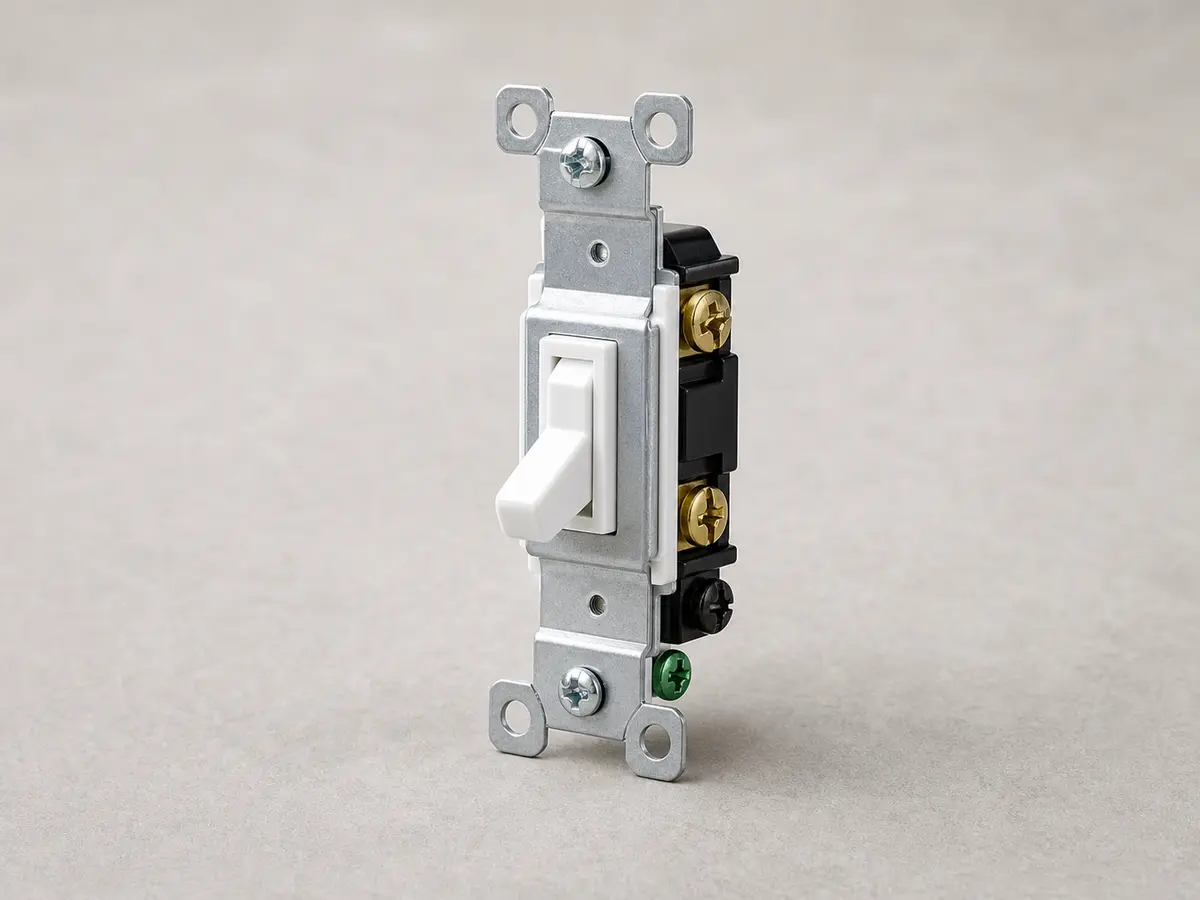
Helps when: Fits a simple on-off fan feed where a worn switch is confirmed and the fan is not controlled by a special fan-rated speed device.
Skip it when: Skip it if the fan needs a speed control, smart control, 3-way setup, receiver control, or any wiring you cannot identify.
Compare wall switches on Amazon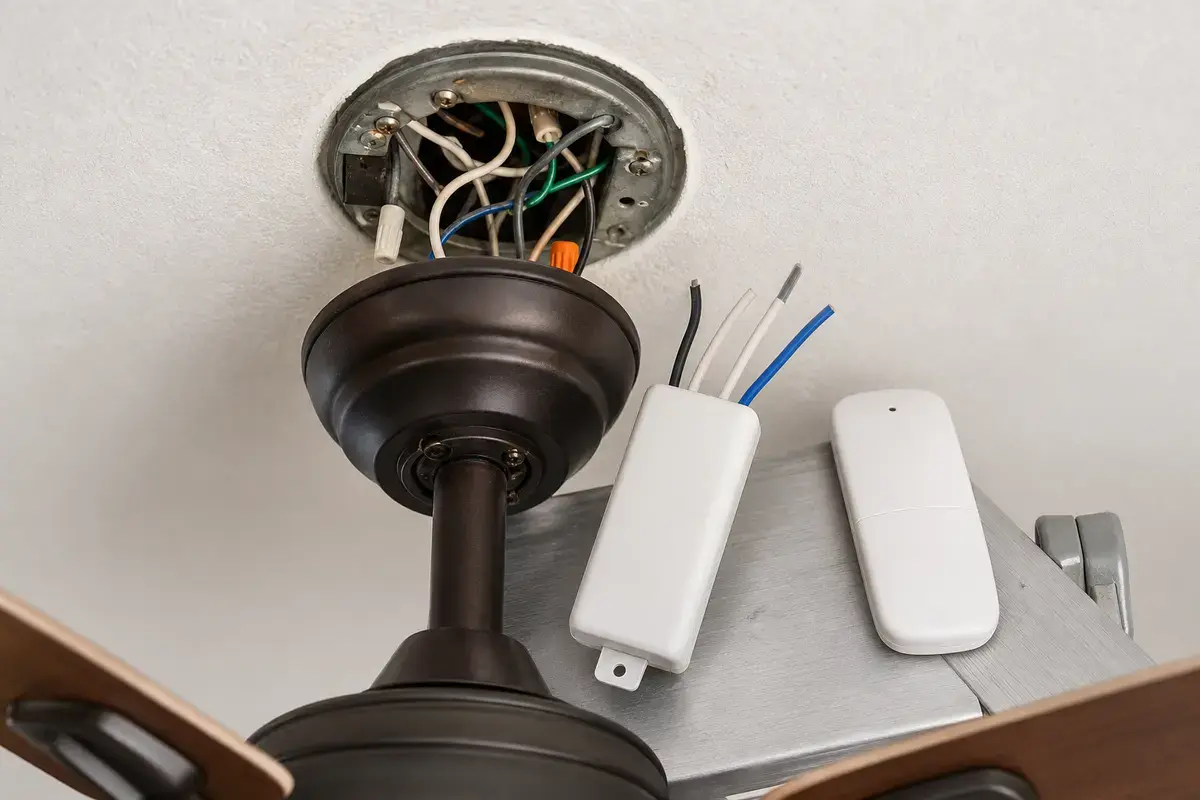
Helps when: Fits a remote-controlled fan where the receiver is the proven fault path after wall feed, remote, pairing, light-kit, and breaker-trip patterns are separated.
Skip it when: Skip it if the canopy is hot, wiring is scorched, the breaker trips repeatedly, or you cannot match the fan load and wire layout exactly.
Compare fan receivers on Amazon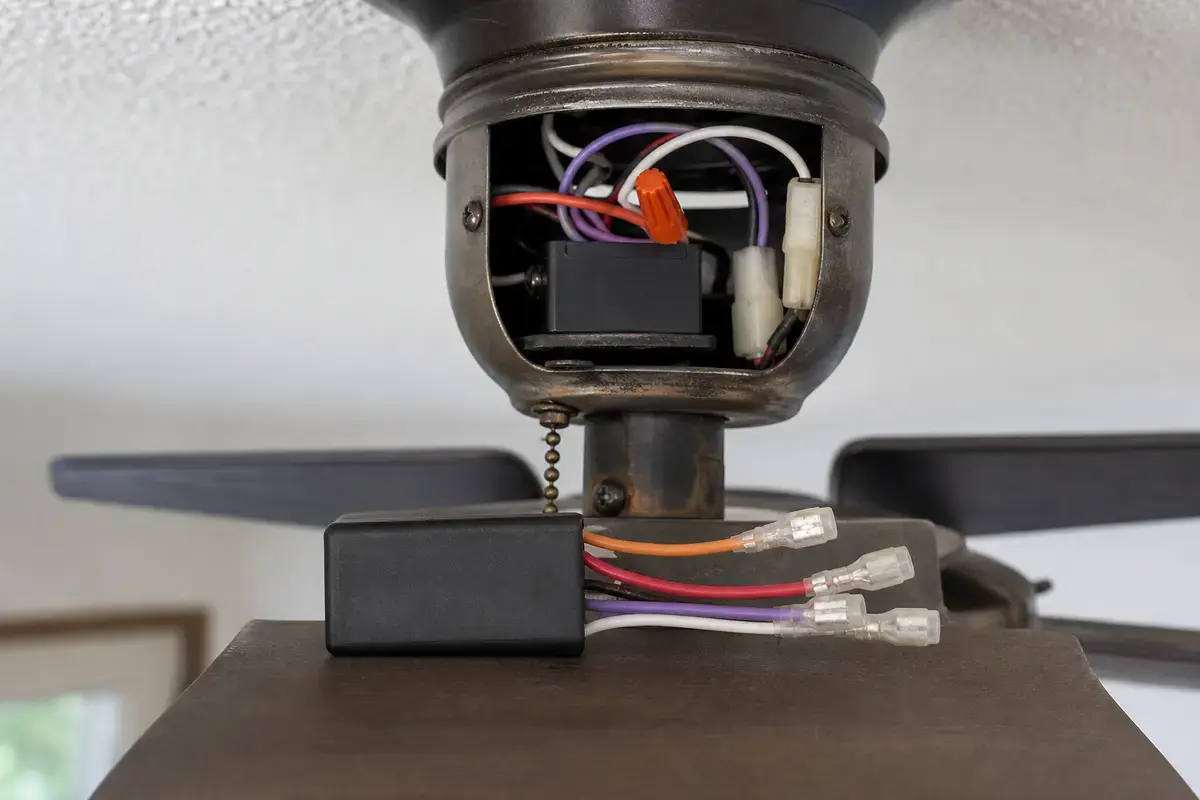
Helps when: Fits weak speed, low-only speed, hum, crawl, push-start, or start-trip symptoms after drag, controls, and receiver clues are ruled out.
Skip it when: Skip it if you cannot match microfarad values, voltage rating, wire count, connector style, and mounting space exactly.
Compare fan capacitors on AmazonAs an Amazon Associate I earn from qualifying purchases. Repair Riot may earn a commission at no extra cost to you.
Common causes are pinched canopy wiring, loose connections, bad wall switch, failed receiver, light-kit fault, capacitor or motor fault, damaged insulation, or a wider circuit problem.
No. A second trip is a stop sign. Leave it off until the trip path is found.
Yes. If the trip happens only when the light turns on, inspect bulbs, sockets, and light-kit leads with power off.
Yes. A failed receiver can short or fault when it switches fan speed or light output.
It can, especially with hum, slow start, push-start, heat, or startup-only trips, but wiring and receiver faults must be ruled out.
No. Do not replace or upsize a breaker to compensate for a fan fault.
Leave power off and suspect pinched conductors, loose wirenuts, crowded receiver wiring, or a wrong connection.
Call for a second trip, scorch marks, hot metal, buzzing, unknown wiring, panel concerns, or any live fault testing.
Repair Riot reviewed this page around ceiling fan breaker trips, switch-on isolation, light-kit faults, receiver failures, canopy wiring, capacitor and motor load clues, and no-reset safety boundaries. The source links support home electrical safety and arcing/fire stop points; the diagnostic sequence is original guidance.