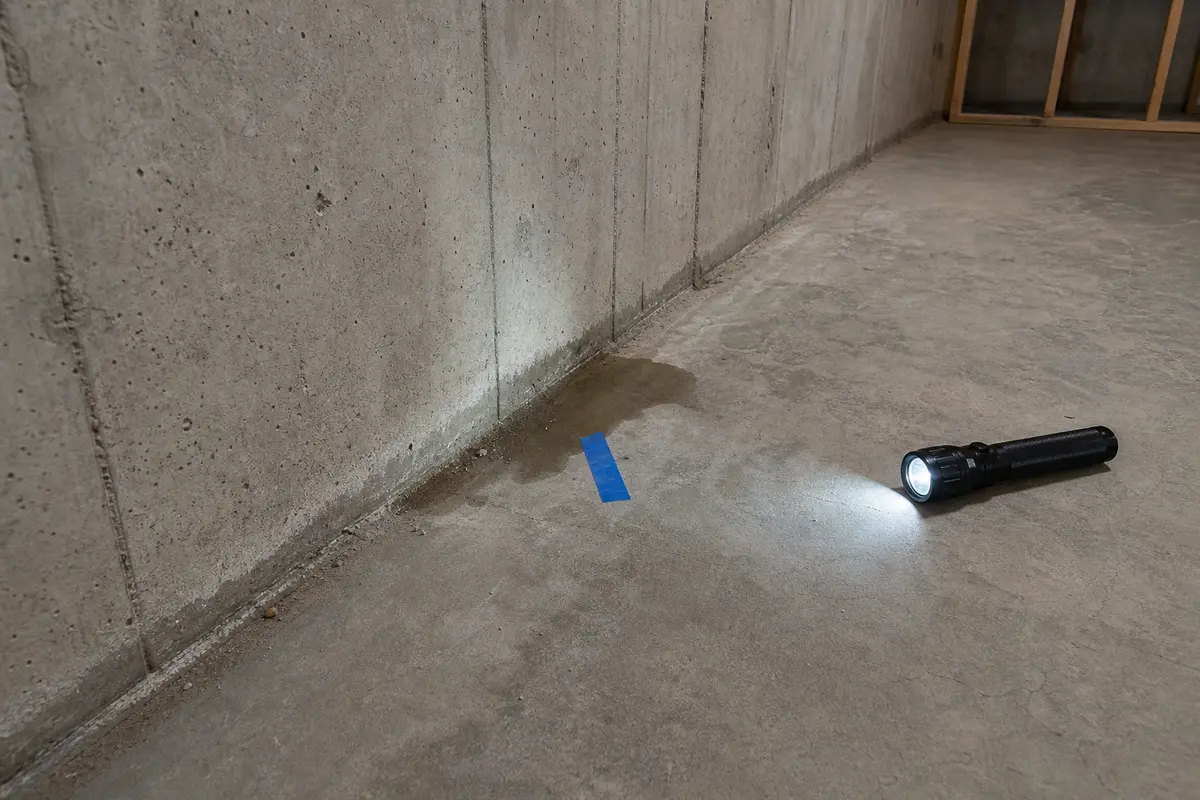
Starts at wall-floor edge?
Treat the cove joint and outside drainage as the first branch.
If your basement floor is leaking, first find where water appears before it spreads. The usual branches are cove-joint seepage, water through a slab crack, outside drainage pressure, or condensation on a cold floor.
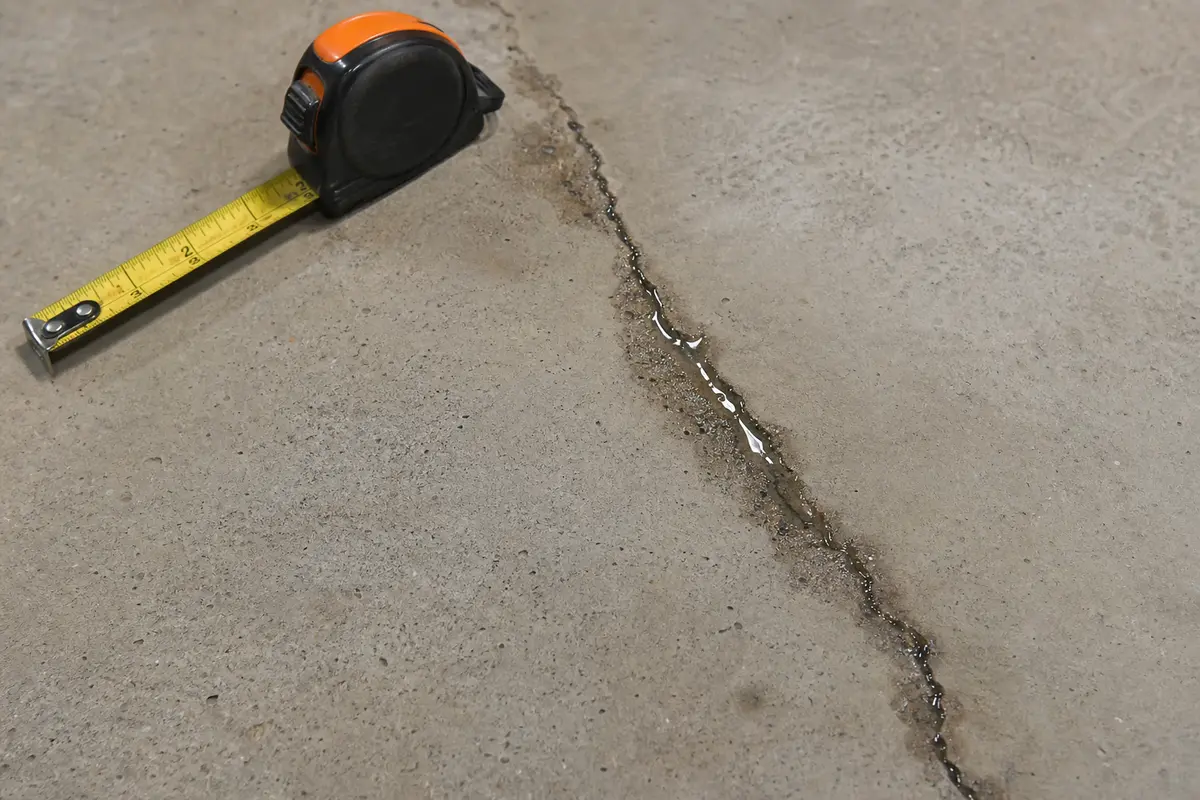
Good clue: water that starts at the wall-floor edge after rain or thaw points to outside pressure. Water that follows one floor crack needs crack width, moisture, and movement checks before filler.
Mark the first wet spot, photograph it, and match it to the outside wall before shopping. Watch for where water starts, not just where the puddle spreads.
Don’t start with: Do not start with waterproof paint, random caulk, or floor coating. Those hide the first wet point and can force water to a new exit.
Treat the cove joint and outside drainage as the first branch.
Check moisture, width, and vertical offset before filler.
Measure humidity and rule out condensation before patching.
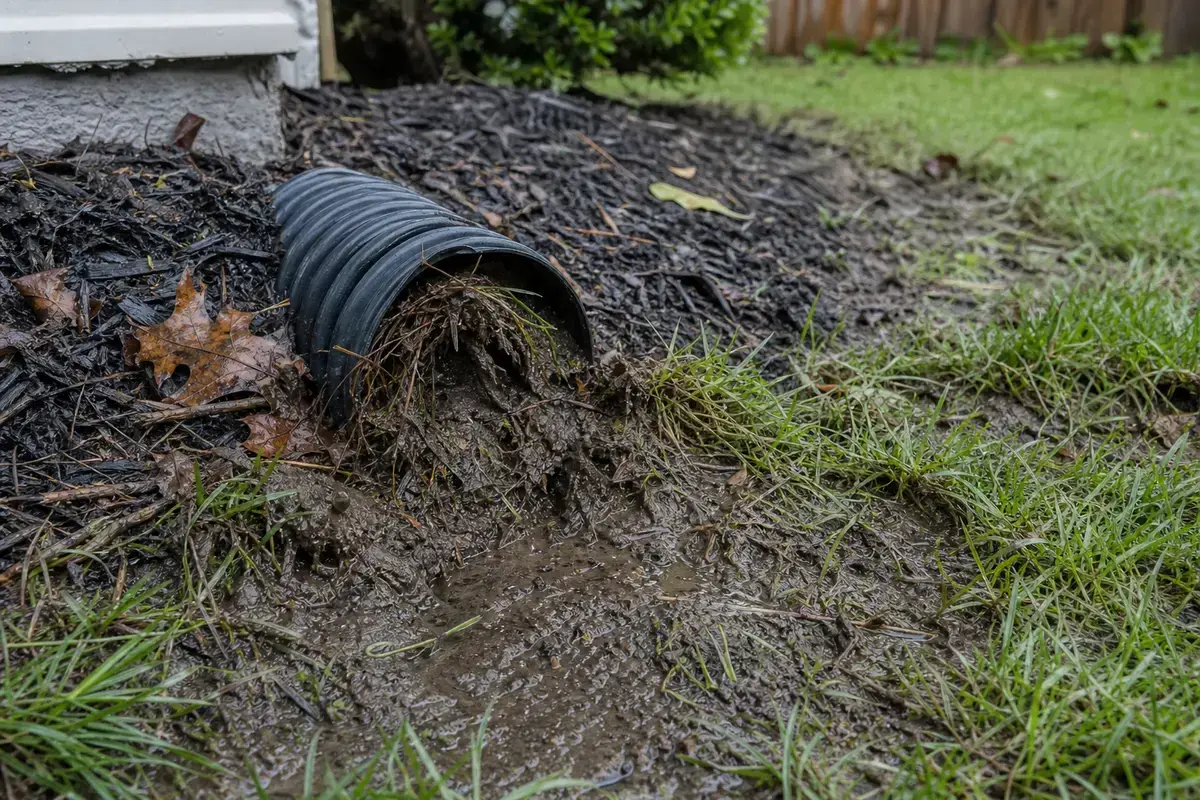
Look outside for downspouts, low soil, window wells, and hardscape slope.
Rule out plumbing, drain backup, and appliance leaks before foundation work.
A basement floor leak needs location, timing, and movement clues before any inside patch.
Match the exact diagnosis before shopping. Confirm first wet point, weather timing, crack movement, cove-joint pattern, electrical safety, and whether the water is clean.
In the field, the first wet point matters more than the final puddle edge.
Fast coatings make diagnosis harder because they hide the first wet point and rarely reduce outside pressure.
Mark, compare, and verify before buying repair materials.
Choose the smallest repair that matches a proven source.
Use these only after the source path is confirmed.
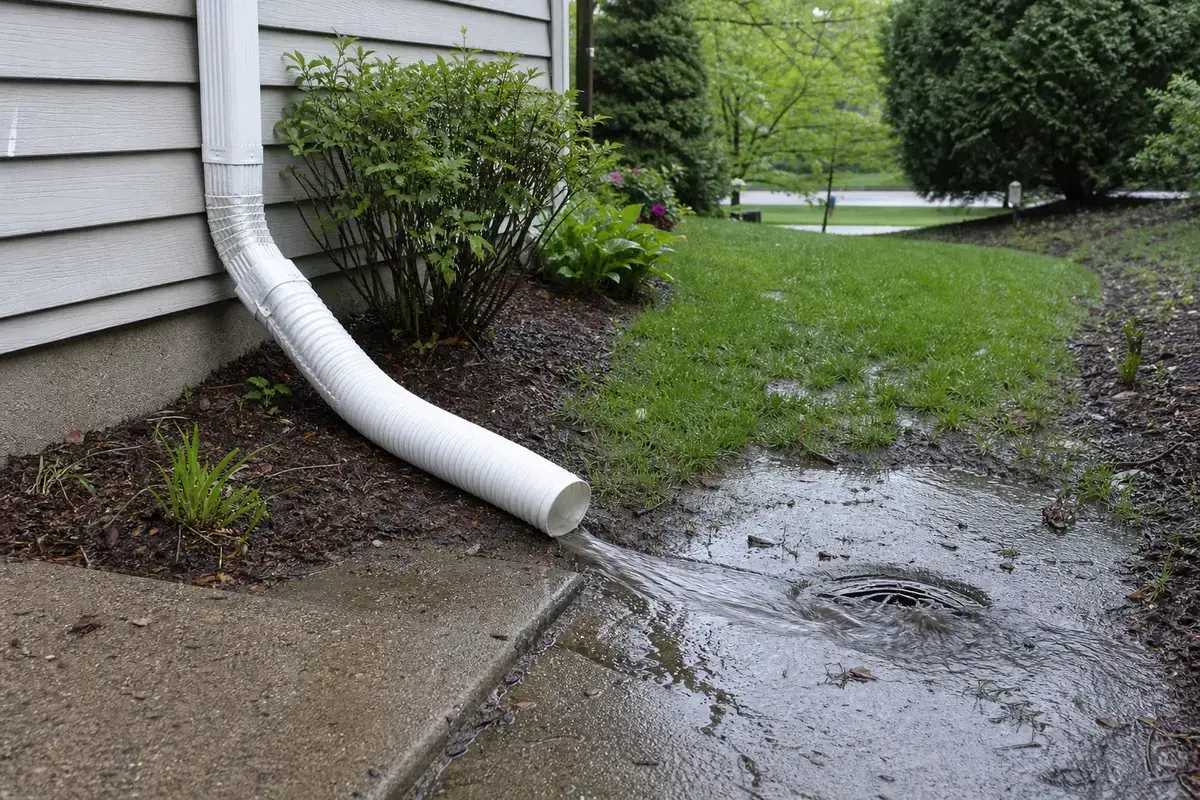
Helps when: Use when the wet basement area lines up with roof runoff landing near the foundation.
Skip it when: Skip if grading, buried drainage, sump discharge, or a plumbing source is the main water path.
Compare downspout extensions on Amazon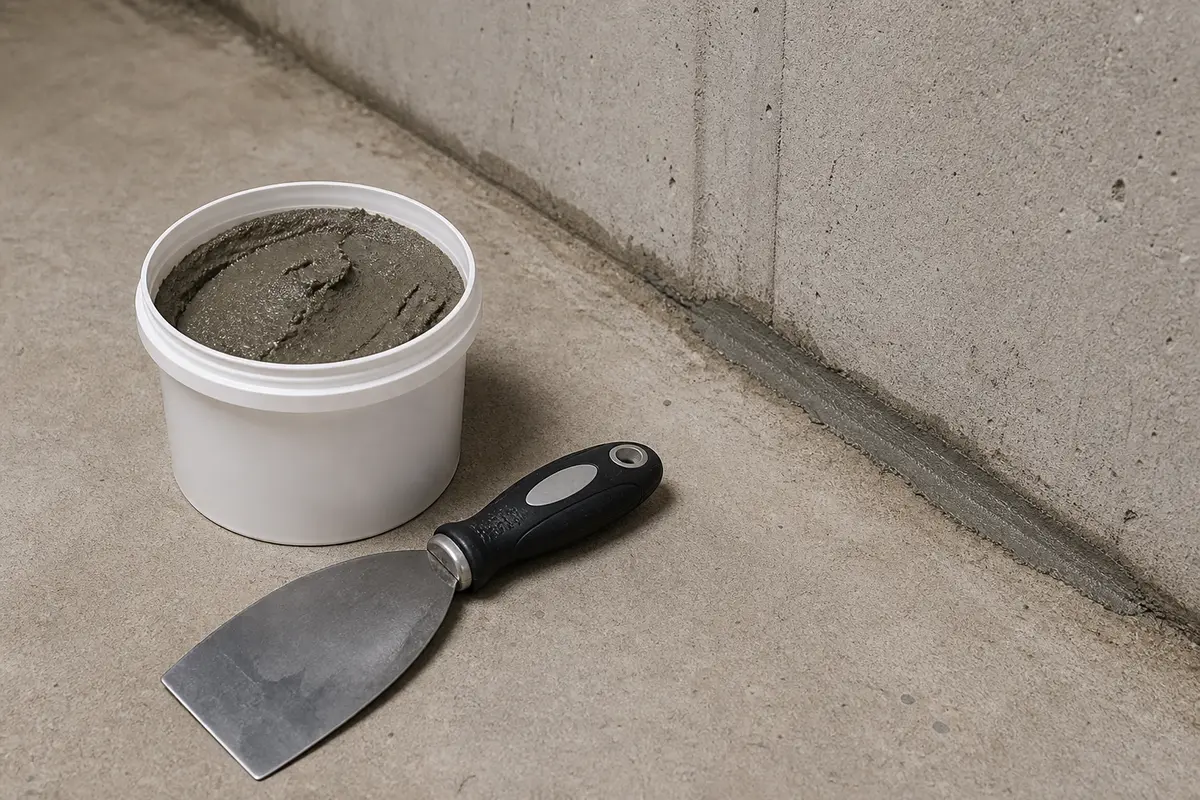
Helps when: Use only for a small confirmed interior seep point after outside water pressure has been reduced.
Skip it when: Skip for active pressure you have not controlled, moving cracks, broad seepage, or structural foundation movement.
Compare hydraulic cement on Amazon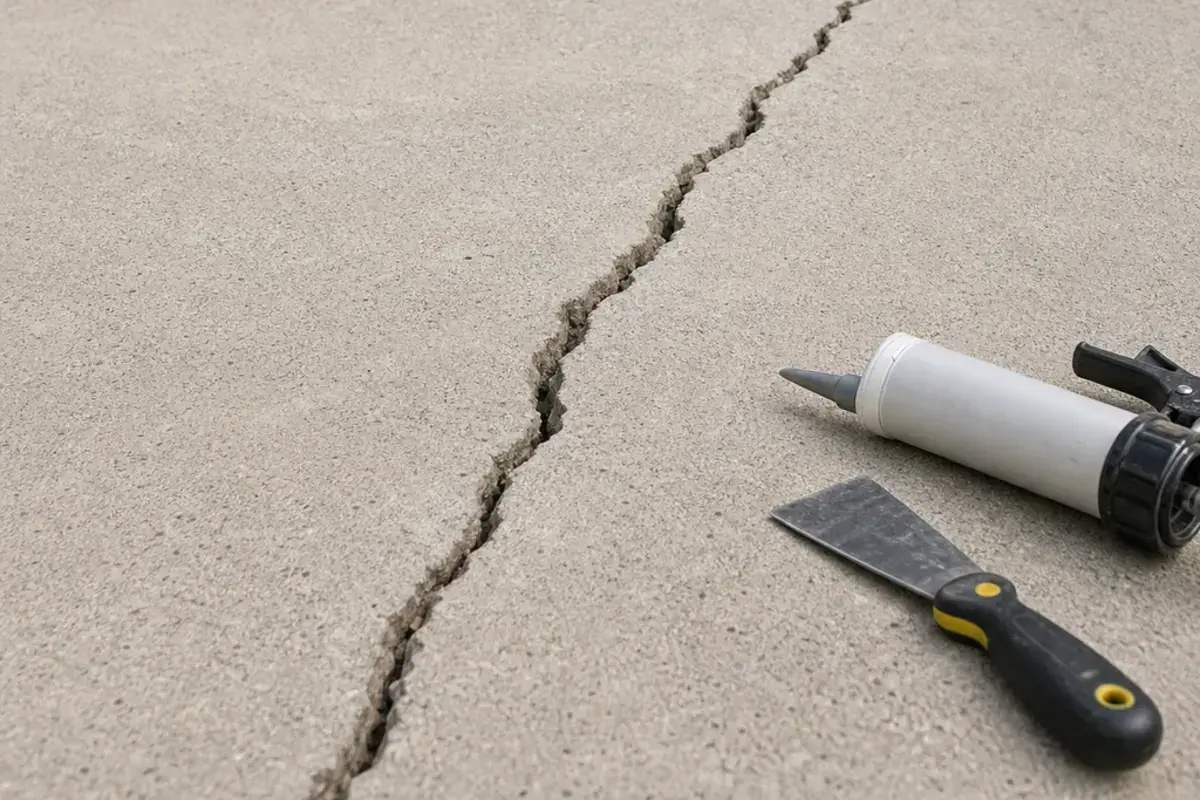
Helps when: Use for a narrow, dry, stable, non-structural basement slab crack after moisture and movement are ruled out.
Skip it when: Skip for wide, offset, wet, heaving, spreading, or structural cracks.
Compare concrete crack fillers on AmazonAs an Amazon Associate I earn from qualifying purchases. Repair Riot may earn a commission at no extra cost to you.
These help document the source and clean up small safe water.
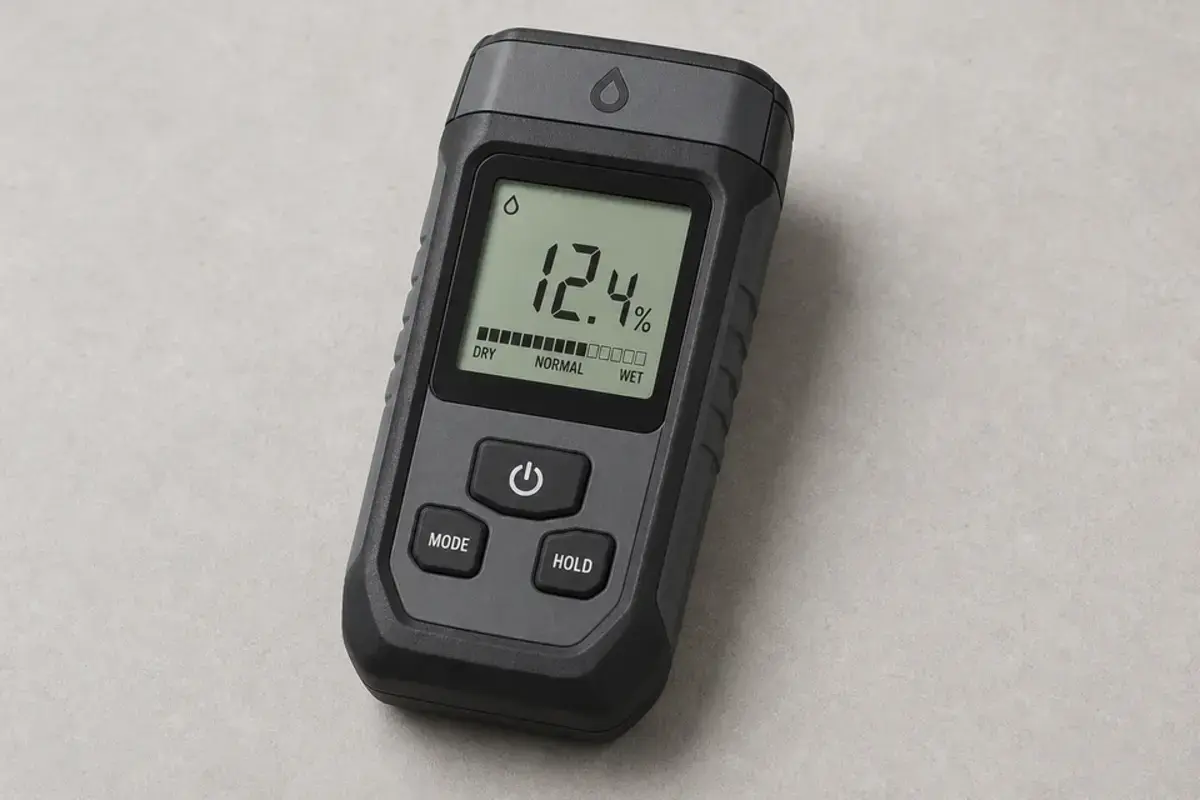
Helps when: Use to compare the wet area with nearby dry wall, floor, cove joint, or control area before patching.
Skip it when: Skip treating meter readings as proof by themselves; pair them with rain, thaw, humidity, and visible clues.
Compare pinless moisture meters on Amazon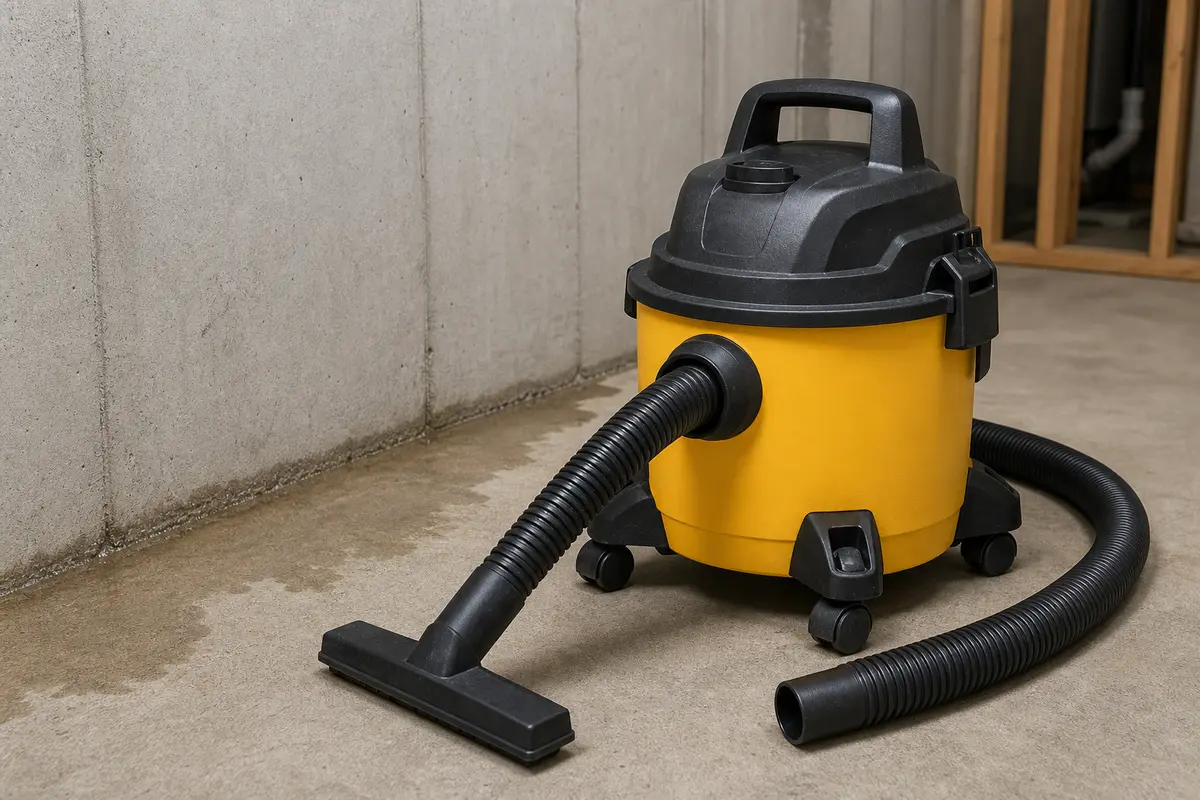
Helps when: Use for small clean-water pickup after the source slows, is contained, or has stopped.
Skip it when: Skip for sewage, unknown contaminated water, active electrical hazards, or water that keeps entering.
Compare wet/dry vacuums on Amazon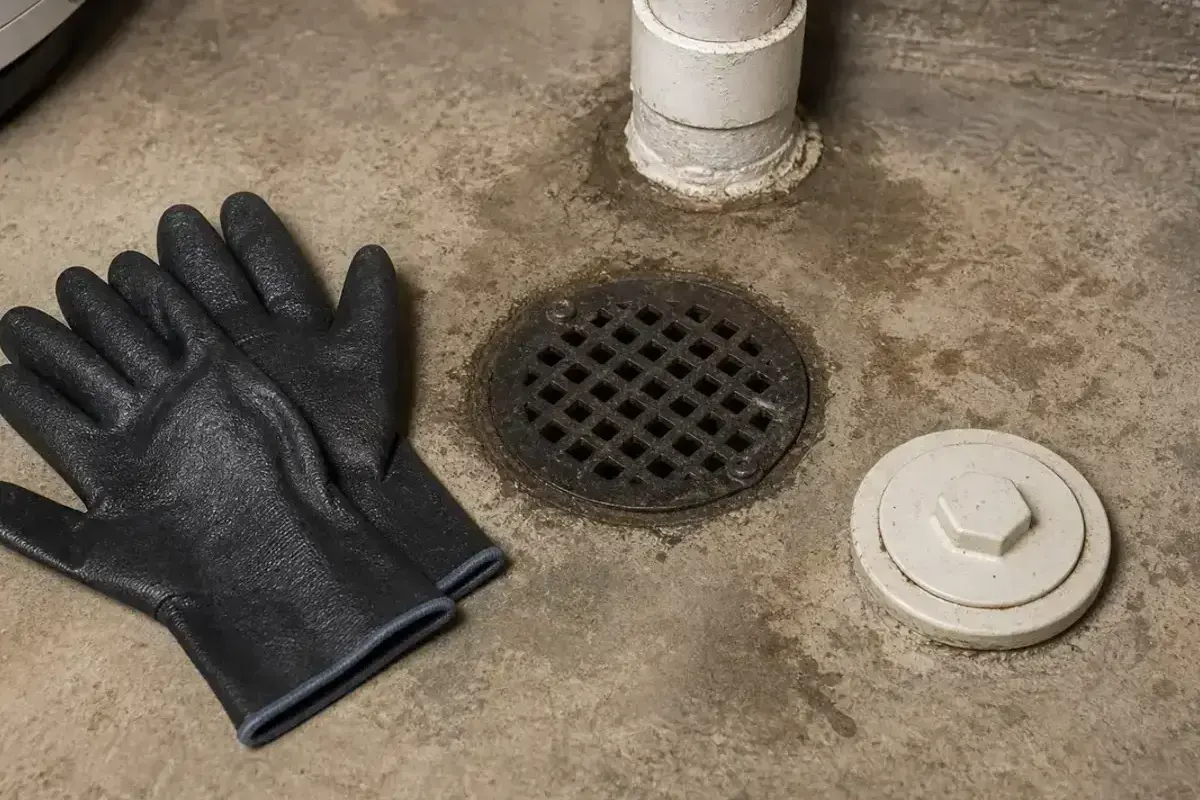
Helps when: Use when moving damp storage, wiping masonry, handling cleanup towels, or brushing dirty repair areas.
Skip it when: Skip hands-on cleanup for sewage, mold growth, sharp debris, or wet electrical components.
Compare waterproof work gloves on AmazonAs an Amazon Associate I earn from qualifying purchases. Repair Riot may earn a commission at no extra cost to you.
It may be seepage at the wall-floor joint, pressure under a slab crack, condensation, a drain issue, or a nearby plumbing leak. The first wet point separates those branches.
A small confirmed seep point may be patched after water pressure is reduced, but coating the whole floor first usually hides the source and fails.
Condensation usually appears as a broad slick film with high humidity and no clear entry point. True seepage follows a crack, seam, wall edge, or weather pattern.
No. Check moisture, offset, widening, and drainage first. A wet or moving crack is not ready for cosmetic filler.
Check gutter overflow, downspout discharge, soil slope, window wells, patios, walks, and any low spot aligned with the wet area.
Stop for water near electrical equipment, fast inflow, sewer odor, oily water, bowing walls, slab heave, or cracks that are widening.
Wait through the same kind of rain, thaw, or humidity pattern that triggered the leak. A dry clear day is not enough proof.
Only after it stays dry and stable through trigger weather. Covering it early hides the most useful diagnostic clue.
Repair Riot built this page around basement floor leak clues: first wet point, cove-joint timing, slab crack moisture, condensation lookalikes, and drainage-first repair sequencing.