Starts after weather?
Treat outside drainage as the first branch.
A wet joint between the basement slab and wall usually means water is collecting at the cove joint or moisture is condensing along a cold edge. Find the first wet point before sealing the seam.
If it appears after rain, thaw, or irrigation, outside drainage and water pressure are the first suspects. If it appears as a broad damp edge in humid weather, condensation is the lookalike.
Dry a short section, mark the first wet point, and match it to the exterior wall. The repair is different for cove seepage, condensation, and plumbing water.
Don’t start with: Do not start with caulk, waterproof paint, or a floor coating. Those hide the seam and do not reduce outside water pressure.
Treat outside drainage as the first branch.
Do not caulk; look for water pressure and drainage load.
Check humidity and slab temperature.
Patch only after pressure is reduced.
Rule out plumbing and backup before foundation work.
The seam shows where water exits, not always where the problem starts.
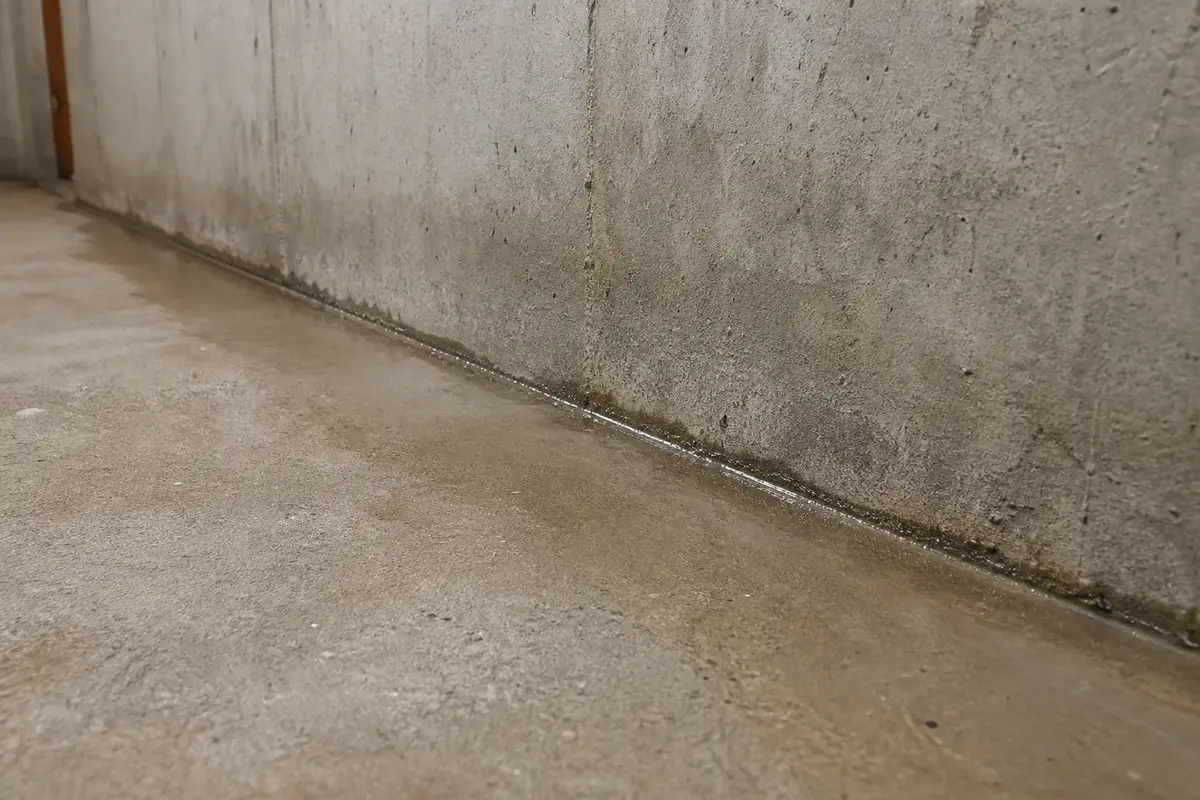
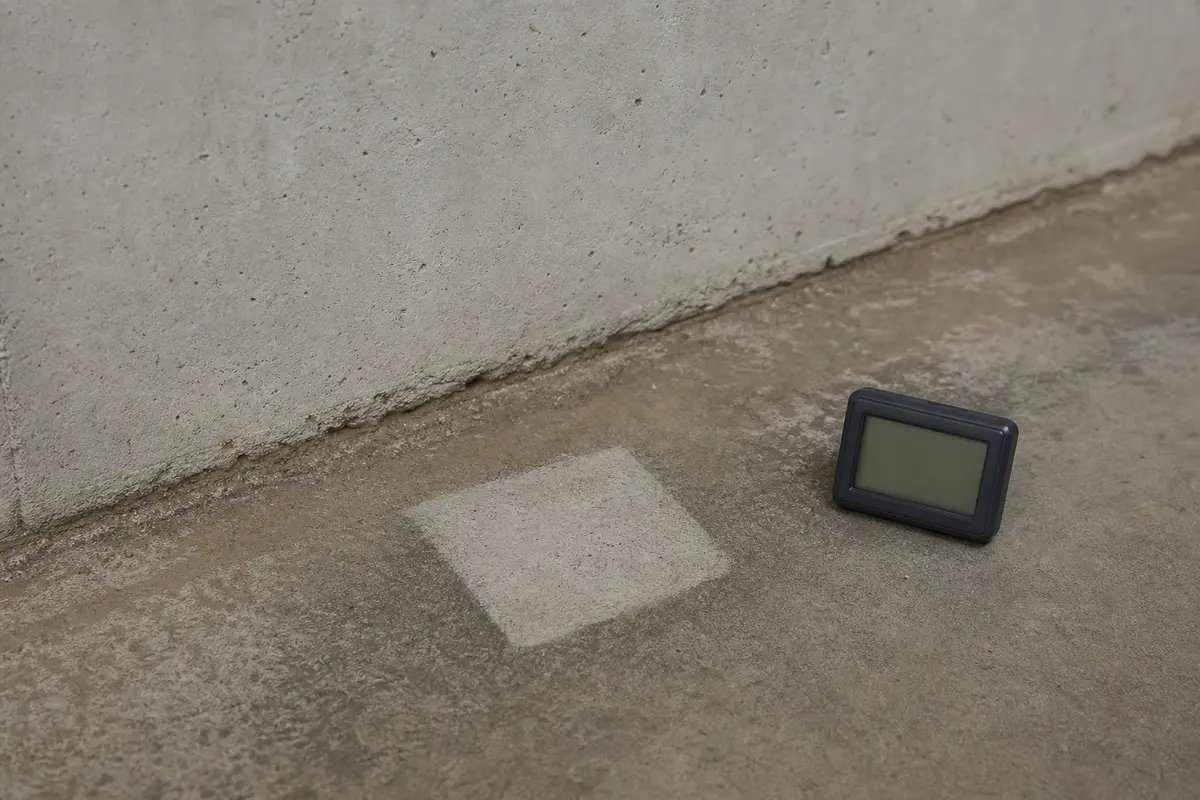
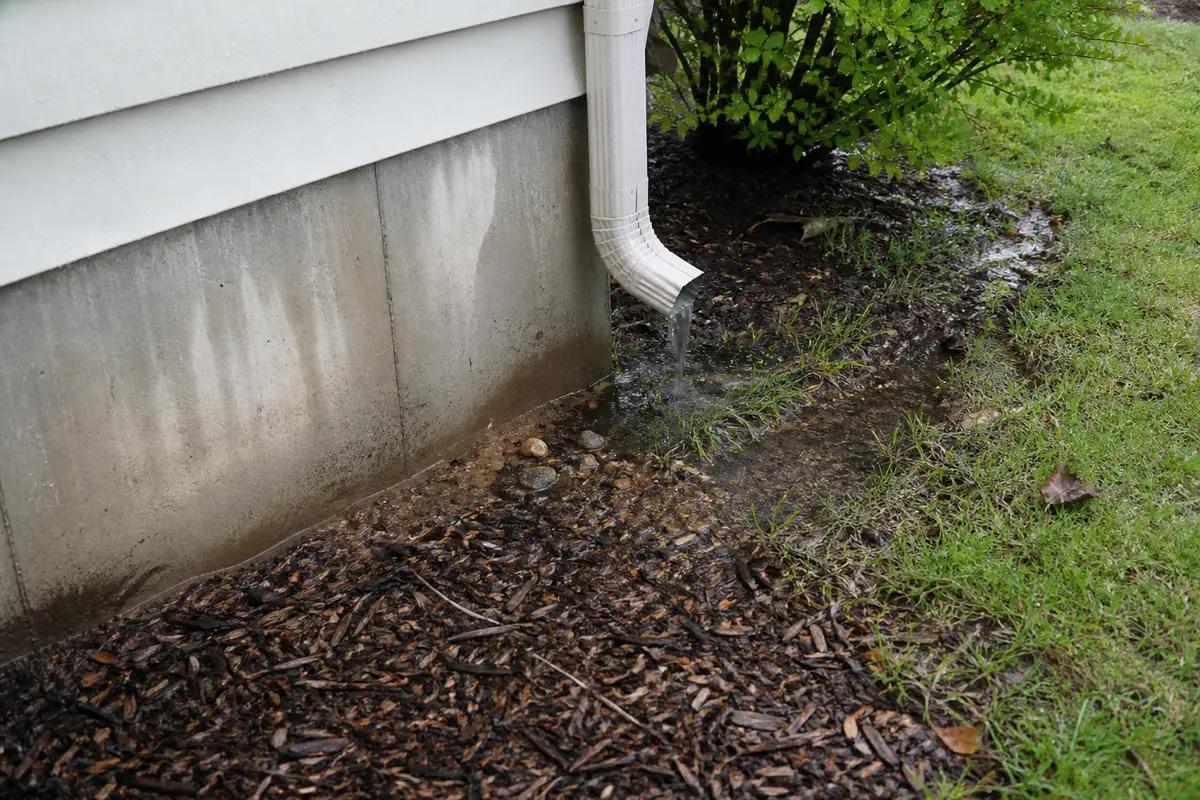
Match the exact diagnosis before shopping. Confirm first wet point, weather timing, humidity, outside drainage, electrical safety, and whether this is seepage, condensation, plumbing water, or dirty water.
A wet wall-floor line is usually caused by cove-joint seepage after rain or by condensation collecting at the coldest edge.
Covering the seam is tempting, but it usually hides the source.
Use timing and pattern before materials.
| Pattern | Usually means | Next move |
|---|---|---|
| After rain or thaw | Outside pressure at cove joint | Correct drainage first |
| No weather trigger, broad damp edge | Condensation lookalike | Control humidity and retest |
| One small seep point | Localized path | Patch only after pressure is reduced |
| Long perimeter line | Ongoing water load | Escalate drainage or waterproofing evaluation |
Cove-joint repairs start outside and finish inside only when the path is proven.
Use these only after identifying whether the first wet point is drainage-related seepage or surface condensation.
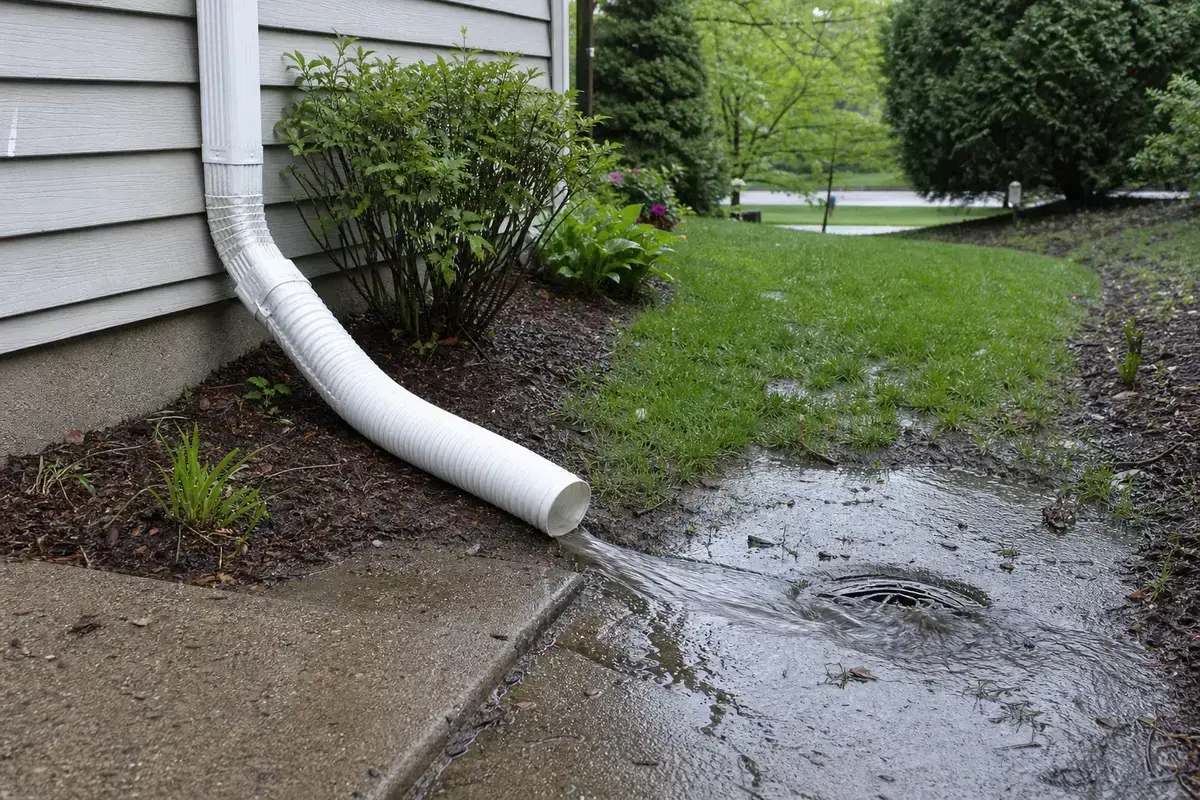
Helps when: Use a downspout extension when the wet slab-wall joint lines up with roof runoff dumping beside the foundation.
Skip it when: Skip interior sealing first if exterior water is still collecting against that wall.
Compare downspout extensions on Amazon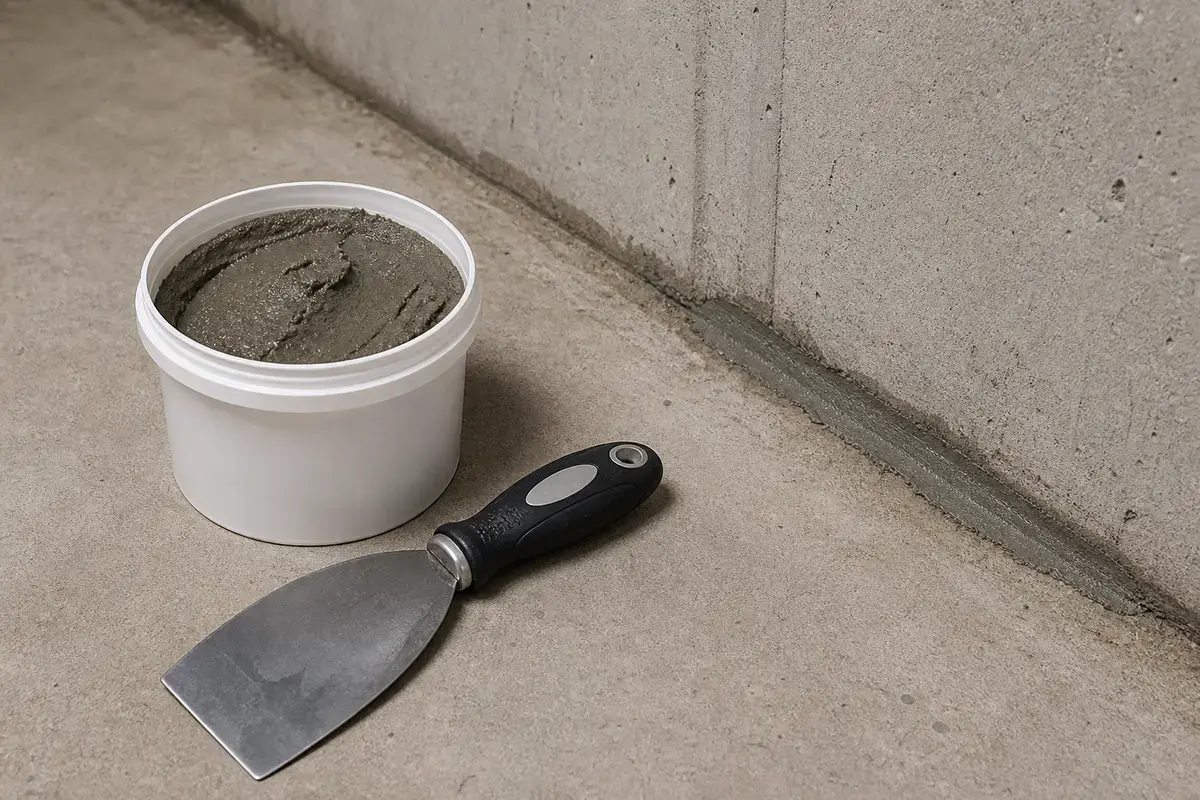
Helps when: Use hydraulic cement only for small, appropriate masonry gaps after the source and pressure pattern are understood.
Skip it when: Skip patching active cove-joint seepage, moving cracks, or broad drainage failures without a fuller fix.
Compare hydraulic cement water-stop products on AmazonAs an Amazon Associate I earn from qualifying purchases. Repair Riot may earn a commission at no extra cost to you.
Use these tools to confirm the first wet point and clean up safely before any sealing decision.
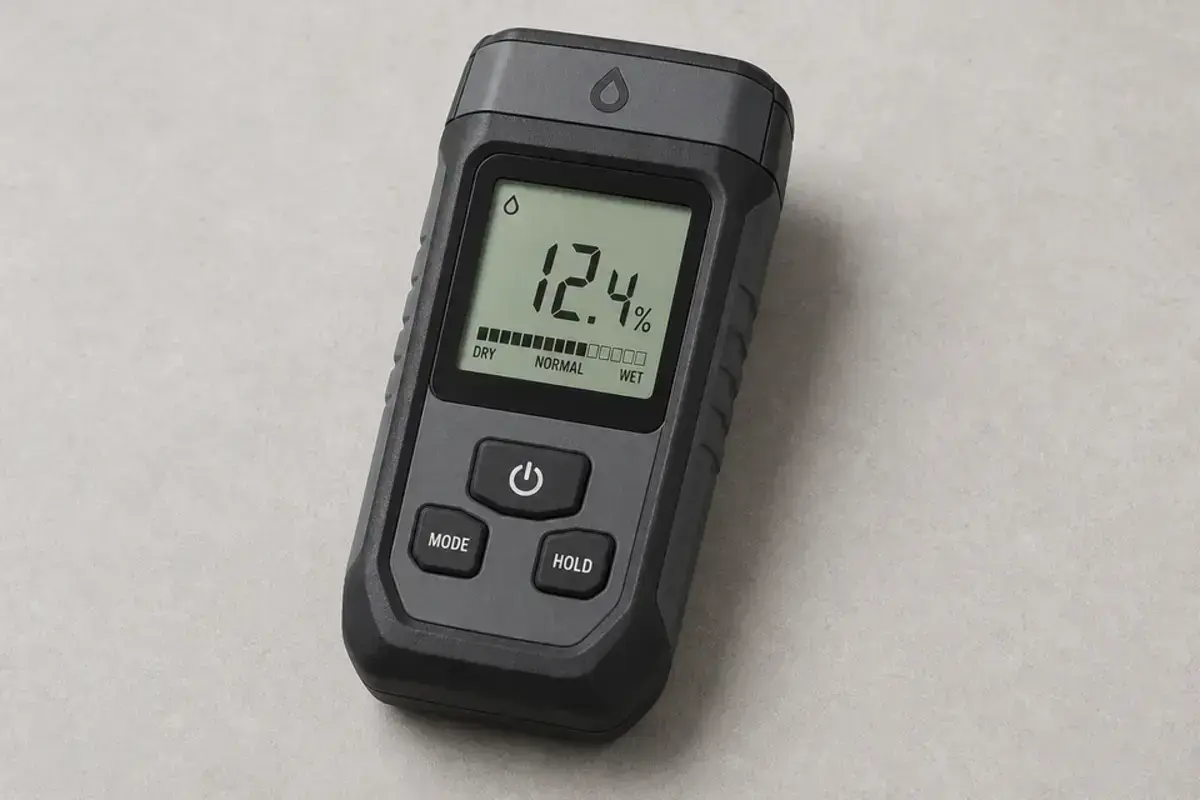
Helps when: Use a pinless moisture meter to map dampness along the slab edge and compare it with nearby wall readings.
Skip it when: Skip one-spot readings; cove-joint seepage often spreads sideways along the slab edge.
Compare pinless moisture meters on Amazon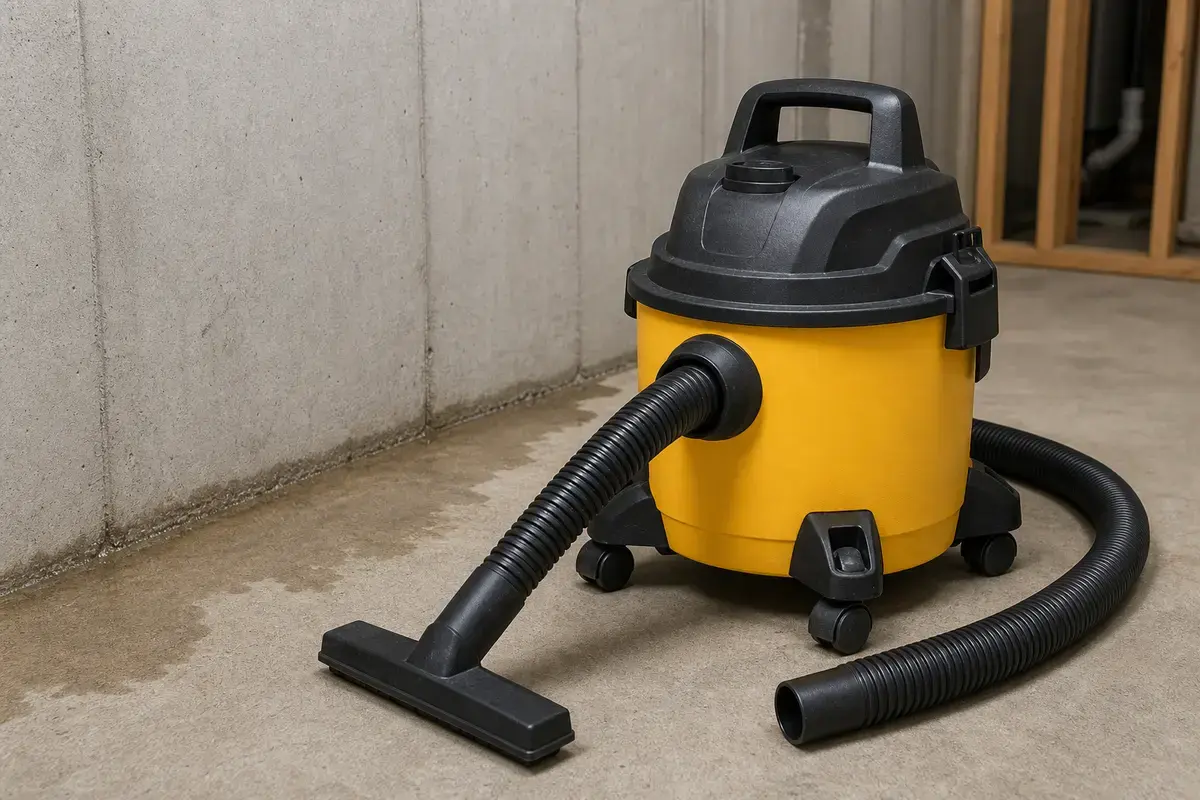
Helps when: Use a wet/dry vacuum for small cleanups once the area is safe and the water is not contaminated.
Skip it when: Skip vacuuming if water may involve sewage, fuel, electrical hazards, or unknown contamination.
Compare wet/dry vacuums on Amazon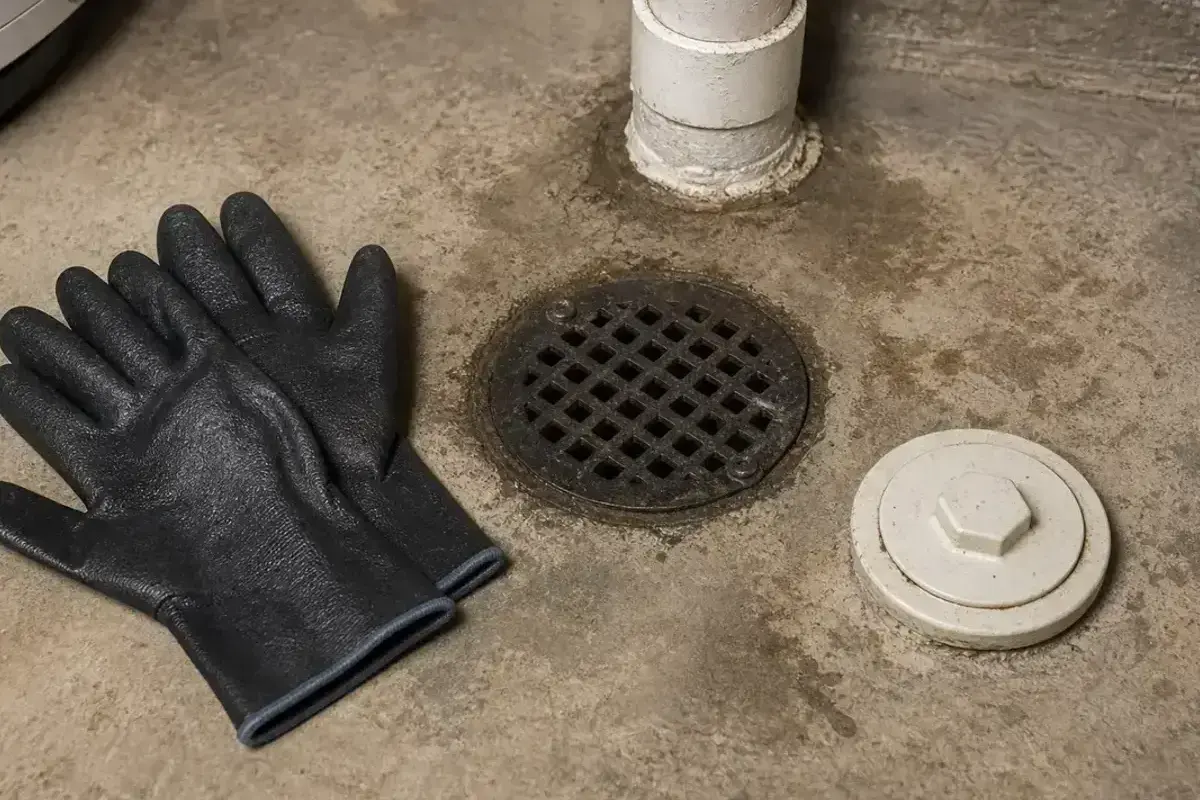
Helps when: Use waterproof work gloves when handling damp towels, debris, or masonry patch materials near the joint.
Skip it when: Skip bare-handed cleanup around standing water, sharp debris, or suspect contamination.
Compare waterproof work gloves on AmazonAs an Amazon Associate I earn from qualifying purchases. Repair Riot may earn a commission at no extra cost to you.
It may be cove-joint seepage from outside pressure, condensation on a cold edge, plumbing water, or drain backup. Timing and first wet point separate them.
Caulk is not a reliable fix for water pressure. It can hide the path and move water elsewhere.
It is the seam where the basement floor slab meets the foundation wall. Water often exits there when outside pressure rises.
Check humidity, dry a test patch, and look for a broad surface film with no first wet point.
Downspouts, gutters, grading, patios, walks, window wells, irrigation, and any low spot aligned with the wet seam.
Stop for water near electricity, long perimeter seepage under pressure, wall movement, sewer odor, oily residue, or repeated water after drainage corrections.
Only for a small confirmed seep point after pressure is reduced. It is not a whole-perimeter solution.
The marked seam should stay dry through the same rain, thaw, or humidity conditions that caused the wet line.
Repair Riot built this page around slab-wall joint clues: cove-joint timing, condensation lookalikes, first wet point, exterior drainage, and pressure-first repair order.