Does it show up only after rain or snowmelt?
Start outside. Check gutters, downspouts, soil slope, hardscape, and window wells before patching the wall.
A leaking basement wall usually starts with water delivery, not the paint or block surface. First check drainage, window wells, cracks, the wall-floor joint, and condensation timing before sealing inside.
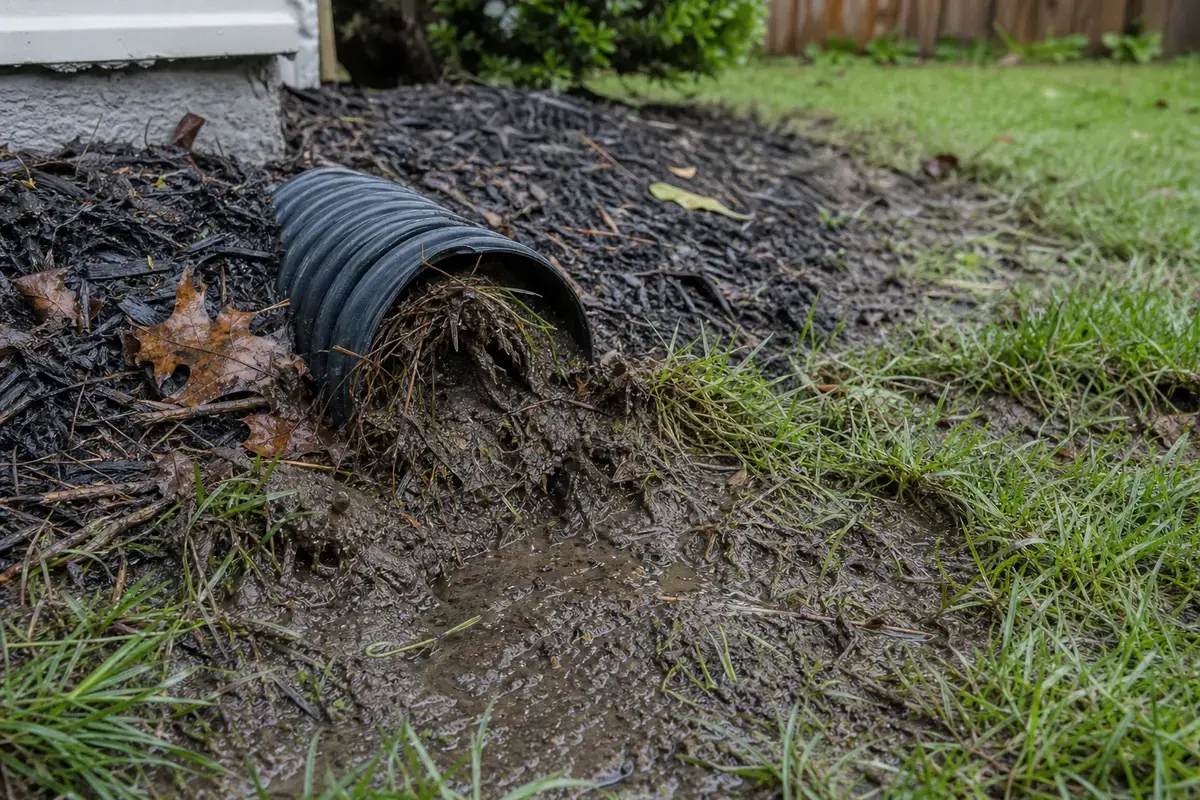
Most rain-tied leaks come from water delivered to the foundation. Check overflowing gutters, short downspouts, soil pitched toward the house, and window wells that hold water.
Good clue: rain-timed wet lines point outside; dry-weather beads point to humidity or plumbing lookalikes.
Don’t start with: Do not start with interior waterproof paint, broad caulk, or hydraulic cement. Those can hide the path and trap moisture if outside water is still pushing against the wall.
Start outside. Check gutters, downspouts, soil slope, hardscape, and window wells before patching the wall.
Treat condensation, plumbing, hose bibs, condensate lines, or appliance leaks as the first suspects.
Mark the crack ends and width. A narrow stable crack is different from a widening, horizontal, bowed, or offset wall crack.
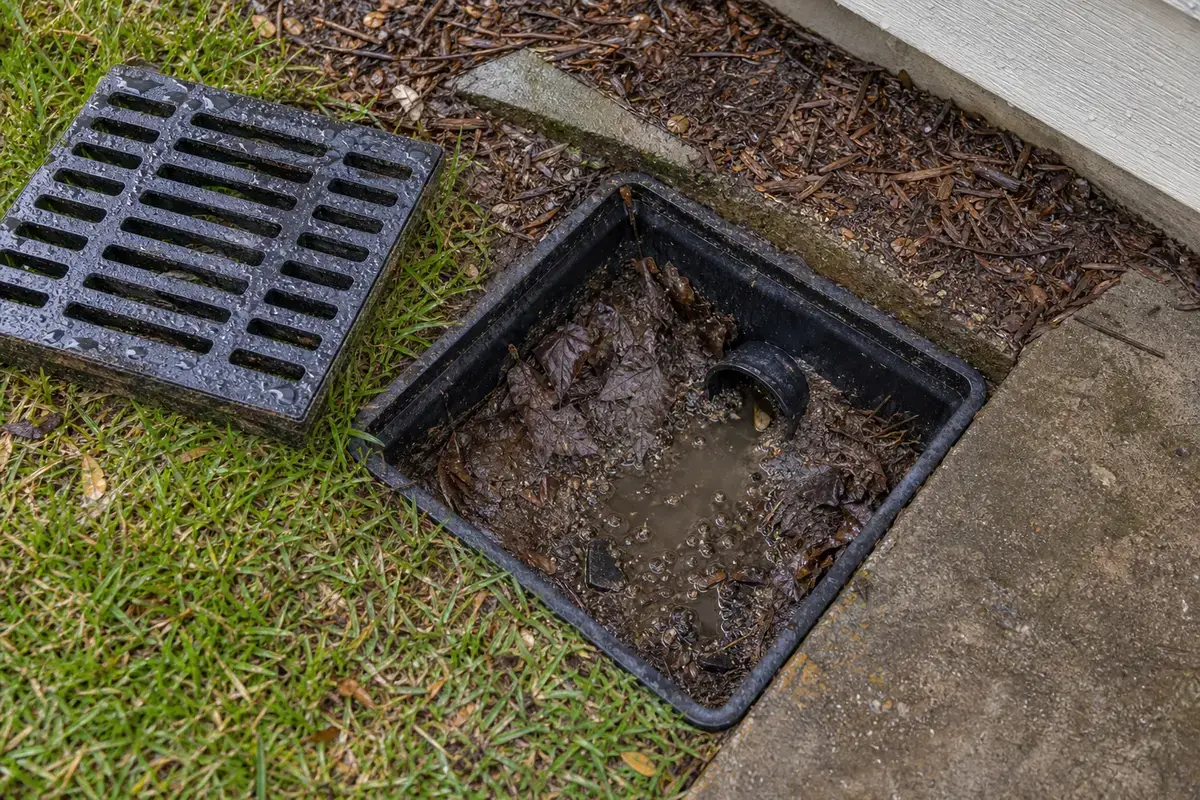
Check the window well for debris, standing water, rust stains, missing cover, or a blocked drain.
Look for outside water building against the foundation or footing-drain limits. Interior coating alone will not fix pressure.
Stop cleanup and get professional help. The next step is water control and safe access, not a cosmetic patch.
A basement wall leak makes more sense when you compare the indoor stain with the outdoor water path. The first wet line, window well, downspout, and ground slope matter more than the final puddle.
Match exact wet pattern before buying. Add a downspout extension after runoff wets soil. Use a dehumidifier when taped plastic shows room-side droplets. Save crack material for a rain-tested crack.
A basement wall leak usually starts with the water path, not the paint or block surface.
Most bad basement leak repairs start by hiding the symptom before the source is known.
Use this map after the area is dry enough to inspect. The best clue is when the wall gets wet and where the first wet line starts.
| What you see | Likely meaning | Next move |
|---|---|---|
| Wet only after rain | Exterior water path | Check gutters, downspouts, grading, hardscape, window wells, and foundation-side ponding. |
| Broad dampness in humid weather | Condensation on cool surfaces | Use the plastic or foil test and check basement humidity before sealing the wall. |
| Wet line follows one crack | Localized seepage or crack movement | Mark the crack, watch whether it changes, and stop if it is wide, offset, horizontal, or growing. |
| Wet below a basement window | Window frame, sill, or well problem | Clear the well, check for standing water, and look for stains below corners. |
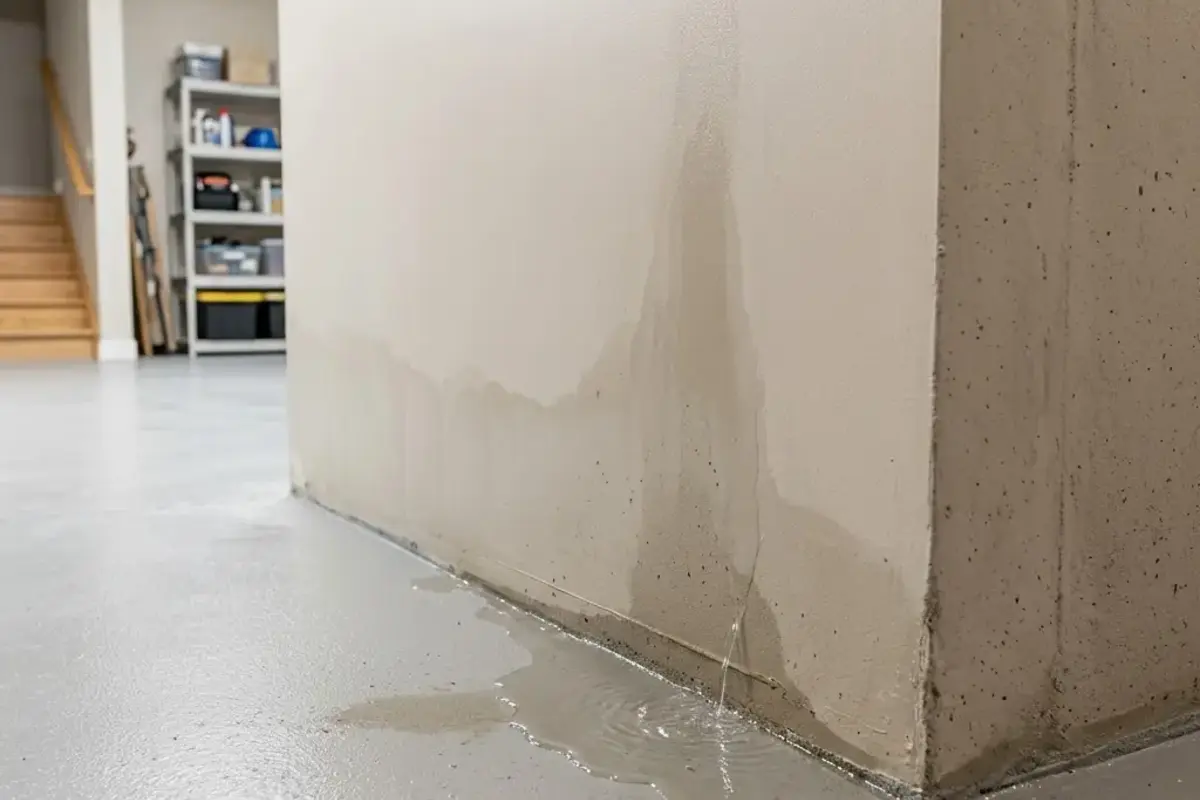
| Water appears at the wall-floor joint | Outside water pressure or footing-drain limit | Reduce water near the foundation first; interior coating alone is not the repair. |
If the wall leaks after rain, start above and outside the wet area. The common clue is water being dumped where the foundation cannot shed it.
A cool basement wall can look like it is leaking when humid air is the source. Plumbing nearby can do the same thing.
The first entry point matters more than the lowest puddle. Work upward from the wet area with a flashlight.
Use this only when the rain check shows roof water dumping beside the leaking wall.
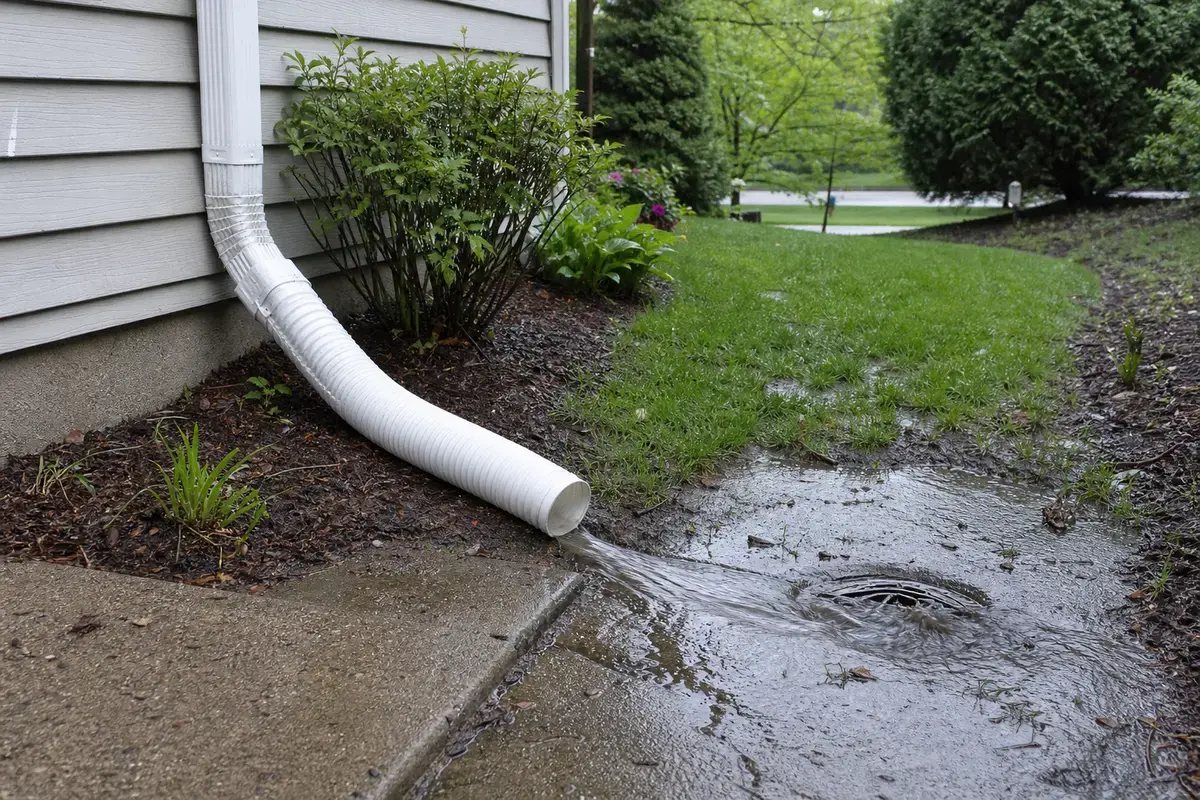
Helps when: Use a downspout extension when roof runoff lands beside the wall section that leaks after rain.
Skip it when: Skip it as the only fix if the leak follows a crack, window well, plumbing line, or condensation pattern.
Compare downspout extensions on AmazonAs an Amazon Associate I earn from qualifying purchases. Repair Riot may earn a commission at no extra cost to you.
Use these tools to map the wet line, rule out humidity, and test exterior water paths carefully.
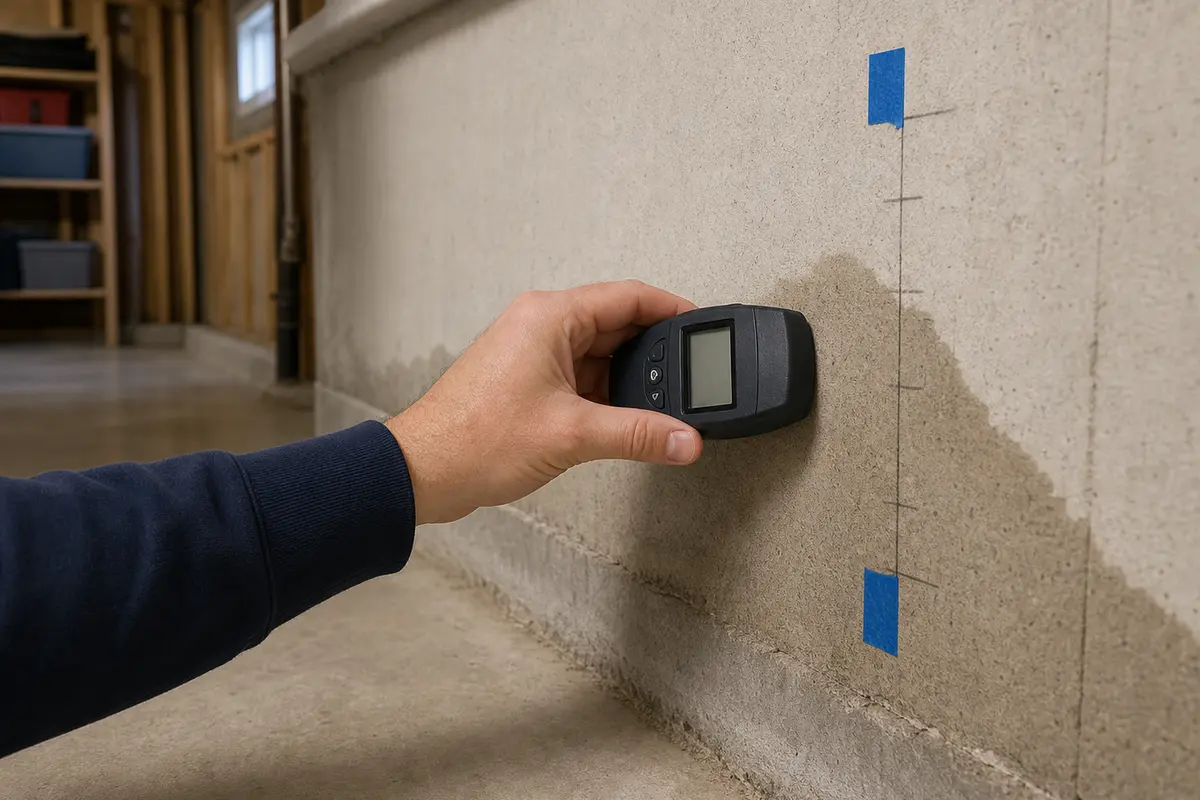
Helps when: Use a pinless moisture meter to compare wet wall areas, the cove joint, and dry control spots.
Skip it when: Skip one reading because wall leaks can travel before they show as a puddle.
Compare pinless moisture meters on Amazon
Helps when: Use a basement dehumidifier only when humidity and surface beads explain the wet wall.
Skip it when: Skip relying on a dehumidifier if water starts at a crack, window well, or wall-floor joint.
Compare basement dehumidifiers on Amazon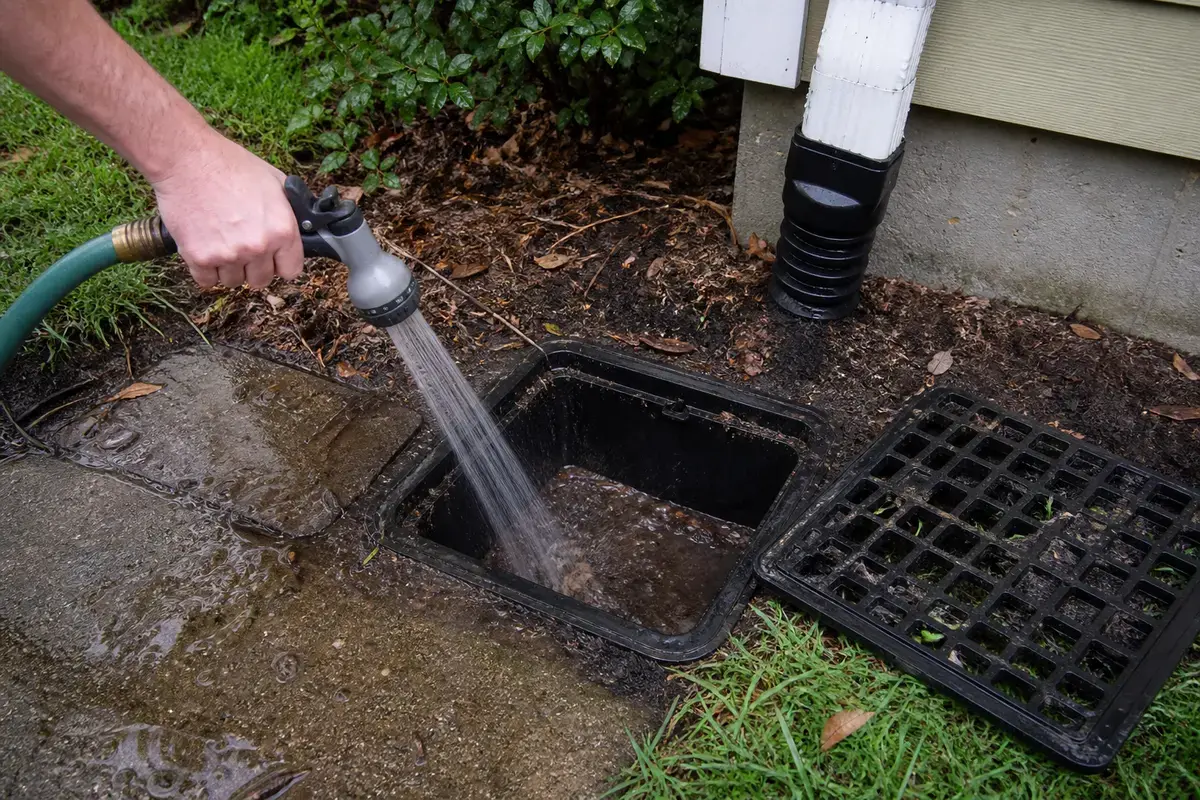
Helps when: Use a garden hose test nozzle only for a controlled exterior test when the wall is safe and dry enough to observe.
Skip it when: Skip hose testing if water is active, the area has electrical hazards, or you cannot keep water away from openings.
Compare garden hose spray nozzles on AmazonAs an Amazon Associate I earn from qualifying purchases. Repair Riot may earn a commission at no extra cost to you.
No. Many basement leaks are caused by water being directed toward the foundation from gutters, downspouts, grading, hardscape, or a window well. The wall may simply be where that water shows up.
Broad dampness on humid days usually means condensation, not one wet crack or a floor joint trail. Dry a 12-inch wall spot, tape clear plastic over it for 24 hours, then inspect both sides. Room-side beads point to indoor humidity; wet concrete behind the plastic points to wall seepage.
Usually no. Interior coating and caulk can hide the path without reducing the outside water pressure causing the leak. Correct drainage and confirm the entry point before using a localized repair.
Water at the wall-floor joint often means outside water is building near the foundation and finding the easiest path. Check downspout discharge, soil slope, and nearby low spots first; persistent joint seepage can point to footing-drain or subsurface drainage limits.
A dehumidifier helps with condensation and drying. It does not fix rainwater entering through a crack, window well, or wall-floor joint. Use it after the water source is controlled.
Wait until the area stays dry through at least one similar rain event. If the wall was finished or moldy material was present, make sure hidden materials are dry and safe before closing anything.
Only sometimes. It may belong on a small, stable masonry leak after the exterior water path is controlled. It is not the right first move for moving cracks, broad dampness, or active water pressure.
Call if the wall is bowed, cracked horizontally, offset, or widening. Also call for heavy water entry, unclear sources, sticking doors, sloped floors, or growing gaps.
This page follows visible basement moisture clues: rain timing, first wet line, crack pattern, window wells, wall-floor seepage, condensation, plumbing, and exterior water delivery. Mark the wet edge with tape, dry the wall, and stop for qualified help when material is contaminated or cleanup is larger than a homeowner can safely handle.