Smells like fuel?
Stop DIY and call service.
Treat any liquid near an oil tank as a safety sort first. Check for fuel smell, oily sheen, wet fittings, or oil-line drips; if it is clear water, trace rain seepage, cove-joint moisture, or tank condensation.
If the liquid is clear and appears after rain or thaw, the common path is foundation seepage near the wall-floor joint behind or beside the tank. If droplets form on the tank in humid weather, condensation is the lookalike.
Good clue: clear water after rain belongs to the foundation path. Oily sheen or fuel odor means stop DIY and arrange service.
Don’t start with: Do not start by vacuuming, patching, or moving anything around the tank. Identify the liquid and keep tank/line safety ahead of normal basement-water repair.
Stop DIY and call service.
Do not vacuum; isolate and escalate.
Check condensation and humidity.
Trace cove-joint seepage and drainage.
Inspect the matching outside wall and downspout.
The area needs a source check before cleanup tools or patches come out.
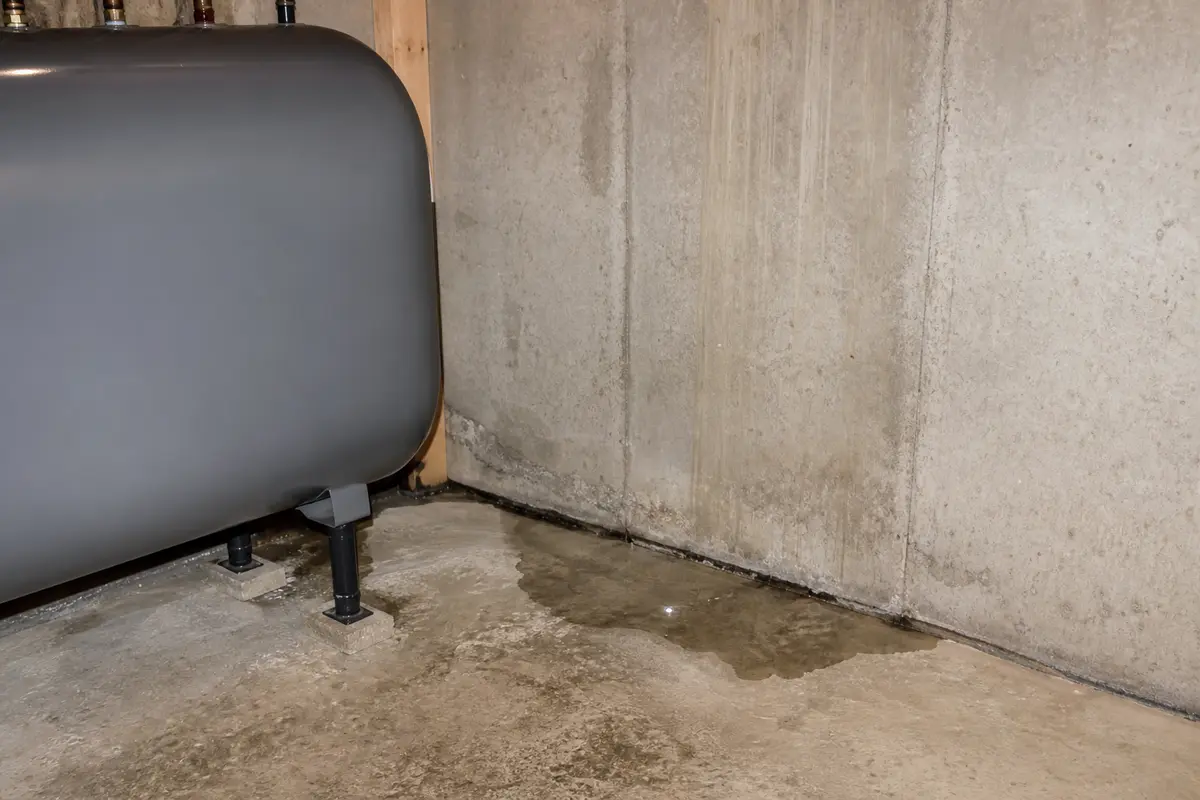
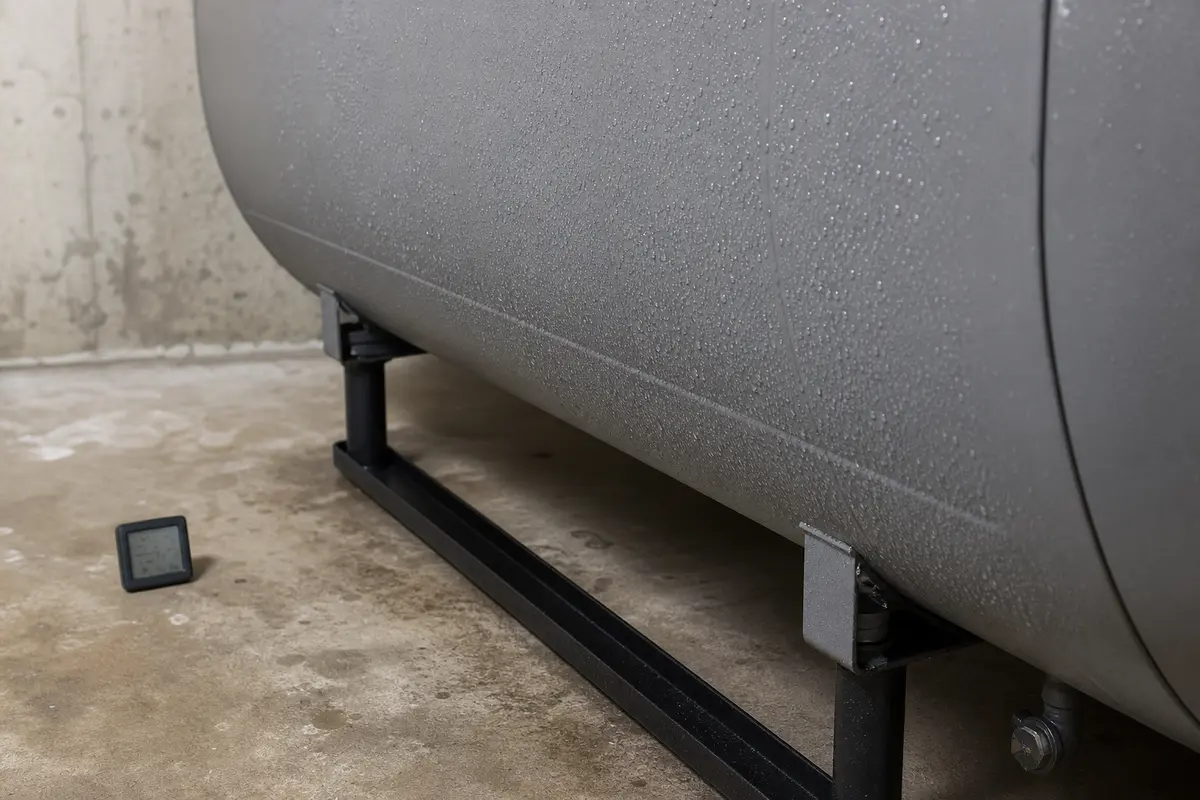
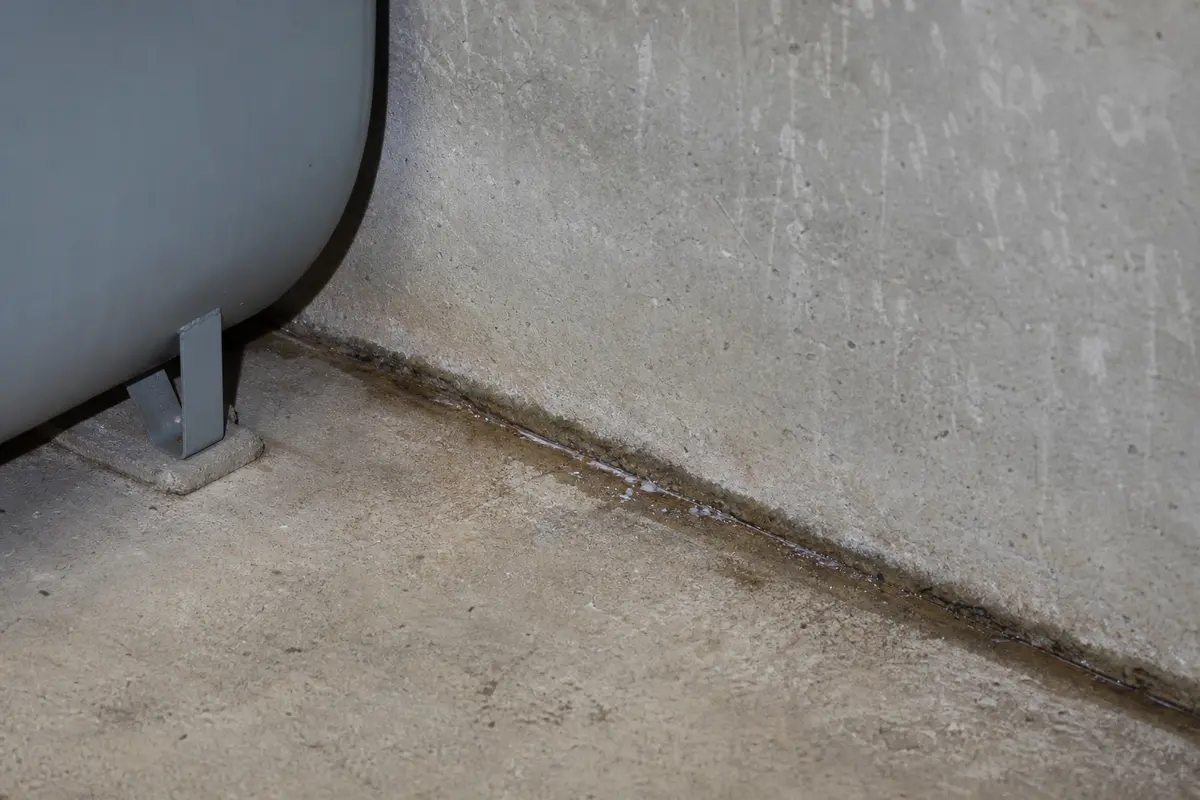
Match the exact diagnosis before shopping. Confirm the liquid is not fuel, identify the first wet point, check humidity and weather timing, and avoid any cleanup method that could spread hazardous liquid.
Near an oil tank, the first question is whether you are dealing with water, condensation, or fuel.
This area needs more caution than an ordinary wet floor.
Separate tank-related risk from ordinary basement water.
| Finding | Likely branch | Next move |
|---|---|---|
| Fuel smell or sheen | Possible oil-system issue | Stop DIY and call service |
| Clear water at wall-floor seam | Cove-joint seepage | Check outside drainage |
| Droplets on cold tank | Condensation | Control humidity and retest |
| Wet after rain or thaw | Foundation water load | Trace exterior runoff |
Only treat this as a foundation repair after fuel risk is ruled out.
Use these only after the liquid is confirmed as water and the oil-system area is safe to work around.
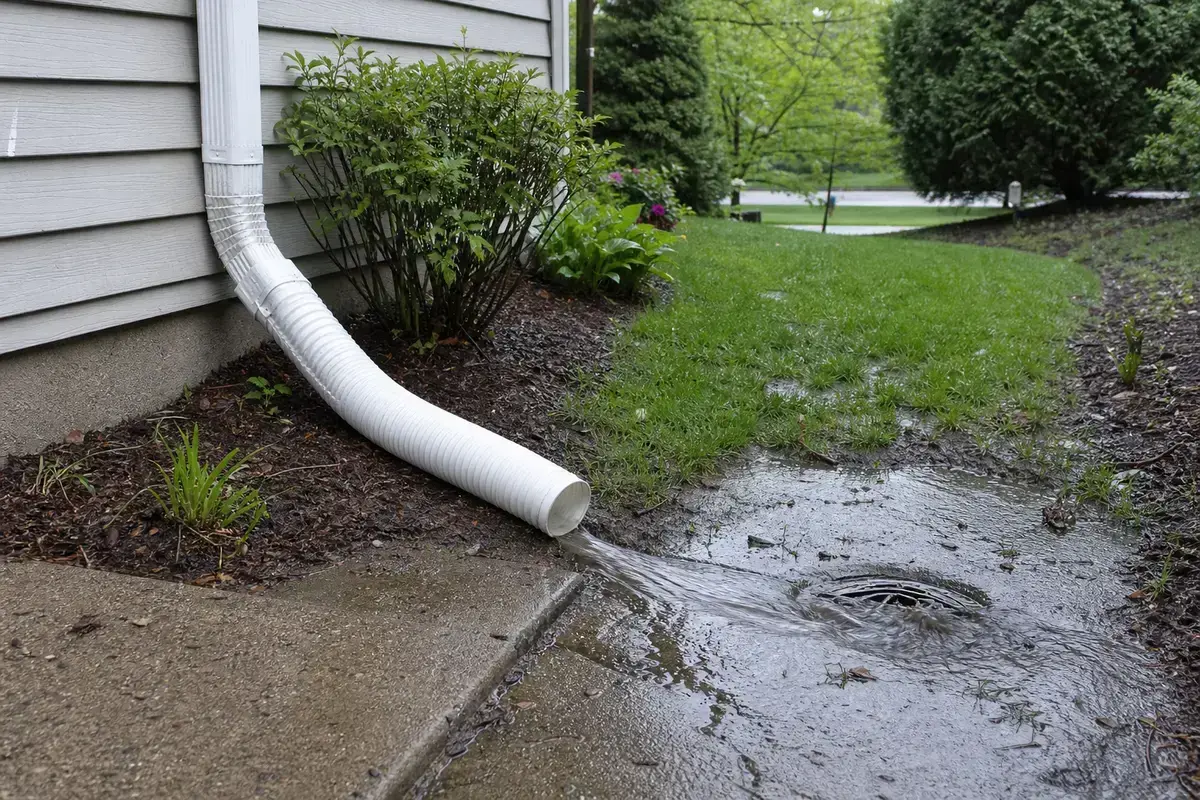
Helps when: Use a downspout extension when clear water near the oil tank lines up with roof runoff beside the same foundation wall.
Skip it when: Skip interior patching first if exterior runoff is still reaching the foundation behind the tank.
Compare downspout extensions on Amazon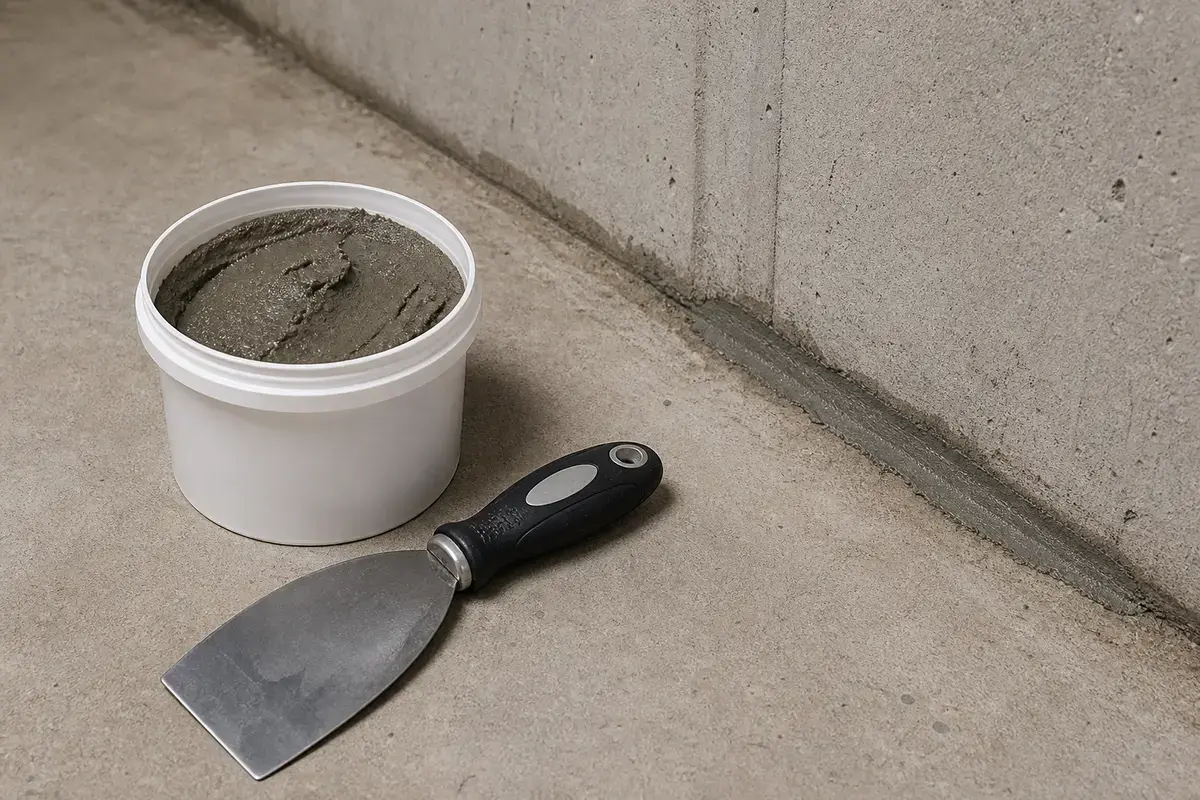
Helps when: Use hydraulic cement only for a small confirmed masonry seep point after outside water pressure is reduced.
Skip it when: Skip patching near fuel odor, moving cracks, broad cove-joint seepage, or any uncertain oil-system condition.
Compare hydraulic cement water-stop products on AmazonAs an Amazon Associate I earn from qualifying purchases. Repair Riot may earn a commission at no extra cost to you.
Use these tools to identify the liquid safely before touching cleanup or masonry repair.
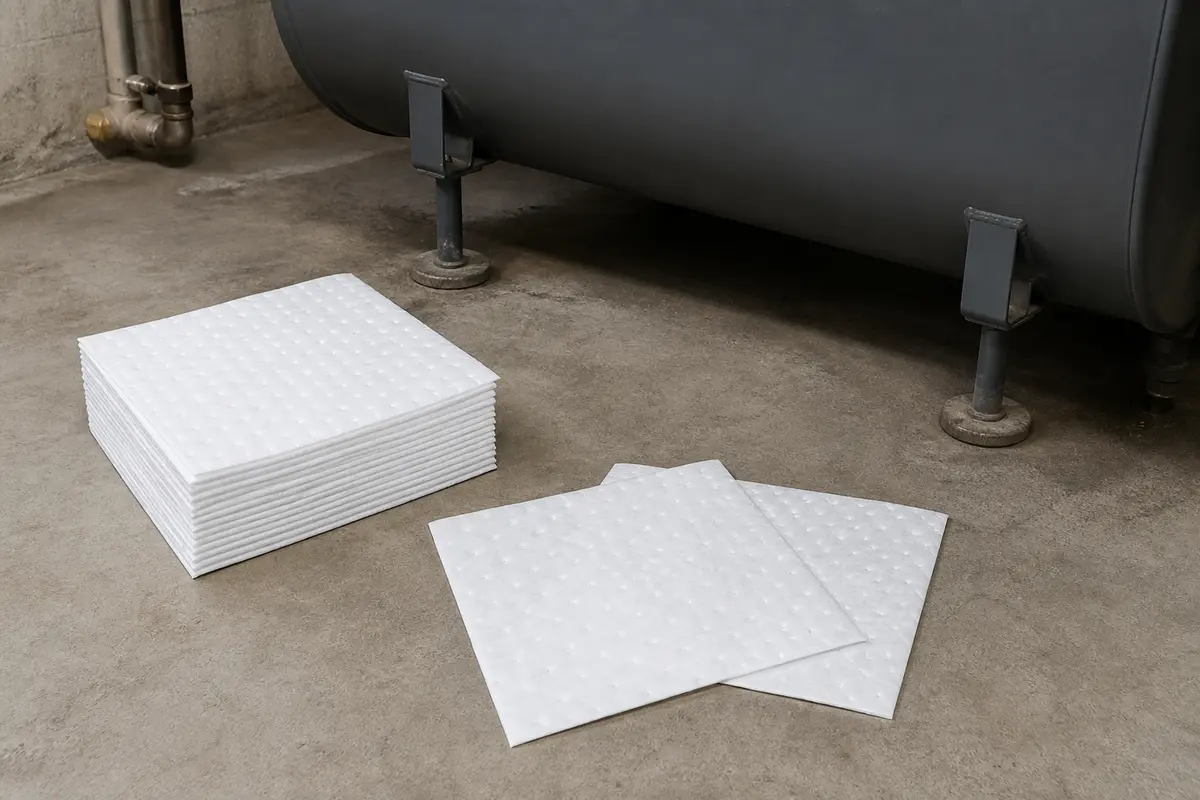
Helps when: Use oil-only absorbent pads to isolate a small suspicious sheen while you stop work and arrange fuel-system service.
Skip it when: Skip treating absorbent pads as a repair; they are only for containment and identification of a possible oil issue.
Compare oil-only absorbent pads on Amazon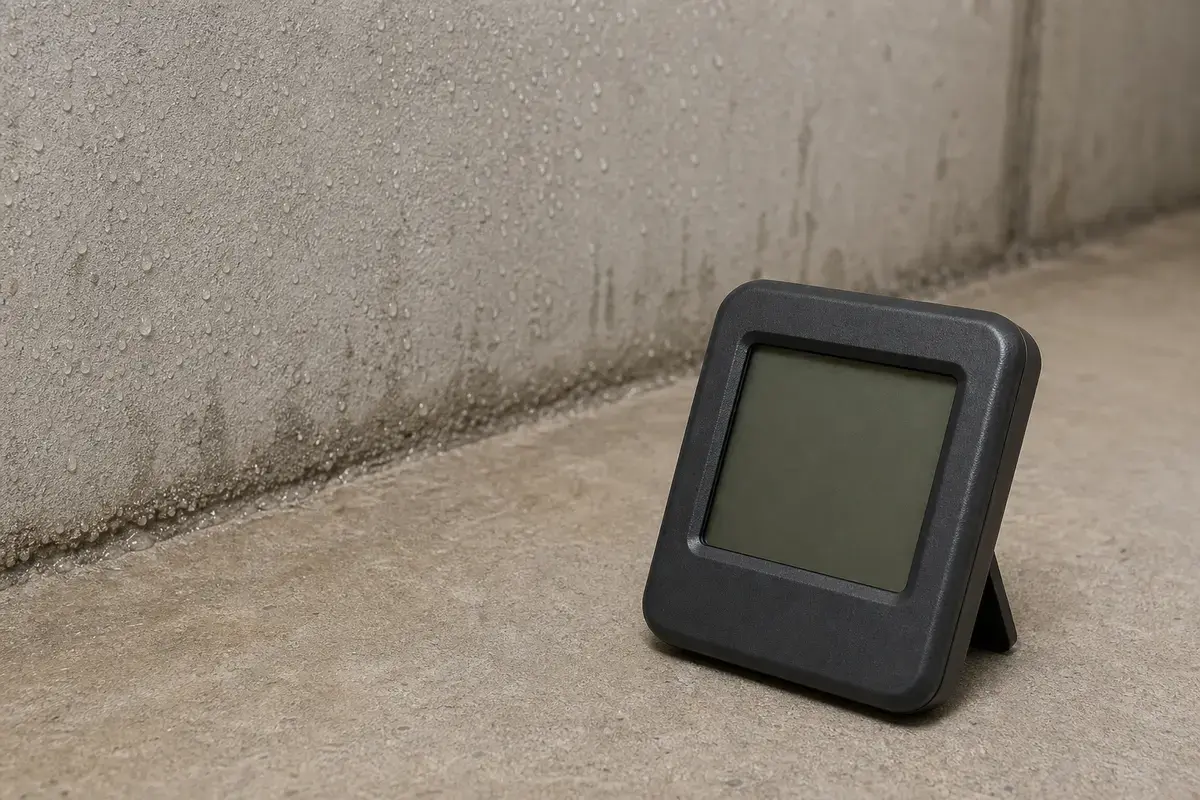
Helps when: Use a digital hygrometer when droplets form on the tank and condensation is a possible lookalike.
Skip it when: Skip calling it condensation until the liquid is clear, odorless, and tied to high humidity.
Compare digital hygrometers on Amazon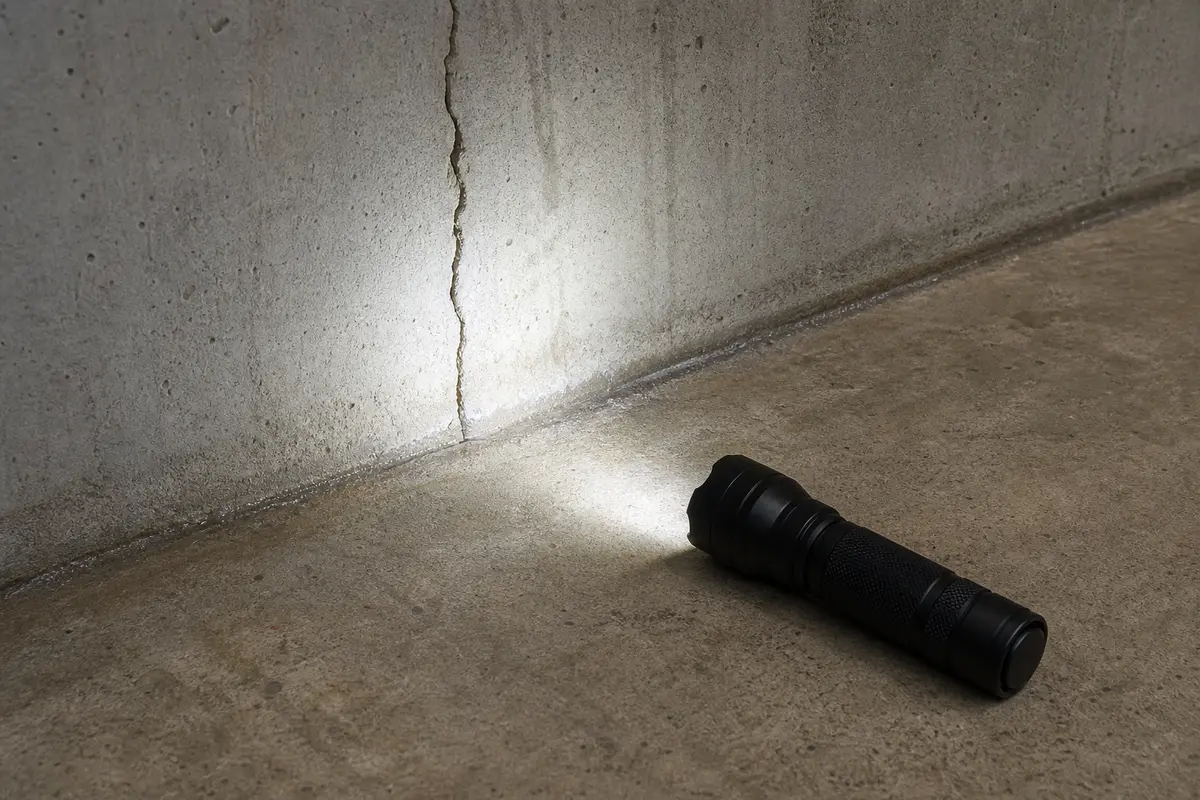
Helps when: Use an inspection flashlight to check behind the tank area for the first wet point without moving the tank.
Skip it when: Skip close inspection if there is fuel odor, electrical risk, unstable footing, or standing water around equipment.
Compare inspection flashlights on Amazon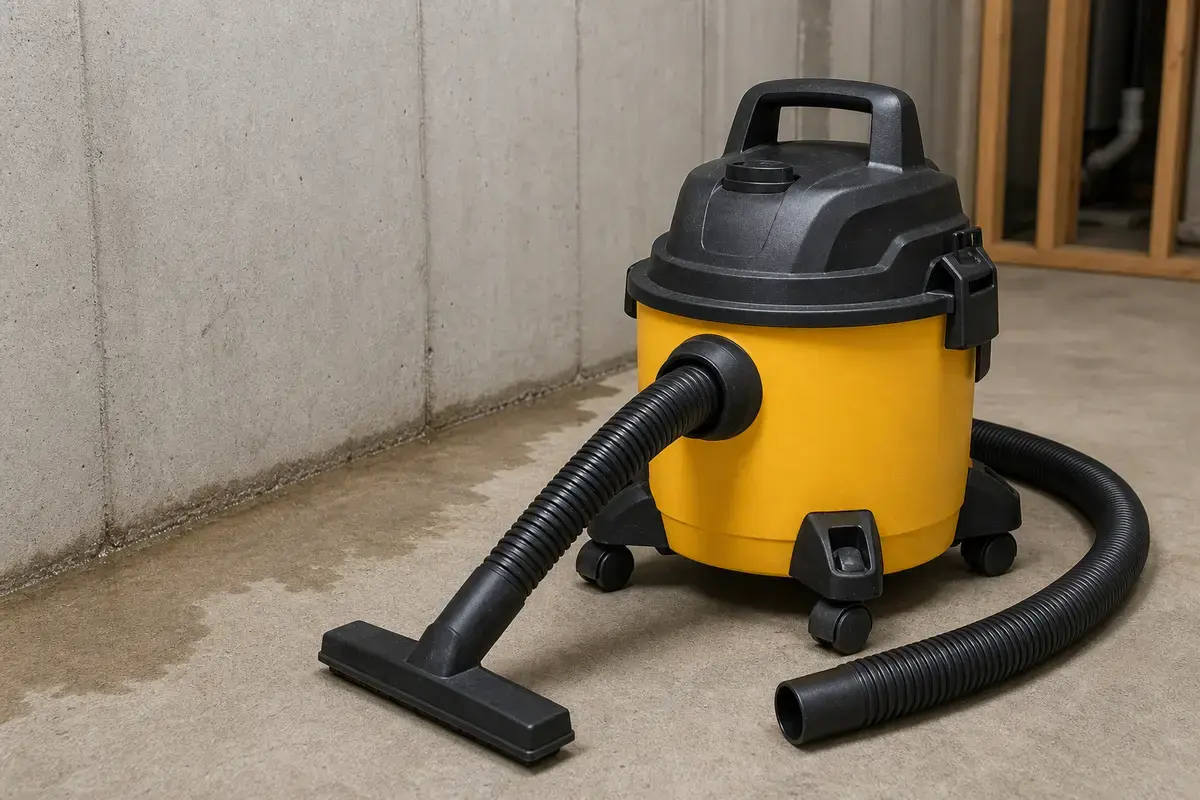
Helps when: Use a wet/dry vacuum only for small confirmed clean-water pickup after the source slows and the area is safe.
Skip it when: Skip vacuuming any liquid with fuel smell, sheen, sewage risk, electrical hazards, or unknown contamination.
Compare wet/dry vacuums on Amazon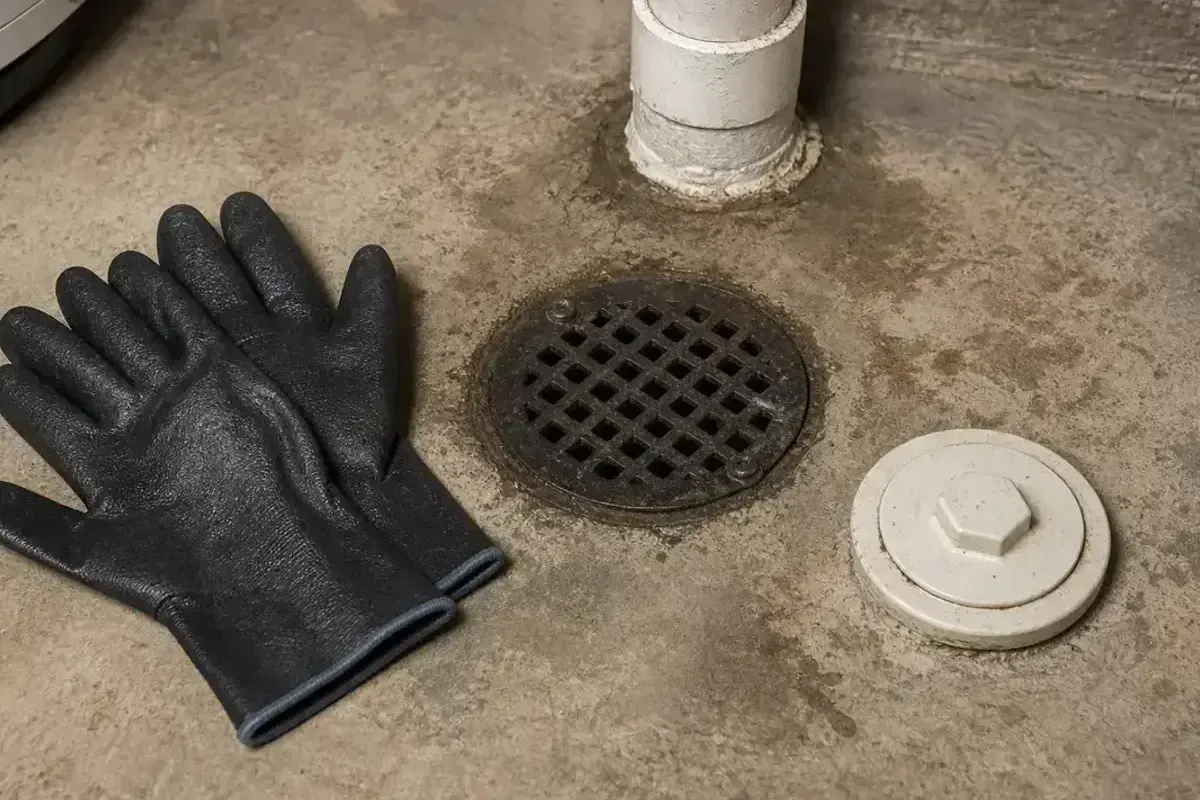
Helps when: Use waterproof work gloves when moving damp storage or handling clean-water cleanup materials near the tank area.
Skip it when: Skip hands-on cleanup if the liquid could be heating oil or any unknown contaminant.
Compare waterproof work gloves on AmazonAs an Amazon Associate I earn from qualifying purchases. Repair Riot may earn a commission at no extra cost to you.
Clear water can be ordinary basement seepage, but any fuel smell, oily sheen, or tank/line drip is a service issue and not a DIY cleanup.
Yes. A cold tank in humid air can collect condensation droplets, especially in damp basements.
Only for small confirmed clean water after fuel risk is ruled out. Never vacuum liquid that may be oil or contaminated.
The cove joint or a wall crack behind the tank may be the easiest exit point when outside water pressure rises.
No. Do not move or disturb the tank or oil lines. Use safe visual inspection and call service if tank access is needed.
Check downspouts, gutter overflow, grade, patios, walks, and low soil at the matching exterior wall.
Call immediately for fuel odor, oily residue, tank corrosion with seepage, active drips from fittings, or liquid returning after cleanup.
The area should stay dry through comparable rain or humidity conditions, with no odor, sheen, or new wet line behind the tank.
Repair Riot built this page around oil-tank-area safety: liquid identification, fuel escalation, condensation lookalikes, cove-joint seepage, and drainage-first repair sequencing.