Is the wall bowed or offset?
Stop patching plans and get a foundation evaluation. Wall shape matters more than crack width.
A cracked basement wall is not one diagnosis. First check crack direction, width change, moisture, and wall flatness; good clue: a flat dry hairline crack is different from a leaking, widening, stair-step, or bowed-wall crack.
If the wall is straight and the crack is thin, vertical, dry, and unchanged, it is often a stable shrinkage or minor movement crack. Water, offset, bowing, or width change moves the diagnosis into drainage or foundation territory.
Watch for movement or water pressure before buying filler or injection products.
Don’t start with: Do not start with paint, hydraulic patch, injection foam, or a waterproof coating. First prove the crack type, whether the wall is moving, and whether water pressure is involved.
Stop patching plans and get a foundation evaluation. Wall shape matters more than crack width.
Treat it as a movement-pressure clue until proven otherwise.
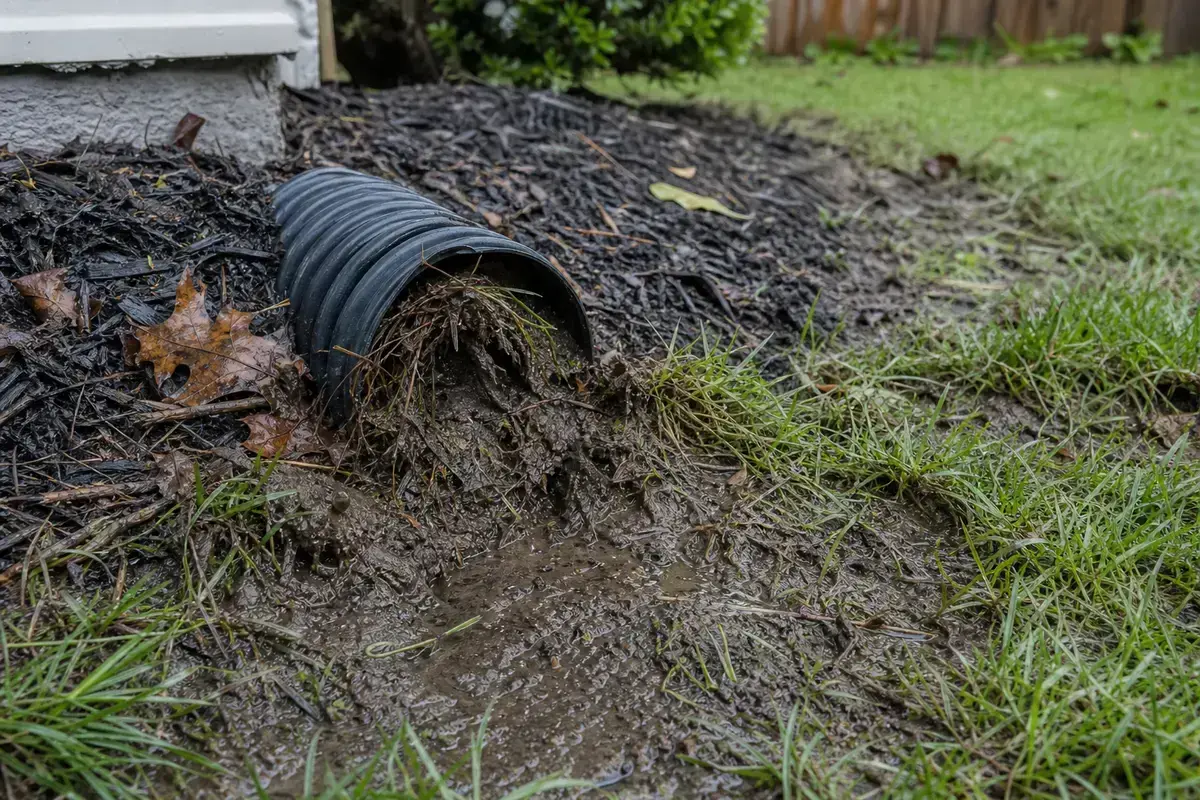
Check downspouts, grading, gutters, and outside water load before buying crack sealers.
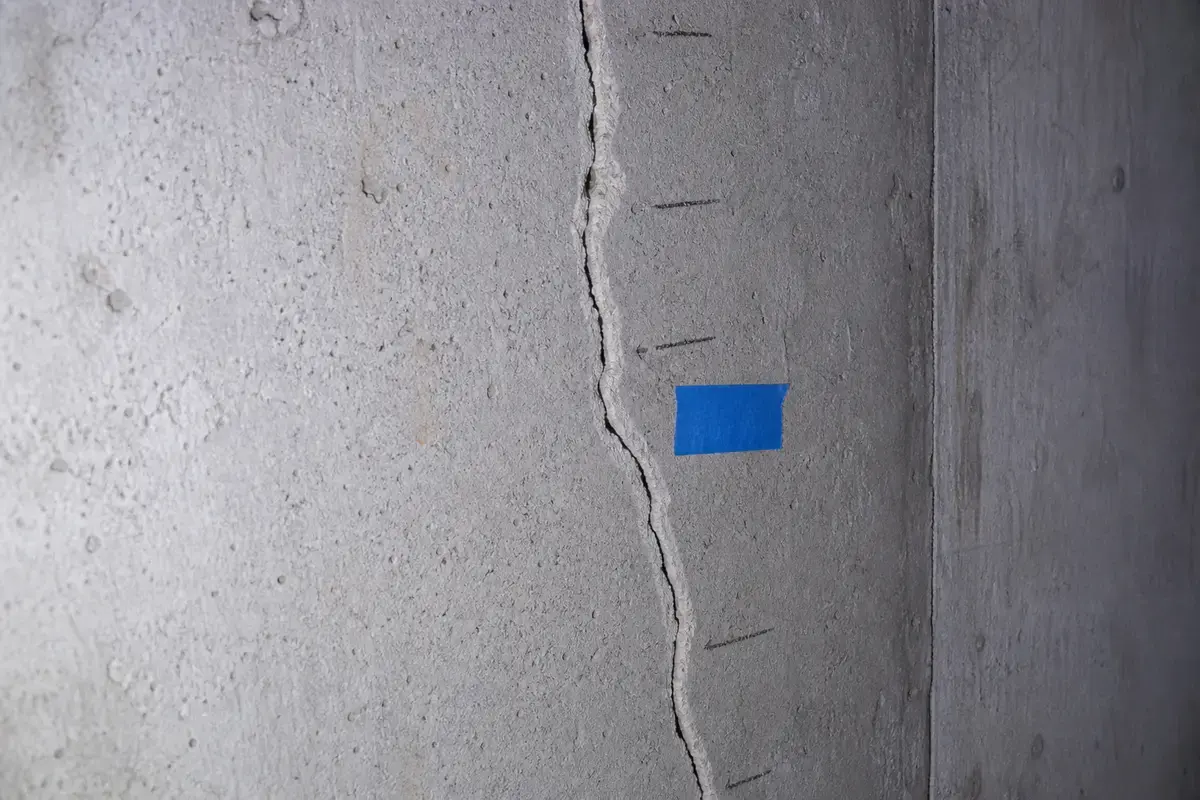
Measure, photograph, and monitor before choosing a limited stable-crack repair.
Stop cosmetic repair and document the change for a foundation professional.
Use these images to separate a stable crack, a movement clue, and an exterior water-pressure clue.
Do not buy crack filler, injection foam, a crack monitor, or drainage parts until the exact diagnosis points there. Match the repair to wall movement, crack type, moisture timing, and outside water load.
A basement wall crack is not one diagnosis. The direction, shape, width change, moisture pattern, and wall flatness decide whether this is watch-and-monitor, water control, or a foundation call.
The first job is to prove the wall is stable enough for normal DIY decisions. A patch can hide the one clue that tells you the wall is still moving.
A stable crack can still leak if outside water pressure is pushing through it. Sealing the inside before tracing water outside often creates a repeat call.
Monitoring is useful only when the wall is straight, the crack is not actively leaking, and no urgent movement clue is present.
Choose the next step from the evidence. The best repair is different for a stable hairline crack, a leaking poured-concrete crack, and a wall-pressure crack.
| What you see | What it usually means | Next move |
|---|---|---|
| Thin vertical crack, dry, no offset, unchanged | Likely stable shrinkage or minor movement. | Document it, monitor it, and repair only if the wall stays stable. |
| Crack gets wet after rain but wall remains flat | Water pressure or drainage may be using the crack as a path. | Correct drainage first; use crack injection only after the stable-crack path is proven. |
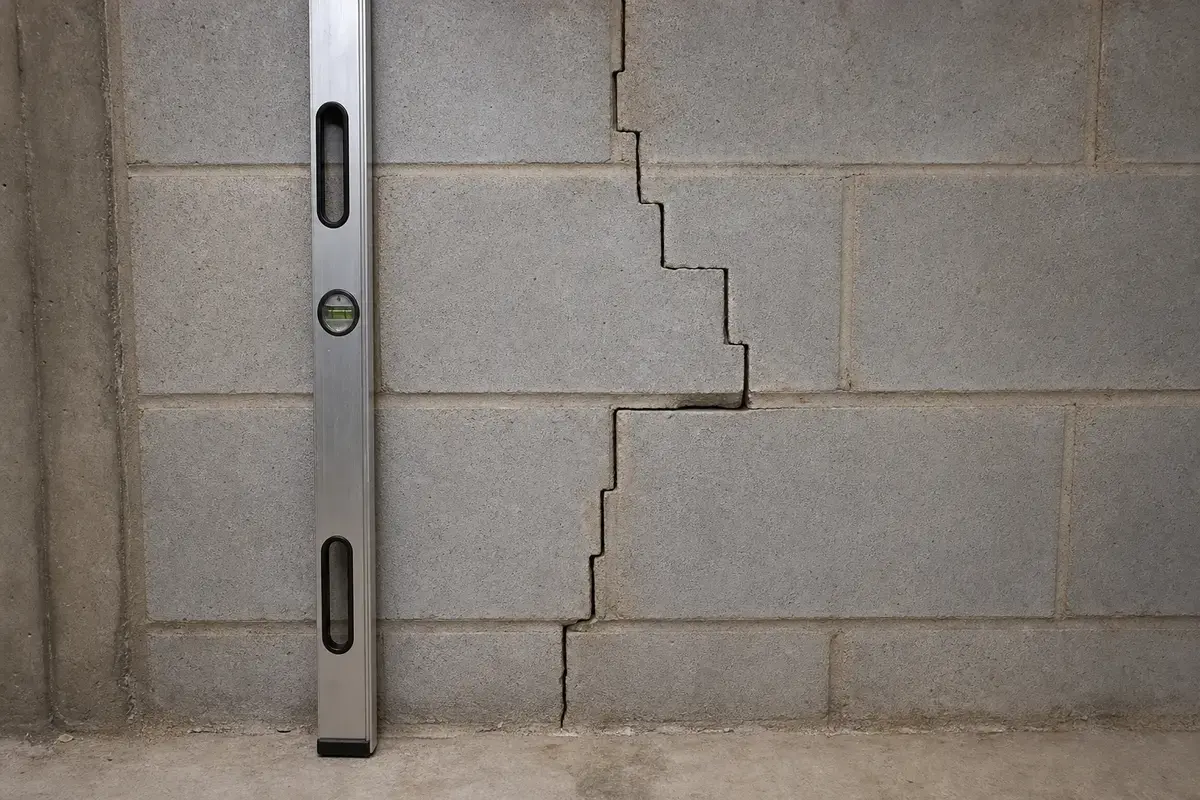
| Horizontal, stair-step, offset, or bowed wall | Possible lateral pressure, settlement, or active movement. | Call a foundation professional before patching or covering the crack. |
| Several new cracks or related house movement | The symptom may be broader than one basement wall. | Document all locations and get an in-person structural/foundation evaluation. |
Use these tools to document crack pattern, moisture, and movement before choosing a repair path.
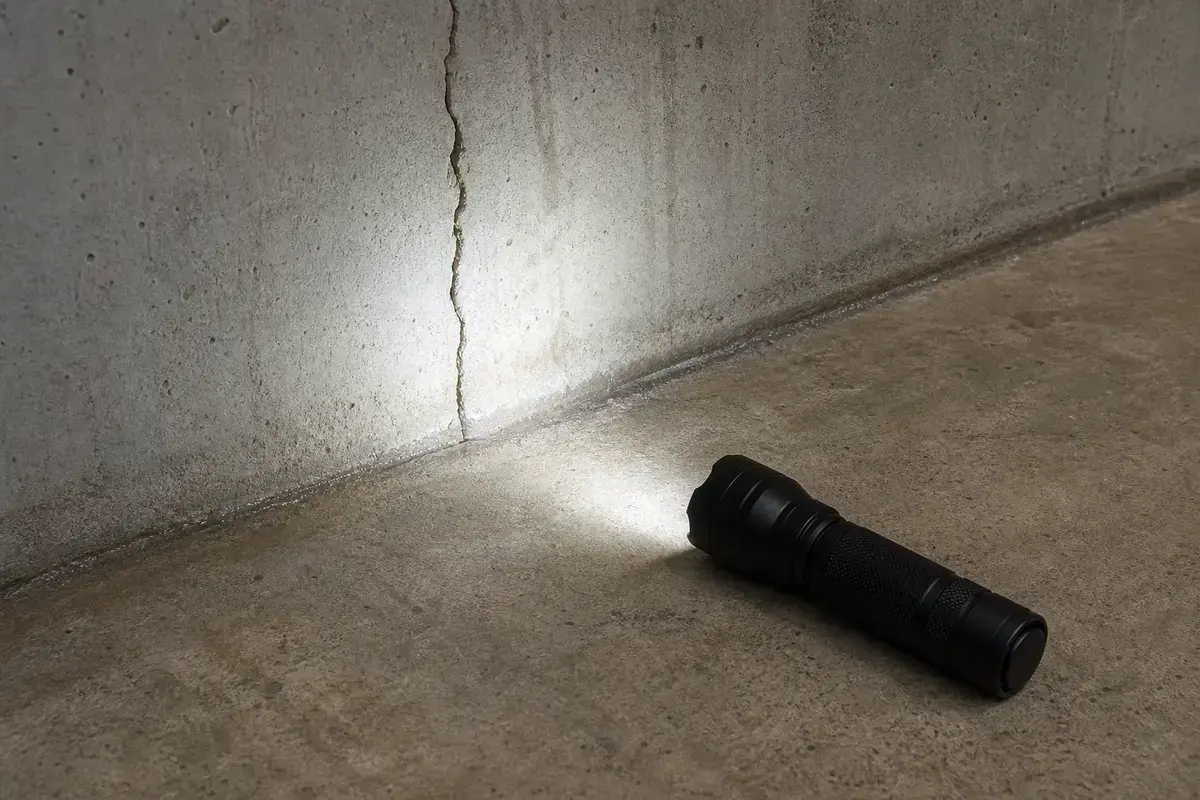
Helps when: Use an inspection flashlight to check crack edges, branching, staining, and first wet points.
Skip it when: Skip close inspection if standing water, unstable storage, or electrical hazards make the area unsafe.
Compare inspection flashlights on Amazon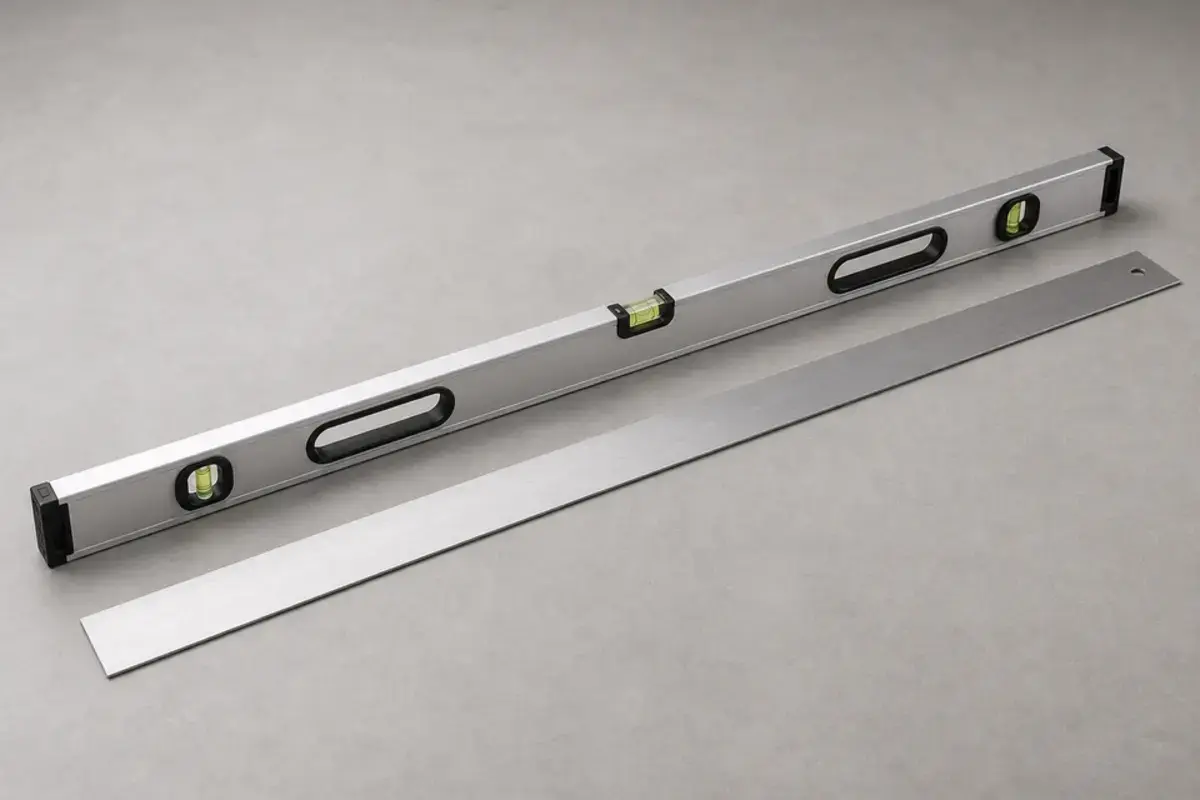
Helps when: Use a 4-foot level or straightedge to check whether one side of the crack is offset or bowed.
Skip it when: Skip guessing by eye; wall flatness changes the repair decision.
Compare 4-foot levels and straightedges on Amazon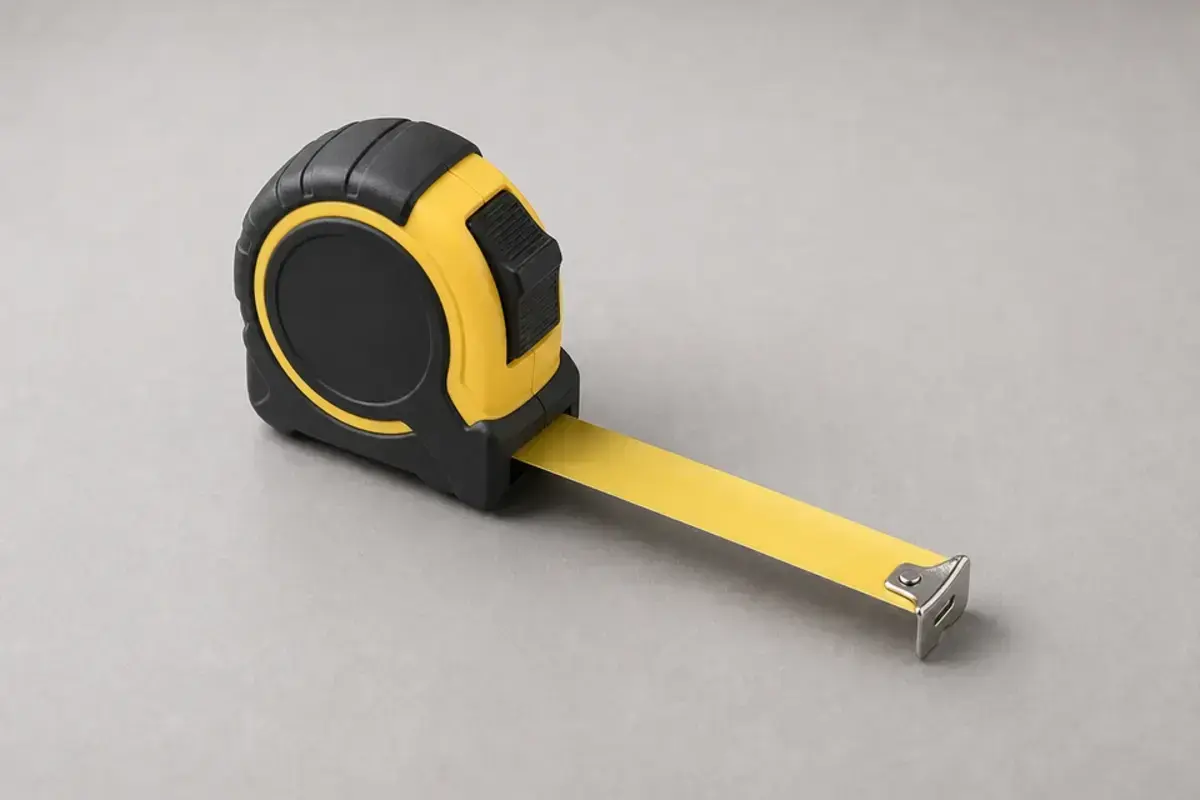
Helps when: Use measuring tape to record crack length, width points, and distance from corners.
Skip it when: Skip freehand notes because crack changes need repeatable measurements.
Compare measuring tapes on Amazon
Helps when: Use a pinless moisture meter to compare dampness near the crack with dry control areas.
Skip it when: Skip assuming the crack is dry if staining or storm timing suggests seepage.
Compare pinless moisture meters on AmazonAs an Amazon Associate I earn from qualifying purchases. Repair Riot may earn a commission at no extra cost to you.
Use these only after the crack diagnosis points to monitoring, a stable crack repair, or drainage support.
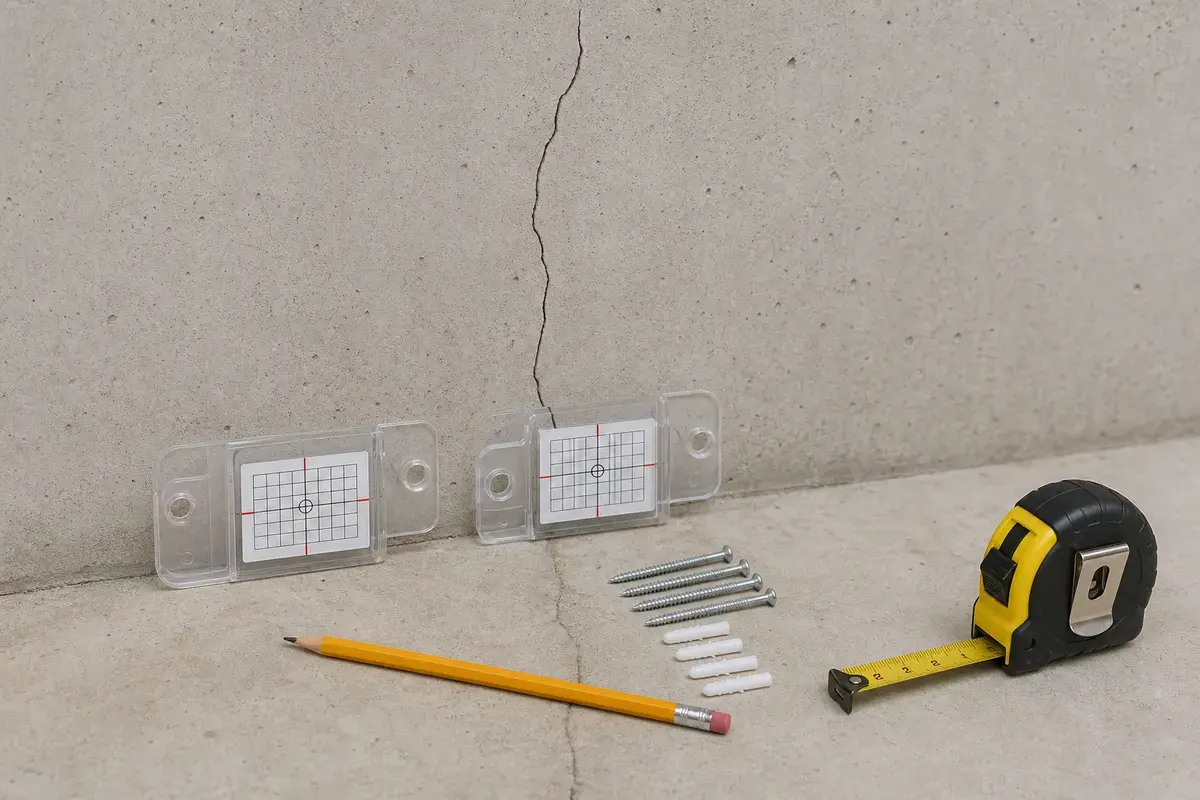
Helps when: Use a crack monitor gauge to track whether the crack is still moving before patching.
Skip it when: Skip cosmetic repair if the gauge shows movement or the wall is offset.
Compare crack monitor gauges on Amazon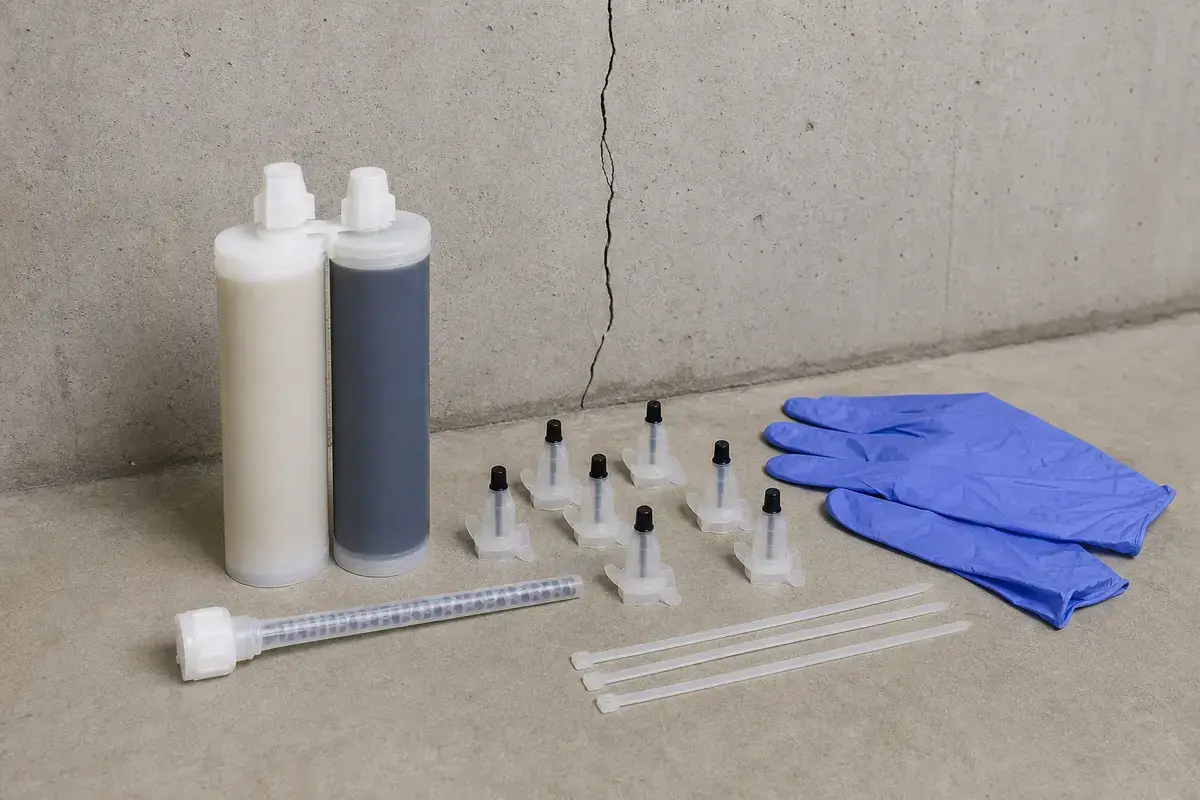
Helps when: Use a foundation crack injection kit only for a stable, suitable crack after movement and moisture checks are complete.
Skip it when: Skip injection for moving cracks, block displacement, horizontal cracks, or active pressure leaks.
Compare foundation crack injection kits on Amazon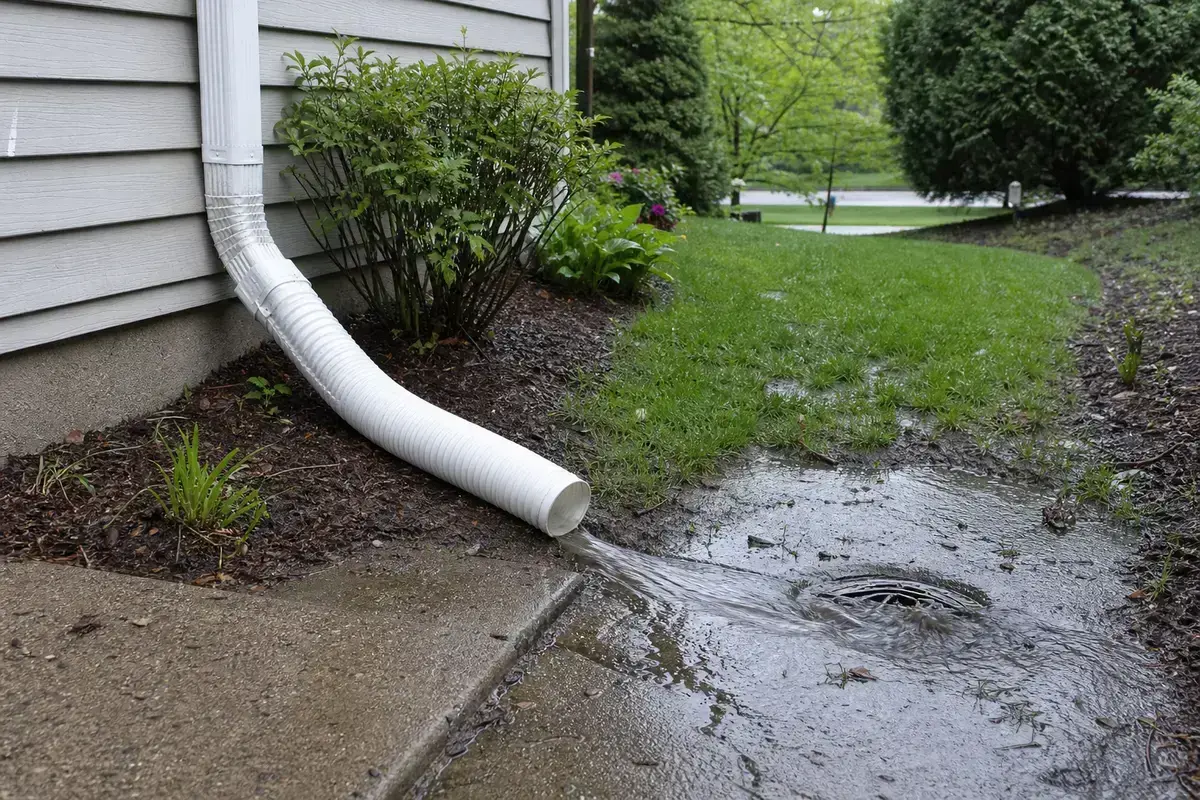
Helps when: Use a downspout extension when roof runoff is landing near the cracked wall section.
Skip it when: Skip interior repair first if exterior water is still loading the foundation.
Compare downspout extensions on AmazonAs an Amazon Associate I earn from qualifying purchases. Repair Riot may earn a commission at no extra cost to you.
No. Thin vertical cracks in poured concrete can be stable. The higher-risk clues are horizontal cracks, stair-step cracks, offset, wall bowing, active leakage, and cracks that keep changing.
Only after the wall is proven stable and the outside water load is understood. If the wall is moving or water pressure is still building outside, an inside-only seal can hide a problem instead of fixing it.
Call for horizontal cracks, stair-step cracks in block, widening cracks, offset faces, bowing walls, repeated water entry, or related movement such as sticking doors and sloped floors.
Monitor only when the wall is straight, the crack is dry or controlled, and no urgent movement clues are present. Repair after the crack stays stable and the moisture source is understood.
Roof runoff, bad grading, and saturated soil can push water against the foundation and make a stable crack leak. Fixing that load often matters more than the product used on the crack.
Measure the same widest point, photograph it with a tape measure, and repeat after rain or thaw. A crack monitor gauge helps when small movement would change the repair plan.
Usually yes. A horizontal crack can point to lateral soil or water pressure, especially in a block wall or any wall that is bowing inward.
Poor drainage can raise the water and soil load against a foundation wall. It may not be the only cause, but it can make cracks leak or movement worse.
Repair Riot built this guide around visible foundation clues: crack direction, wall flatness, water timing, exterior runoff, and the stop points where patching should pause for a foundation evaluation.