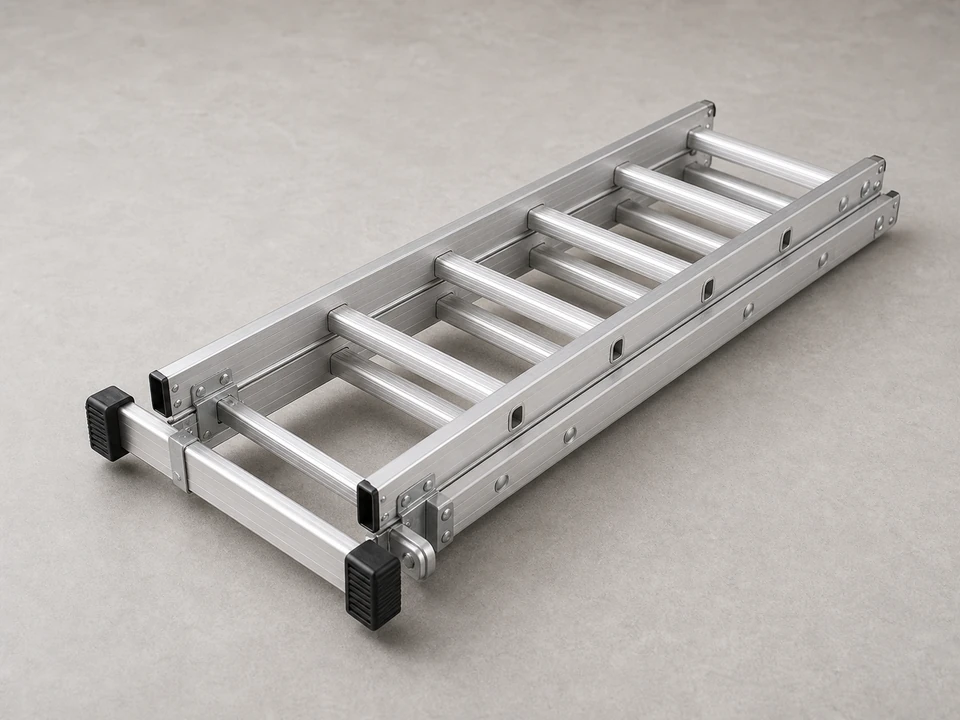
Extension ladder
Use it for: To reach the eave safely without leaning off balance.
Find an extension ladderReplace a vented soffit panel by matching the vent pattern, removing the damaged panel, clearing the intake path, and installing the new piece without blocking airflow.
A vented soffit panel is not just trim. It feeds attic intake air, so the replacement has to fit, lock in, and breathe like the original.
Before you start: Match the material, panel width, vent slot pattern, open area, color, and locking profile.
Use it for: To reach the eave safely without leaning off balance.
Find an extension ladder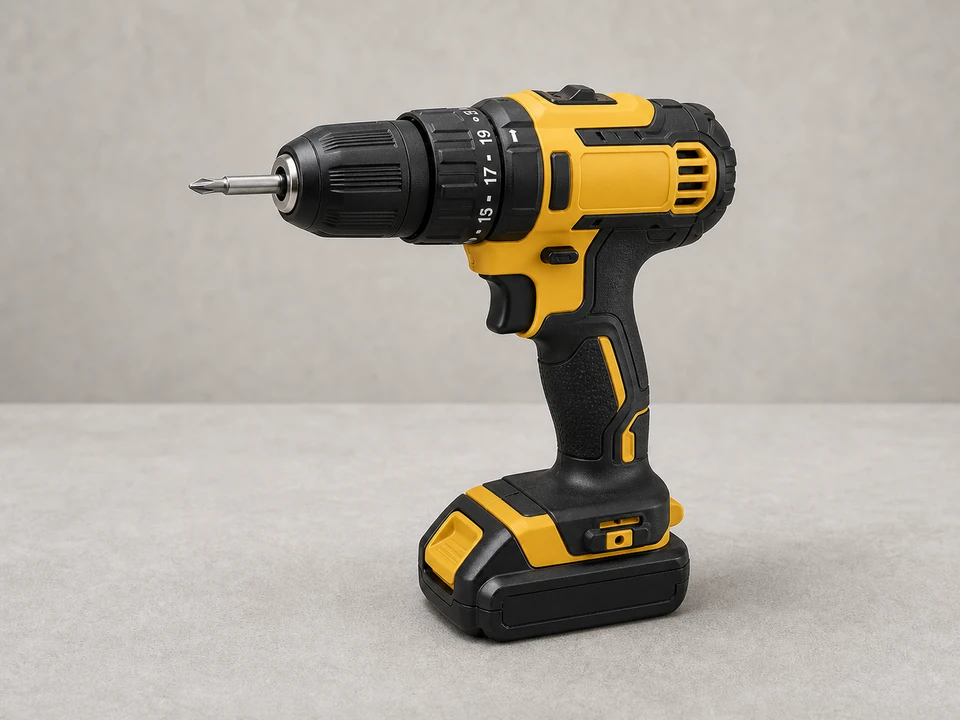
Use it for: To remove old fasteners and set new screws cleanly.
Find a drill driver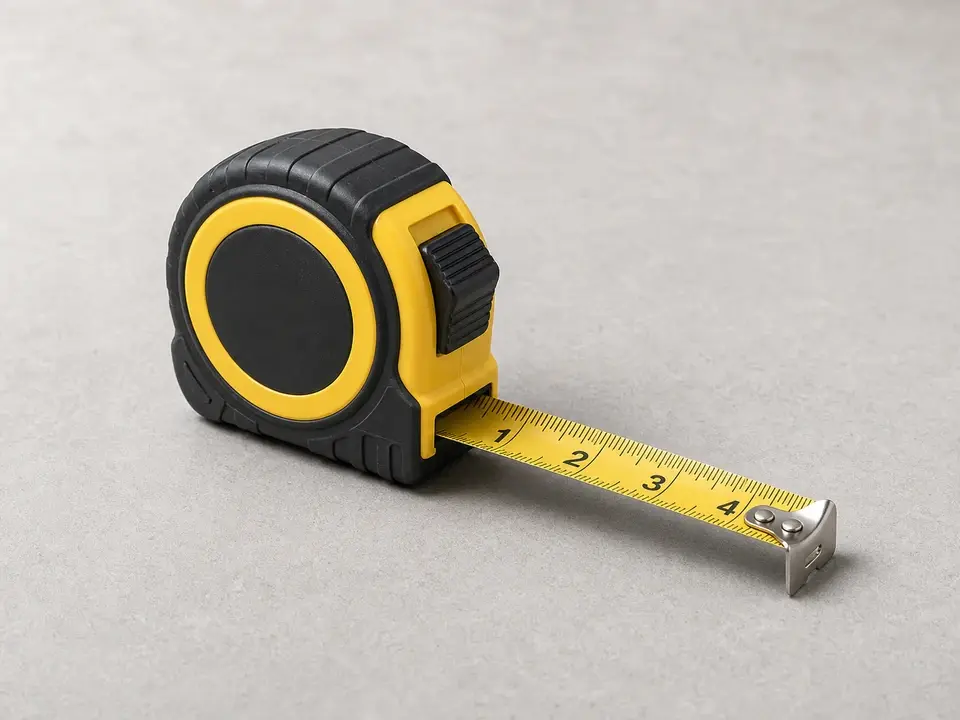
Use it for: To match the opening, panel, or board before cutting.
Find a tape measure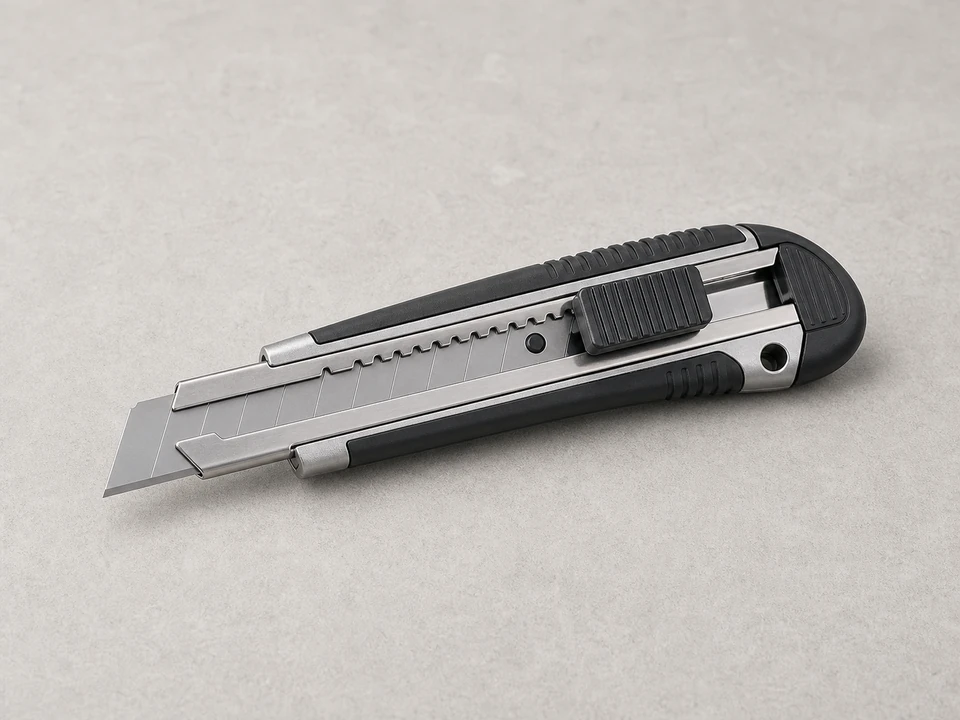
Use it for: To score caulk, paint, or vinyl edges without tearing the surrounding surface.
Find a utility knife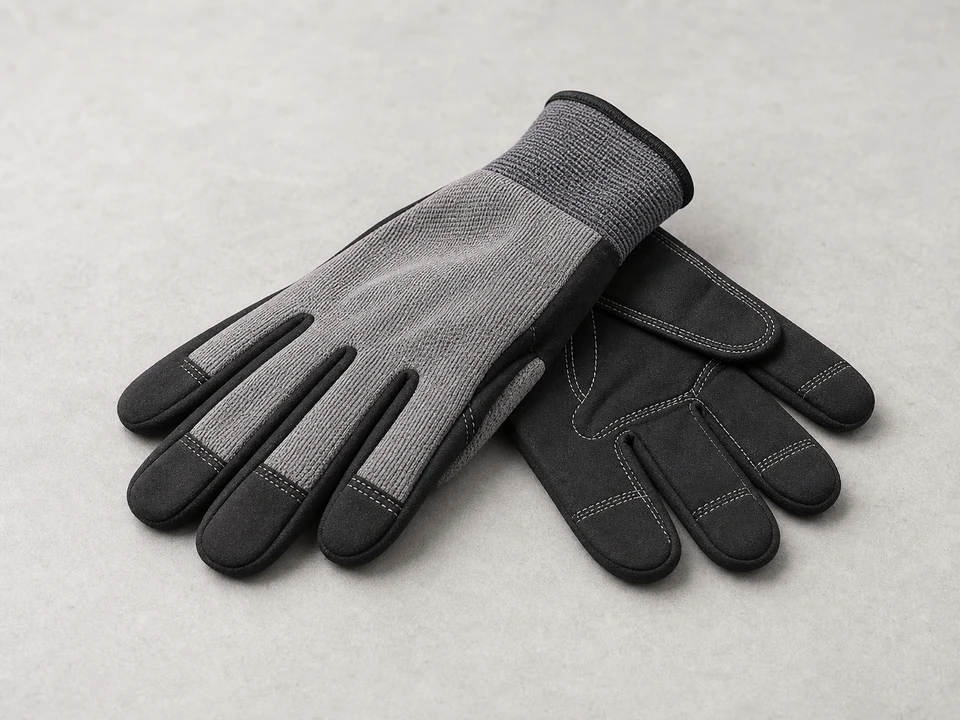
Use it for: To protect your hands from sharp metal, splinters, and old fasteners.
Find work gloves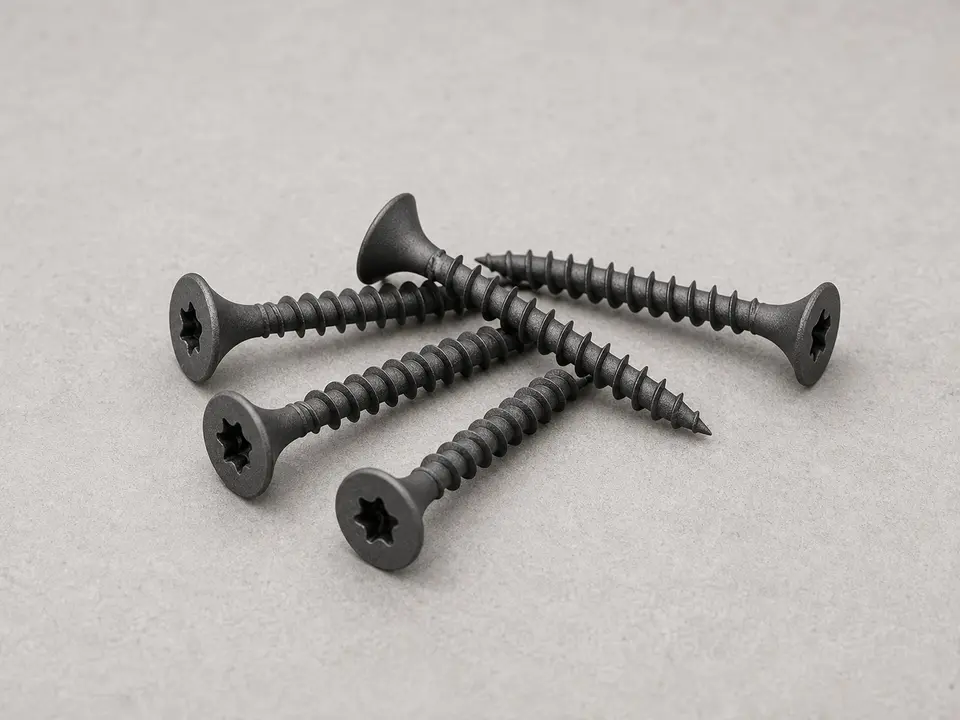
Use it for: To fasten the replacement into sound framing or trim.
Find exterior screwsAs an Amazon Associate I earn from qualifying purchases. Repair Riot may earn a commission at no extra cost to you.
If it works: You have a matching soffit panel and the surrounding edge can hold it.
If it doesn’t: If the damage is only dirty or lightly bowed, clean and refasten before replacing.
If it works: The damaged panel is free without bending the pieces you plan to keep.
If it doesn’t: If a neighboring panel starts to crack or unlock, stop and release the joint more carefully.
If it works: The opening is clean, dry, and ready to accept the replacement panel.
If it doesn’t: If the backing is damaged, repair the structure first or the new panel will not stay flat.
If it works: The new panel fits flat and lines up with the neighboring soffit.
If it doesn’t: If it bows or binds, trim and refit before installing fasteners.
If it works: The panel is secure, straight, and the intake path remains open.
If it doesn’t: If the panel rattles or drops, the edge support or fastener location needs correction.
Match the material, panel width, vent slot pattern, open area, color, and locking profile.
As an Amazon Associate I earn from qualifying purchases. Repair Riot may earn a commission at no extra cost to you.
Only if the attic ventilation design still has enough intake. In most cases, replace vented with vented.
Measure width and length, then match material, color, lock profile, and vent pattern. The open area matters, not just the look.
Blocked intake can trap heat and moisture in the attic even when the outside panel looks new.
Follow the existing panels and manufacturer profile. The key is that water sheds correctly and the slots remain open.