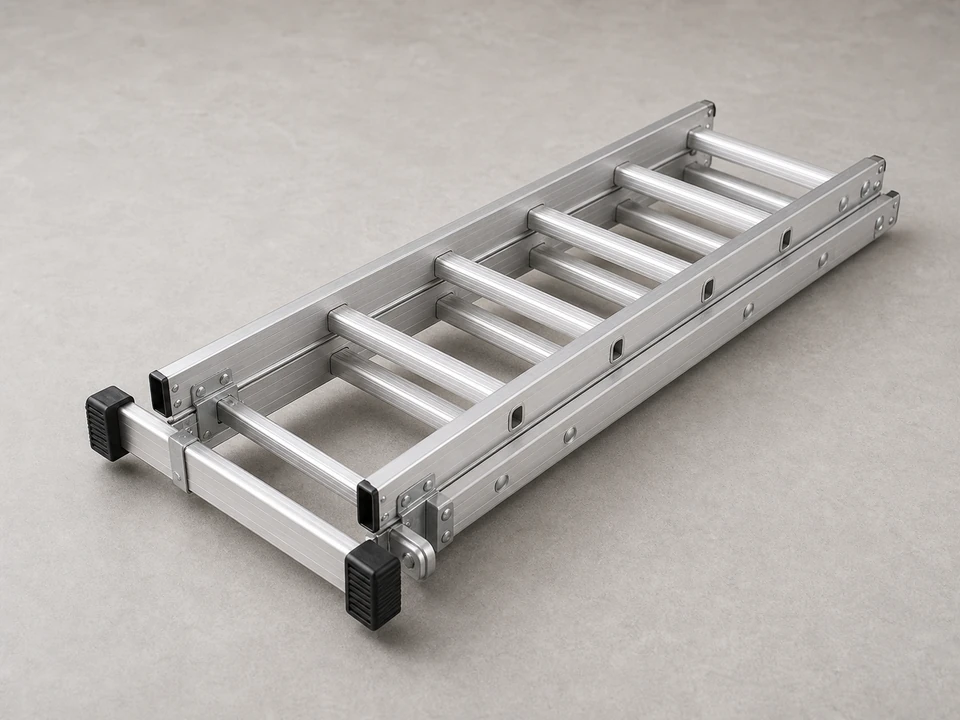
Extension ladder
Use it for: To reach the eave safely without leaning off balance.
Find an extension ladderReplace an attic soffit vent cover by measuring the opening, removing the damaged cover, clearing the intake path, and fastening a matching cover that still breathes.
This is a small part with a real job. A clean-looking cover can still choke the opening if it is the wrong size, packed with paint, or backed by insulation, so check the air path before calling it done.
Before you start: Match opening size, cover footprint, screen style, louver direction, material, and fastener pattern.
Use it for: To reach the eave safely without leaning off balance.
Find an extension ladder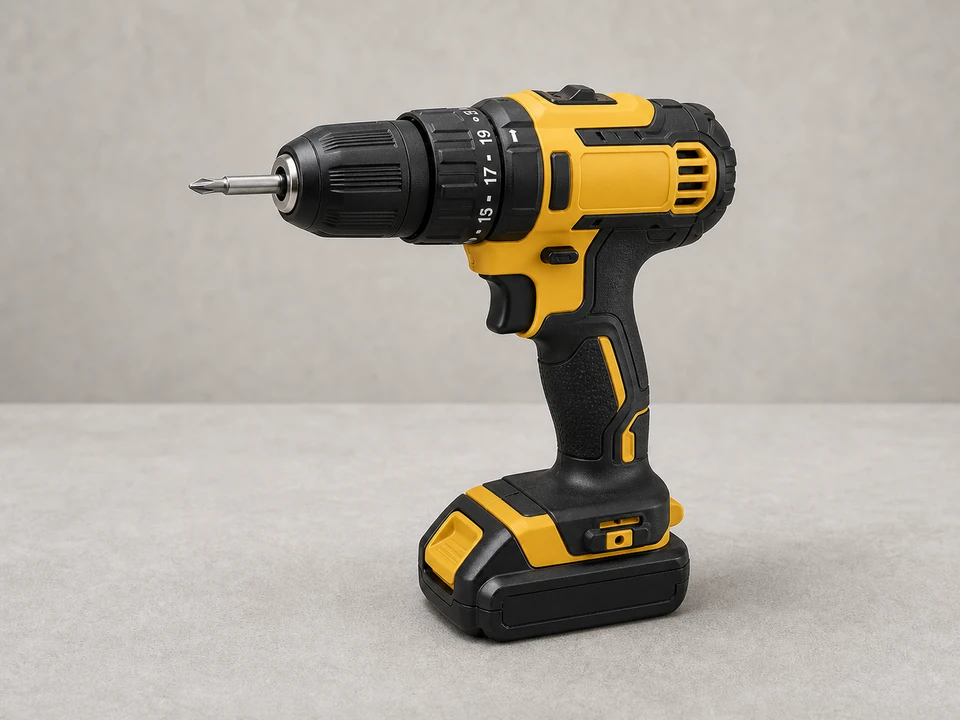
Use it for: To remove old fasteners and set new screws cleanly.
Find a drill driver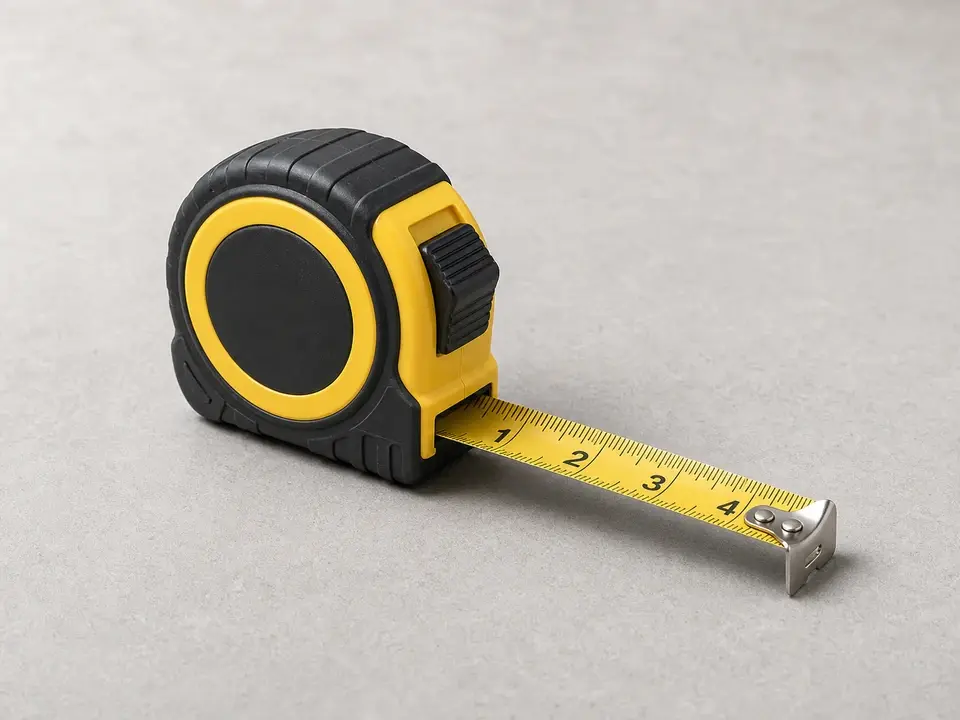
Use it for: To match the opening, panel, or board before cutting.
Find a tape measure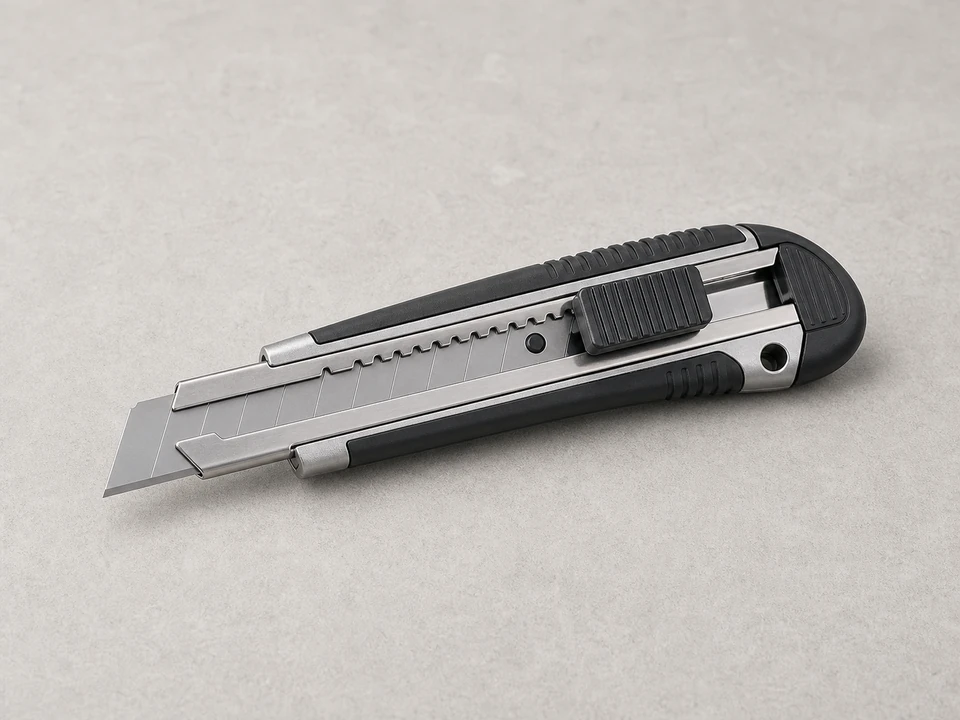
Use it for: To score caulk, paint, or vinyl edges without tearing the surrounding surface.
Find a utility knife
Use it for: To protect your hands from sharp metal, splinters, and old fasteners.
Find work glovesAs an Amazon Associate I earn from qualifying purchases. Repair Riot may earn a commission at no extra cost to you.
If it works: You have a matching vent cover and the surrounding soffit can hold it.
If it doesn’t: If the cover is only dusty or lightly painted, clean it before replacing it.
If it works: The old cover is off without tearing the surrounding soffit.
If it doesn’t: If the soffit face starts to split, stop and free the paint or fastener instead of prying harder.
If it works: The opening is clean, dry, and ready for the replacement cover.
If it doesn’t: If the backing is soft or broken, repair it first or the new cover will not stay tight.
If it works: The new cover sits flat, covers the opening, and leaves the vent area open.
If it doesn’t: If the cover rocks or leaves a gap, correct the fit before fastening it.
If it works: The cover is secure, flat, and the intake path remains open.
If it doesn’t: If the cover rattles or drops, the fasteners are not biting into sound material.
Match opening size, cover footprint, screen style, louver direction, material, and fastener pattern.
As an Amazon Associate I earn from qualifying purchases. Repair Riot may earn a commission at no extra cost to you.
The job is the same, but the sizing and screen style must match the attic intake opening you have.
Yes, but keep paint out of the screen and louvers. Heavy paint buildup can choke the vent.
Measure the opening and choose a cover that spans it securely without reducing airflow.
Only if it will not reduce airflow too much and it can be installed securely. Use a vent cover designed for the purpose when possible.