How to Replace a Bathtub Overflow Plate and Gasket
To replace a bathtub overflow plate and gasket, remove the old overflow plate, pull out the worn gasket, clean the opening, install the new gasket in the same position, then fasten the new plate and test the tub for leaks.
This repair is usually worth trying when water shows up behind the tub wall or below the bathroom only when the water level reaches the overflow opening. The job is straightforward, but take your time so the gasket seats evenly and the screws do not strip.
Before you start: Match the overflow plate shape, screw spacing, gasket profile, and trip lever style before ordering. Stop if the overflow body moves, the opening is cracked, mounting points are stripped, or water damage appears behind the tub.
Last reviewed: 2026-07-04
Make sure this is the right overflow repair
This job fits leaks that show up only when water reaches the overflow opening. Other tub leaks need a different repair path.
This page fits
This page fits when: Water appears only when the tub level reaches the overflow opening, and the plate or gasket looks loose, cracked, flat, or hardened.
Check something else when: For leaks below the overflow level, inspect the drain shoe, supply lines, or wall plumbing instead.
Confirm the fit first
This page fits when: The new plate matches screw spacing, opening shape, gasket profile, and trip-lever style.
Check something else when: If the old plate is missing or the linkage style is unclear, identify the waste-and-overflow assembly before buying.
Stop for hidden damage
This page fits when: The overflow body stays solid, mounting points hold, and no soft wall, rot, or active leak appears behind the tub.
Check something else when: If the overflow body moves or the wall cavity is wet, a plate-and-gasket swap is not enough.
Check the old gasket and dry-fit the new plate
The overflow gasket has to sit flat behind the tub wall, and the plate has to tighten evenly without pulling the overflow body loose.
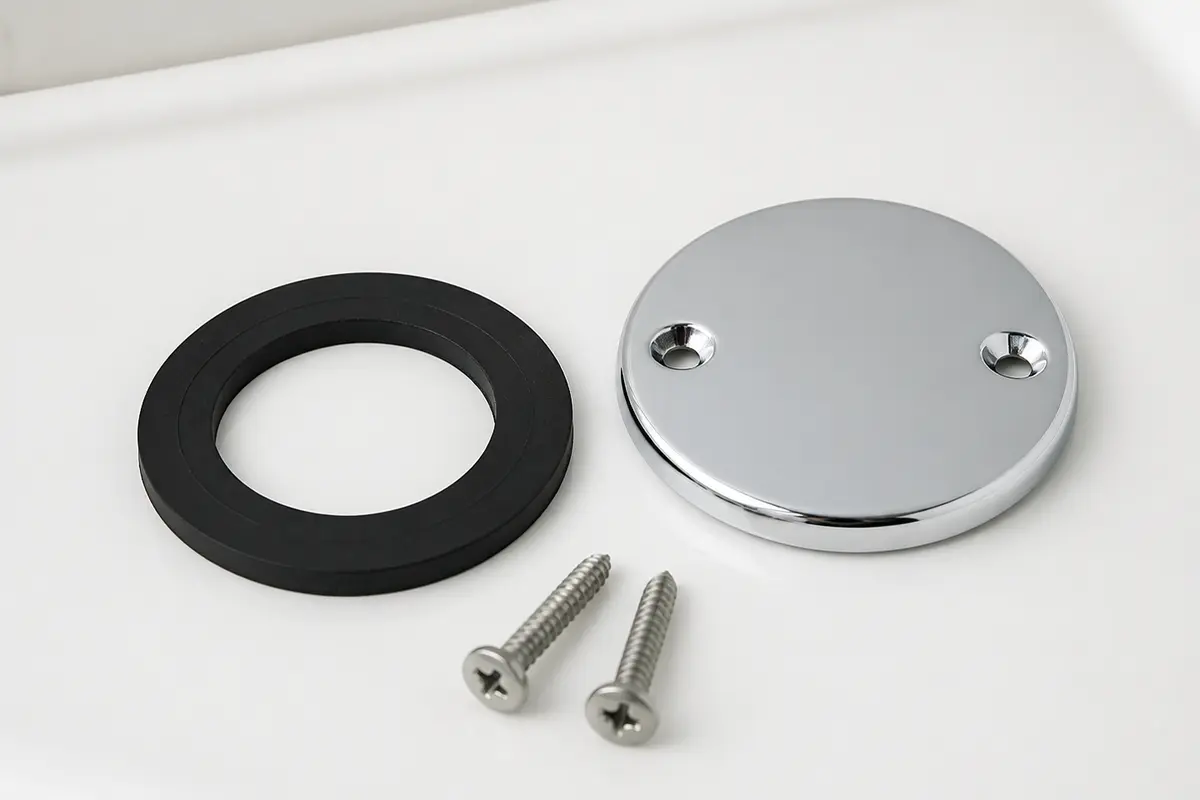
Use the old plate and gasket as the fit reference before ordering or tightening the new parts.Compare screw spacing, gasket thickness, plate shape, and trip-lever compatibility before final assembly.
Safety first
Work slowly around the tub finish so tools do not chip or scratch it.
If the tub has a trip-lever linkage, support it as you remove the plate so it does not bend or drop hard into the opening.
Do not force corroded screws or over-tighten new ones, because stripped threads can turn a simple repair into a larger one.
If you see mold, rot, or major water damage behind the tub, pause the repair and address that damage before closing everything back up.
Tools you may need
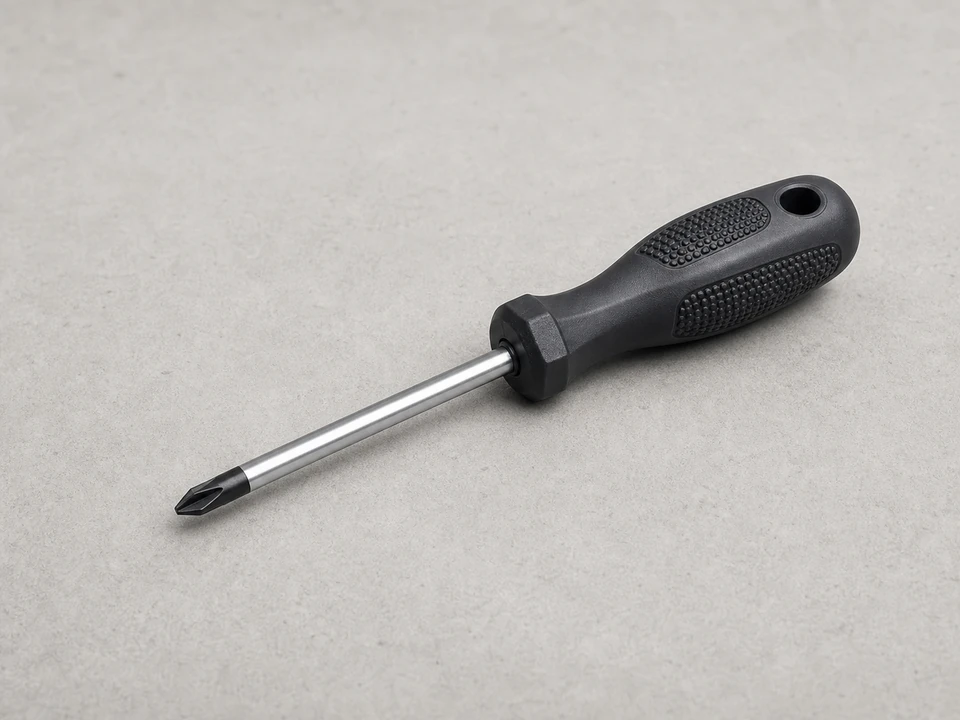
Phillips screwdriver
Use it for: Removes and reinstalls most overflow plate screws.
As an Amazon Associate I earn from qualifying purchases. Repair Riot may earn a commission at no extra cost to you.
Step-by-step fix
Step 1: Safe first checks: confirm the overflow gasket is the likely leak point
Dry the tub wall around the overflow plate and, if you have access, dry the area behind the tub or the ceiling below.
Run water into the tub until the level rises to the overflow opening, then let a little water enter the overflow for a minute.
Watch for water showing up only when the overflow is taking water, not while the drain is simply open below the tub.
Look at the plate for rust, looseness, missing screws, or a gap where the gasket may no longer be sealing.
If it works: The leak appears when water reaches the overflow, which points to the overflow plate or gasket.
If it doesn’t: Leaks appear even when the water level stays well below the overflow. This repair may not solve it, so check the drain shoe, waste-and-overflow connections, or nearby supply plumbing instead.
Stop if:
You find active leaking from a cracked tub, broken piping, or severe hidden water damage behind the wall.
The overflow assembly is badly corroded or loose inside the wall and does not feel secure enough for a simple plate-and-gasket replacement.
Step 2: Remove the old overflow plate
Put a towel in the tub to protect the finish and catch dropped screws.
Remove the screw or screws holding the overflow plate in place.
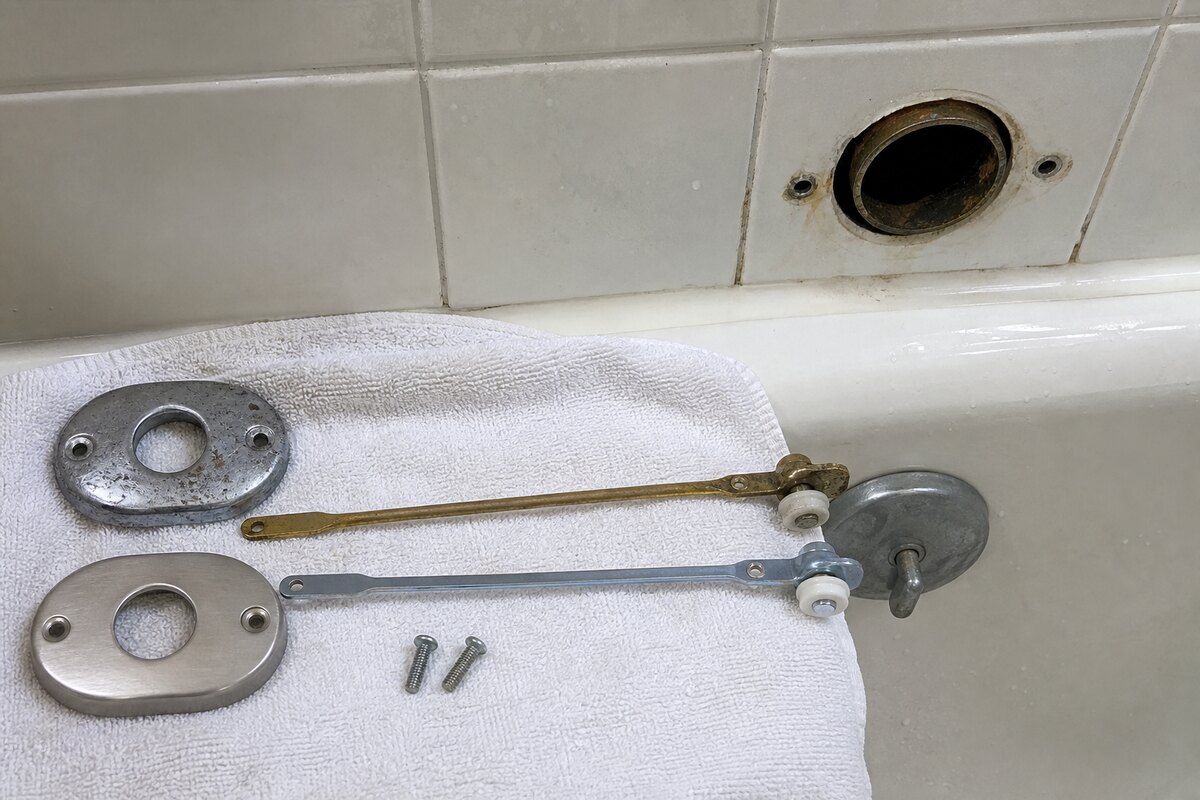
Pull the plate straight out carefully. If your tub has a trip lever, ease the plate out slowly so you do not bend the linkage attached behind it.
Set the old plate and screws aside so you can compare them with the replacement parts.
If it works: The old overflow plate is off and the opening is exposed.
If it doesn’t: The plate will not come free. Check again for a hidden screw or paint buildup around the edges, then work it loose gently instead of forcing it.
Stop if:
A trip-lever linkage is jammed, badly rusted, or falls apart as you remove the plate.
The mounting area inside the overflow opening is cracked or too damaged to hold the new plate securely.
Step 3: Remove the old gasket and clean the opening
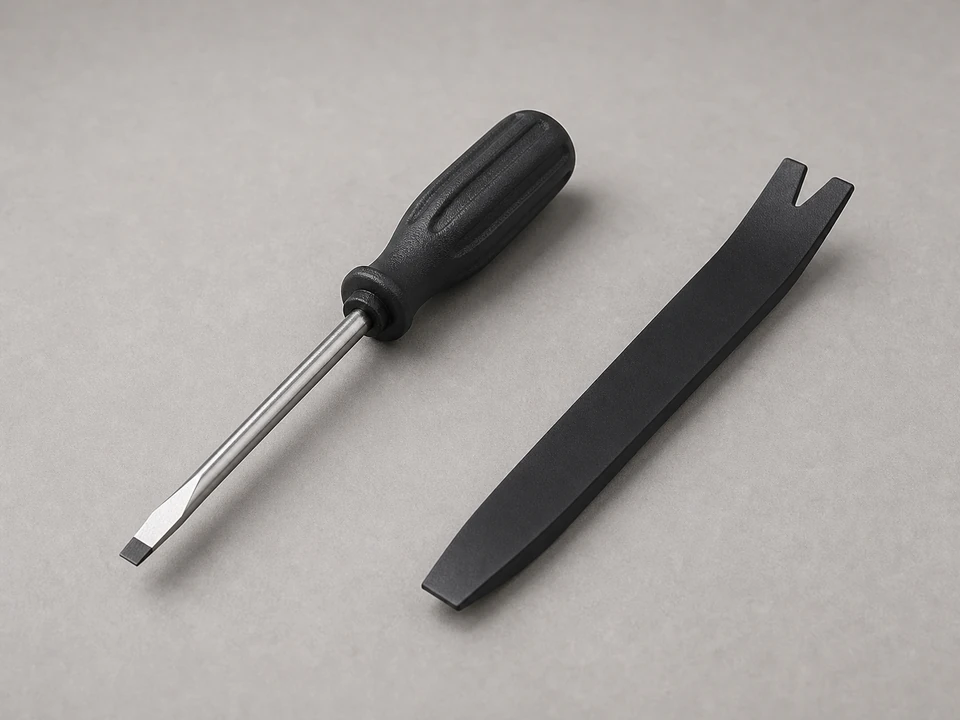
Use your fingers or a flat screwdriver or plastic pry tool to pull the old gasket out from around the overflow opening.
Note how the old gasket sat before removing it completely. Many overflow gaskets are thicker on one side, so orientation matters.
Wipe the tub surface, the overflow opening, and the back side of the mounting area clean.
Remove soap scum, old residue, and loose debris so the new gasket can sit flat against clean surfaces.
If it works: The old gasket is out and the overflow opening is clean and ready for the new part.
If it doesn’t: Brittle gasket pieces break apart. Keep removing the remaining pieces until the sealing surfaces are fully clean.
Stop if:
You uncover heavy corrosion, a misshapen opening, or damage that prevents the gasket from sitting evenly.
Step 4: Install the new gasket in the correct position
Compare the new gasket with the old one for size, shape, and thickness profile.
Place the new gasket around the overflow opening in the same orientation as the original. If one side is thicker, position it to match how the tub and overflow elbow line up.
Hold the gasket in place and make sure it is not twisted, folded, or pinched.
If your replacement kit includes a new plate, line it up with the screw holes before starting the screws.
If it works: The new gasket is seated evenly and the plate lines up with the mounting holes.
If it doesn’t: Screw holes do not line up or the gasket keeps shifting. Remove it and recheck the gasket orientation and part fit before tightening anything.
Stop if:
The replacement parts clearly do not match the opening, screw spacing, or overflow style.
Step 5: Reattach the overflow plate without over-tightening
If your tub has a trip lever, guide the linkage back into place carefully as you bring the plate to the opening.
Measure or compare the screw spacing, plate slot, and lever direction against the old overflow plate before the screws go in.
Match the gasket profile to the overflow opening, then hold the gasket centered behind the tub wall.
Start the screw or screws by hand so they thread straight.
Tighten each screw a little at a time and watch the plate edge. The plate should pull flat without bowing.
Confirm the gasket is compressed evenly around the overflow flange and the plate does not pinch one side harder than the other.
If it works: The overflow plate is secure, centered, and snug against the tub.
If it doesn’t: Plate movement, crooked seating, or uneven tightening shows up. Back the screws out and reseat the gasket and plate.
Stop if:
Stop if the screws spin without tightening, the mounting holes are stripped, or the plate cannot sit flat against the tub.
Stop if the overflow body moves behind the tub wall while you tighten the plate.
Step 6: Test the repair under real use
Dry the area around the overflow plate and any accessible area behind or below the tub again.
Fill the tub until water enters the overflow, then let it run into the overflow for several minutes.
Watch for drips around the plate, behind the wall access, or on the ceiling below if that area was leaking before.
Drain the tub and check once more after the water stops moving to make sure the repair held.
If it works: No water appears around or behind the overflow while the overflow is taking water, so the repair is holding.
If it doesn’t: Leakage remains after the test. Remove the plate and check for a twisted gasket, wrong gasket profile, loose mounting, or damage deeper in the overflow assembly.
Stop if:
Water is still leaking into the wall or below the tub after reseating the gasket and confirming the parts fit. That usually means the overflow elbow or connected piping needs further repair.
Match screw spacing, plate shape, gasket profile, and trip lever style before ordering.
As an Amazon Associate I earn from qualifying purchases. Repair Riot may earn a commission at no extra cost to you.
Verify the repair
The tub only leaked when water reached the overflow before the repair.
The new gasket sits evenly and the plate is snug, not warped or loose.
A full overflow test shows no drips at the plate, behind the tub, or below the bathroom.
The repair still holds after draining the tub and checking the area one more time.
FAQ
Do I need to replace the plate and the gasket together?
Not always, but it is often the easiest way to get a clean fit and fresh hardware at the same time. If the plate is rusted, bent, or the screws are worn, replacing both parts makes sense.
Why does the tub only leak when it is very full?
That usually points to the overflow opening. Water does not reach that part of the tub until the level gets high enough, so a bad overflow gasket often leaks only during deep fills.
Can I reuse the old gasket if it looks okay?
It is better to replace it. Old gaskets flatten, harden, or crack over time, and they often stop sealing well once disturbed.
Should I use caulk around the overflow plate?
Usually no. The gasket behind the plate is what makes the seal. Caulk on the face of the plate can hide a bad seal instead of fixing it and can make future repairs messier.
What if my bathtub has a trip lever?
You can still do this repair, but remove and reinstall the plate carefully because a linkage may be attached behind it. If the linkage is badly rusted or jammed, the repair may need to go beyond the plate and gasket.
Sources and reference notes
Repair Riot uses related bathtub leak and overflow pages to keep this repair focused on gasket fit, plate alignment, leak testing, and stop conditions.