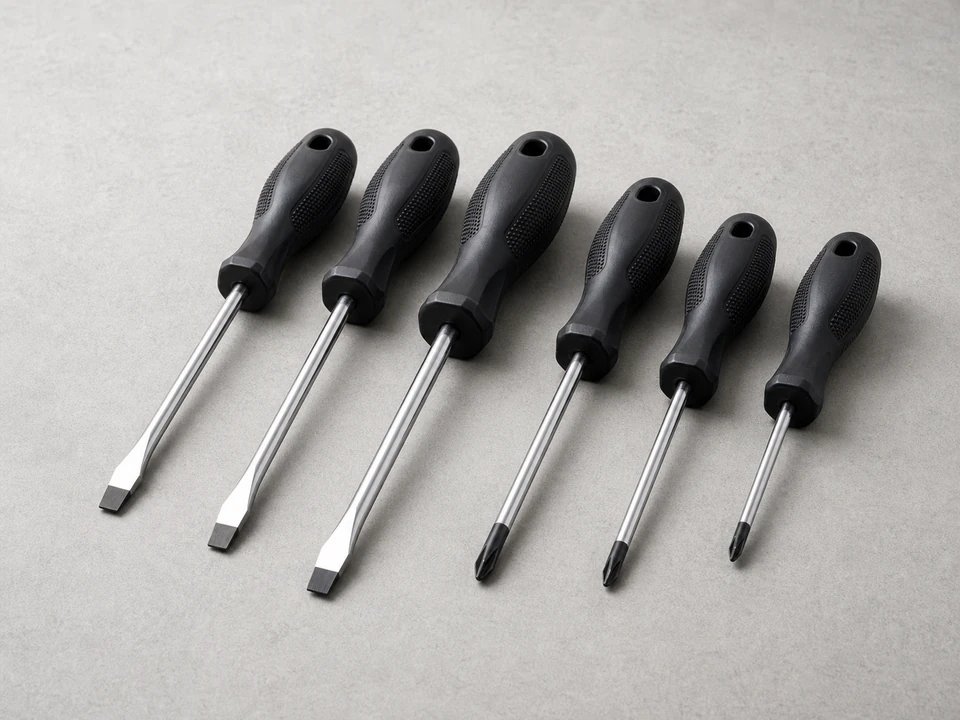
Screwdriver set
Use it for: To remove the control cover and valve housing screws.
Shop screwdriver setsReplace a water softener valve seal kit only after the symptoms point to an internal valve sealing problem: water leaking through the valve, the unit sticking in cycle, poor brine draw after the easy checks, or water continuing to drain when the softener should be in service.
This job is manageable for a careful homeowner, but it is not a guess-and-buy repair. Work cleanly, take photos before parts move, keep the piston, spacers, and seals in order, and stop if the valve body is cracked or the parts do not match your exact model.
Before you start: Confirm the bypass, salt bridge, brine line, drain line, and manual regeneration behavior before opening the valve. A seal kit will not fix a wrong bypass position, a dead transformer, a clogged drain, or the wrong control setting.
Use it for: To remove the control cover and valve housing screws.
Shop screwdriver sets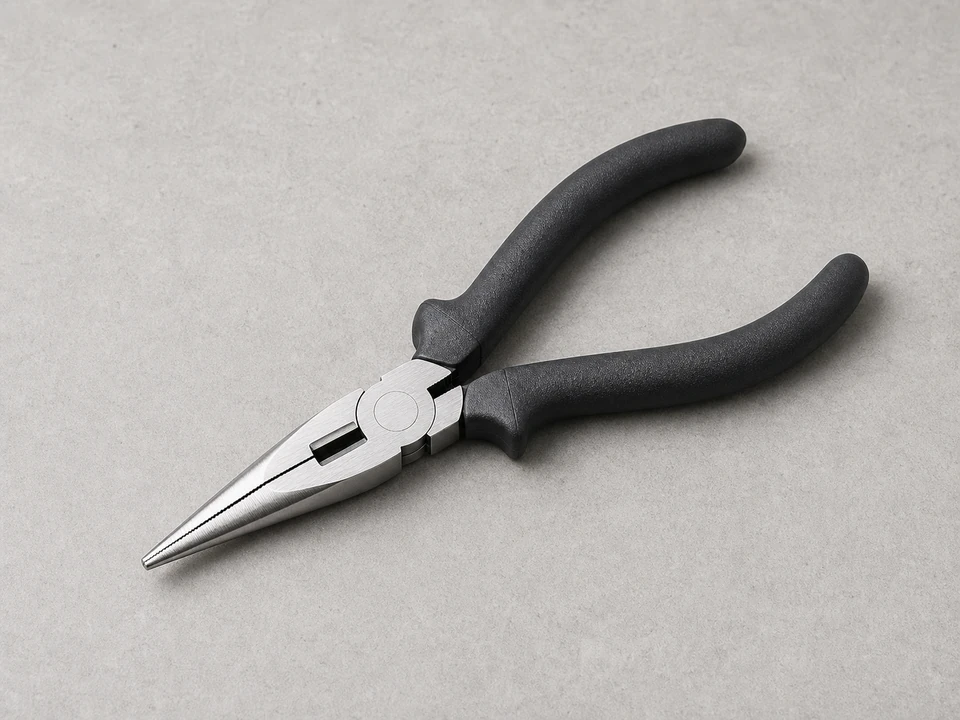
Use it for: To lift old seals or small retainers without gouging the valve body.
Shop needle-nose pliers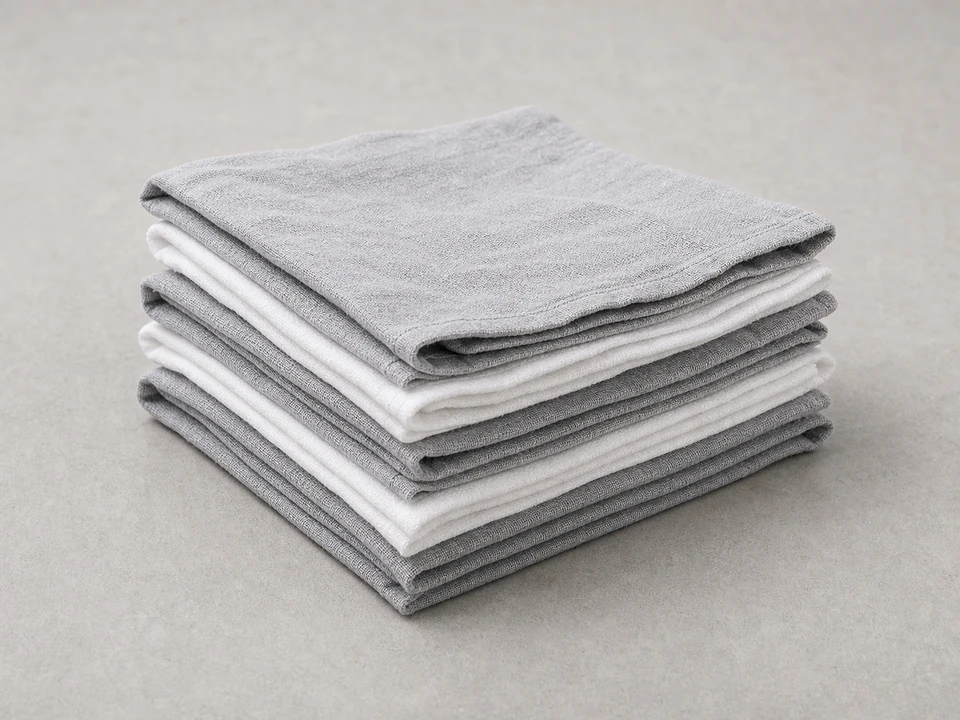
Use it for: To wipe out mineral residue and keep dirt out of the valve during reassembly.
Shop cleaning rags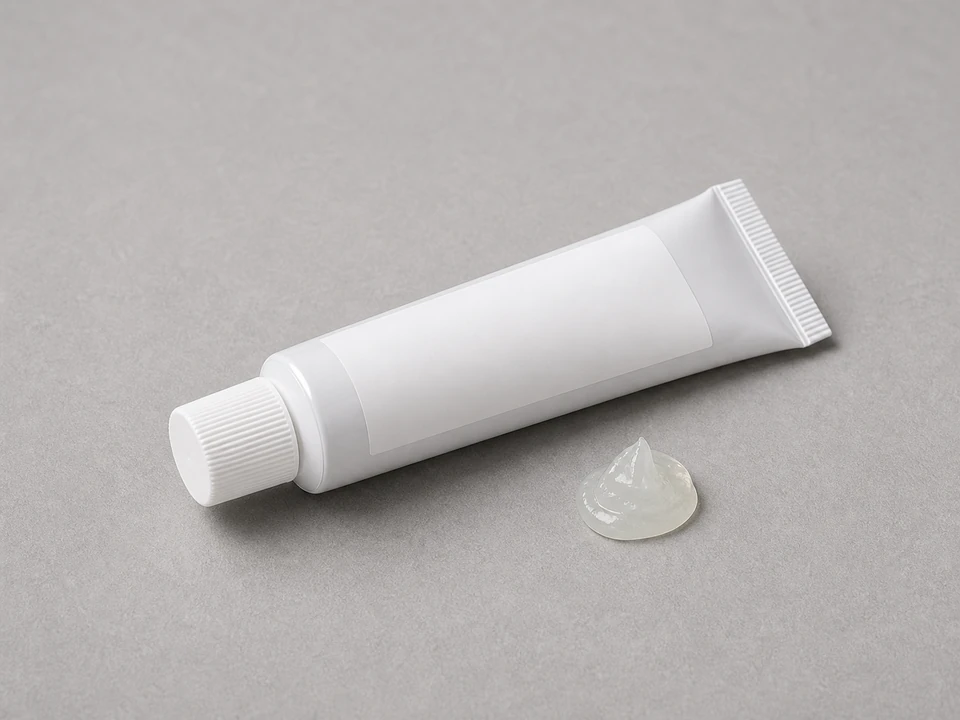
Use it for: To lightly lubricate new seals so they slide into place without twisting.
Shop food-grade silicone lubricant
Use it for: To keep screws, clips, and small valve parts from getting lost.
Shop magnetic parts traysAs an Amazon Associate I earn from qualifying purchases. Repair Riot may earn a commission at no extra cost to you.
If it works: The symptoms fit an internal valve sealing problem and you have a matching replacement kit ready.
If it doesn’t: If the issue is clearly a cracked housing, broken fitting, failed motor, or control problem, diagnose that part first instead of opening the valve for seals.
If it works: The softener is bypassed, powered off, and no longer under pressure.
If it doesn’t: If pressure still seems trapped, leave the faucet open a little longer and confirm the bypass is fully engaged before opening the valve.
If it works: The valve is open and you have a clear record of how the parts were arranged.
If it doesn’t: If the assembly does not come apart easily, recheck for hidden screws or clips instead of prying on plastic parts.
If it works: The old seals are out, the grooves are clean, and the new seals are ready to install.
If it doesn’t: If residue is still stuck in the grooves, keep cleaning until the surfaces are smooth and the seals can sit fully in place.
If it works: The new seals are installed correctly and the valve is reassembled without forcing any parts.
If it doesn’t: If a seal keeps popping out or the housing will not close evenly, reopen the valve and check for a twisted seal or a part installed in the wrong order.
If it works: The valve stays dry, the softener cycles normally, and the repair holds during real water use.
If it doesn’t: If the softener still leaks internally, sticks in cycle, or behaves the same way, reopen the valve to verify seal placement and part order, or move on to diagnosing the piston, motor, injector, drain restriction, or control head.
Match the seal shape, valve style, and your softener's control head layout before ordering so the new seals seat correctly.
As an Amazon Associate I earn from qualifying purchases. Repair Riot may earn a commission at no extra cost to you.
Common signs include internal leaking through the valve, the softener hanging in a cycle, water continuing to run to the drain when it should not, poor brine draw after the easy checks, or poor separation between valve positions.
Not always. If the valve body and moving parts are still in good shape, a seal kit is often enough. If the housing is cracked or the sealing surfaces are badly damaged, seals alone may not solve it.
Only a light film of food-grade silicone lubricant if needed. Too much lubricant can attract debris, and the wrong type of grease can damage rubber parts.
Usually yes, if the softener has a working bypass valve. The bypass isolates the unit so you can keep house water on while you work.
Only if the hard water is caused by a confirmed internal valve sealing or brine-draw problem. It will not fix a bypass left open, a salt bridge, a dead transformer, wrong settings, or a clogged drain line.
The most common causes are a seal installed out of order, a twisted seal, debris in the valve, or another failed part such as the piston or drive components.