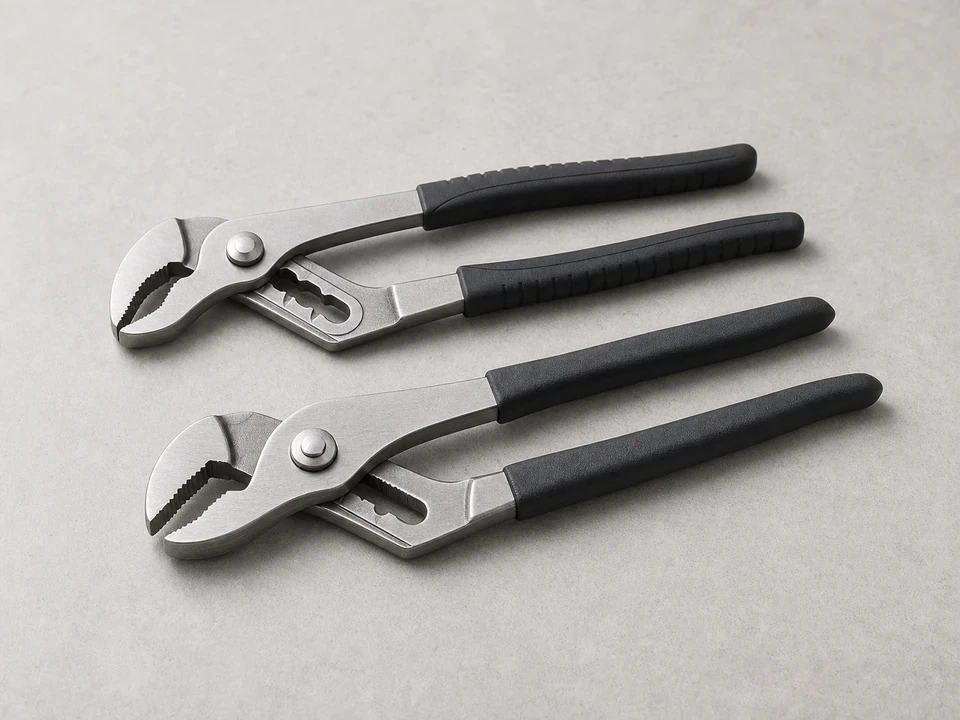
Adjustable pliers
Use it for: To loosen retaining nuts or clips carefully if the bypass assembly is snug.
Shop adjustable pliersIf the bypass valve leaks, feels hard to turn, or lets water slip past when it should be shut off, replacing the water softener bypass valve seal kit is a practical fix.
This repair is usually straightforward if you relieve water pressure first, keep the parts in order, and install the new seals exactly where the old ones came from. The goal is to stop leaks and restore smooth valve movement without damaging the valve body.
Before you start: Match the seal shape, diameter, and bypass valve style to your softener before ordering. Compare the old seals and any retaining clips or spacers in the kit.
Use it for: To loosen retaining nuts or clips carefully if the bypass assembly is snug.
Shop adjustable pliers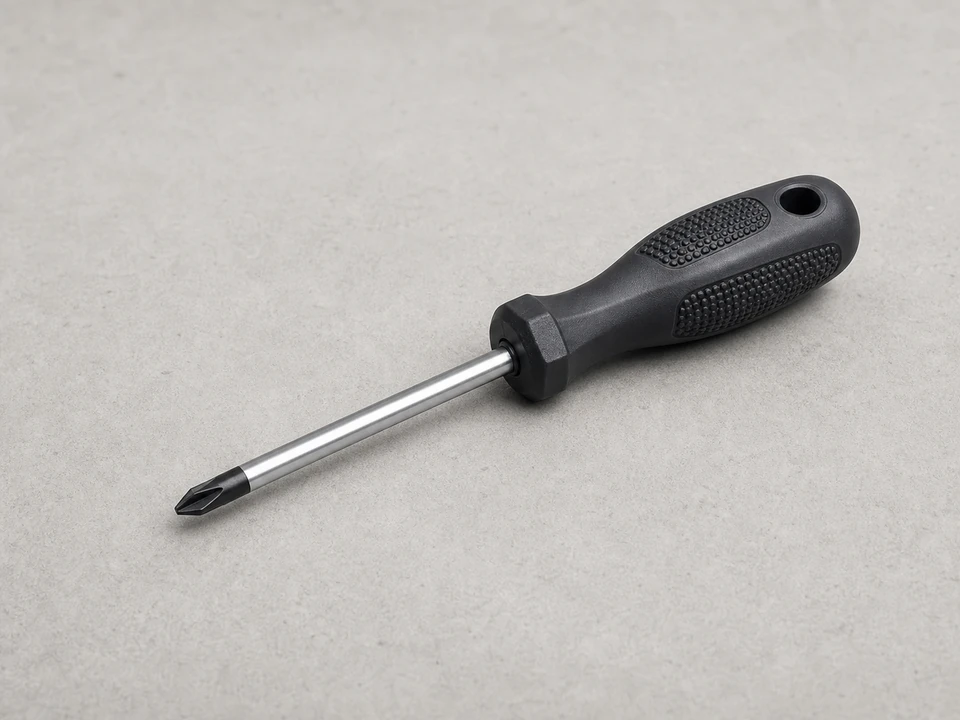
Use it for: To remove any screws holding covers or retaining brackets.
Shop Phillips screwdrivers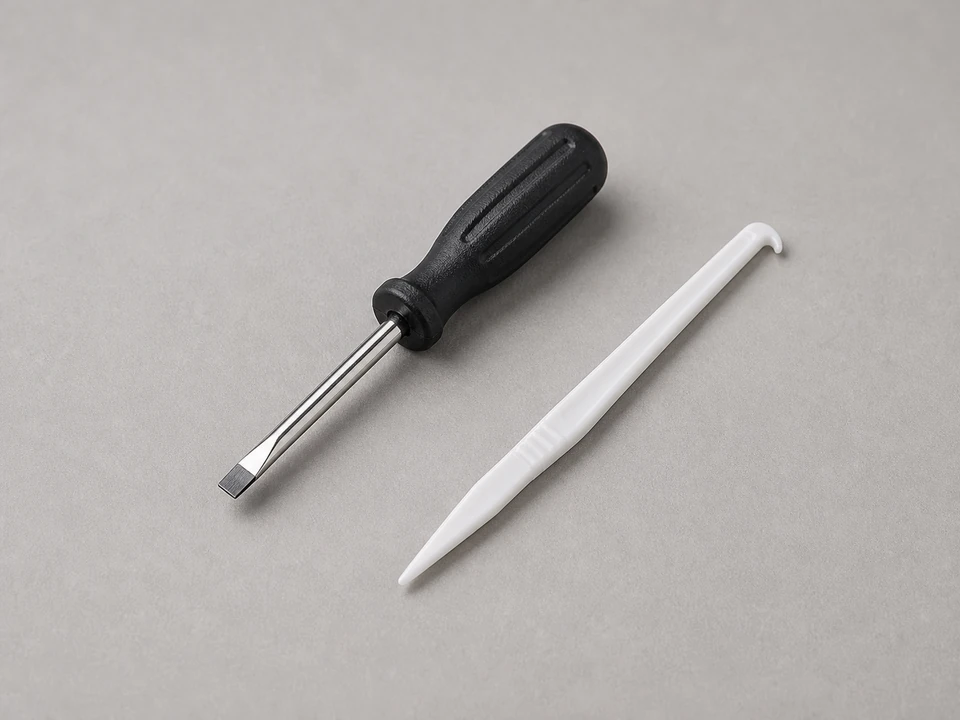
Use it for: To lift old seals out gently without gouging the valve housing.
Shop seal picks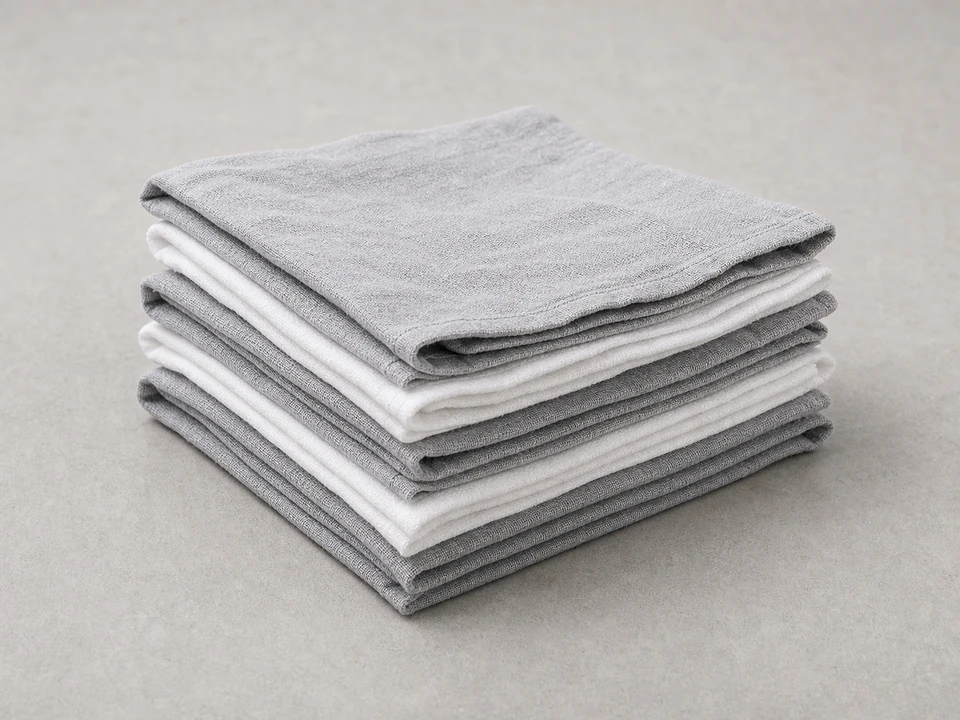
Use it for: To wipe out mineral residue and catch small drips during the repair.
Shop microfiber cleaning cloths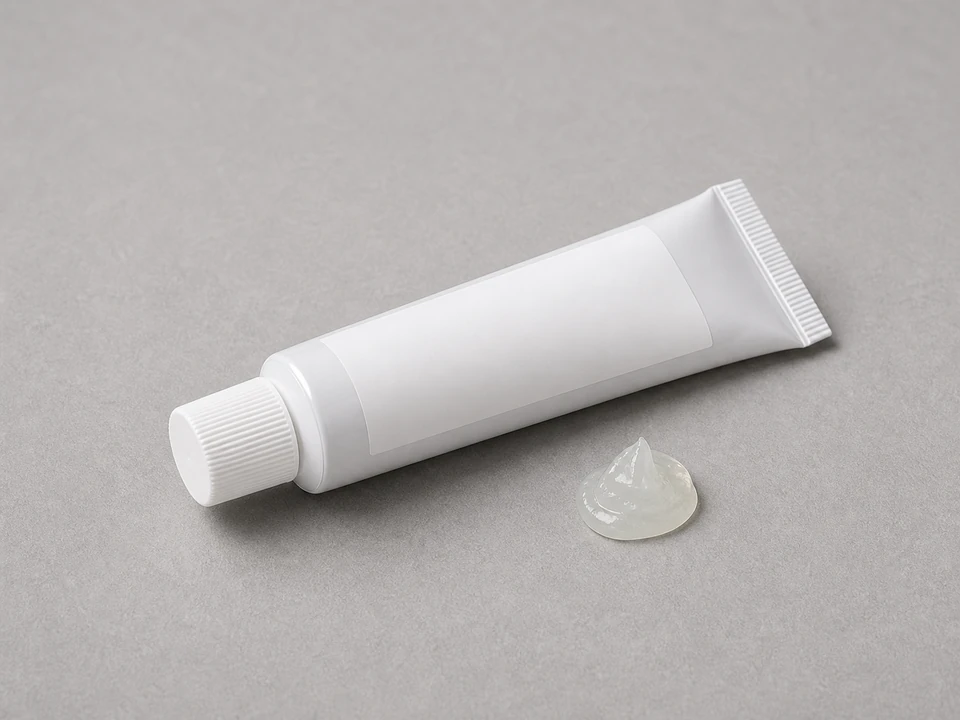
Use it for: To lightly lubricate new seals so they seat properly and do not twist.
Shop silicone plumber's grease
Use it for: To hold clips, screws, and old seals so nothing gets lost.
Shop small parts traysAs an Amazon Associate I earn from qualifying purchases. Repair Riot may earn a commission at no extra cost to you.
If it works: You have signs of worn bypass valve seals and a replacement kit that appears to match the valve.
If it doesn’t: If the leak is coming from a cracked housing, a broken handle, or a plumbing connection outside the bypass valve, this is probably not the right repair.
If it doesn’t: If you see a small leak, depressurize the system again and check for a pinched seal, misaligned part, or clip that is not fully seated.
If it works: The bypass valve stays dry, moves normally, and the softener returns to service without seepage.
If it doesn’t: If the valve still leaks or water bypasses the softener when it should not, the valve body or another internal bypass part may be worn and need further repair.
Match the seal shape, diameter, and bypass valve style to your softener before ordering. Compare the old seals and any retaining clips or spacers in the kit.
As an Amazon Associate I earn from qualifying purchases. Repair Riot may earn a commission at no extra cost to you.
Common signs are leaking around the bypass valve body, a handle that is hard to move, or water slipping past the valve when it should be fully in bypass or fully in service.
It is usually better to replace the full seal kit once the valve is open. The seals wear together, and mixing old and new parts can leave you with another leak soon after.
A light coating of food-grade silicone grease helps new seals slide into place and reduces the chance of twisting or tearing. Do not use petroleum grease unless the seal material specifically allows it.
The most common causes are a pinched seal, debris left in the groove, a mismatched kit, or damage to the valve body itself. A cracked or scored housing will usually keep leaking even with new seals.
Check it right after repressurizing, again after 15 to 30 minutes, and once more later the same day. Slow seepage can take time to show up.