Is water near the outlet or control head?
Unplug the softener if you can do it without standing in water. Dry the area, use bypass if needed, and do not open the cover until the electrical area is dry.
If your Rheem water softener is leaking, dry the cabinet and find the first fresh wet spot before buying parts. Start at the bypass, valve head, brine line, salt tank, and drain hose; stop if water reaches power or a tank or housing is cracked.
A good clue is timing. Constant dripping points toward a pressurized fitting, bypass seal, valve head, or tank neck. Water only during recharge points toward the brine line, drain hose, overflow, or salt tank.
Dry first, watch first, tighten last. Plastic fittings can crack when they are forced.
Don’t start with: Do not order a control head or write off the whole softener yet. Dry the bypass, tubing, tank neck, and salt-tank area first; many Rheem leaks trace back to O-rings, clips, tubing, or a cracked plastic fitting.
Unplug the softener if you can do it without standing in water. Dry the area, use bypass if needed, and do not open the cover until the electrical area is dry.
If it drips while idle, dry the top and back of the unit and watch for the first bead of water. That clue usually points to pressurized plumbing, bypass seals, valve-head seals, the tank neck, or a cracked housing.
Watch the drain hose, brine tube, overflow path, and salt tank. Recharge-only water is often a drain, brine, overflow, or valve-routing clue.
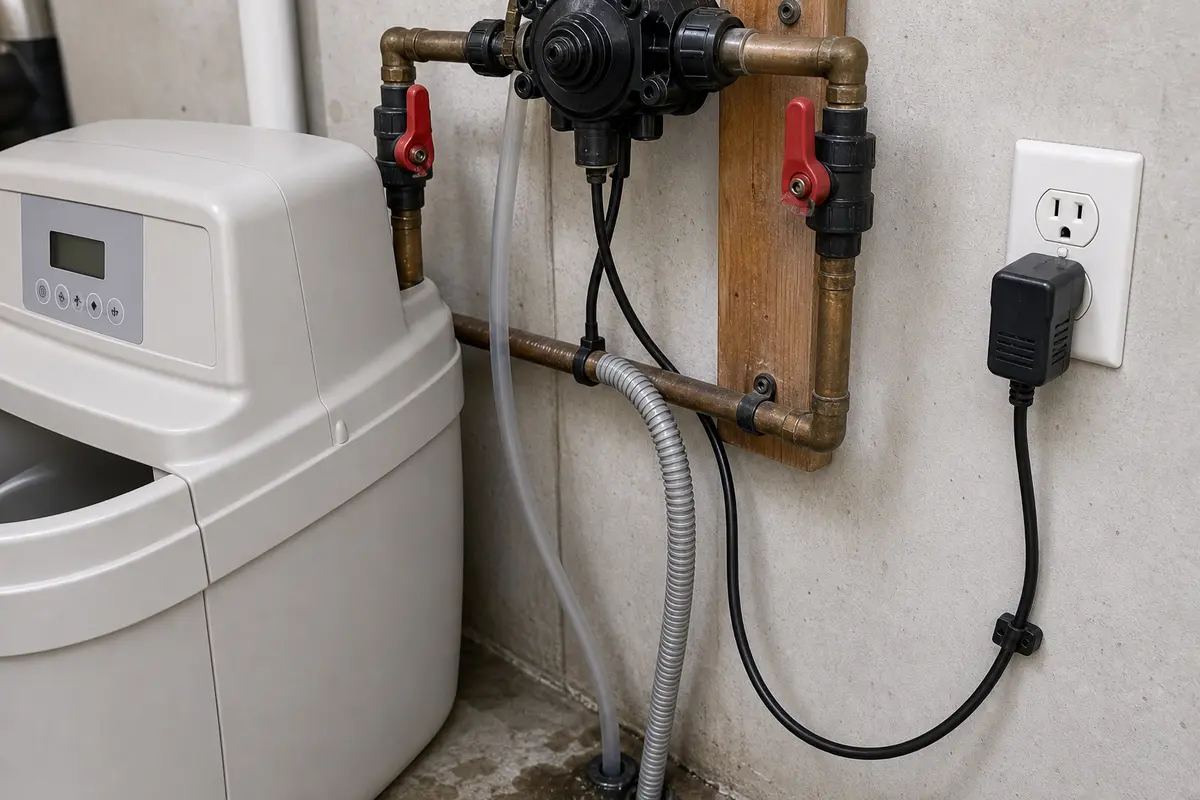
Check the bypass assembly, valve head, drain adaptor, brine hose connection, and the ring where the valve meets the resin tank before blaming the tank wall.
Dry the floor, put the unit in bypass, and make sure water is not dripping from above before treating the salt tank as cracked.
If you see a cracked tank, cracked valve body, split neck, resin beads, or pressurized spray, stop the parts run. Keep the unit bypassed and plan service or replacement instead of trying another seal.
Floor water may be coming from under the top cover. Dry the cabinet, then follow the first wet trail by timing and nearby part: fitting, bypass, valve head, brine side, or tank.
Write down the exact Rheem model number. Note whether the softener is idle or recharging. Then name the first wet part: clip, threaded adaptor, sliding bypass stem, drain hose, brine tube, valve head, tank neck, or salt tank. O-rings, bypass assemblies, drain adaptors, distributor O-rings, rotor/seal kits, brine tubing, and salt tanks are not interchangeable guesses.
The floor puddle is usually the last clue, not the first one. Start where the water first appears after the cabinet, tubing, tank neck, bypass, and salt tank are dry.
Do not start with a part order or another turn on a plastic fitting. Dry the bypass, hose, or valve joint before anything goes in the cart. Let the first fresh drop point to the part.
Work from outside clues toward model-specific parts. A clean leak trace saves more money than a fast guess.
Timing keeps the diagnosis from drifting. Use when the water appears, not just where it ends up.
| What you see | Likely area | Next move |
|---|---|---|
| Drips while the softener is idle. | Pressurized fitting, bypass, valve head, tank neck, or cracked housing. | Dry the top and back of the unit, then watch the first wet point without starting recharge. |
| Water appears only during recharge. | Drain hose, brine hose, overflow path, brinewell, salt tank, or valve routing. | Watch the cycle stage that used to leak and keep a bucket ready near accessible tubing. |
| Wetness starts at bypass clips or adaptors. | Bypass O-rings, threaded adaptor, installation adaptor, or bypass body. | Match the leak to one joint before deciding between O-rings, adaptors, or the bypass assembly. |
| Water pools around the valve head tray. | Valve-head seals, drain adaptor, or valve-to-tank area. | Check the drain connection and valve cover first, then inspect the tank-neck ring. |
| Only the floor under the salt tank gets wet. | Salt tank, brinewell, overflow, or water running down from above. | Dry the floor, use bypass, and prove no water is dripping from the top before calling the tank cracked. |
| Water beads from a molded tank seam or crack. | Tank or housing failure. | Stop DIY repair, keep the unit bypassed, and plan service or replacement. |
Use Rheem support's order after you dry the unit: valve head, bypass assembly, salt tank, external leak location, then internal leak checks. Part decisions wait until after the first wet spot shows which area is leaking.
Use these for tracing and cleanup. They are not a reason to open powered controls or force brittle softener fittings.
Paid links. As an Amazon Associate I earn from qualifying purchases. Repair Riot may earn a commission at no extra cost to you.
Helps when: You need to see behind the bypass, under the top cover edge, around the drain adaptor, and down beside the brinewell.
Skip it when: Skip hands-on checks if the outlet, transformer, or control area is wet.
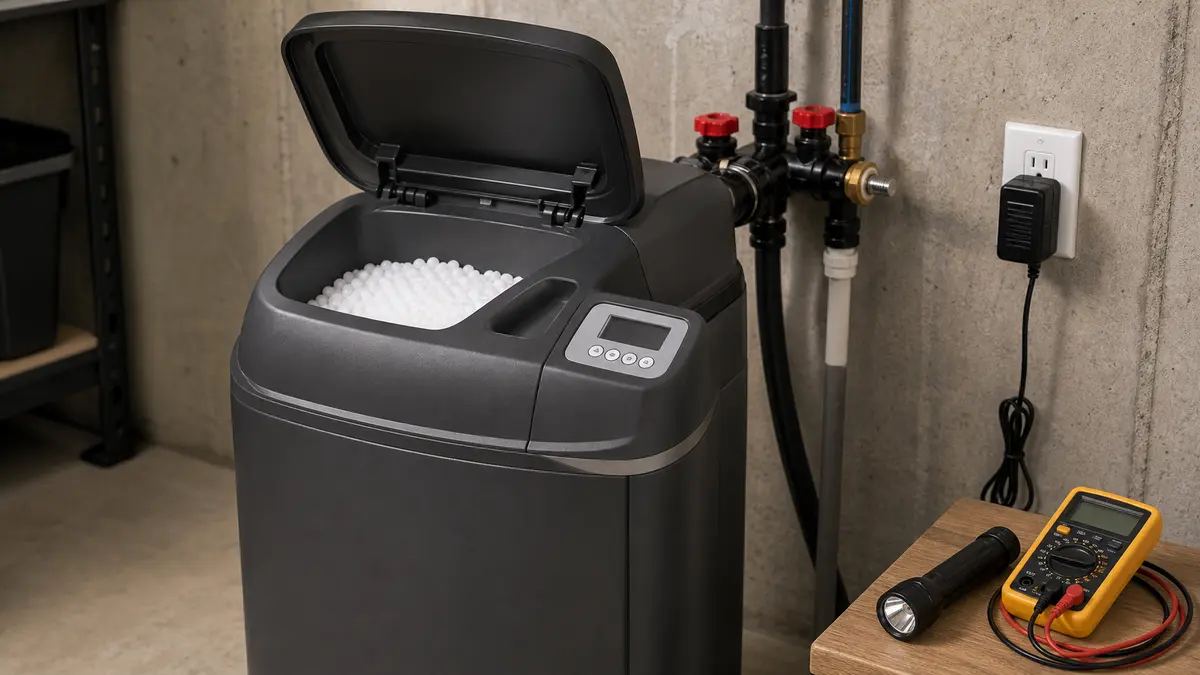
Compare inspection flashlights on Amazon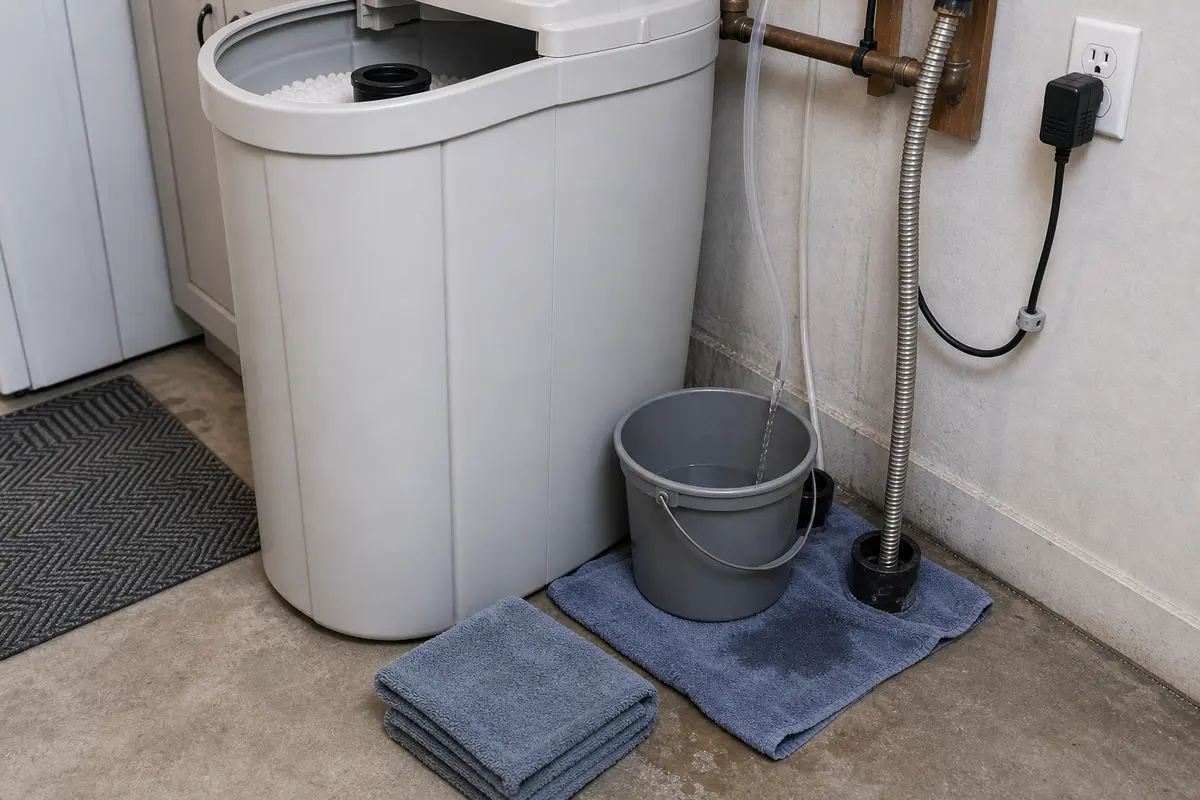
Helps when: You are drying the cabinet, catching a small drip, or keeping brine away from finished flooring while tracing the first wet spot.
Skip it when: Skip a DIY cleanup when water is spraying, still rising in the salt tank, or reaching electrical parts.
Compare cleanup supplies on AmazonHelps when: Small dry strips under each fitting show the first fresh drop better than a towel spread across the whole floor.
Skip it when: Use bypass instead when the leak is more than a slow drip.
Compare absorbent towels on AmazonParts belong here only after the leak point is proven and the exact Rheem model number, valve style, and fitting size match.
Paid links. As an Amazon Associate I earn from qualifying purchases. Repair Riot may earn a commission at no extra cost to you.
Helps when: Compare these only when the leak starts at the bypass retainer clips, threaded connections, sliding stem, or adaptor joints and the failed spot is visible.
Skip it when: Skip bypass parts when the wet point is the drain hose, salt tank, tank neck, or valve cover instead.
Compare Rheem bypass parts on AmazonHelps when: Buy tubing only when the brine line is cracked, kinked, rubbed through, loose at a fitting, or wet during recharge.
Skip it when: Skip it when the brine line stays dry and the leak starts at the bypass, valve head, drain adaptor, tank neck, or salt tank wall.
Compare brine line tubing on Amazon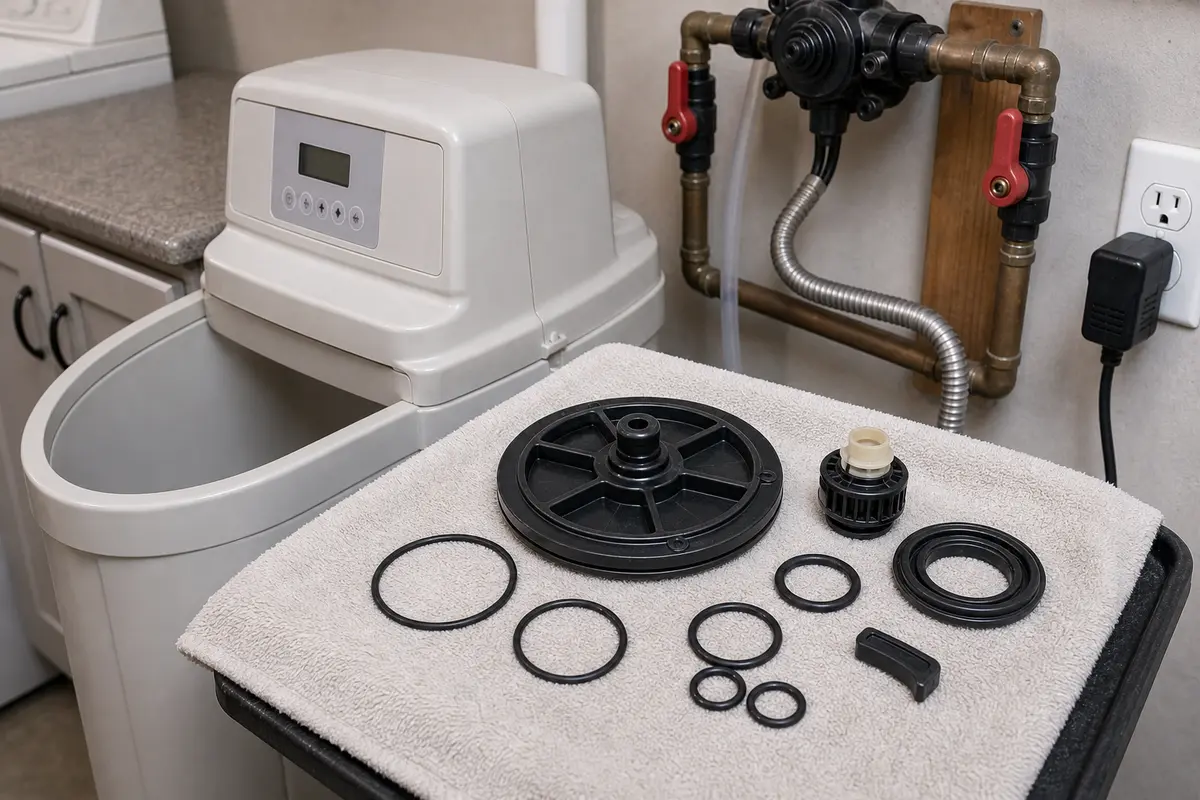
Helps when: Compare seal parts only when the leak points to the valve head, internal valve path, or tank-neck seal and the plastic housing is not cracked.
Skip it when: Skip seal kits when the bypass body, valve head, resin tank, or salt tank is cracked, or when the exact model and part number are not known.
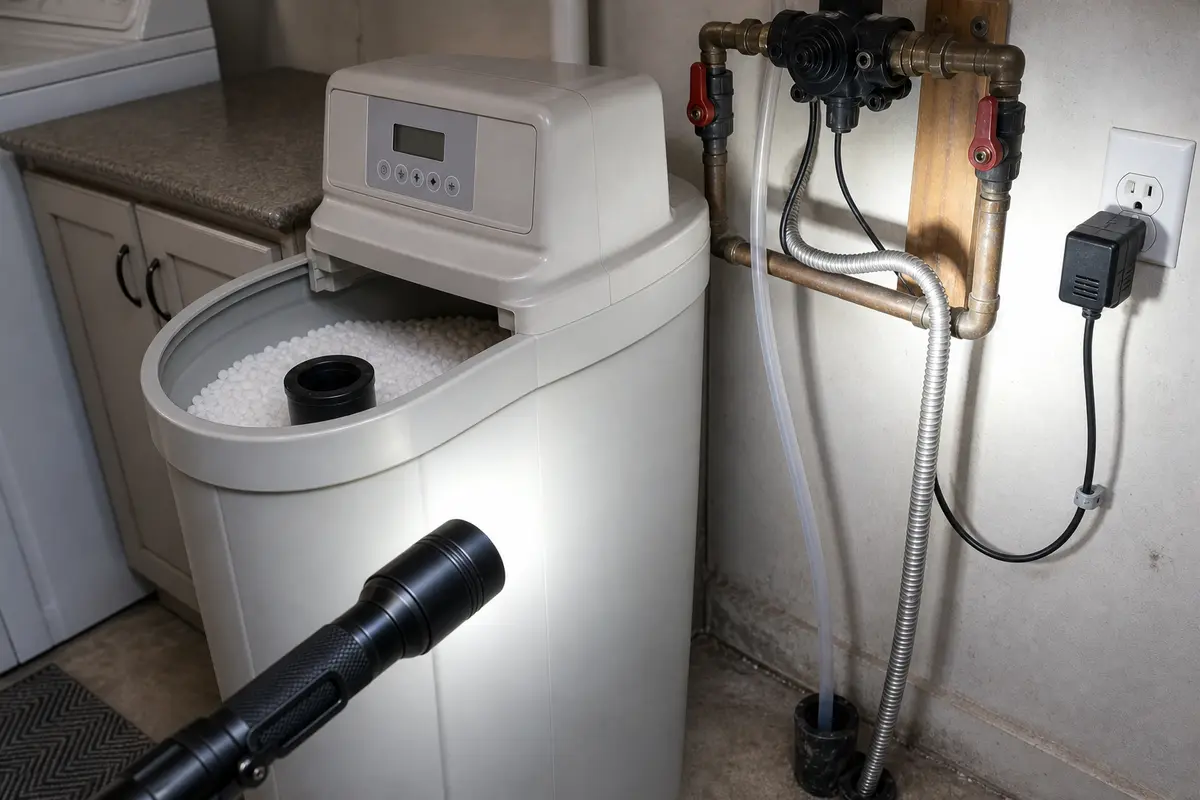
Compare Rheem seal kits on AmazonUsually the water is not starting at the bottom. It often drips from the bypass valve, a connection, or the tank neck and then runs down the cabinet. Dry the whole unit and find the first wet spot before assuming the tank failed.
Only when the leak is minor, controlled, and clearly from a simple external connection that stays dry after correction. Put the unit in bypass and stop using it when the tank, valve housing, or bypass body is cracked.
Sometimes. A water softener seal kit may solve it when the wet spot is at worn seals and the bypass housing is intact. A cracked bypass body will not tighten back together; replacement or service is the better move.
That usually points away from the main tank and toward the drain path, brine line, or brine tank side of the system. Watch the unit during the cycle and see whether the leak starts when the brine tank refills or when tubing is under flow.
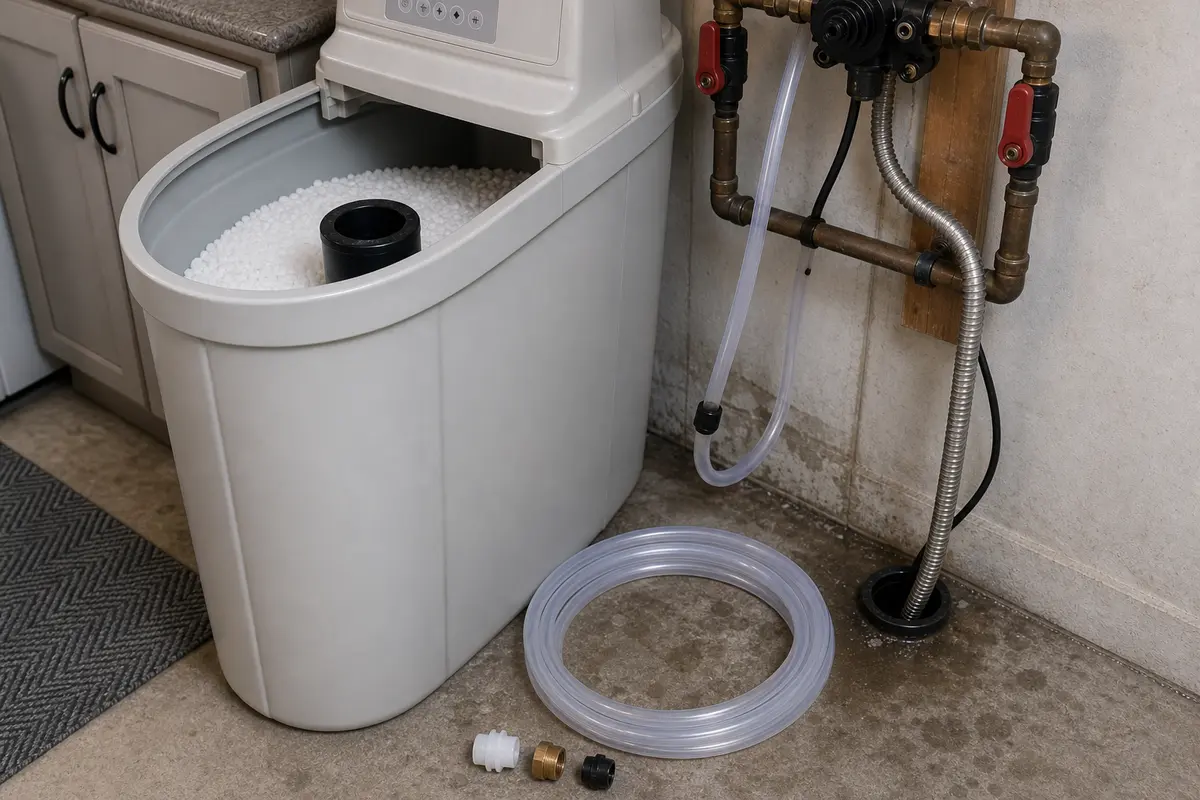
A cracked resin tank usually shows a damp spot or bead of water directly on the tank wall or along a molded seam, even after you dry everything else. If the wetness starts at the tank opening under the valve head instead, a seal leak is more likely than a cracked tank.
Not right away. Top-side leaks are often from the bypass connection or the seal where the head meets the tank. Replace a control head only after you have ruled out those simpler leak points and confirmed the housing itself is damaged.
Keep your hands dry, unplug the softener only if you can do it safely, and stop opening covers or touching wiring. Put the unit in bypass or shut off the feed water if needed, then dry the area before any more troubleshooting.
Dry the bypass and look at one spot at a time: retainer-clip O-rings, threaded connections, installation adaptors, the sliding stem, and the bypass body. The part decision comes after the first fresh wet spot tells you whether an O-ring, adaptor, or full bypass assembly makes sense.
Yes, but prove water is not dripping from above first. Dry the outside of the tank and floor, put the softener in bypass if needed, and watch whether water returns from the tank body, brinewell area, overflow, or valve side.
Use the full Rheem model number and the leak location. Bypass O-rings, bypass assemblies, drain adaptors, brine tubing, rotor/seal kits, distributor O-rings, and salt tanks can look similar while fitting differently.
Stop DIY when you see a crack in the resin tank, tank neck, bypass body, valve head, or salt tank. The same goes for pressurized spray, resin beads, or water reaching electrical parts. Bypass or shut off the feed water and treat those as service or replacement decisions, not trial-and-error part swaps.
Repair Riot built this page around homeowner-visible leak tracing. Dry the unit, sort by timing, check Rheem bypass and valve-head leak points, and keep brine and drain clues separate. Do not buy model-sensitive parts until the first wet point is proven.