Washer part replacement

How to Replace a Washer Dispenser Drawer

To replace a washer dispenser drawer, pull out the old drawer, release its stop tab, clean the drawer opening, and slide in the correct replacement until it seats and moves smoothly.

This is a good repair when the drawer is cracked, warped, missing pieces, won’t stay in place, or keeps sticking even after cleaning. If the drawer opening itself is damaged or leaking from deeper inside the washer, the problem may be beyond the drawer alone.

Before you start: Match the replacement part to your exact washer before ordering.

Last reviewed: 2026-06-05

Safety first

  • Work with the washer turned off while removing and installing the drawer.
  • Do not force stuck plastic parts. A jammed drawer can mean the housing or guides are damaged.
  • Use mild soap and water for cleaning. Avoid harsh chemicals that can damage plastic parts or leave residue in the dispenser.

Tools you may need

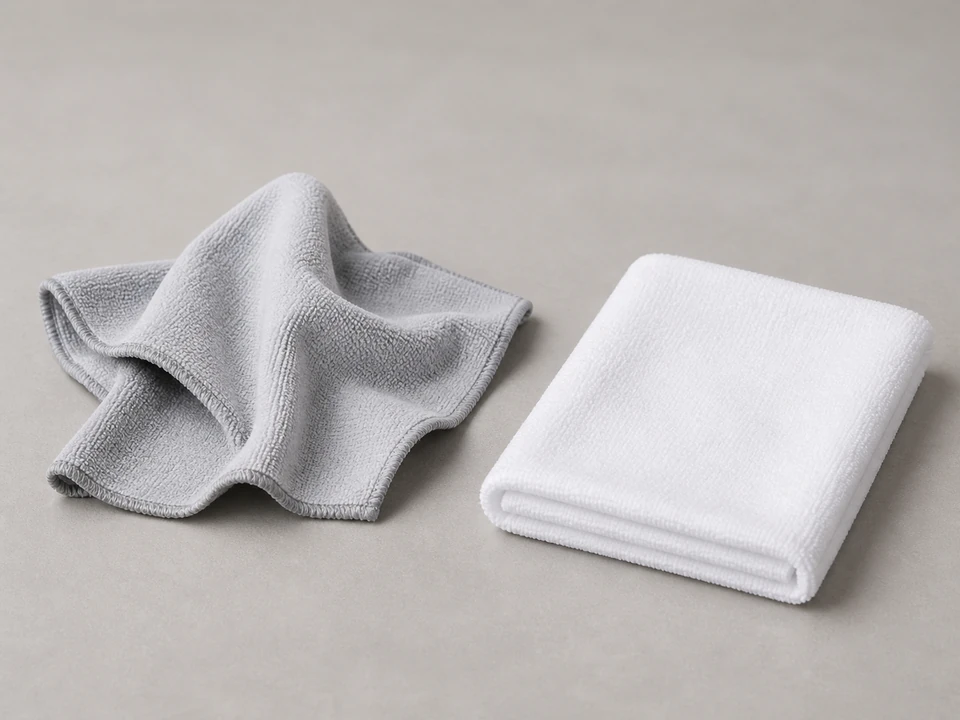
Soft cloth or rag tool

Soft cloth or rag

Use it for: To wipe detergent residue and clean the drawer cavity before installing the new part.

Shop cleaning cloths
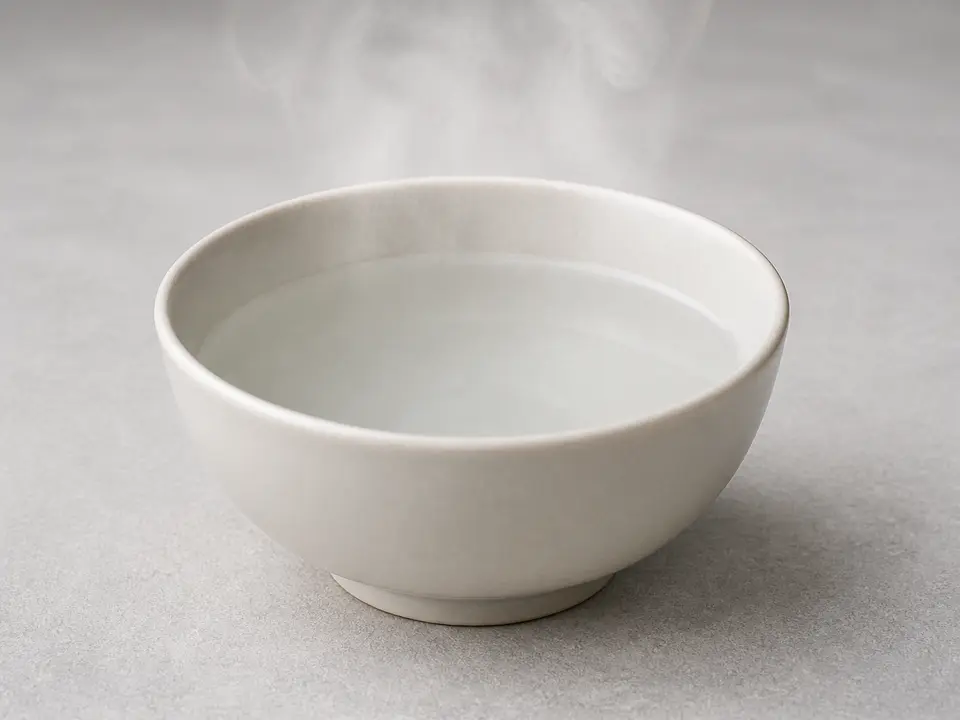
Small bowl of warm water tool

Small bowl of warm water

Use it for: To loosen built-up detergent and softener residue around the drawer opening.

Shop small cleaning bowls
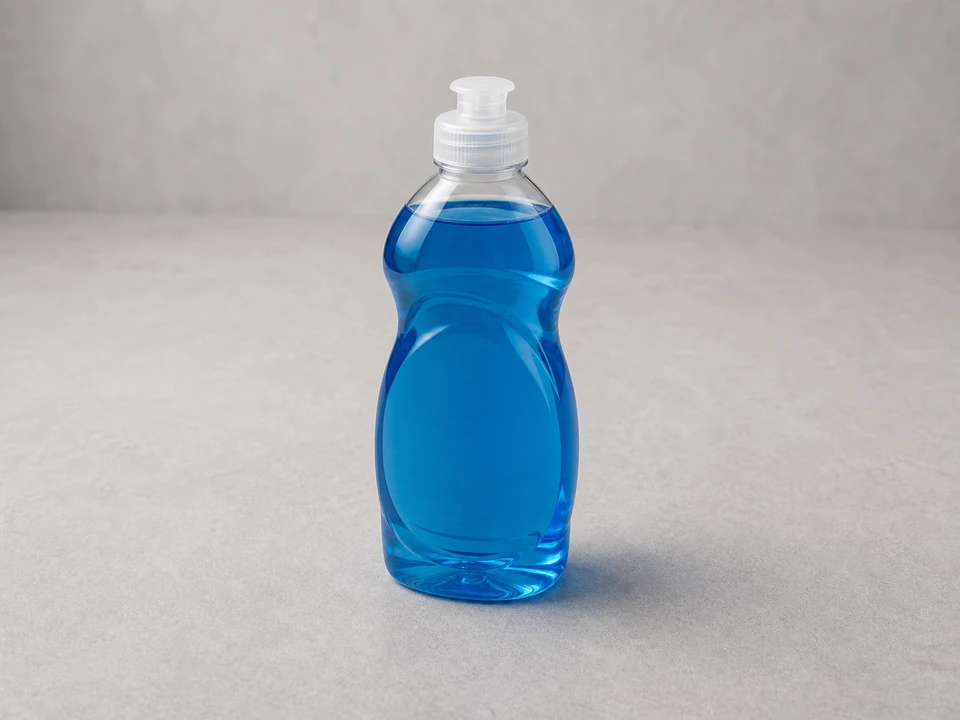
Mild dish soap tool

Mild dish soap

Use it for: To help remove sticky buildup without being harsh on plastic parts.

Shop dish soap
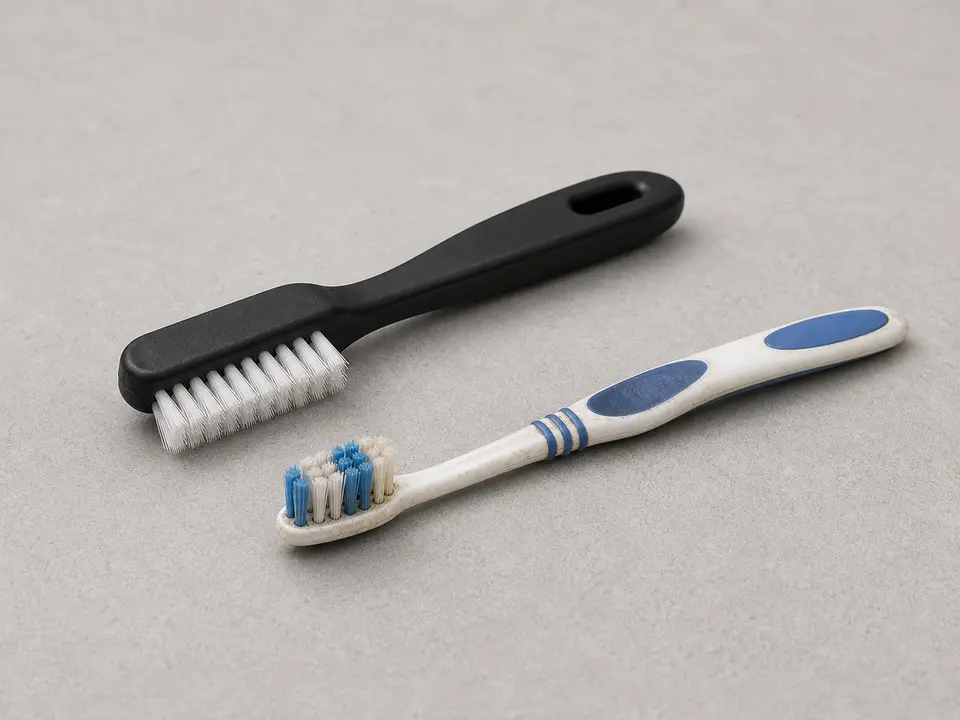
Old toothbrush or small cleaning brush tool

Old toothbrush or small cleaning brush

Use it for: To scrub residue from corners, rails, and the dispenser housing.

Shop small cleaning brushes
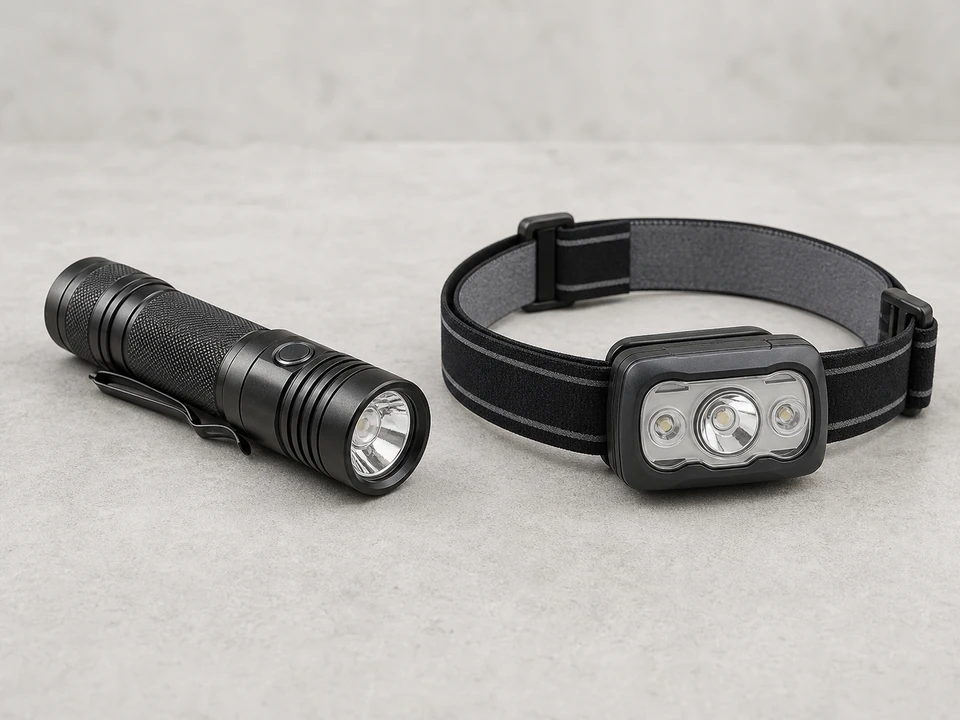
Flashlight tool

Flashlight

Use it for: To check for cracks, broken tabs, or damage inside the dispenser cavity.

Shop flashlights

As an Amazon Associate I earn from qualifying purchases. Repair Riot may earn a commission at no extra cost to you.

Step-by-step fix

Step 1: Make sure the drawer is really the problem

  1. Pull the dispenser drawer out as far as it will go and look for obvious damage like cracks, broken tabs, warped plastic, or missing inserts.
  2. Check whether the drawer binds, tilts, falls out too easily, or will not stay fully seated.
  3. Look inside the drawer opening with a flashlight for heavy detergent buildup that could be blocking movement even if the drawer itself is still usable.
  4. If the old drawer is only dirty, remove residue and test it before replacing it.

If it works: You have a clear reason to replace the washer dispenser drawer instead of just cleaning it.

If it doesn’t: If the drawer looks intact and moves normally after cleaning, you may not need this repair yet.

Stop if:
  • The dispenser housing inside the washer is cracked, loose, or broken.
  • You see signs of leaking, corrosion, or damage deeper inside the cabinet that are not limited to the drawer.
  • The replacement drawer does not match your washer model.

Step 2: Set up the washer and remove the old drawer

  1. Turn the washer off so it cannot be started while you are working.
  2. Place a rag below the dispenser area in case leftover water or detergent drips out.
  3. Pull the drawer out until it stops.
  4. Press or lift the drawer release tab if your washer has one, then slide the drawer fully out.

If it works: The old washer dispenser drawer is out and the work area is protected from drips.

If it doesn’t: If the drawer will not release, look for a center or rear tab and try again without forcing the plastic.

Stop if:
  • The drawer is jammed so tightly that forcing it could break the housing.
  • The front panel or dispenser opening shifts or feels loose when you pull on the drawer.

Step 3: Clean the drawer opening and rails

  1. Wipe out the dispenser cavity with a damp cloth to remove loose detergent, softener, and grime.
  2. Use warm water, a little dish soap, and a small brush to clean the rails, corners, and any visible buildup inside the opening.
  3. Remove any chunks of hardened detergent that could keep the new drawer from sliding in straight.
  4. Dry the area with a clean cloth so the new drawer does not ride over wet sludge or debris.

If it works: The dispenser opening is clean enough for the new drawer to slide in smoothly and seat fully.

If it doesn’t: If buildup keeps returning or water is standing inside the cavity, inspect for a deeper dispenser or water-flow problem after the drawer replacement.

Stop if:
  • You find broken plastic guides, missing rail pieces, or internal damage inside the dispenser housing.

Step 4: Compare the new drawer to the old one

  1. Set the old and new drawers side by side.
  2. Match the overall shape, width, depth, front handle area, and any locking tab or insert locations.
  3. Move any removable insert from the old drawer only if it is designed to transfer and the new part does not include one.
  4. Make sure the new drawer is clean and free of packaging pieces before installation.

If it works: The replacement drawer matches the old one closely enough to install with confidence.

If it doesn’t: If the tab locations or shape do not match, pause and verify the part using your washer's exact model information.

Stop if:
  • The new drawer is a different size or has a different latch design that will not fit the opening.

Step 5: Install the new washer dispenser drawer

  1. Line up the new drawer with the rails in the dispenser opening.
  2. Slide it in slowly and keep it level so the sides do not catch.
  3. Push until the drawer passes the stop point and clicks or settles into its normal seated position.
  4. Pull it back out partway and slide it in again to make sure it moves evenly without rubbing or popping loose.

If it works: The new washer dispenser drawer slides smoothly, stays aligned, and seats fully.

If it doesn’t: If it binds, remove it and check again for leftover buildup, misalignment, or the wrong replacement part.

Stop if:
  • The drawer will not seat because the internal guides or stop mechanism inside the washer are damaged.

Step 6: Test the repair in real use

  1. Add a normal amount of detergent to the correct compartment in the new drawer.
  2. Run a short wash cycle or a rinse cycle that uses the dispenser.
  3. Watch for smooth drawer operation before and after the cycle, and check for drips, overflow, or detergent left behind because the drawer is sitting crooked.
  4. Remove the drawer after the test if needed and confirm it still slides in and out normally.

If it works: The drawer stays in place, dispenses normally, and the repair holds during an actual cycle.

If it doesn’t: If detergent still does not dispense correctly, the issue may be with water flow, the dispenser housing, or another internal washer component rather than the drawer itself.

Stop if:
  • Water leaks from behind the dispenser area during the cycle.
  • The drawer pops out, jams repeatedly, or cannot stay seated even though the replacement part matches.

Replacement Parts

As an Amazon Associate I earn from qualifying purchases. Repair Riot may earn a commission at no extra cost to you.

Verify the repair

  • The new drawer slides in and out without sticking or tilting.
  • The drawer stays fully seated during a wash or rinse cycle.
  • Detergent or softener is no longer being held up by a cracked, warped, or broken drawer.
  • There are no new leaks or drips around the dispenser area after testing.

FAQ

Can I replace just the washer dispenser drawer without replacing the whole dispenser housing?

Yes, if the drawer itself is cracked, warped, or broken and the housing inside the washer is still intact. If the rails or internal guides are damaged, the drawer alone may not solve it.

Why does my new dispenser drawer keep sticking?

The most common causes are leftover detergent buildup in the drawer opening, a slightly misaligned installation, or the wrong replacement part. Clean the cavity well and compare the new drawer to the old one.

Do I need tools to replace a washer dispenser drawer?

Usually only simple cleaning supplies and a flashlight. Most drawers slide out and back in by hand once you release the stop tab.

Should I move inserts from the old drawer to the new one?

Only if the new drawer does not include them and the old inserts are still in good shape. Make sure they fit securely and match the compartment layout of the replacement drawer.

What if detergent still does not dispense after I replace the drawer?

Then the root problem may be elsewhere, such as poor water flow into the dispenser, a clogged dispenser path, or damage in the housing behind the drawer.