Replace the dehumidifier float switch only after the bucket slides in squarely, the float rises and drops freely, and the switch lever or connector still fails to trigger the normal bucket response.
Pull the bucket first, wipe the bay, press the float through its travel, and compare the old switch to your model tag. A dirty rail, sticky float, cracked actuator, or mismatched plug can send you down the wrong repair path.
Before you start: Match the full model number, switch body, lever or float style, connector, terminal count, and mounting tabs. Stop if water has reached wiring, the plug or cord is heat damaged, or the cabinet must be forced open.
Last reviewed: 2026-07-04
Make sure this is the right repair
Do not order the switch just because the full-bucket warning stays on. Seat the bucket, lift and release the float, then press the switch lever. If the warning still will not clear or the connector is loose, the switch is the next suspect.
Replace the switch
This page fits when: The bucket passes the first check: it slides fully into the rails, and the float rises and drops freely. Pressing the lever still leaves the full-bucket warning on, the lever does not click, the housing is cracked, or the connector or plug is loose.
Check something else when: Match the full model number, plug key, terminal count, lever length, float direction, and mounting tab or screw pattern.
Clean or adjust first
This page fits when: The bucket rocks, a rail is dirty, the float sticks from slime or mineral crust, or the actuator pad is not reaching the switch.
Check something else when: Clean the bucket bay, reseat the bucket, and retest. Buy the switch only if the same warning remains.
Stop for electrical damage
This page fits when: The cabinet is dry, the cord is sound, and the switch connector can be reached without cutting wiring or disturbing sealed refrigeration tubing.
Check something else when: Stop if water reached wiring, the connector is burned, insulation is brittle, or internal access requires forcing panels.
Check the bucket bay and switch shape
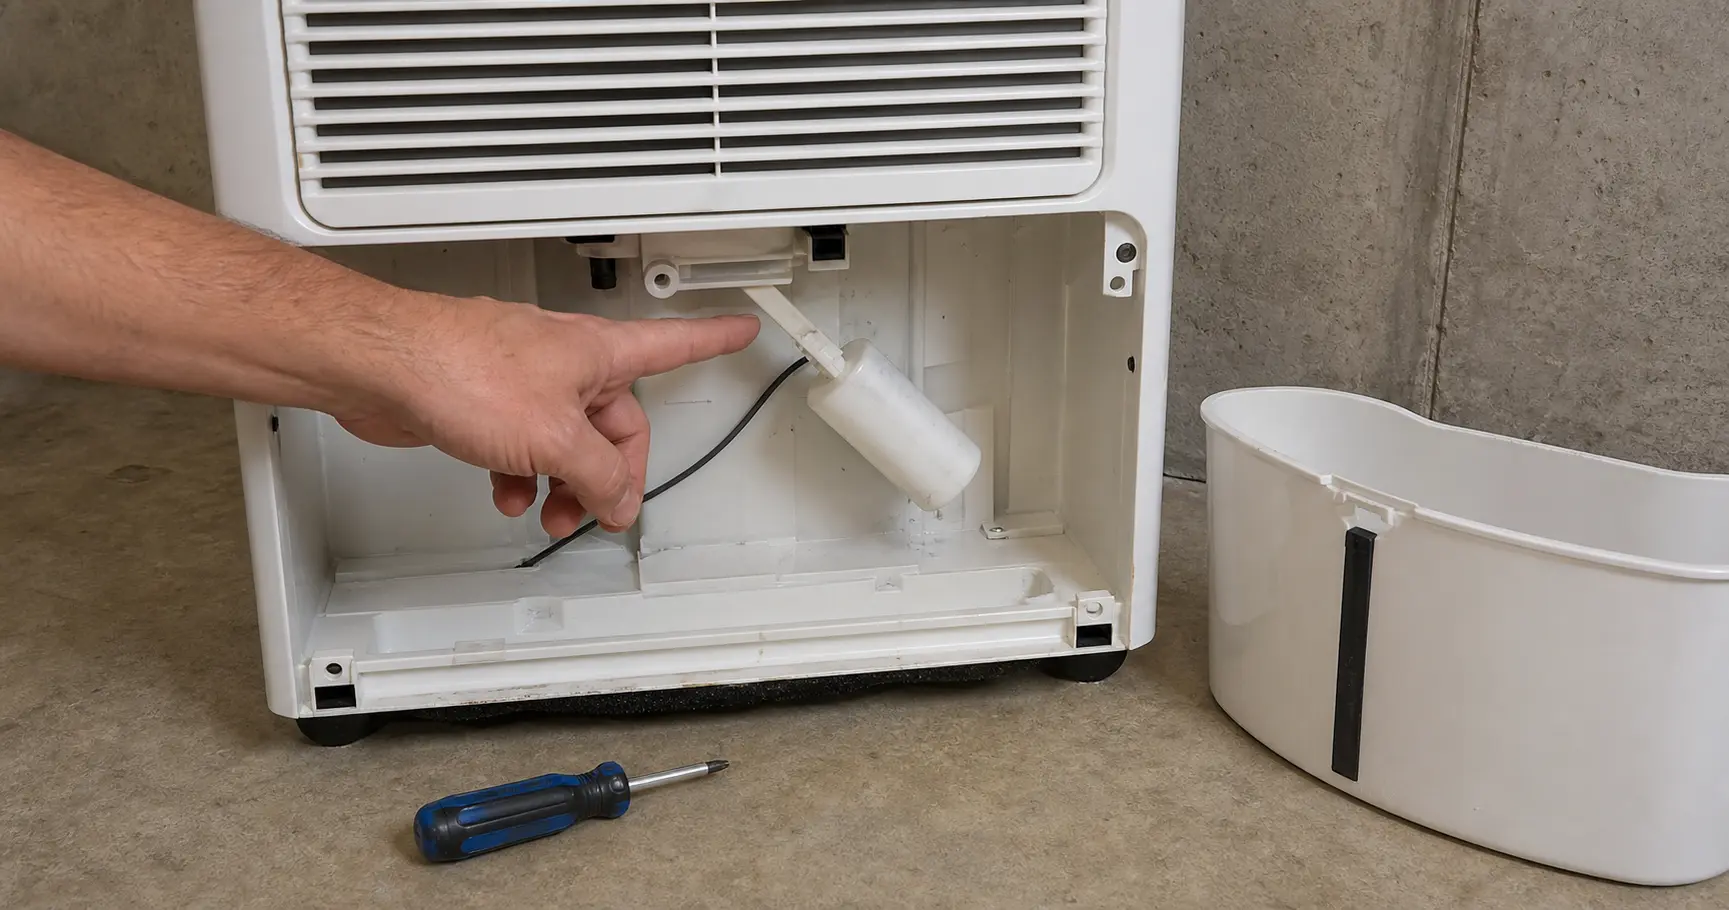
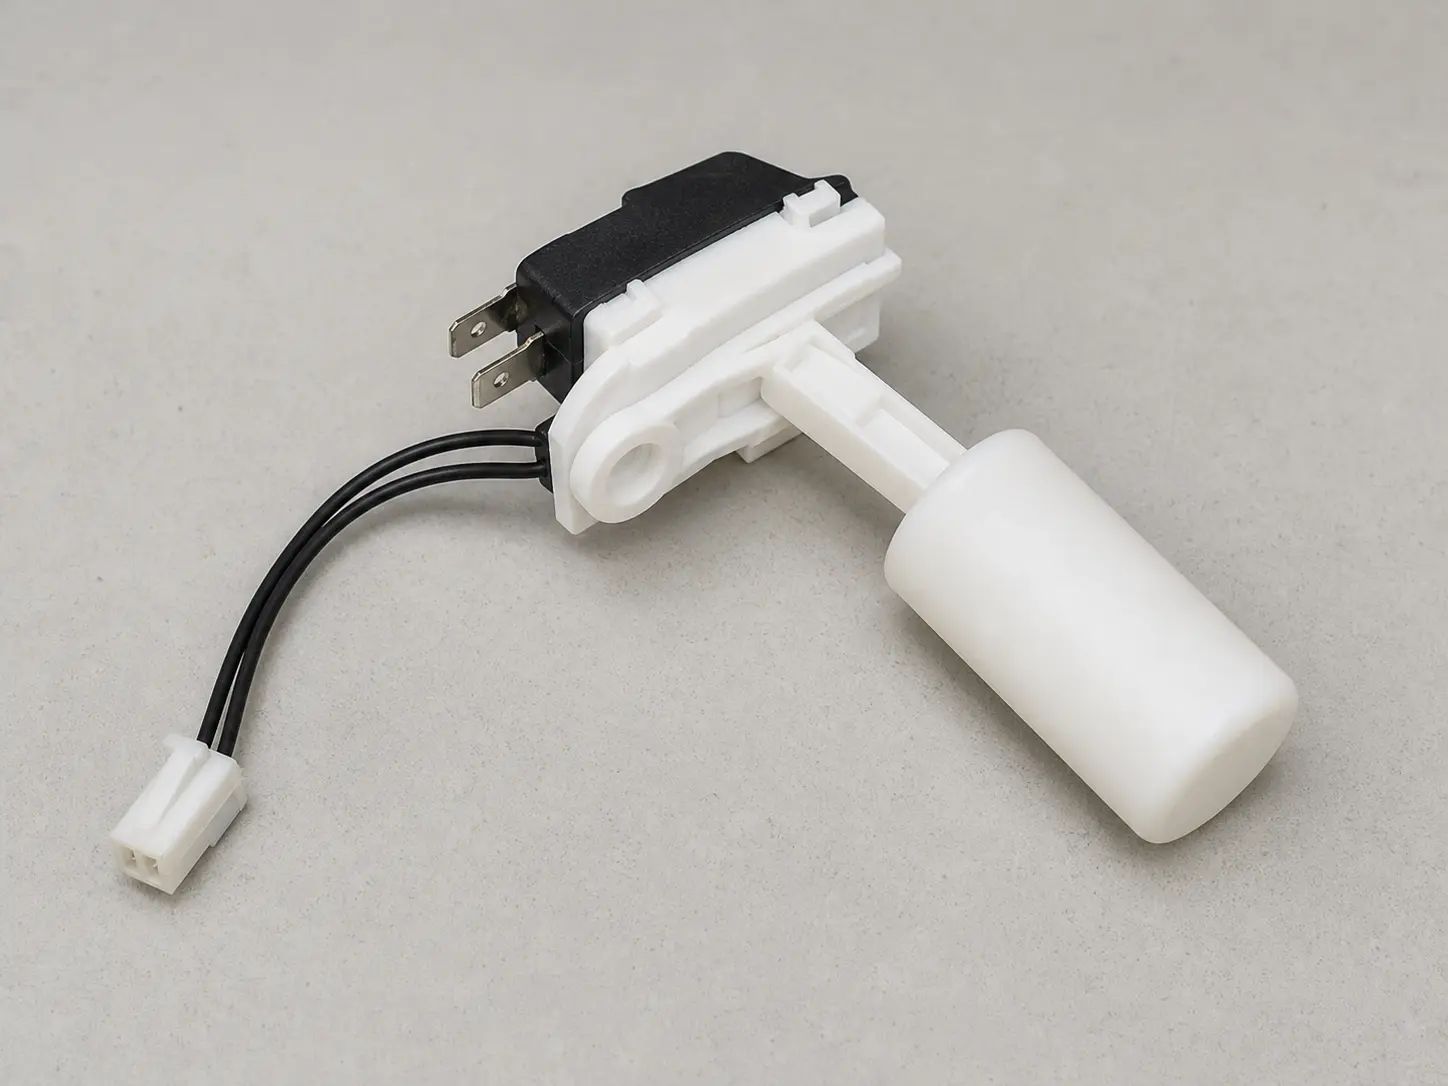
Use the bucket-bay photo to find the float path, then compare the detached switch shape before you order. If the bucket cannot press the lever cleanly, a new switch will not fix the warning.
With the bucket out, look for free float travel, square bucket rails, and a switch lever or actuator that is not jammed by dirt or mineral buildup.Compare the old switch to this kind of shape check: float direction, lever length, plug key, terminal count, and mounting tabs. Order by model number when two switches look close.
Safety first
Unplug the dehumidifier before removing panels or touching internal wiring.
Work with dry hands and keep the unit and floor dry during the repair.
Do not reach into an open cabinet while the unit is plugged in.
Cabinet edges can be sharp, so wear gloves and move slowly around sheet-metal parts.
Do not bypass the float switch for regular use. It is a safety and overflow-control part.
Stop and call a qualified appliance repair tech if the cord, plug, connector, or control area is wet, scorched, or repeatedly trips power.
Tools you may need
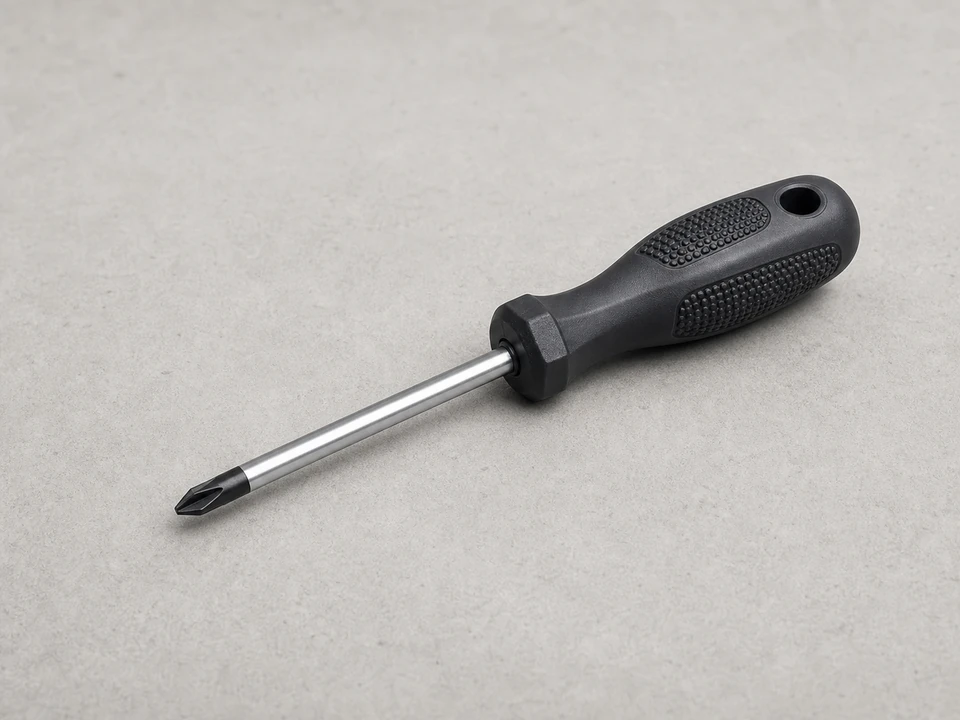
Phillips screwdriver
Use it for: Removes the outer cover, access panel, or switch mounting screws.
As an Amazon Associate I earn from qualifying purchases. Repair Riot may earn a commission at no extra cost to you.
Step-by-step fix
Step 1: Shut down the unit and set up your workspace
Turn the controls off, unplug the dehumidifier from the wall outlet, and keep the cord in sight while you work.
Remove the water bucket, empty it, and wipe the bucket bay dry so water cannot run toward the switch wiring.
Set the unit on a stable surface with enough room to remove the front or rear cover without twisting the cabinet.
Use a cup or tray for screws, and keep panel screws separated from small switch screws.
Before removing panels, slide the bucket in once and note whether the rails, float, and switch lever line up cleanly.
If it works: The unit is unplugged, empty, and ready to open safely.
If it doesn’t: If the bucket is stuck or the unit is still wet, dry the area first and do not force plastic parts.
Stop if:
The power cord or plug shows heat damage.
You see standing water near electrical parts inside the unit.
The cabinet must be forced open because hidden fasteners may still be in place.
Step 2: Confirm the bucket and float are not the cause
Slide the bucket into both rails and check that it sits flush instead of rocking forward or hanging on one side.
Lift and release the float by hand if you can reach it; it should rise, drop, and return without scraping the bucket wall.
Wipe slime, lint, or mineral crust from the float hinge, actuator pad, and switch lever, then retest the bucket response.
Look for a cracked lever, broken float arm, loose plug, green corrosion on terminals, or a switch body that moves in its bracket.
Compare the old switch area to the switch you plan to install: plug key, terminal count, lever length, float direction, screw hole, and snap-tab shape all need to match.
If it works: The bucket seats squarely, the float moves freely, and the remaining fault points at the switch or its connector.
If it doesn’t: Cleaning the float path or reseating the bucket may clear the full-bucket warning. If it does, leave the switch in place and run the unit long enough to make sure the warning stays gone.
Stop if:
The switch you bought has a different plug key, terminal count, lever direction, or mounting tab pattern.
The bucket rail, float hinge, or actuator bracket is cracked enough that a new switch would not sit square.
There is heavy corrosion or water damage on more than the switch connector.
Step 3: Open the cabinet and access the switch
Remove the screws holding the access panel or outer cover, then check for hidden screws near the bucket rails before prying.
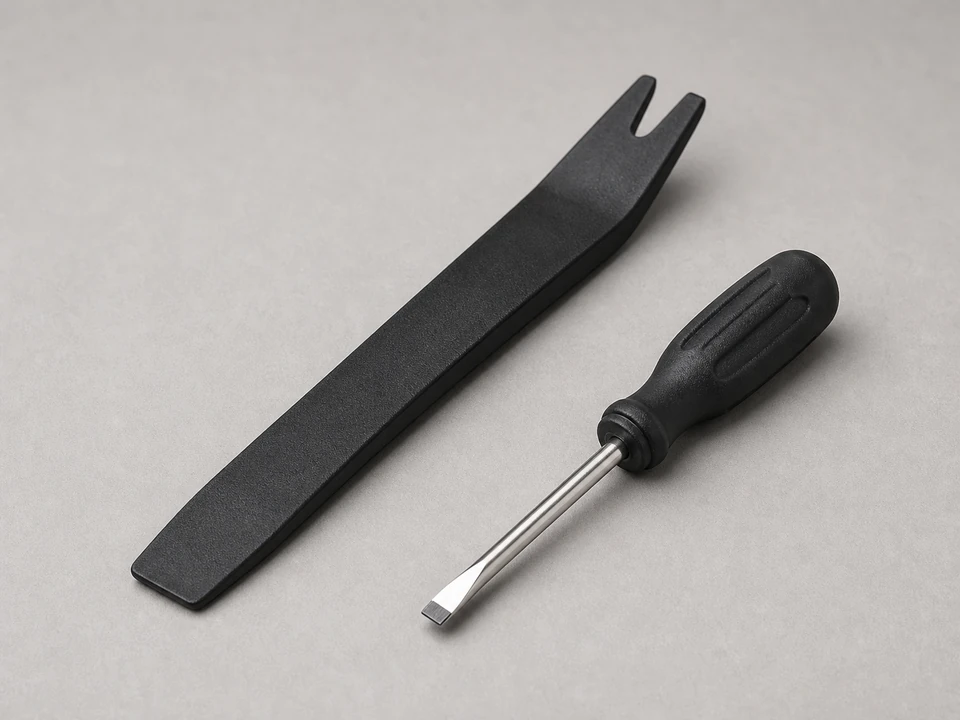
Lift or separate the panel carefully, watching for plastic tabs, wire clips, and foam seals around the bucket opening.
Locate the float switch near the bucket cavity, float arm, or actuator pad that the bucket presses.
Take clear photos of the switch, wire colors, connector position, mounting screw or clip, and how the harness is routed away from the bucket.
If it works: The float switch is visible and you have a reference photo for reassembly.
If it doesn’t: If you cannot reach the switch yet, look for an additional inner shield or bracket and remove only what is necessary.
Stop if:
A panel will not move after screws are removed and feels like it may crack.
You must disconnect multiple unrelated wires just to reach the switch and are not confident labeling them.
Step 4: Remove the old float switch
Take one close photo of the connector before you unplug it, especially if the switch uses two spade terminals instead of a keyed plug.
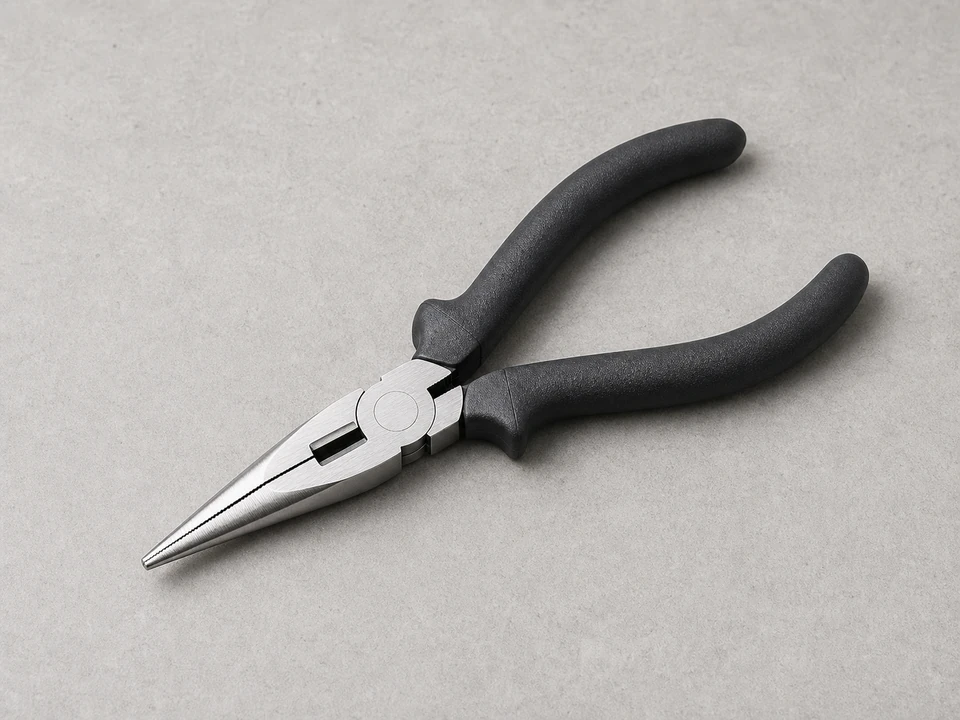
Grip the connector body with your fingers or needle-nose pliers and pull straight off the switch; do not tug on the wires.
Support the plastic bracket while you release the snap tab or remove the mounting screw, so the bucket bay does not crack.
Lift the switch out and set it beside the new switch to compare lever length, float direction, terminal width, plug key, and mounting tabs.
Wipe the switch pocket and inspect the float arm, magnet, lever, or actuator pad for cracks, mineral buildup, or a rub mark that explains the failure.
If it works: The old switch is out, the bracket is intact, and the new switch matches the connector, actuator, and mounting pattern.
If it doesn’t: If the connector is tight, work it straight off the terminal body in small movements. Twisting can loosen the terminal or split the plastic switch housing.
Stop if:
A wire terminal is loose, burnt, or breaks during removal.
The switch mount is cracked and will not hold the new switch securely.
The connector no longer grips the terminal or the wire insulation pulls back from the crimp.
Step 5: Install the new float switch
Place the new switch in the same position and orientation as the original, with the lever or float facing the same travel path.
Snap the retaining tab or reinstall the mounting screw until the switch sits flat without wobble.
Reconnect the wire connector fully and check that each terminal is covered and seated, not half-on or angled.
Route the harness through the original clips or channel so the bucket cannot pinch it when it slides in.
Move the float mechanism by hand if accessible and watch the lever press and release without rubbing the cabinet or bucket wall.
Compare the finished setup to your reference photos before any cover goes back on.
If it works: The new switch is mounted securely, connected properly, and the float mechanism moves freely.
If it doesn’t: If the switch does not sit flat or the connector feels wrong, remove it and verify you have the correct replacement.
Stop if:
The float cannot move through its normal range after the new switch is installed.
The connector is loose enough to fall off or the terminals do not match.
Step 6: Reassemble and test the dehumidifier
Reinstall any inner shield, then reinstall the outer cover or access panel without trapping the switch harness under a screw or tab.
Slide the bucket in slowly and feel for smooth rail travel; stop and reopen the panel if the bucket scrapes a wire or new switch.
Plug the unit back in with the cabinet closed, install the bucket fully, and turn the dehumidifier on.
Check that the bucket-full light is off and the unit starts in the normal bucket position.
Remove or lift the bucket just enough to trigger the bucket-full or bucket-missing response, then reseat it and check that the response clears.
Let the unit run for a few minutes and watch for vibration that moves the connector, shifts the bucket, or brings the warning back.
If it works: The dehumidifier runs with the bucket seated, shuts off when the float or bucket says full, and resets when the bucket is returned.
If it doesn’t: If the same warning remains, recheck bucket alignment, connector seating, lever travel, and switch fit. If those are right, the fault may be in the harness, bucket sensor setup, or control board.
Stop if:
The unit trips a breaker, sparks, or gives off a burning smell.
The fan or compressor starts and stops abnormally after reassembly.
Water leaks into the cabinet or onto electrical parts during testing.
Buy this switch only after the bucket sits flush, the float drops freely, and pressing the lever still leaves the full bucket warning on. Match the full model number, lever or float style, plug key, terminal count, and mounting tabs.
As an Amazon Associate I earn from qualifying purchases. Repair Riot may earn a commission at no extra cost to you.
Verify the repair
The bucket slides in fully and does not wobble or sit crooked.
The float moves freely and is not blocked by the new switch or wiring.
The dehumidifier starts when the bucket and float are in the normal operating position.
The unit shuts off or changes state appropriately when the float indicates a full-bucket condition.
The bucket-full warning clears after you empty and reseat the bucket.
All panels and screws are back in place with no loose wires near moving parts.
FAQ
What does a dehumidifier float switch do?
It tells the dehumidifier whether the bucket or float is in the correct position. If the bucket is full, missing, or the float is raised, the switch can stop the unit from running to help prevent overflow.
How do I know if the float switch is bad?
Good clues include a full-bucket warning with an empty seated bucket, shutoff when the float is down, or operation that changes when you press the switch lever. A stuck float or crooked bucket can cause the same symptom, so clean and reseat those first.
Can I clean the old float switch instead of replacing it?
Sometimes. If the problem is dirt, mineral buildup, or a sticky float mechanism, careful cleaning may restore normal movement. Replace the switch when its body is cracked, the lever will not spring back, the connector is corroded, or the switch is loose in its bracket.
Can I run the dehumidifier without the float switch?
No. The float switch helps prevent overflow and improper operation. Bypassing it can create water damage and electrical risk.
What if the new float switch does not fix the problem?
Recheck that the bucket is seated correctly, the connector is fully attached, and the new switch matches the original lever, plug, terminals, and mounting tabs. If those are correct, the issue may be with the bucket sensor setup, control board, wiring, or another internal switch.
Sources and reference notes
These Repair Riot references cover symptoms that can look like a failed bucket switch: drain backups, full-bucket warnings, service-light resets, and water collection problems. Use them when the clue points beyond the switch.