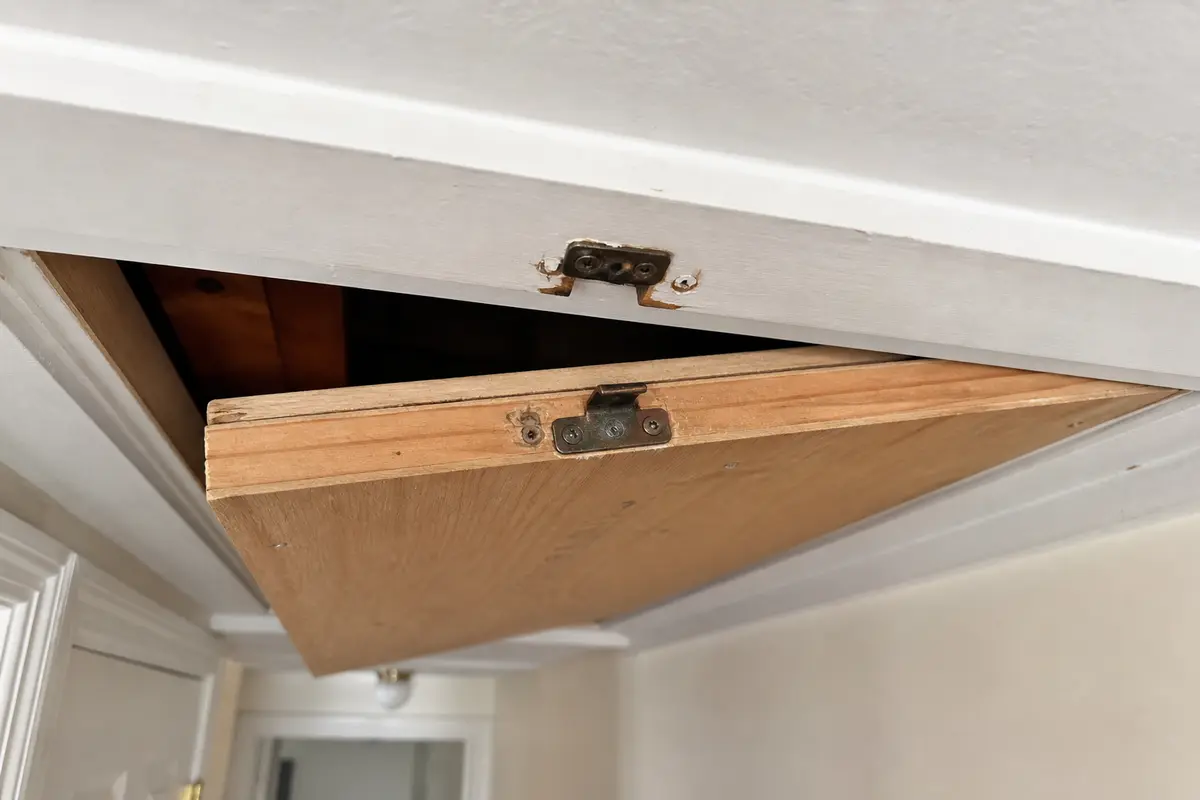
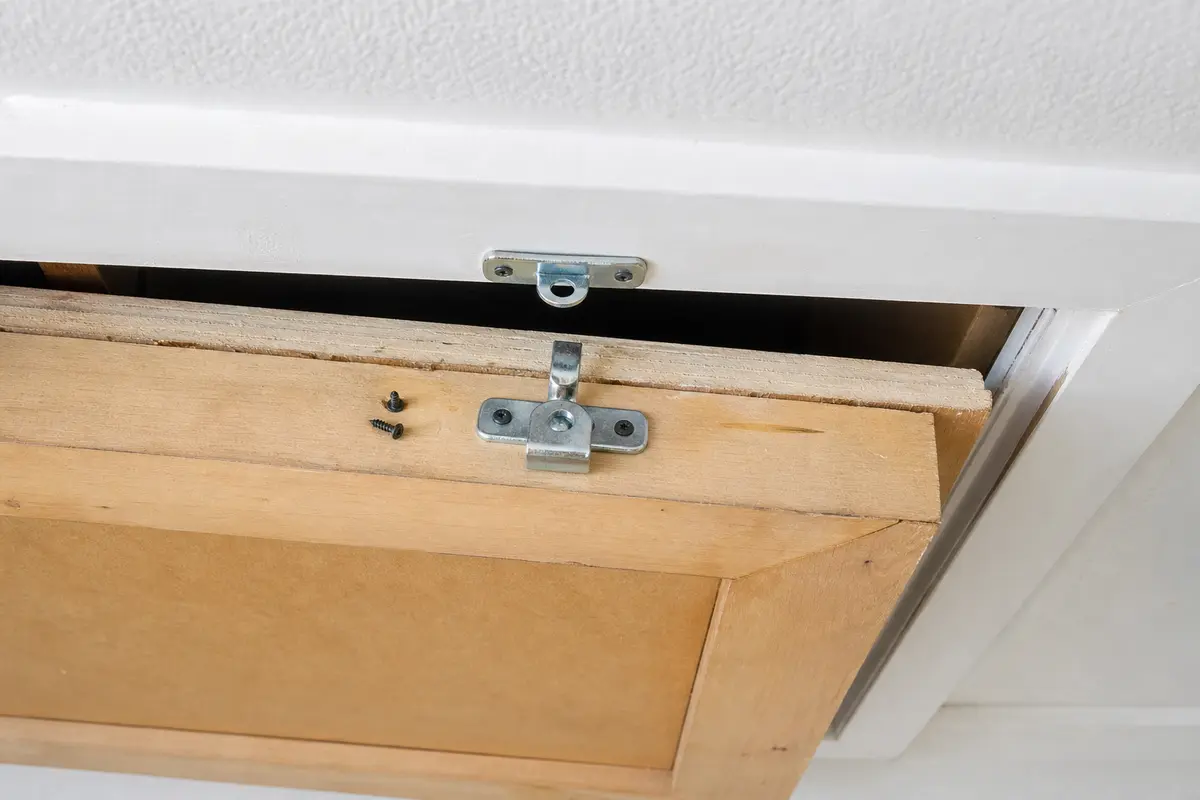
Replace the attic hatch latch when the panel sits square but the handle spins, the hook misses the catch, or the latch screws pull loose from sound wood.
From a stable ladder, close the hatch slowly and watch the latch tongue, catch plate, screw holes, and weatherstrip gap. Stop before buying hardware if the panel is warped, the trim moves, or insulation is holding the hatch open.
Before you start: Match the new attic hatch latch to the old latch style, catch location, screw spacing, and hatch thickness before ordering. Stop if hidden damage, unsafe access, active leaks, rot, missing backing, or loose mounting points change the repair.
Last reviewed: 2026-06-16
Make sure this is the right repair
Separate a failed latch from a panel or trim problem. A new latch can pull a sound hatch tight. It will not straighten a warped panel or hold in loose backing.
This page fits
This page fits when: The latch is cracked, bent, missing, stripped, spinning, or no longer pulling into the catch. The hatch panel still sits square in the opening.
Check something else when: If the trim moves, the panel sags, or the opening is out of square, fix that problem first.
Confirm the fit first
This page fits when: You can match the latch style, screw-hole spacing, throw direction, catch location, and screw length.
Check something else when: If the old latch is missing, use the catch wear mark, old screw holes, and hatch thickness before guessing.
Stop for hidden damage
This page fits when: The hatch and trim are dry, solid, reachable from a stable ladder, and able to hold latch screws.
Check something else when: Stop for rot, active leaks, missing backing, structural movement, mold, or any setup that makes you overreach.
Check the failure point and dry-fit before fastening
Use the visible damage and dry-fit check to confirm the attic hatch latch is really the piece to replace. Compare alignment, backing, and stop conditions before ordering parts or fastening anything.
Start by finding the failed attic hatch latch. Move ahead only when the surrounding material still looks sound.Dry-fit the new latch before final fastening. The latch should sit flat, line up cleanly, and not force nearby material out of position.
Safety first
Use a stable ladder on a flat surface and keep your hips between the rails instead of leaning out.
Support the hatch while removing hardware so it does not swing down unexpectedly.
Wear eye protection if old paint, dust, or wood debris may fall while you work overhead.
Do not overtighten screws into older wood, which can split trim or strip out the mounting holes.
Tools you may need
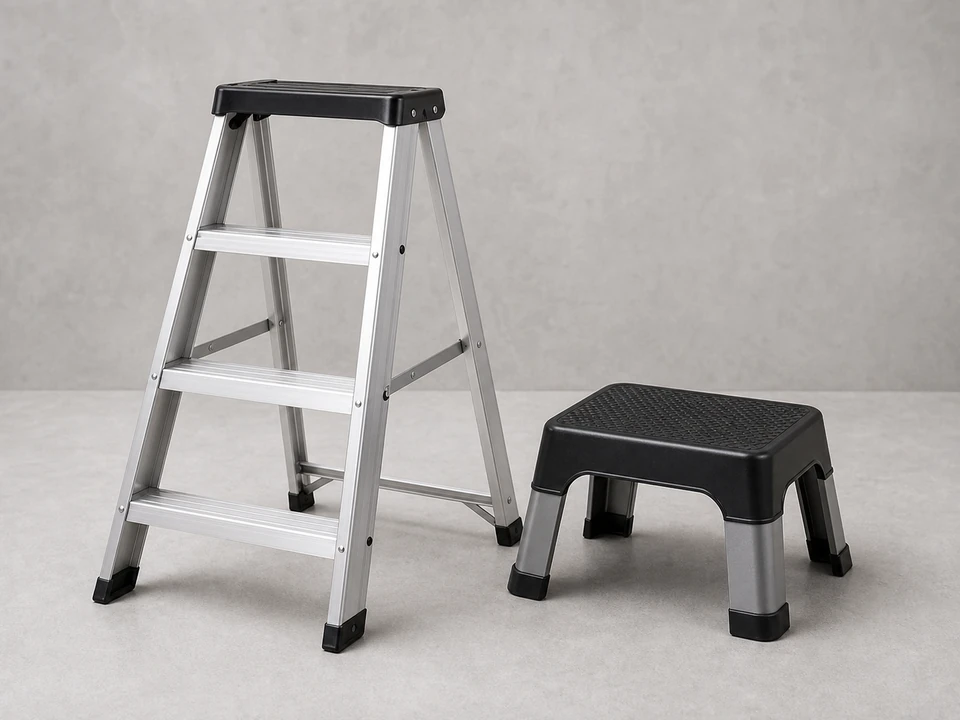
Step ladder
Use it for: Gives you stable access to the attic hatch and latch screws.
As an Amazon Associate I earn from qualifying purchases. Repair Riot may earn a commission at no extra cost to you.
Step-by-step fix
Step 1: Confirm the latch is the real problem
Stand on a stable ladder and close the hatch slowly while watching the latch tongue, hook, or turn button meet the catch.
Look for a cracked plastic knob, bent metal arm, rounded screw holes, missing catch screws, or a latch that turns without pulling the hatch tight.
Press lightly on the hatch near each corner. The panel should sit square in the opening without one edge hanging low.
Push loose insulation back from the rim and check for paint buildup, swollen wood, or shifted trim that keeps the hatch from seating before the latch engages.
Try tightening one existing latch screw by hand. If the screw spins without biting, the latch may be fine but the mounting hole or backing needs repair.
If it works: You have clear signs the latch is worn, damaged, loose, or no longer able to hold the hatch closed.
If it doesn’t: If the latch looks fine, focus on hatch alignment, warped panels, damaged trim, or weatherstripping before replacing parts.
Stop if:
The hatch panel is cracked or sagging enough that it may fall during the repair.
The trim or framing around the opening is loose, split, or pulling away from the ceiling.
You see signs of hidden moisture damage, rot, or mold around the hatch opening.
Step 2: Set up safely and remove the old latch
Set the ladder on a flat surface and position it so you can work without overreaching.
Support the hatch with one hand or have a helper steady it if removing the latch could let the hatch swing or drop.
Remove the screws from the latch and any matching catch piece if your setup uses one.
Keep the old screws and parts together so you can compare them to the replacement.
If it works: The old latch is off and the hatch is still supported and undamaged.
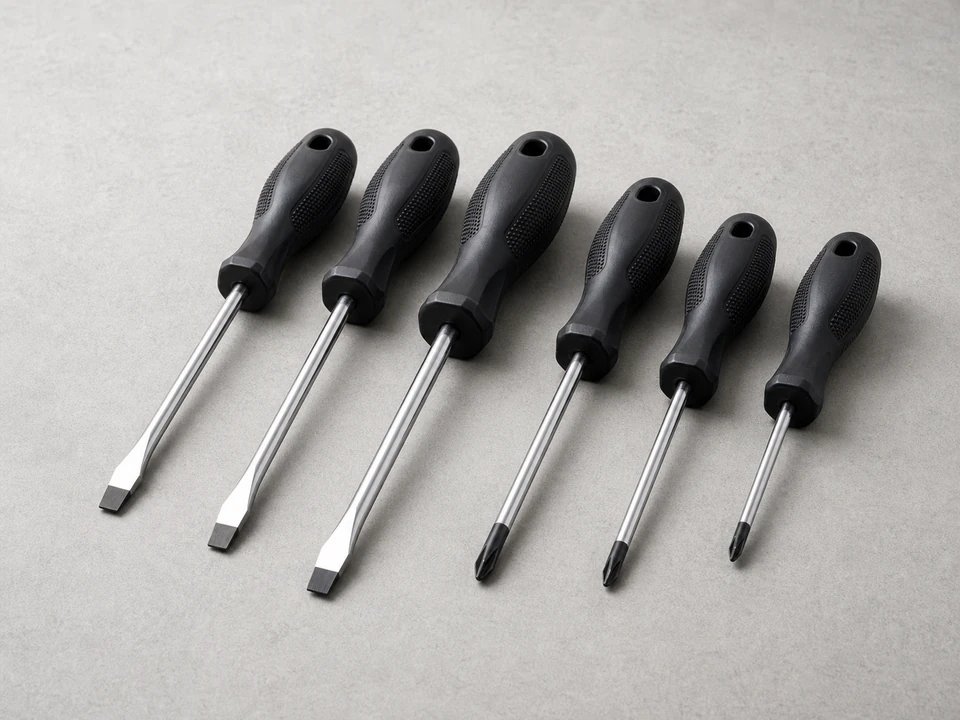
If it doesn’t: If a screw will not back out, switch to a hand screwdriver for better control or remove it slowly with a drill driver.
Stop if:
The hatch becomes unstable or too heavy to control safely from the ladder.
Removing the latch exposes badly stripped wood, split wood, or hidden damage that will not hold new screws.
Step 3: Match the new latch before installing it
Compare the new latch to the old one for overall size and mounting style.
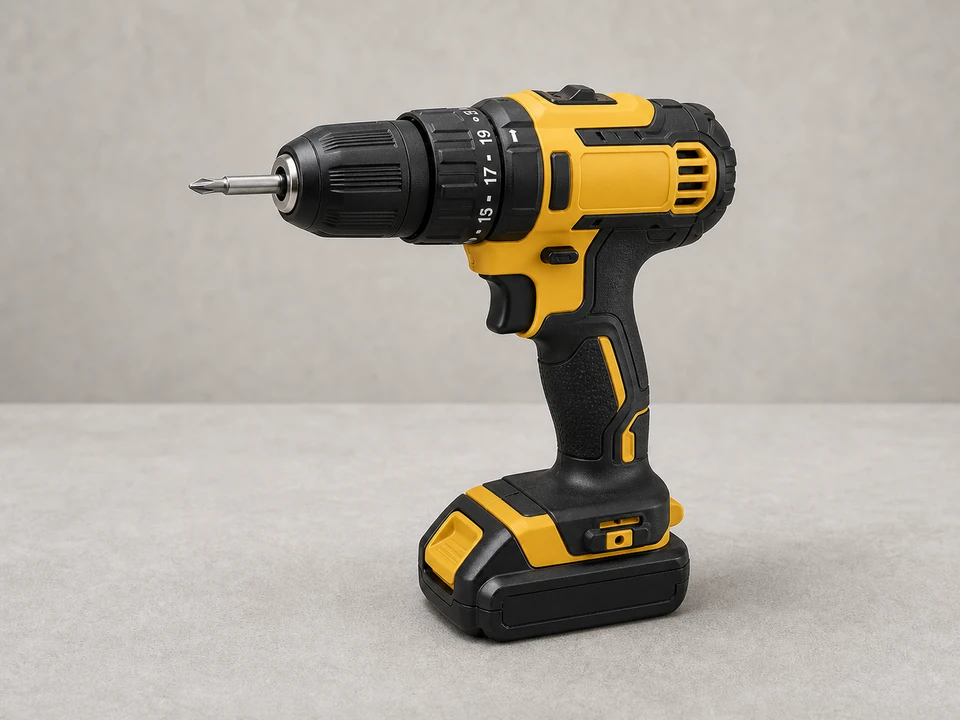
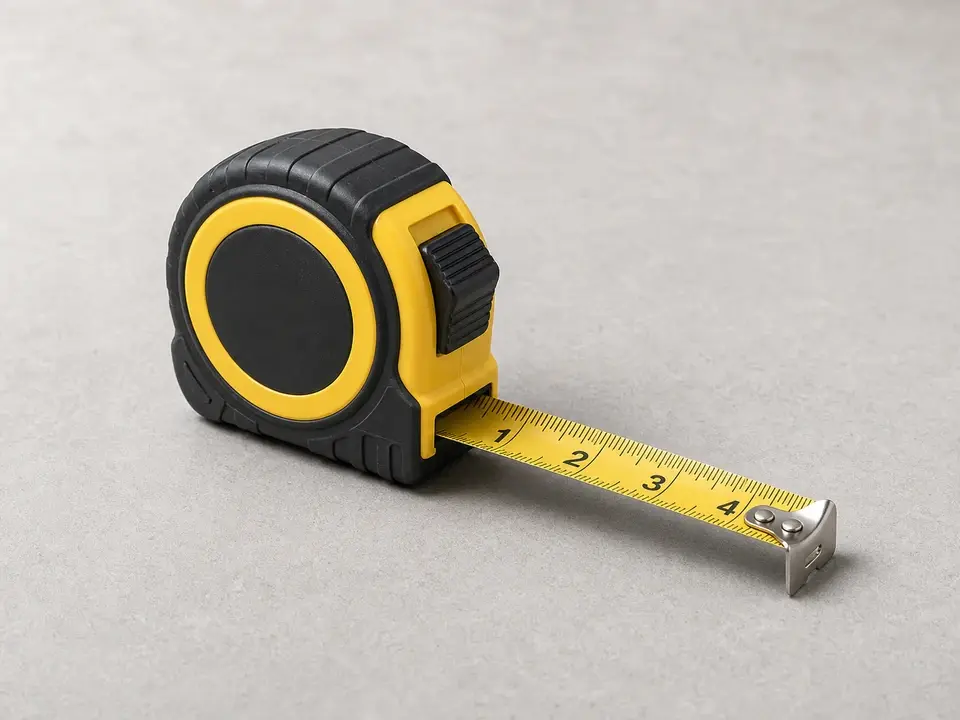
Measure the center-to-center screw hole spacing and compare screw diameter before drilling anything.
Check hatch thickness and backing depth. The screws need wood bite without poking through a thin panel.
Hold the new latch in place. The hook, tongue, or roller should reach the catch without twisting the hatch or rubbing the trim.
If you removed a separate catch, compare that piece too. It should close in the same direction as the old setup.
Mark screw locations only after the latch sits flat. Use the old wear mark or screw pattern as your guide.
If it works: The replacement latch matches the old setup closely enough to mount and engage cleanly.
If it doesn’t: If the new latch does not line up or uses a very different mounting pattern, exchange it for a closer match before drilling extra holes.
Stop if:
The replacement requires major changes to the hatch or trim that could weaken the panel or opening.
Step 4: Install the new latch and tighten the mounting screws
Position the new latch on the hatch and start every screw by hand before using a drill driver. The screw heads should sit centered in the latch slots, not pulled to one edge.
Use the old screw length as a guide. A screw that is too short will strip again; a screw that is too long can poke through a thin hatch panel or split narrow trim.
Tighten the screws until the latch base sits flat and does not rock, then stop. Crushing soft wood or fiberboard can make the latch loosen faster.
Install the matching catch or strike piece on solid frame or trim material, keeping it square to the latch throw so the hook pulls straight instead of sideways.
If an old hole is loose, pack and repair that hole before final tightening. Do not rely on a screw that spins freely in the same stripped spot.
If it works: The new latch is mounted flat, the catch is square to it, and the hardware does not wiggle when you move the handle by hand.
If it doesn’t: If the latch still feels loose, recheck for stripped holes or screws that are too short for the wood they are fastening into.
Stop if:
The wood around the latch crumbles, splits, or will not hold screws securely.
Step 5: Adjust the latch so the hatch closes snugly
Close the hatch slowly and watch where the latch meets the catch.
Shift the catch or latch slightly if needed so the hatch pulls in evenly and does not need to be slammed.
Test the latch several times, making small adjustments until it closes securely and opens without sticking.
Check that the hatch sits reasonably flush and that the seal is improved rather than distorted by too much tension.
If it works: The hatch closes with steady pressure, stays latched, and sits more evenly in the opening.
If it doesn’t: If the latch engages but the hatch still sits crooked, inspect the hatch panel, trim, and weatherstripping for alignment problems.
Stop if:
You have to force the hatch hard enough that the panel, trim, or latch hardware may crack.
Step 6: Verify the repair in normal use
Open and close the attic hatch at least five times from the same ladder position you will use later, without lifting or shoving the panel into alignment.
Listen and feel for one clean catch. Grinding, a double click, or a handle that springs backward usually means the catch is too far off-center.
Make sure the latch stays tight, the screw heads remain seated, and the hatch does not pop open when you press lightly near the latch side.
If the hatch has weatherstripping, look for an even compression line around the opening instead of one crushed corner and one loose edge.
Recheck the screws after a day or two of normal use, especially if the old holes were repaired or the hatch panel is older fiberboard.
If it works: The hatch catches with steady pressure, stays closed on its own, and leaves the latch and catch screws seated after repeated use.
If it doesn’t: If the new latch catches once and then pops loose, watch the hatch edge while you press near the latch side. A crooked gap, moving trim, or a catch that shifts under pressure points to hatch warping, damaged trim, or a misaligned opening rather than the latch itself.
Stop if:
The hatch still will not stay closed after adjustment and the surrounding structure appears to be moving or out of square.
Buy only after the hatch panel and trim check out. Match the latch style, catch location, screw spacing, screw length, and hatch thickness before ordering.
As an Amazon Associate I earn from qualifying purchases. Repair Riot may earn a commission at no extra cost to you.
Verify the repair
The latch catches cleanly without slamming the hatch.
The hatch stays closed and does not drift open on its own.
The latch screws and any catch screws stay tight after repeated use.
The hatch sits more evenly and the seal is improved if weatherstripping is present.
FAQ
How do I know the attic hatch latch is bad?
A bad latch is usually cracked, bent, loose, stripped, or unable to hold the hatch shut. Close the hatch slowly and watch the latch meet the catch; if the hatch sits square but the latch spins, misses, or will not stay engaged, the latch is a strong suspect.
Can I reuse the old screws?
Yes, if they are straight, not rusted, and still hold tightly in the wood. If the holes are stripped or the screws are damaged, replace them with matching screws that fit the latch properly.
What if the new latch does not line up exactly?
Small adjustments are normal, especially at the catch piece. If the new latch needs major repositioning or leaves the hatch twisted, it is probably not the right replacement.
Why does the hatch still not seal after I replace the latch?
The latch may not be the only issue. Warped hatch panels, shifted trim, flattened weatherstripping, or an out-of-square opening can all keep the hatch from sealing well.
Do I need to replace both the latch and the catch?
Replace the catch if it is bent, worn thin at the contact point, loose in the trim, or shaped so the new latch pulls sideways. If the old catch is solid, square to the latch throw, and holds during a dry-fit test, you may be able to keep it.
Sources and reference notes
Repair Riot keeps this attic-hatch guide focused on a damaged latch, sound mounting material, and stop points for loose trim or a hatch that is out of square.
Attic hatch won't seal - Use when the latch works but the hatch still leaks air or will not sit evenly against the opening.