Dust line around the hatch?
Warm house air is likely leaking into the attic at the perimeter.
An attic hatch that will not seal usually has an uneven panel, wrong weatherstripping thickness, weak latch compression, or a cover rubbing the frame. Start by closing it slowly, then use a thin paper pull test around the perimeter.
Good clue: one edge touches while another leaks. Watch for shadow gaps, crushed foam, latch twist, or a stop that sits unevenly.
A good hatch closes flat, seals air, and still opens cleanly for future attic service.
Don’t start with: Do not stack thicker foam on the frame first. Find why the hatch does not close flat, then choose seal, latch, or cover parts.
Warm house air is likely leaking into the attic at the perimeter.
Check warping, latch pull, stop height, and weatherstripping compression before adding more foam.
Treat hatch air leakage and a cold panel as the likely moisture path.
Pause hatch repairs and trace roof or plumbing leak clues first.
Document the area and stop homeowner cleanup until the moisture source is corrected.
Check the visible gap, latch contact, and insulation cover fit before ordering parts.
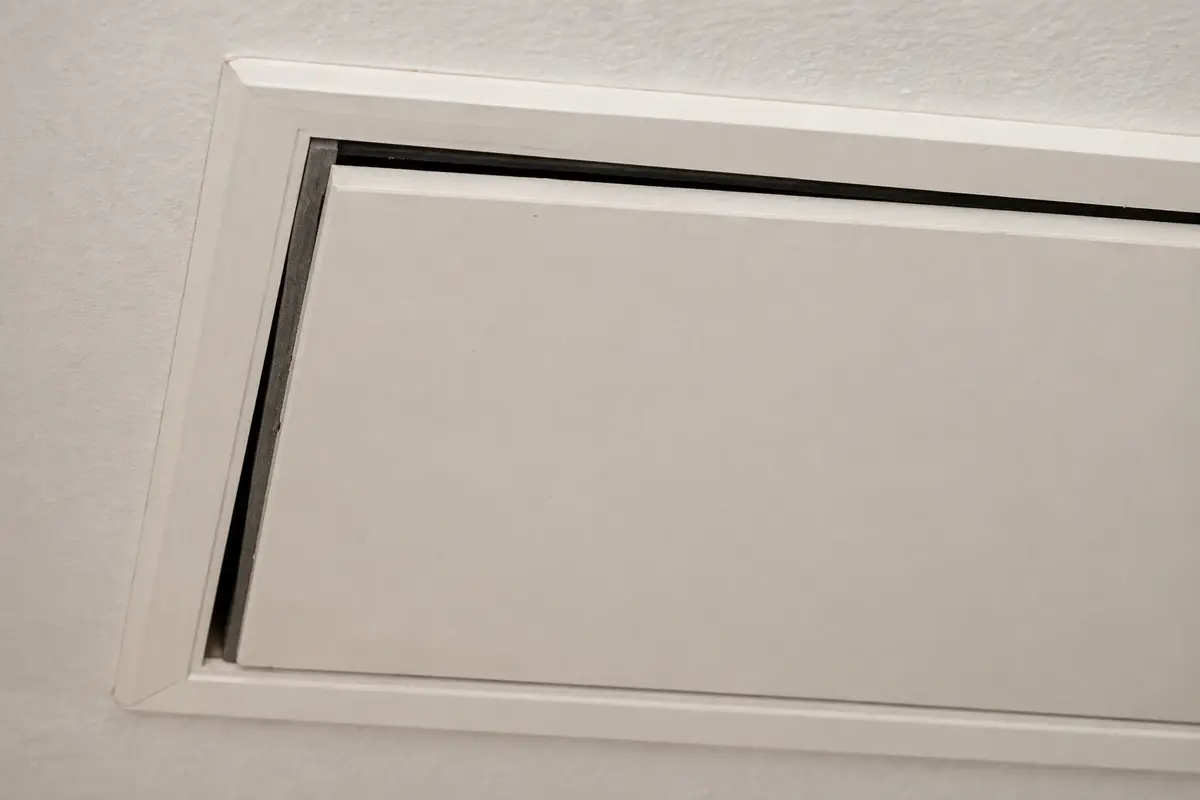
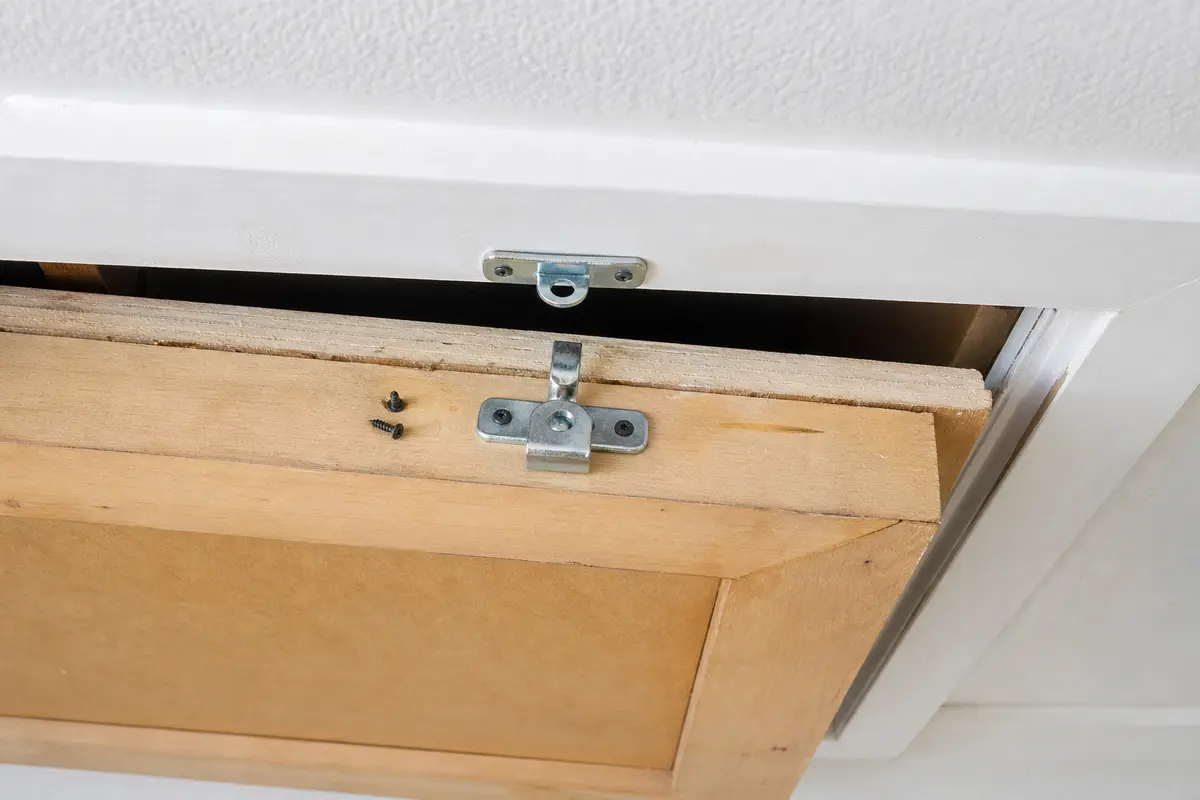
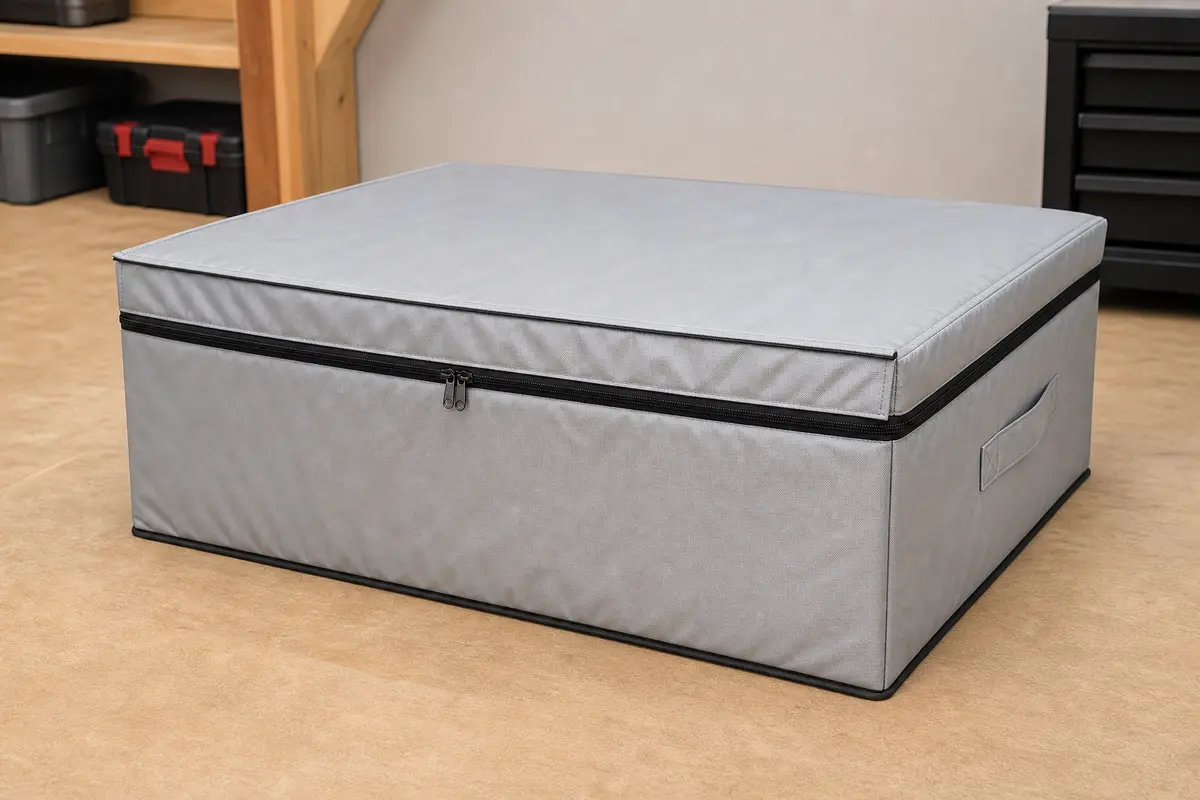
Match the exact hatch diagnosis before buying anything. Confirm panel size, stop height, latch model, and compression gap with a paper-pull test. Weatherstripping, covers, and latches only work after the panel and frame are sound enough to close flat.
An attic hatch is a door in the ceiling plane. A small gap can move a lot of warm humid air into a cold attic.
A hatch fix has to seal air, compress evenly, and stay usable for service access.
Use the gap pattern and timing before choosing weatherstripping, a latch, an insulation cover, or carpentry.
| What you see | Likely meaning | Next move |
|---|---|---|
| Gap on one side only | Panel, stop, or frame is uneven | Correct fit before replacing the seal. |
| Seal crushed flat everywhere | Weatherstripping has lost compression | Replace with the correct thickness after cleaning the contact surface. |
| Latch pulls but panel springs back | Latch alignment or panel warp | Adjust hardware or repair the panel before adding a cover. |
| Insulation cover catches | Cover is interfering with closure | Resize or reposition the cover while preserving access. |
| Draft and dust remain after repair | Air path still open | Use light, paper, or smoke-pencil style checks from a safe position. |
A hatch cover works best after the panel closes flat and the perimeter seal is continuous.
Use these supplies only when the hatch clue names them: perimeter gap, cold panel, or weak compression.
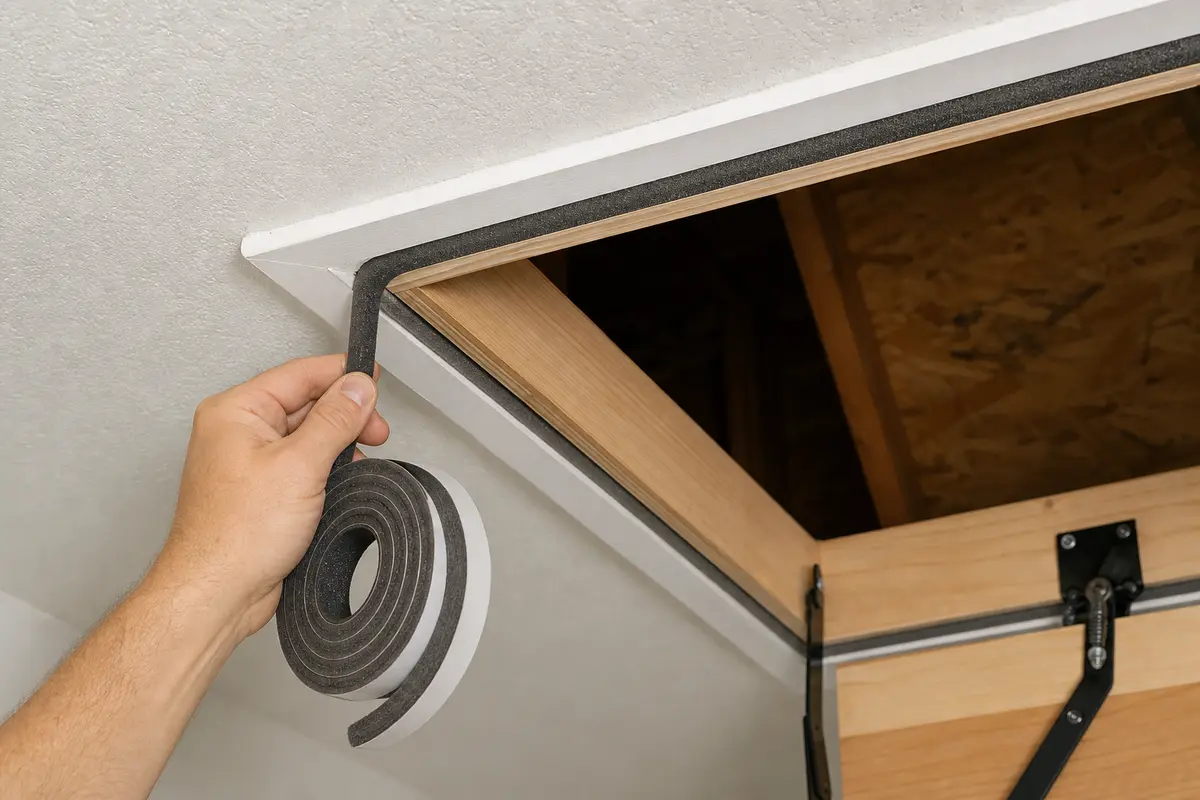
Helps when: Use when a visible perimeter gap, paper-pull failure, or dust line shows the hatch is leaking air.
Skip it when: Skip if the panel is warped, the stop is uneven, or the latch cannot pull the hatch flat first.
Shop hatch weatherstripping on AmazonHelps when: Use when the hatch seals but the panel or access opening still loses heat or rubs a cover at the frame.
Skip it when: Skip until the hatch closes flat and the cover size clears the frame, ladder hardware, and access path.
Browse attic hatch covers on AmazonHelps when: Use when weatherstripping is right but the panel needs even pull-down pressure to stay closed flat.
Skip it when: Skip if the panel is warped, the frame is damaged, or the latch would block safe access.
Shop attic hatch latches on AmazonAs an Amazon Associate I earn from qualifying purchases. Repair Riot may earn a commission at no extra cost to you.
Use these for safe inspection and light adjustment. They do not solve an unsafe access opening or structural frame problem.
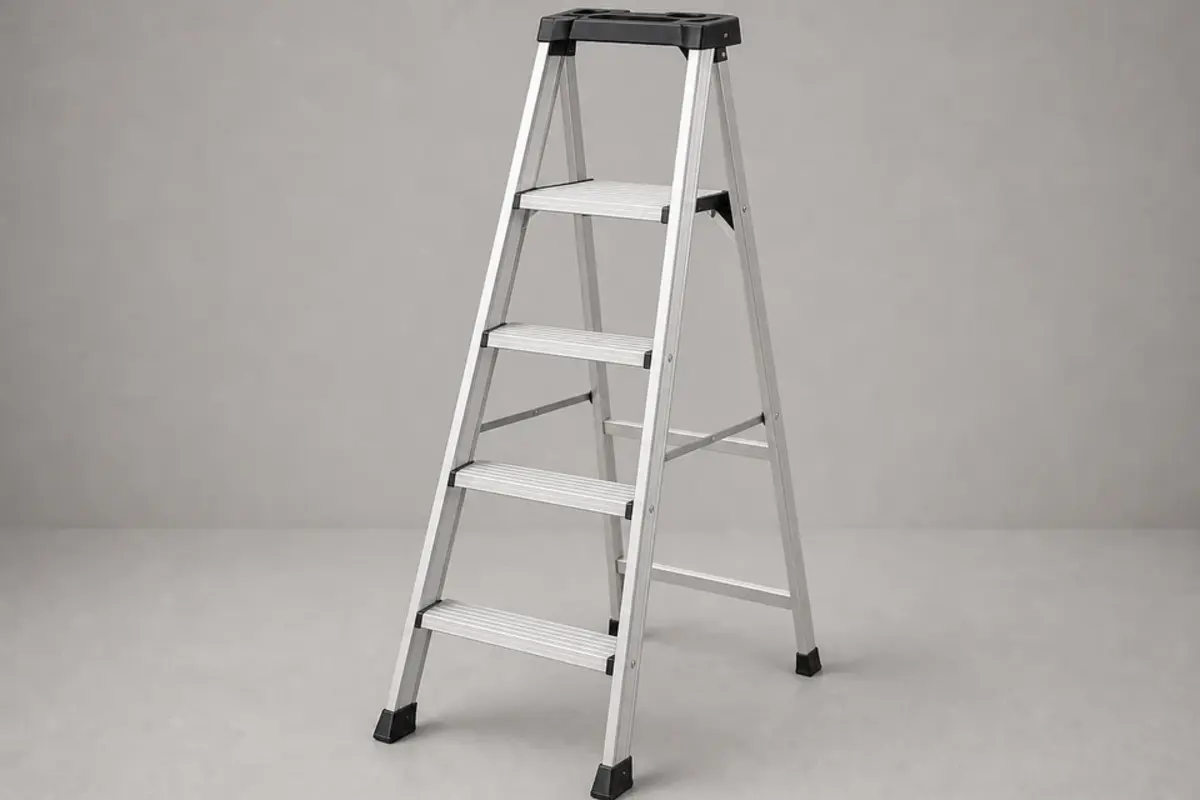
Helps when: Use to check hatch fit, latch alignment, and perimeter gaps from below without standing on furniture.
Skip it when: Skip if the ladder cannot sit level, the floor is wet, or the hatch is above a stairwell or unsafe landing.
Compare step ladders on Amazon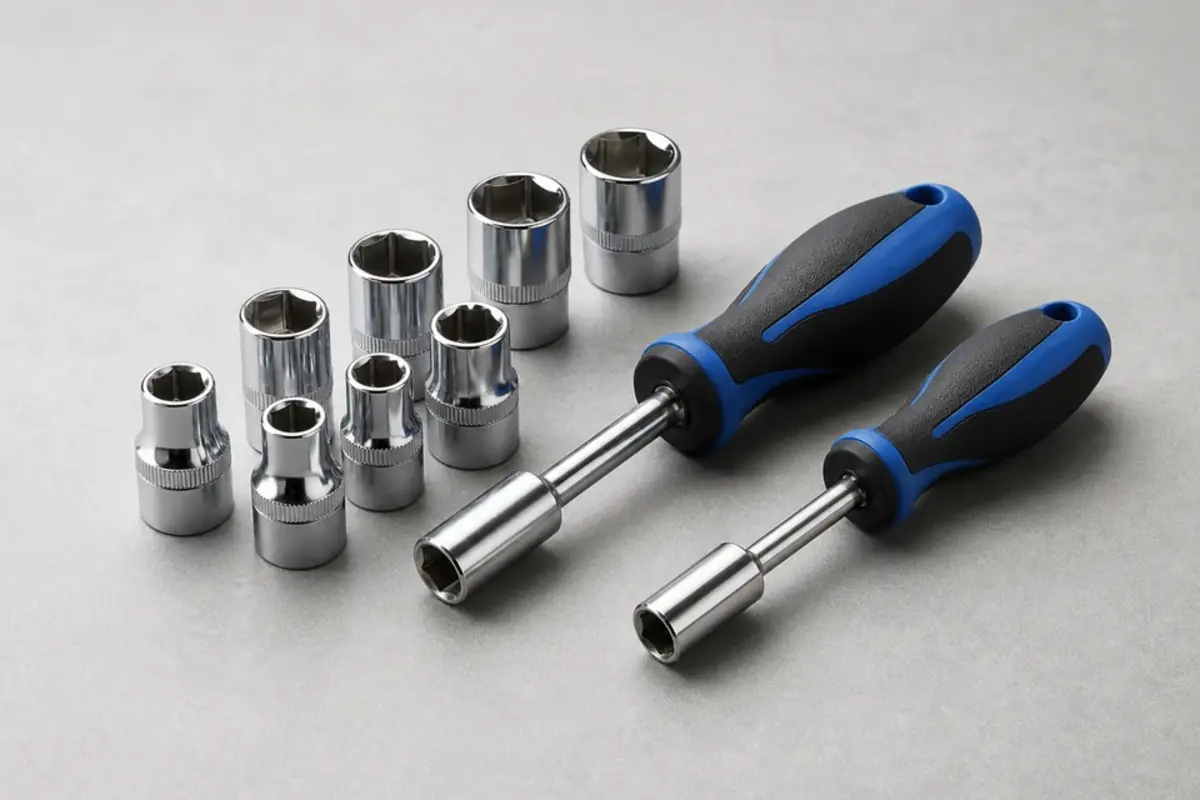
Helps when: Use when weatherstripping is right but the panel needs even pull-down pressure to stay closed flat.
Skip it when: Skip if the panel is warped, the frame is damaged, or the latch would block safe access.
Shop attic hatch latches on Amazon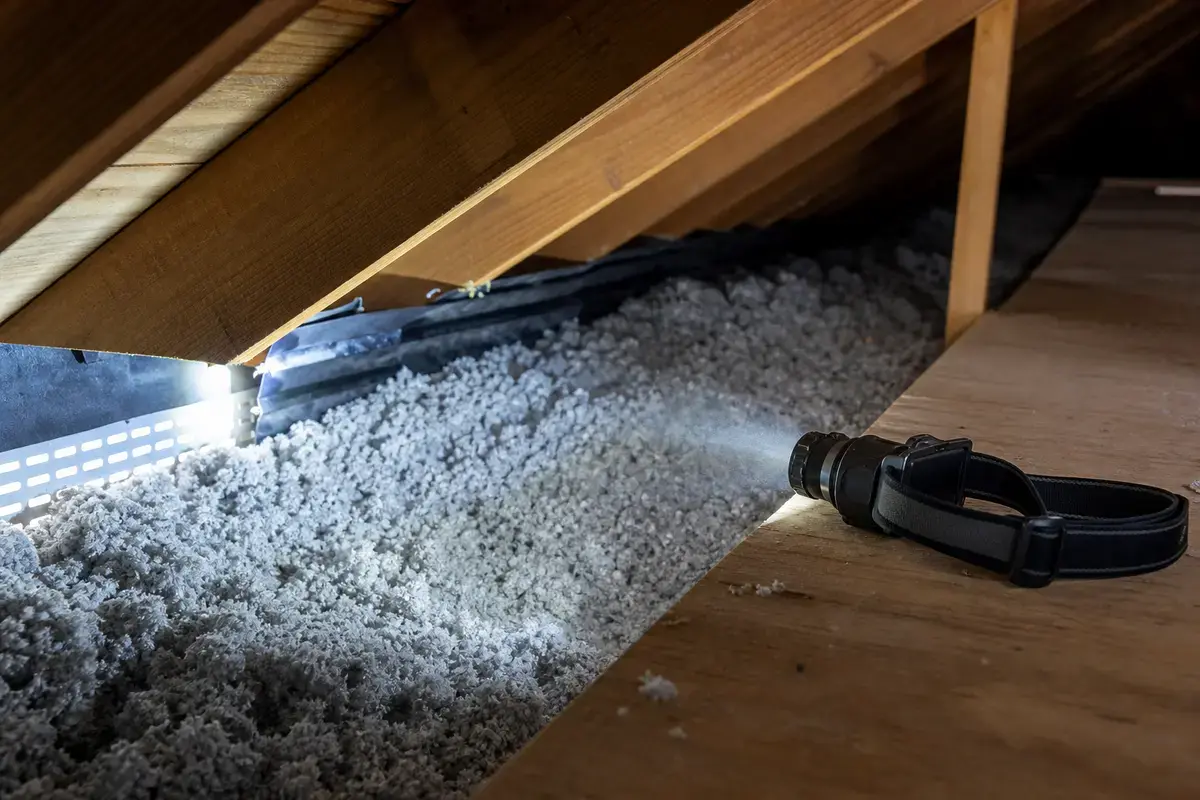
Helps when: Use to see shadow gaps, compressed weatherstripping, and dust trails around the hatch perimeter.
Skip it when: Skip attic entry if access, wiring, insulation contamination, or heat makes the inspection unsafe.
Compare headlamps on AmazonAs an Amazon Associate I earn from qualifying purchases. Repair Riot may earn a commission at no extra cost to you.
The panel may be warped, the frame may be uneven, the latch may pull poorly, or the weatherstripping may be the wrong thickness.
Sometimes, but too much thickness can hold the hatch open. Confirm the panel closes flat first.
A latch helps when the hatch panel is sound and needs even compression. It will not fix rotten trim or a warped panel by itself.
Yes, but air sealing comes first. Insulation slows heat loss; it does not stop warm moist air from leaking through a gap.
No. The attic access should remain usable for inspection, repairs, and emergency access.
Look for shadow gaps, dust lines, drafts, and uneven gasket compression. A thin paper pull test can show weak contact.
Correct the frame or stop first. A gasket cannot reliably seal a distorted opening.
Call for heavy panels, unsafe ceiling access, split framing, mold, wet insulation, or carpentry beyond a simple latch or gasket adjustment.
Repair Riot built this page around homeowner-visible hatch clues: perimeter dust lines, ceiling staining, panel gaps, latch compression, cold panel surfaces, attic-side frost, and stop points before cleanup or carpentry.