Outdoor AC fan repair

How to Replace an Air Conditioner Condenser Fan Motor

If your outdoor air conditioner fan motor has failed, you can replace it by shutting off power, removing the top fan assembly, swapping the motor, reconnecting the wires the same way, and testing the unit under a normal cooling call.

This repair is manageable for a careful homeowner, but it does involve high-voltage equipment and a heavy top grille with the fan attached. Take pictures before disconnecting anything, handle the fan blade carefully, and stop if the wiring or mounting does not match the replacement motor.

Before you start: Match the replacement part to your exact air conditioner before ordering.

Last reviewed: 2026-06-05

Safety first

  • Shut off both the outdoor disconnect and the breaker before opening the condenser.
  • Verify power is off with a multimeter before touching wires or terminals.
  • Sheet metal edges inside the condenser can be sharp, so wear gloves and move slowly.
  • The top grille can be awkward and heavy because the fan assembly is attached; get help if needed.
  • Keep wires clear of the fan blade before restoring power.

Tools you may need

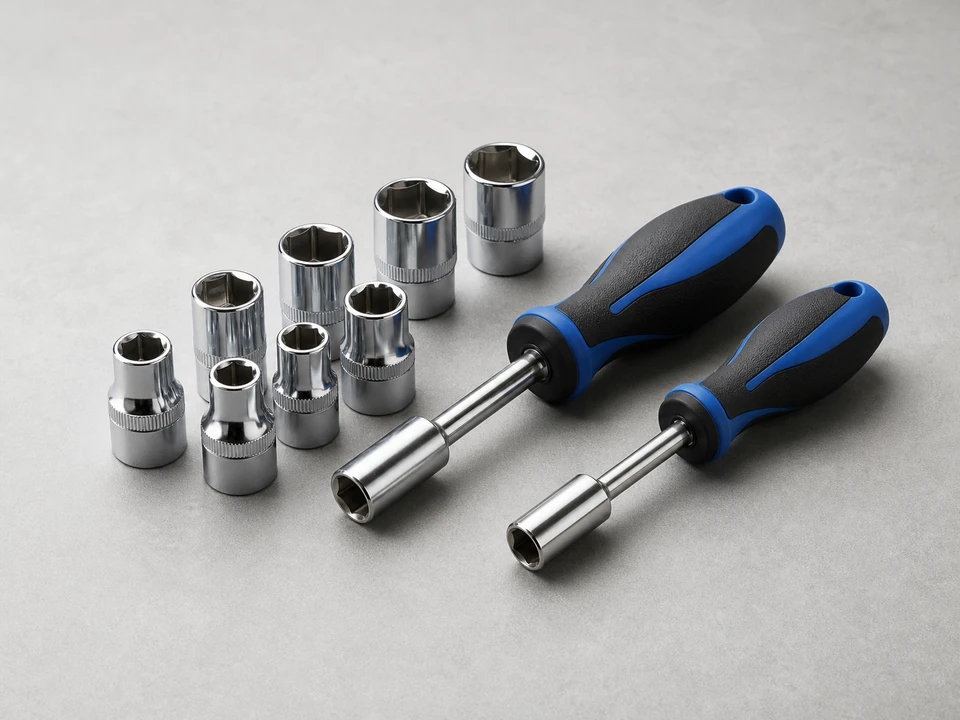
Nut driver set tool

Nut driver set

Use it for: Removes the top grille, access panel, and motor mounting screws.

Shop nut driver sets
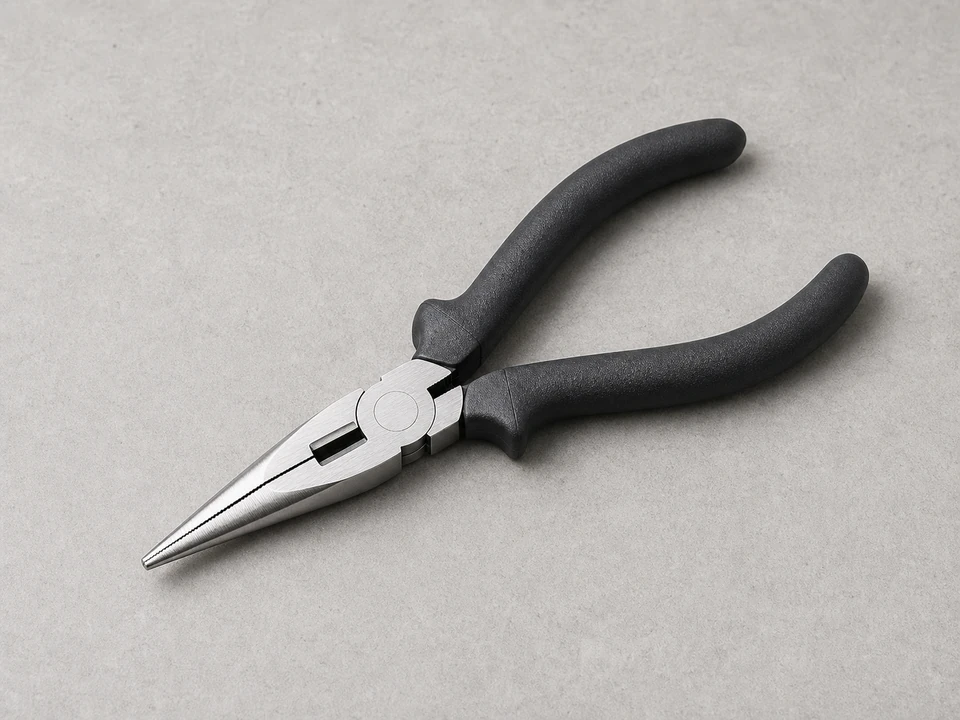
Needle-nose pliers tool

Needle nose pliers

Use it for: Pulls wire connectors and helps handle small clips or tight terminals.

Shop needle-nose pliers
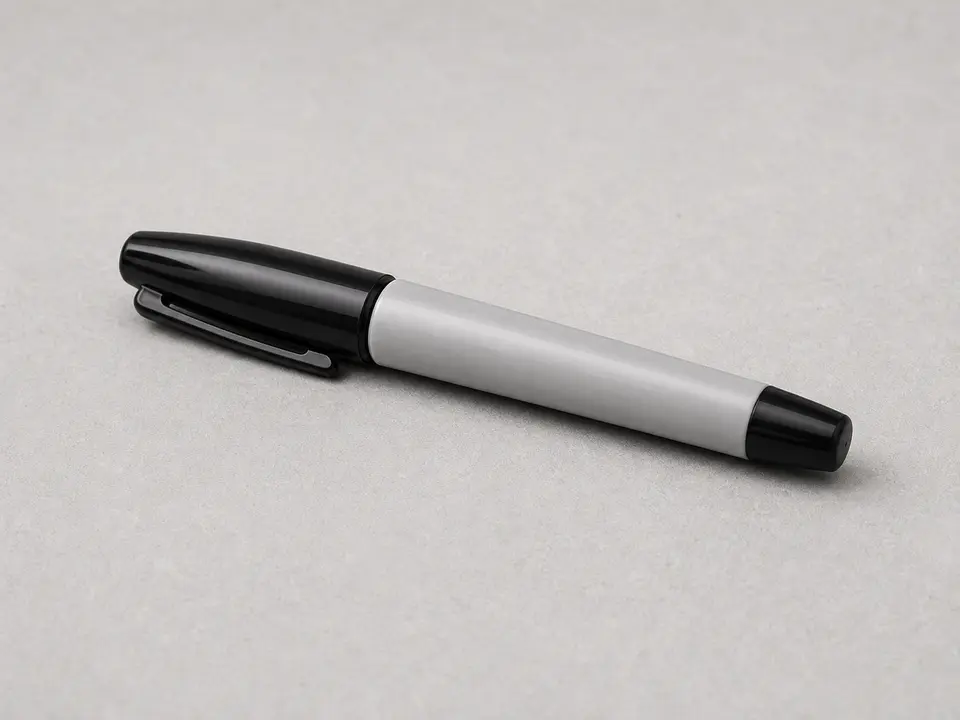
Permanent marker or wire labels tool

Permanent marker or wire labels

Use it for: Marks wires so the new motor is connected the same way as the old one.

Shop wire labeling markers
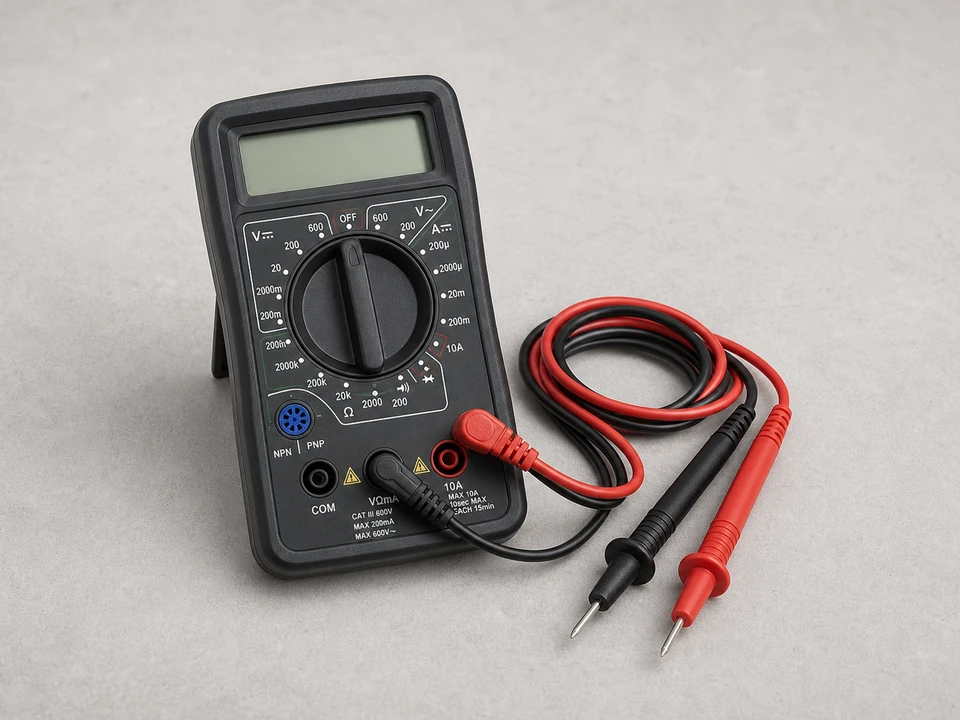
Multimeter tool

Multimeter

Use it for: Checks that power is off before you touch wiring.

Shop multimeters
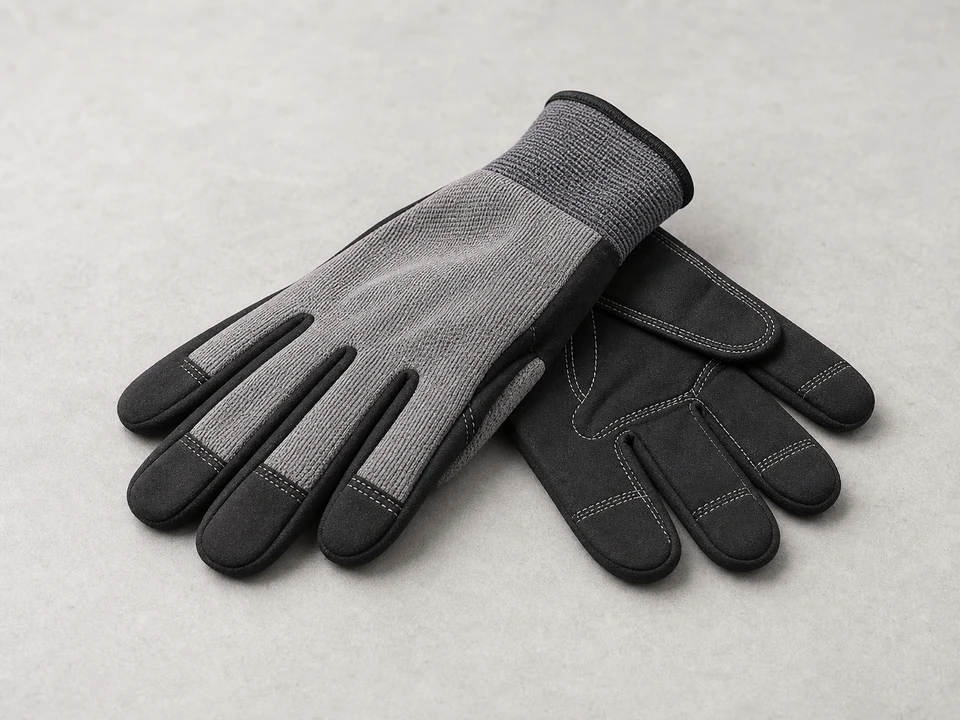
Work gloves tool

Work gloves

Use it for: Protects your hands from sharp sheet metal edges and the fan blade.

Shop work gloves

As an Amazon Associate I earn from qualifying purchases. Repair Riot may earn a commission at no extra cost to you.

Step-by-step fix

Step 1: Confirm the condenser fan motor is the right repair

  1. Set the thermostat to cool and lower the temperature so the outdoor unit should run.
  2. Listen at the outdoor unit. A failed condenser fan motor often shows up as a humming unit, a fan blade that will not start, or a fan that starts slowly and stops again.
  3. Look for obvious signs of motor trouble such as overheating smell, wobble at the shaft, grinding noise, or the fan blade not turning freely by hand after power is disconnected.
  4. Make sure the problem is not just debris blocking the blade or a tripped disconnect.

If it works: The outdoor fan motor appears to be the failed part and the blade area is clear.

If it doesn’t: If the outdoor unit is completely dead, the compressor never starts, or the issue points more to a capacitor, contactor, or power problem, diagnose that first before replacing the motor.

Stop if:
  • The cabinet is badly damaged, wiring is burned back into the unit, or you see melted terminals and insulation.
  • You cannot confirm the outdoor unit is getting a normal call for cooling.

Step 2: Shut off power and open the outdoor unit

  1. Turn the thermostat off so the system cannot call for cooling during the repair.
  2. Shut off power at the outdoor disconnect and the breaker feeding the air conditioner.
  3. Use a multimeter to confirm power is off at the outdoor unit before touching any wiring.
  4. Remove the screws holding the top grille or fan shroud and lift it carefully. Support it so the fan wires are not stretched.

If it works: The unit is de-energized and the top fan assembly is accessible without straining the wires.

If it doesn’t: If the top will not lift because wires are still attached inside, remove the access panel and trace the motor wires before pulling harder.

Stop if:
  • You still read live voltage in the unit after shutting off the disconnect and breaker.
  • The top grille is too heavy or awkward to lift safely without help.

Step 3: Document the wiring and remove the old motor

  1. Take clear photos of the motor wires, wire colors, terminal locations, and any capacitor connections before disconnecting anything.
  2. Label each wire so you can reconnect the new motor the same way or follow the new motor's included wiring diagram if it differs.
  3. Loosen the fan blade from the motor shaft. If it is stuck, apply steady pressure and avoid bending the blade.
  4. Remove the screws or bolts holding the motor to the grille or mounting bracket, then pull the old motor free.

If it works: The old motor is out and you have a clear record of how the original wiring and fan blade were installed.

If it doesn’t: If the fan blade is seized to the shaft, work it loose carefully with penetrating oil and patience, or replace the blade if it gets bent or damaged during removal.

Stop if:
  • The fan blade cracks, bends badly, or rubs the shroud after removal.
  • The replacement motor does not have a compatible shaft size, mounting pattern, or wiring setup.

Step 4: Install the new condenser fan motor

  1. Compare the new motor to the old one for shaft length, mounting style, rotation guidance, and wire count before installing it.
  2. Mount the new motor to the grille or bracket and tighten the fasteners evenly so the motor sits square.
  3. Slide the fan blade onto the new shaft in the same orientation and depth as before, then tighten the set screw securely on the flat of the shaft if present.
  4. Route the motor wires neatly away from the blade and sharp metal edges.

If it works: The new motor is mounted securely, the blade is centered, and the wires are safely routed.

If it doesn’t: If the blade sits too high, too low, or rubs the shroud, adjust its position on the shaft before moving on.

Stop if:
  • The blade cannot be centered without rubbing, or the motor mount does not hold the motor firmly.
  • Wire insulation is damaged where it passes through the cabinet or near the blade path.

Step 5: Reconnect the wiring and reassemble the unit

  1. Reconnect the motor wires one at a time using your labels, photos, and the replacement motor instructions.
  2. Secure any wire connections inside the electrical compartment and reinstall covers so nothing is loose inside the cabinet.
  3. Lower the top assembly back into place carefully, making sure no wires are pinched.
  4. Reinstall all top grille and access panel screws.

If it works: The motor is wired, the cabinet is closed up, and no wires are exposed or pinched.

If it doesn’t: If the new motor wiring does not clearly match the old setup, stop and use the motor's wiring diagram before restoring power.

Stop if:
  • You are unsure where a wire belongs or find extra wires with no clear instructions.
  • A connector is loose, overheated, or will not hold securely.

Step 6: Restore power and verify the repair under normal cooling

  1. Turn the breaker and outdoor disconnect back on.
  2. Set the thermostat to cool and call for the system to run.
  3. Watch the outdoor fan start. It should come up to speed smoothly without wobble, scraping, or hesitation.
  4. Let the system run for 10 to 15 minutes and confirm the fan keeps spinning, warm air blows out the top, and the indoor temperature begins dropping.

If it works: The outdoor fan runs smoothly through a full cooling cycle and the air conditioner is cooling normally again.

If it doesn’t: If the new motor does not start, shuts off quickly, spins the wrong way, or the system still struggles to cool, turn power back off and recheck the wiring, blade position, and part match.

Stop if:
  • The fan spins backward, the blade hits the shroud, or the motor overheats quickly.
  • The breaker trips, you smell burning, or the compressor sounds abnormal after the repair.

Replacement Parts

As an Amazon Associate I earn from qualifying purchases. Repair Riot may earn a commission at no extra cost to you.

Verify the repair

  • The outdoor fan starts on its own without needing a push.
  • The fan blade spins smoothly without wobble, scraping, or rattling.
  • The unit runs for at least 10 to 15 minutes without the fan stopping.
  • Warm air is blowing out of the top of the outdoor unit during cooling.
  • Indoor cooling improves and the thermostat temperature starts moving down.

FAQ

How do I know the condenser fan motor is bad and not something else?

A bad condenser fan motor often hums, overheats, turns slowly, or will not keep spinning even when the outdoor unit is trying to run. If the whole unit is dead or the fan only has trouble because of a failed capacitor or power issue, the motor may not be the real problem.

Can I replace just the motor and keep the old fan blade?

Yes, if the blade is not bent, cracked, or seized beyond safe removal, and it fits the new motor shaft correctly. Reinstall it in the same orientation and depth so it clears the shroud and moves air properly.

Do I need to replace the capacitor too?

Sometimes a new condenser fan motor uses the existing capacitor, and sometimes it requires a different one. Follow the replacement motor instructions and do not assume the old capacitor is correct for the new motor.

What if the new fan motor runs but the fan spins the wrong direction?

Turn power back off right away. Some replacement motors can be wired for different rotation directions, but you need to follow the motor's included wiring diagram exactly. Do not keep running it backward.

Is this a DIY repair or should I call a pro?

It can be a DIY repair for a careful homeowner who is comfortable shutting off power, documenting wiring, and handling the fan assembly safely. If the wiring is burned, the replacement does not match clearly, or you are not confident working around high voltage, call an HVAC technician.