
Non contact voltage tester
Use it for: To verify the outlet and conductors are de-energized before you touch anything in the box.
Shop non-contact voltage testersTo replace a standard outlet, turn off the correct breaker, prove the outlet is dead, document the existing wiring, move each wire to the matching terminal on the new receptacle, mount it neatly in the box, then restore power and test it with an outlet tester.
This is a reasonable homeowner repair when you are swapping a like-for-like receptacle on a normal branch circuit and the wiring is in good shape. The job stops being simple when you find burn marks, aluminum wiring, a switched outlet, a broken tab, a GFCI location, or any wire layout you cannot identify with confidence. Good work starts with a safe shutdown, a matched replacement, and no guessing.
Before you start: Match the new outlet to the old device style and circuit rating before buying. Use a GFCI replacement where the location requires it, and stop if you find aluminum wiring, a red wire, a broken tab, or heat damage you do not fully understand.
Use it for: To verify the outlet and conductors are de-energized before you touch anything in the box.
Shop non-contact voltage testers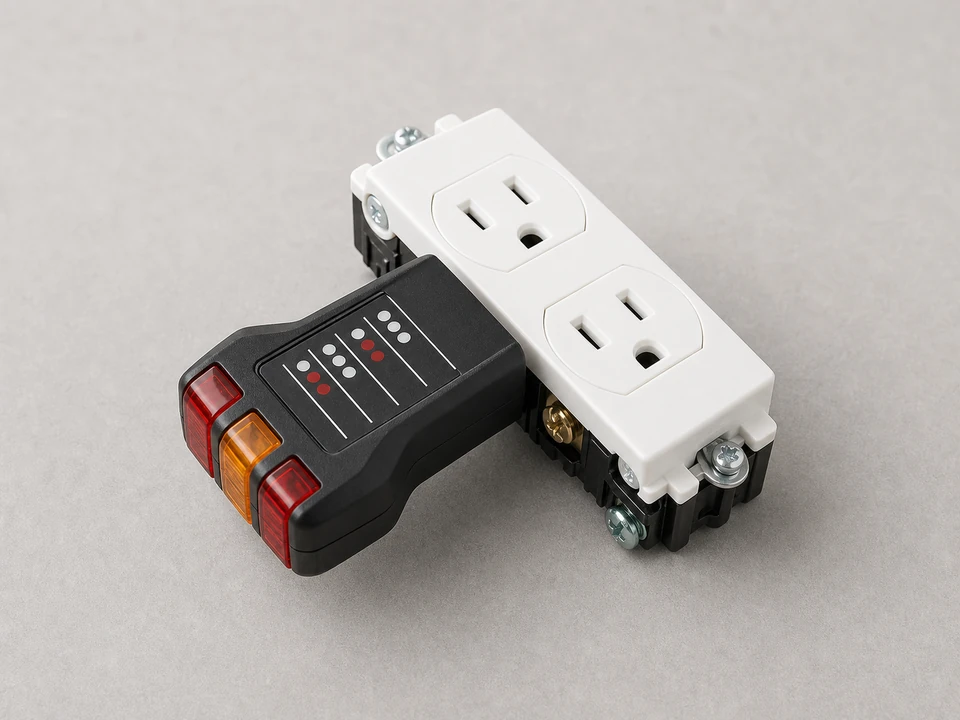
Use it for: To confirm the new outlet has correct polarity and grounding after you restore power.
Shop plug-in outlet testers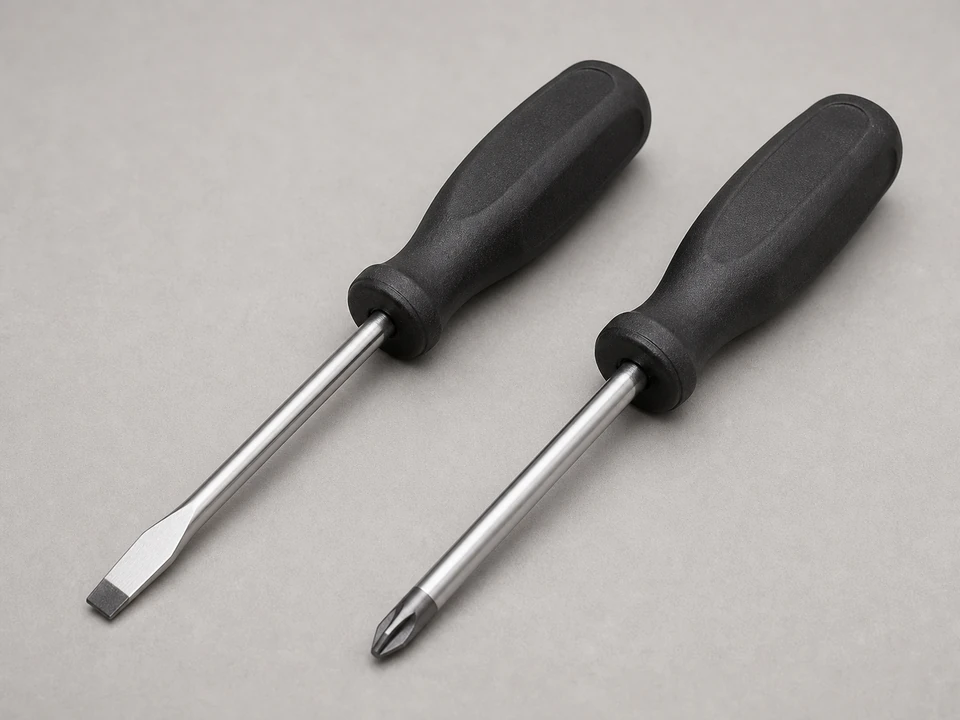
Use it for: To remove the wall plate, pull the old receptacle, and tighten the terminal screws properly.
Shop screwdriver sets
Use it for: To clean up damaged wire ends or re-strip conductors to the correct length if needed.
Shop wire strippers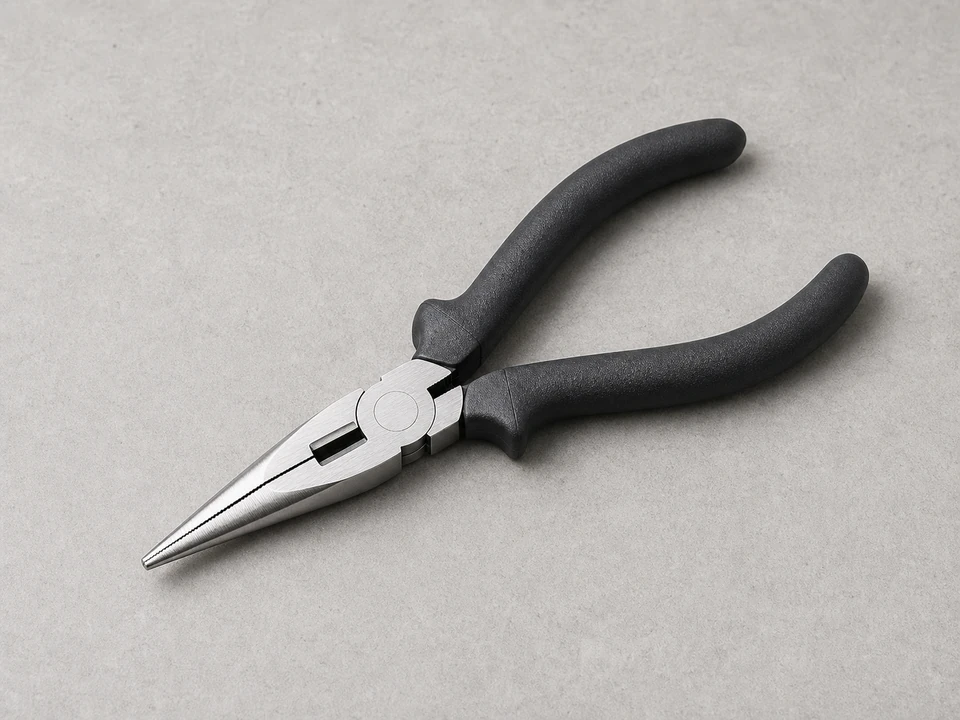
Use it for: To shape neat hooks for screw terminals and guide wires back into the box without kinking them.
Shop needle-nose pliers
Use it for: To clearly see conductor colors, terminal markings, and signs of heat damage with the power off.
Shop flashlightsAs an Amazon Associate I earn from qualifying purchases. Repair Riot may earn a commission at no extra cost to you.
If it works: You know the outlet itself is the likely problem and you have a correctly matched replacement ready.
If it doesn’t: If several outlets are dead or a nearby GFCI is tripped, solve that first before replacing this device.
If it works: The outlet shows no sign of voltage and is safe to handle.
If it doesn’t: If the tester still shows power, stop and identify the correct breaker before touching any conductors.
If it works: The old outlet is out and you clearly understand how the original device was wired.
If it doesn’t: If the layout does not look like a normal hot-neutral-ground replacement, pause and verify the circuit type before moving any wires.
If it works: Each conductor is on the correct terminal, the connections are tight, and the wiring matches the original layout.
If it doesn’t: If a conductor is too short, damaged, or will not tighten securely, fix that before trying to reinstall the outlet.
If it works: The outlet is mounted securely, power is restored, and the tester shows correct wiring.
If it doesn’t: If the tester shows reversed polarity, open ground, or another fault, turn the breaker back off and recheck every conductor and terminal.
If it works: The outlet works properly, holds plugs firmly, and stays cool and stable during use.
If it doesn’t: If it works intermittently, feels warm, or tests incorrectly, shut the breaker back off and inspect the connections again or have an electrician evaluate the circuit.
As an Amazon Associate I earn from qualifying purchases. Repair Riot may earn a commission at no extra cost to you.
No. This repair should only be done with the circuit off and the outlet verified dead before you touch any conductors.
Match the old outlet's amperage, face style, terminal style, and application. Common examples are 15-amp duplex, 20-amp T-slot, tamper-resistant, weather-resistant, decorator, and GFCI outlets.
Not as a casual upgrade. The replacement needs to match the circuit and the original device requirements. If you are unsure whether the circuit is meant for a 15-amp or 20-amp receptacle, stop and verify it before installing anything.
Possibly. Kitchens, bathrooms, garages, unfinished basements, exterior outlets, and other damp or sink-adjacent locations often require GFCI protection. Match the old setup and local requirements rather than assuming a standard outlet is always correct.
A side-screw or proper clamp-style back-wire connection is usually the better choice for a durable repair. Many failed outlets come from loose push-in connections.
That can indicate a switched outlet, split receptacle, or another non-basic wiring setup. Do not guess. Document it carefully and stop if you are not certain how the new device should be configured.
That usually means a wiring error, a short, or damaged conductors in the box. Turn the breaker off immediately and recheck every wire position and connection before restoring power again.
Check the breaker, any upstream GFCI device, and the wire placement on the new outlet. If the tester still shows a fault or the receptacle stays dead, the problem may be elsewhere on the circuit.