Does it grow after rain or snowmelt?
After rain, inspect attic sheathing, roof penetrations, flashing, valleys, chimney areas, and exterior-wall transitions uphill from the stain.
Good clue: timing. If the ceiling water stain changes after rain, shower use, HVAC cycles, or cold weather, follow that trigger before painting.
The stain can be the low point, not the entry point. Check attic sheathing, dark framing, damp insulation, fixture stains, and the condensate pan before choosing the repair path.
Sort the stain by timing and drywall condition before cosmetic work: wet mark, dry old ring, stain after rain, stain below a bathroom, attic/HVAC clue, or sagging paint.
Don’t start with: Do not paint, texture, or cut open the ceiling first. A wet or soft stain needs source control, drying, and safety checks before cosmetic work.
After rain, inspect attic sheathing, roof penetrations, flashing, valleys, chimney areas, and exterior-wall transitions uphill from the stain.
Test one upstairs fixture at a time and watch below. Supply lines, drains, toilet seals, tub overflows, and shower splash can all show up as a ceiling stain.
Look for condensation, damp insulation, frost marks, bath fan ducts ending in the attic, and warm air leaks around penetrations.
Monitor it through the next trigger event. If it stays dry, the remaining job may be stain sealing and finish repair.
Stop cosmetic work. Protect the room, isolate electrical risk, and open only what is needed for safe drainage or professional diagnosis.
Treat it as a cleanup and moisture-control problem, not a simple paint repair.
A ceiling stain is usually the low point where water finally appears. Compare timing, nearby rooms, attic clues, and the highest wet mark before opening drywall.
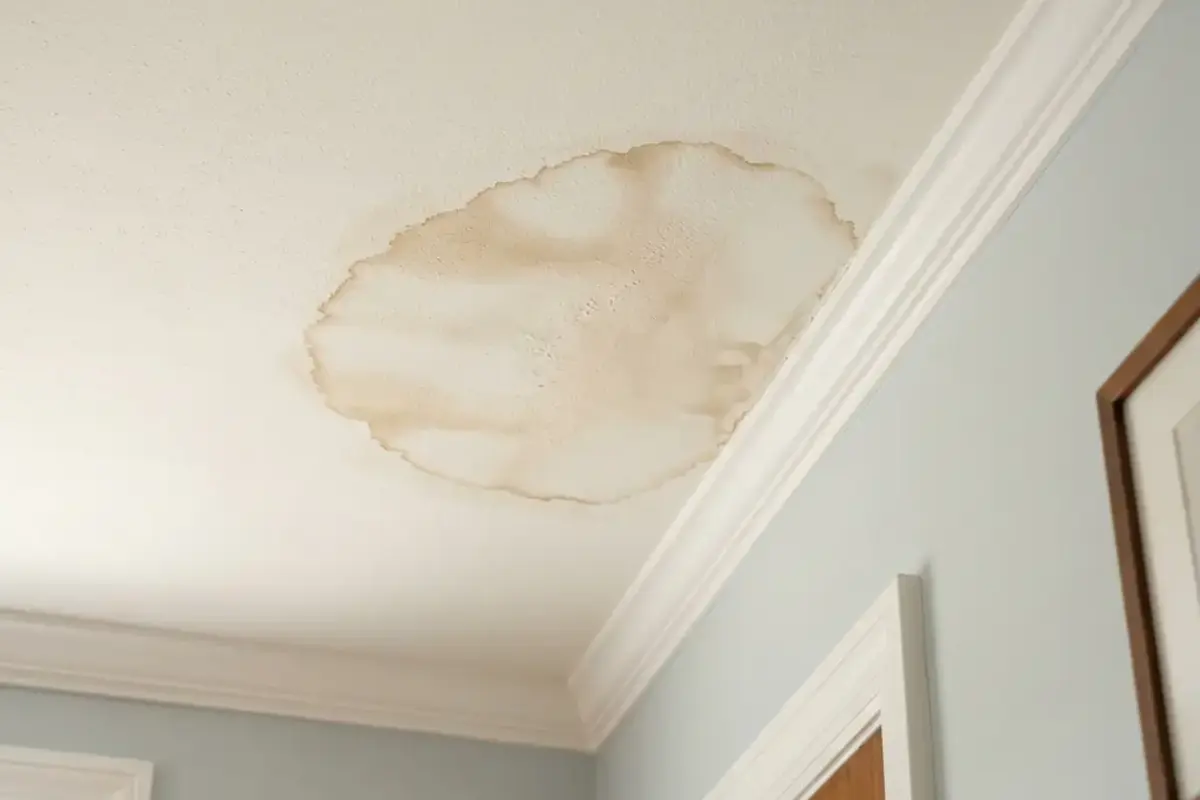
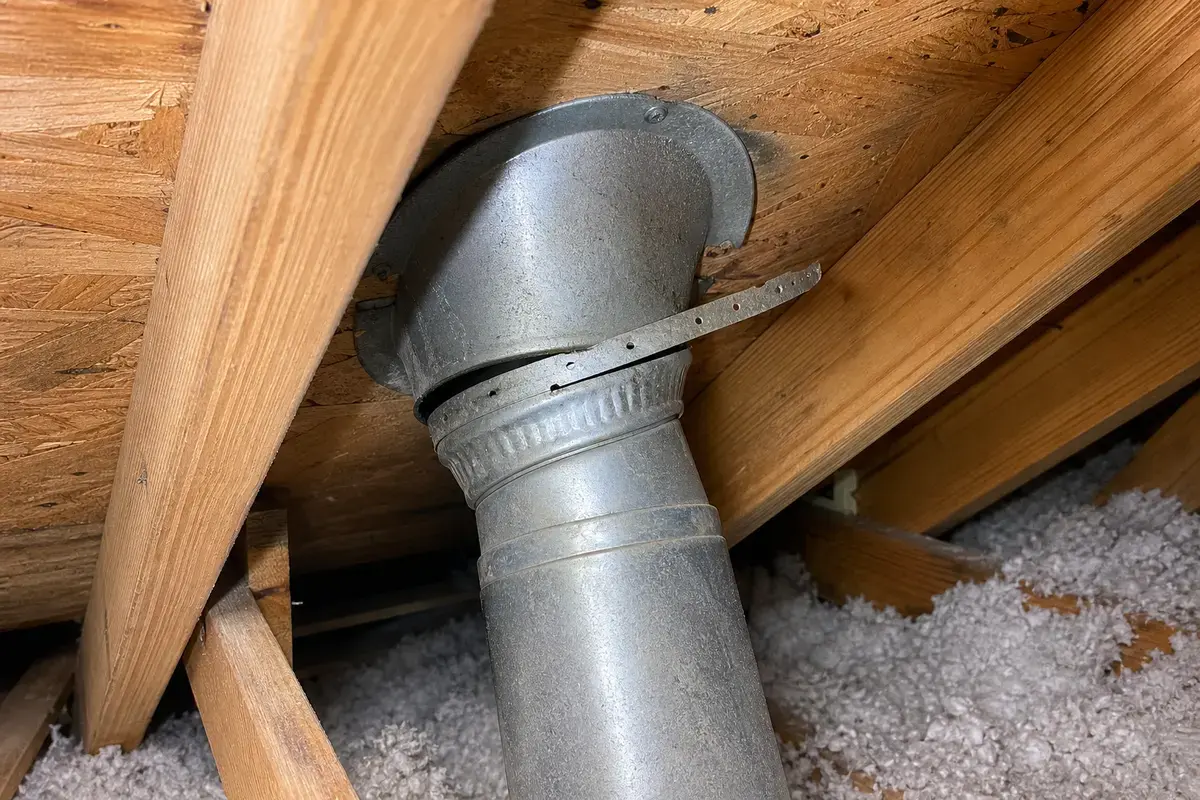
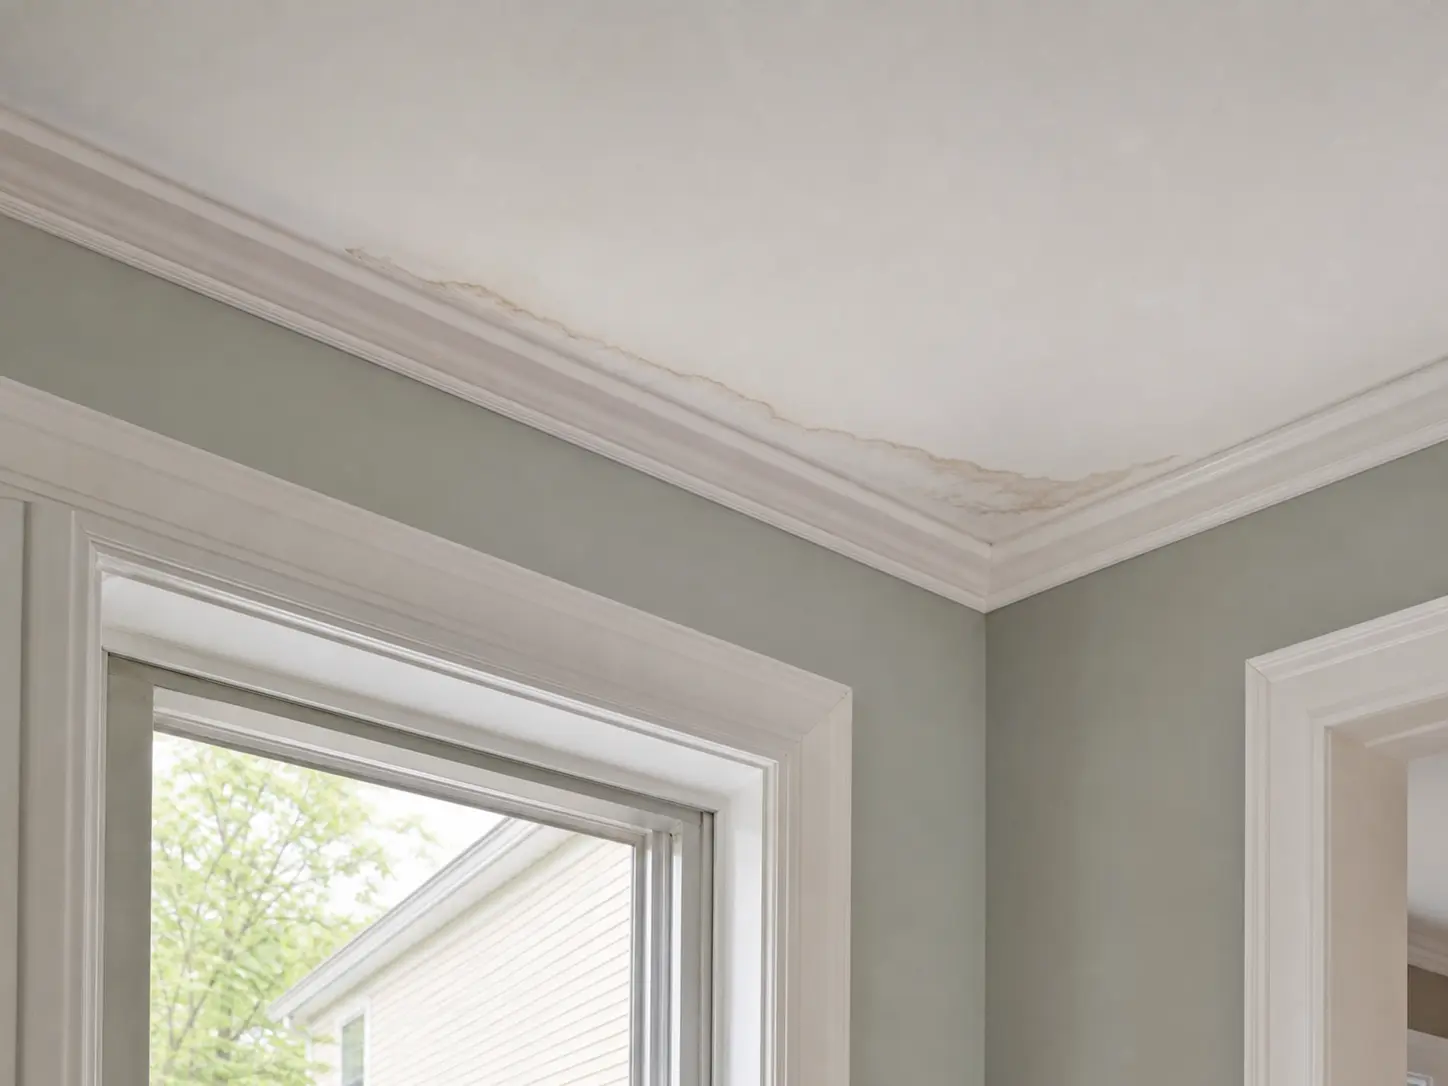
Match the exact diagnosis first. Do not buy stain blocker, texture spray, patch kits, roof sealant, or plumbing parts until the source is confirmed and dry.
A ceiling water stain is a symptom of water reaching the drywall, not proof that the ceiling surface failed.
The fastest way to make this job repeat is to hide the stain before the source is dead.
Use timing and drywall condition before choosing a repair. A stain that looks the same in every season is different from one that changes after a specific trigger.
| What you see | Likely meaning | Next move |
|---|---|---|
| Darker after rain | Roof or flashing path | Inspect the attic and uphill roof; wait for a dry rain test before patching. |
| Darker after bathroom use | Drain, supply, toilet seal, tub overflow, shower enclosure, or splash-out leak | Run one fixture at a time while someone watches below or at an access panel. |
| Appears in winter or near attic spaces | Condensation, bath fan venting, insulation gaps, or air leakage | Look for damp insulation, frost marks, rusty nail tips, and ducts ending in the attic. |
| Firm, dry yellow ring that does not change | Old leak mark or previous repair stain | Monitor through the same likely trigger, then seal and repaint if the drywall stays dry. |
| Sagging, bubbling, dripping, or soft drywall | Active water load or damaged ceiling material | Protect the room, isolate electrical risk, and get source control before finish repair. |
Work from the likely source back to the stain. The highest wet clue matters more than the center of the ceiling mark.
Ceiling drywall can look intact even when water has weakened the paper, joint tape, insulation, or fasteners above it.
Finish work belongs at the end. The stain should stay dry through a real trigger event before you treat it as cosmetic damage.
Buy finish-repair parts only after the leak source is repaired and the ceiling has stayed dry through the same trigger that caused the stain.
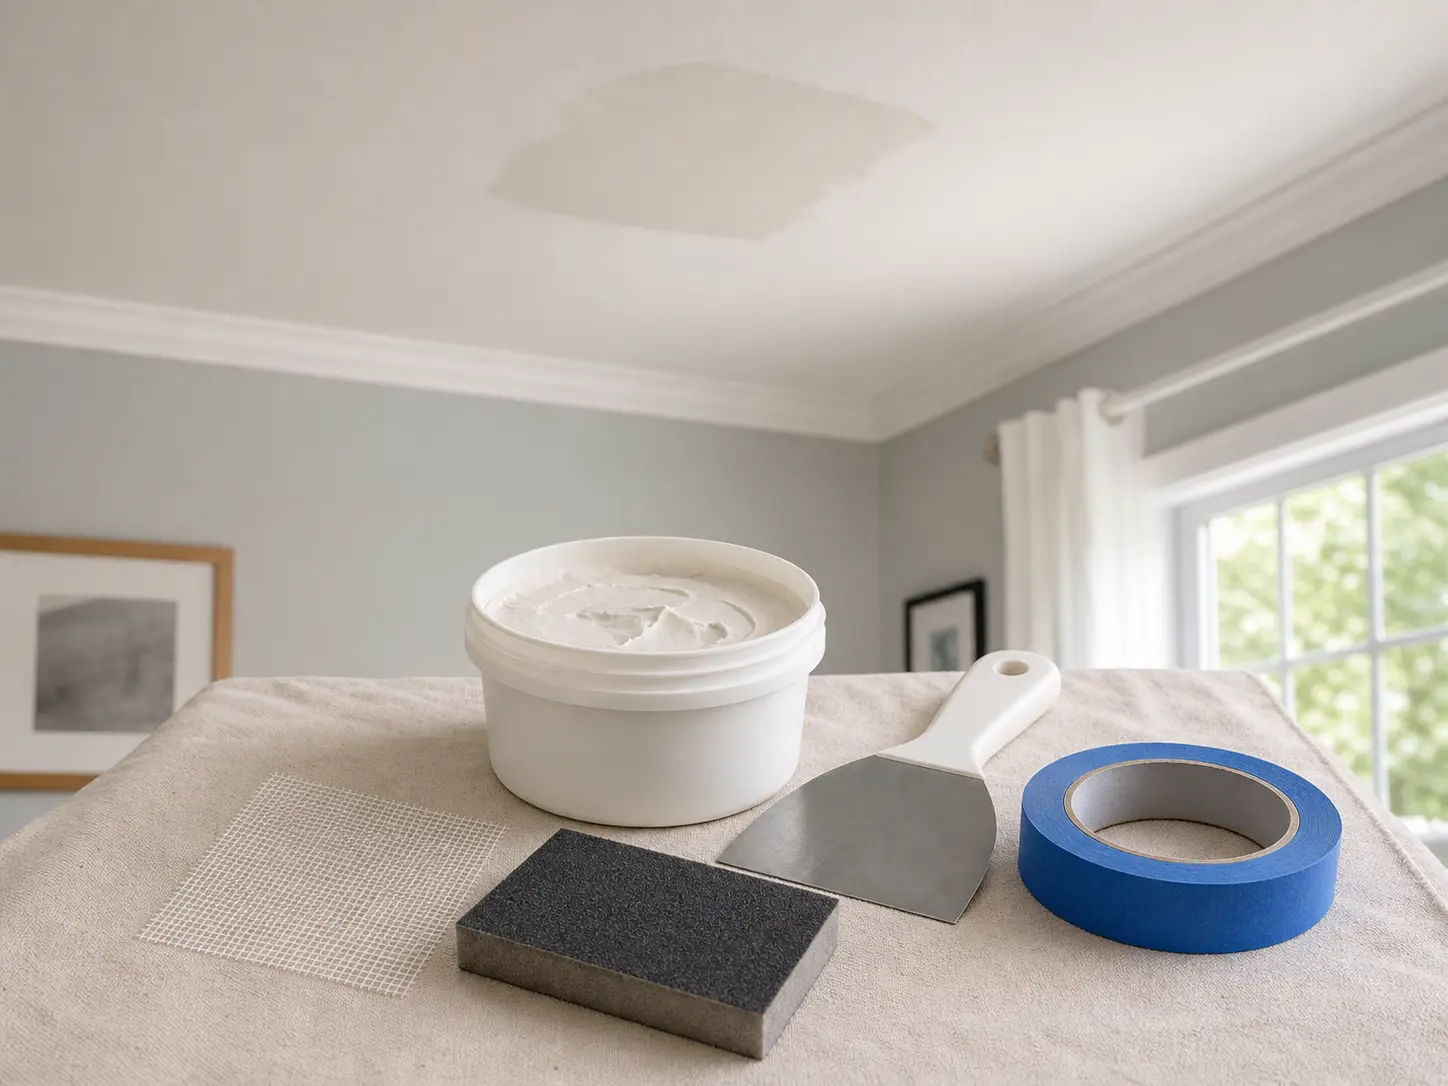
Helps when: Use a drywall patch kit only for a small damaged area after the source is fixed, the drywall is dry, and weak material is removed.
Skip it when: Skip it if the stain is still active, the ceiling is sagging, or the damaged area is larger than a simple patch.
Compare drywall patch kits on Amazon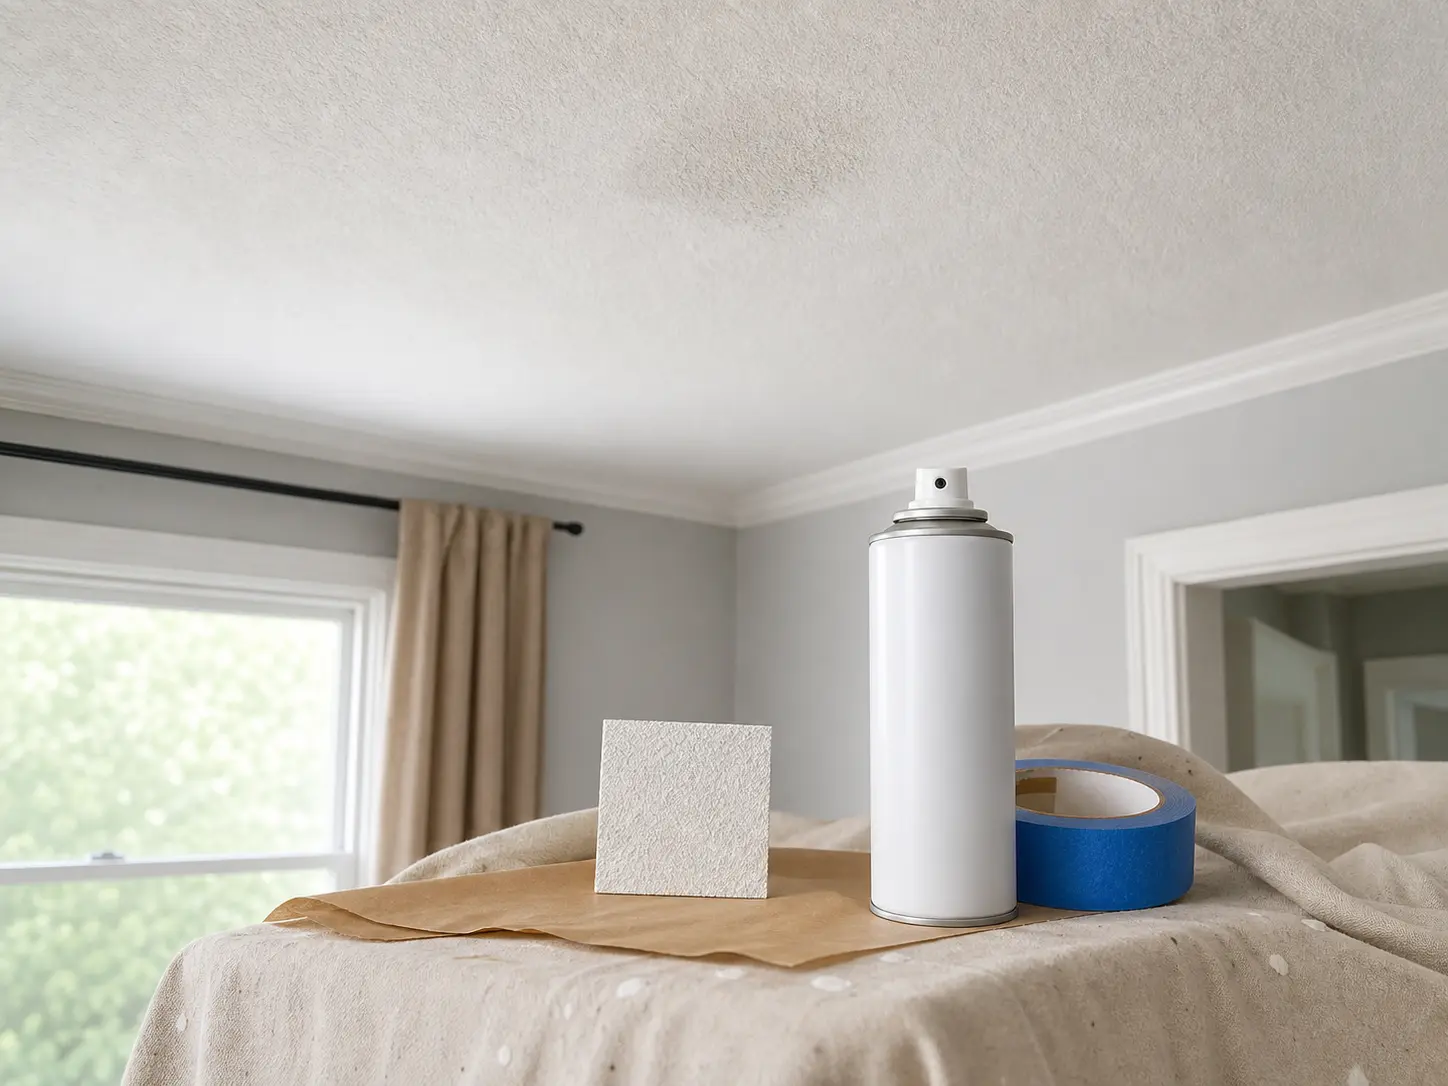
Helps when: Use ceiling texture repair spray for a small textured ceiling repair after patching, stain sealing, and drying are complete.
Skip it when: Skip it if the source is not verified, the ceiling is smooth, or older sprayed texture needs material testing first.
Compare ceiling texture repair sprays on AmazonAs an Amazon Associate I earn from qualifying purchases. Repair Riot may earn a commission at no extra cost to you.
These tools help confirm whether the ceiling is dry and let you inspect safely. Skip tool work if the ceiling is sagging, dripping near electrical, or contaminated.
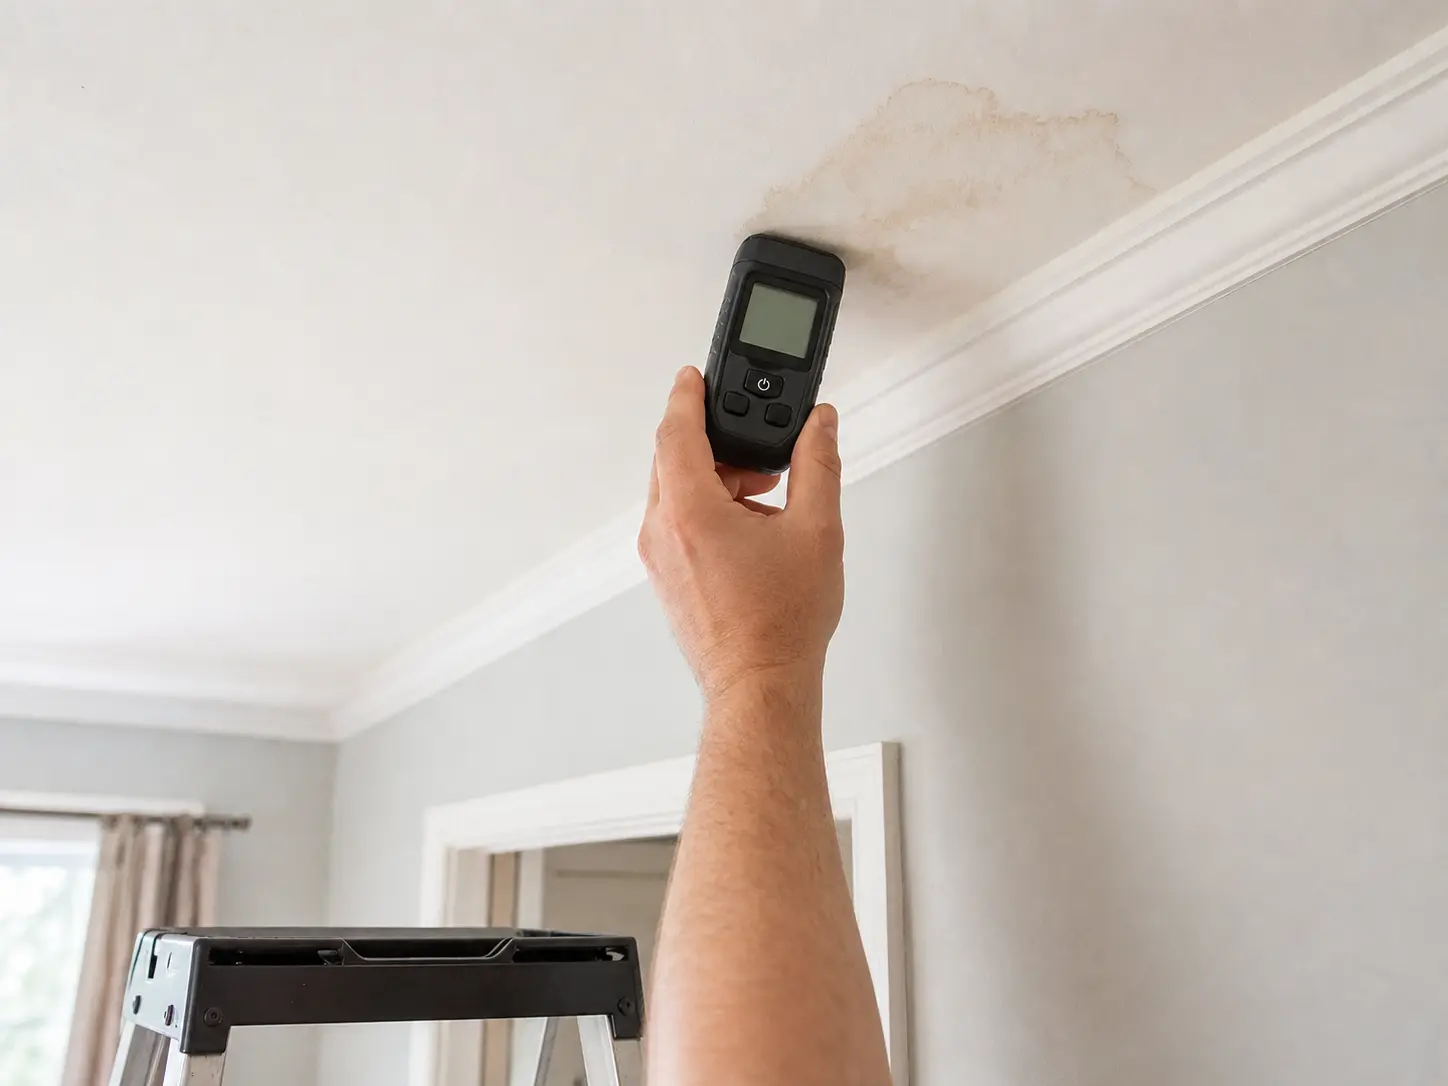
Helps when: Use a pinless moisture meter to compare the stain with nearby drywall and track whether it dries after source repair.
Skip it when: Skip relying on a meter if the surface is visibly wet, heavily textured, or needs immediate safety help.
Compare pinless moisture meters on Amazon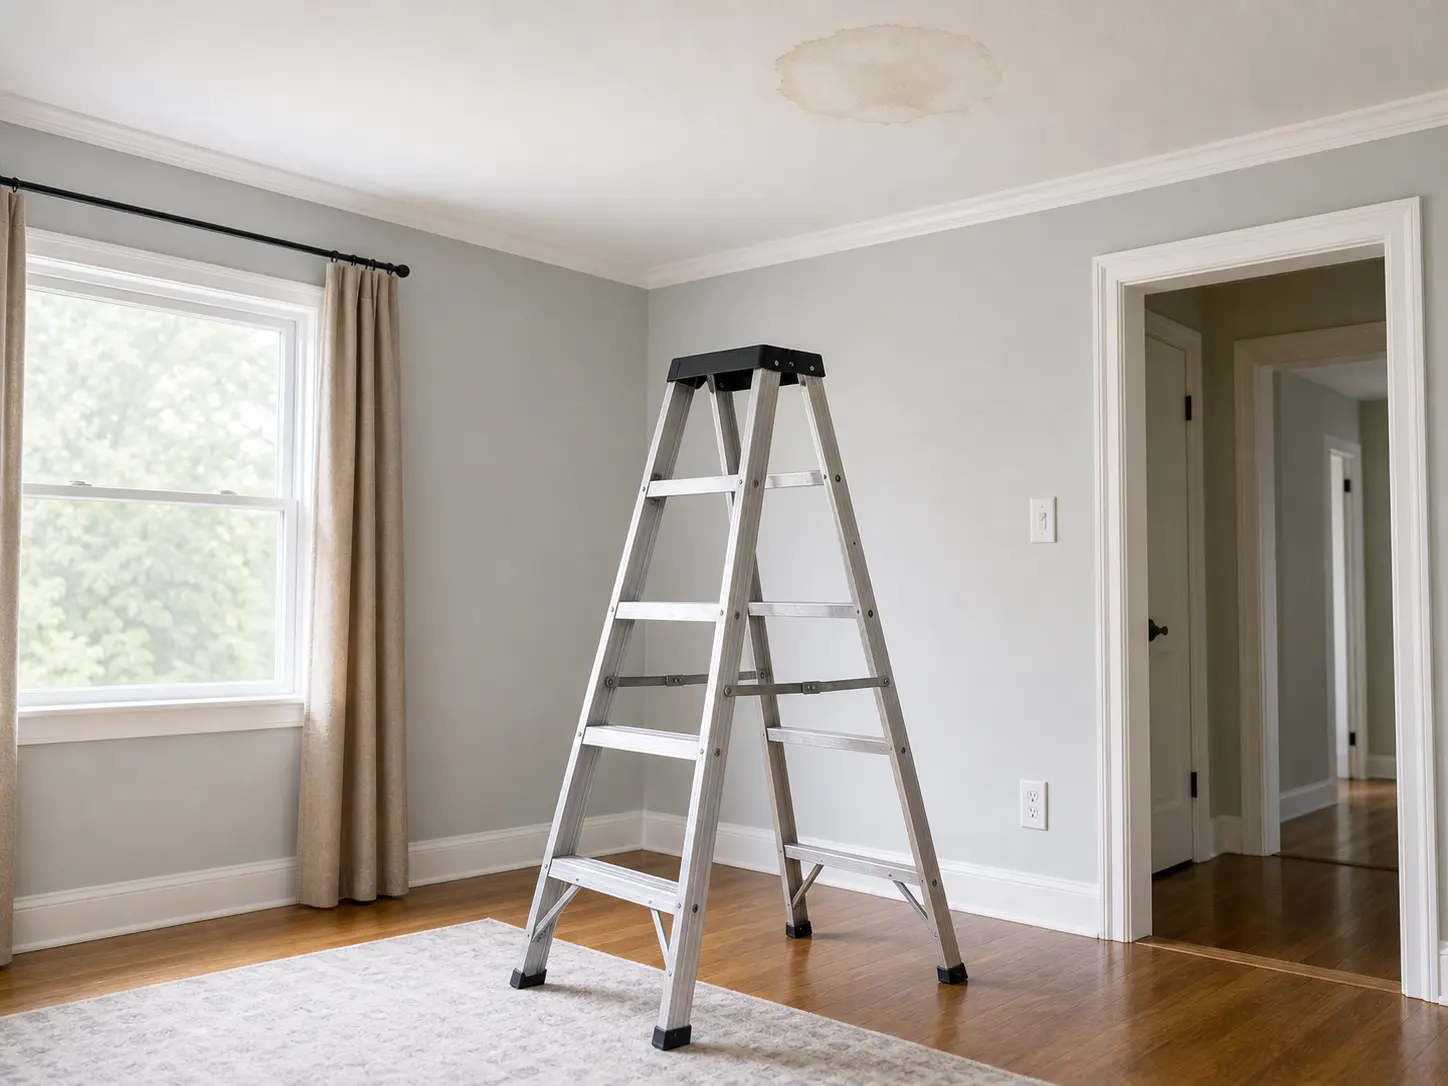
Helps when: Use a stable step ladder to view the stain edge, upper-wall clues, attic hatch, or access panel without standing on furniture.
Skip it when: Skip it if the floor is wet, the ceiling is bulging, or the work area cannot be kept stable.
Compare stable step ladders on Amazon
Helps when: Use clean rags to blot fresh drips, protect surfaces during fixture tests, and keep source areas readable.
Skip it when: Skip rags as a fix if water is flowing quickly or the ceiling material is contaminated.
Compare clean rags on AmazonAs an Amazon Associate I earn from qualifying purchases. Repair Riot may earn a commission at no extra cost to you.
No. Some stains are old damage from a leak that was already fixed. But you should assume it could still be active until the area stays dry through the next rain, plumbing-use test, or cold-weather cycle that used to trigger it.
Yes. Water can run along framing, pipes, and drywall paper before it shows. Mark the stain, then check the attic or room above for the highest wet wood, pipe drip, or damp insulation.
Start outside the cut. Match timing, inspect the attic and room above, then cut only when access is needed after visible checks are ruled out.
Paint after the source is fixed, the drywall feels firm, and a moisture check stays dry. Stain blocker belongs after drying, not while the ceiling is still changing.
That often points to attic condensation rather than a roof leak. Check for a bath fan venting into the attic, air leaks from the house into a cold attic, damp insulation, or frost and moisture on roof nails and sheathing.
Call a pro if the ceiling is sagging, the source is unclear, roof access is unsafe, water is near electrical, or you find widespread wet insulation, rot, or moldy materials.
Wait until the ceiling stays dry through the same trigger that caused the stain. That may mean the next rain, the next shower test, or the next cold-weather condensation cycle.
Yes. A small mark can be the first low point of a larger wet path above the drywall. Softness, growth, musty odor, or nearby electrical risk matters more than stain size.
This page uses visible ceiling stain checks: mark the stain edge, compare it after rain or fixture use, inspect attic moisture, test drywall firmness, isolate electrical risk, and verify dry time before finish repair.