Does it drip with the handle off?
Dry the shower head and arm. Drops from the nozzles after 10 to 15 minutes point toward the cartridge; water at the threaded joint points toward the head connection.
A shower leak usually follows one of three patterns: water drips with the handle off, water appears only while the shower runs, or spray escapes through the enclosure. Dry the area first, then sort the head, trim, drain, and door clues before buying parts.
A good clue is timing. Off-cycle dripping points toward the cartridge or shower head connection. Use-only leaks point toward trim seals, the drain, caulk, grout, or the door sweep.
Trace the first wet spot, not the final drip.
Don’t start with: Do not cut open the wall or order a valve body first. Stop using the shower if water reaches a ceiling, light, fan, soft wall, or flooring below.
Dry the shower head and arm. Drops from the nozzles after 10 to 15 minutes point toward the cartridge; water at the threaded joint points toward the head connection.
Keep spray aimed away from the handle and run the shower briefly. If fresh moisture beads at the escutcheon edge, dry the trim and check the gasket or seal path; water from deeper in the wall is a plumber stop point.
Pour water straight into the drain without spraying the walls. If a fresh drip shows below during that pour, stop the test; the drain body, gasket, trap, or connection is the path to inspect from the accessible side.
Look at the door sweep, curtain edge, curb, corners, cracked caulk, open grout, and the direction the spray hits.
Stop the test. Keep the shower off and get the leak path inspected before patching drywall or running more water.
The useful clue is where fresh water starts: the shower head face or arm joint, the trim plate edge, the drain path, or the enclosure edge. Dry those spots first; a ceiling drip is usually only where the water finished traveling.
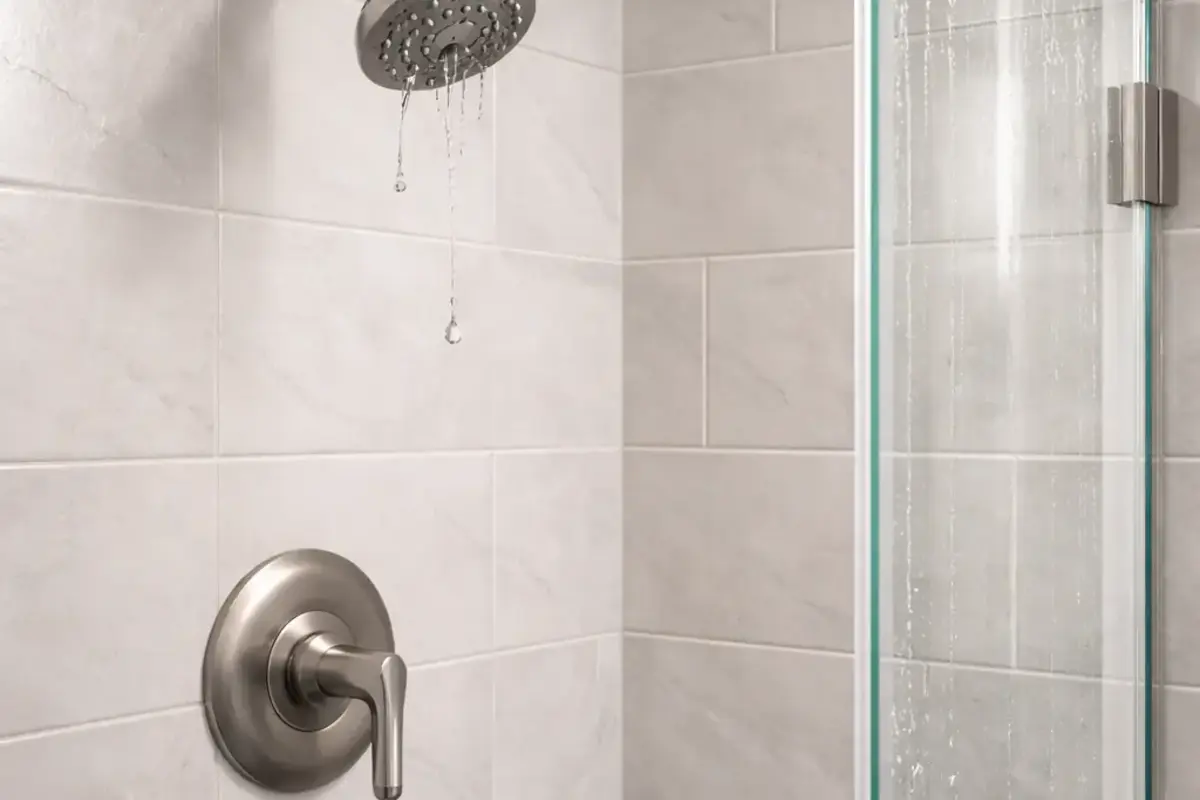
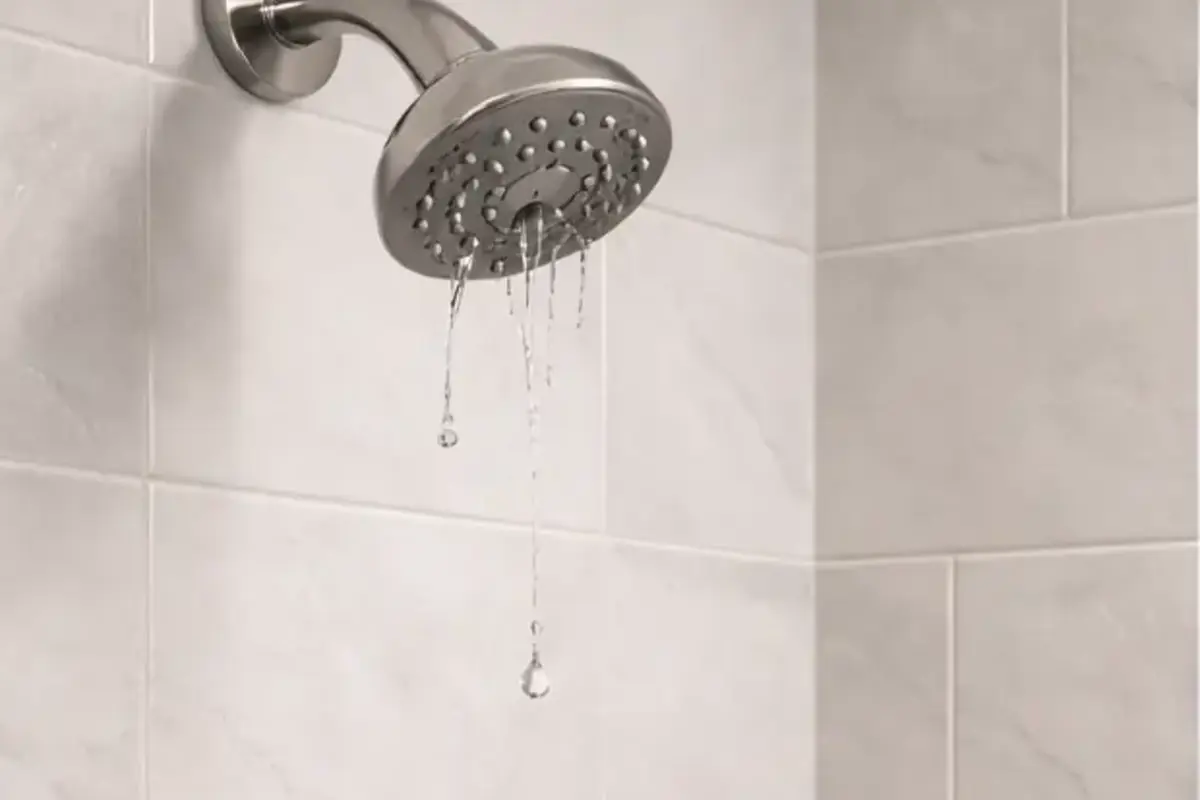
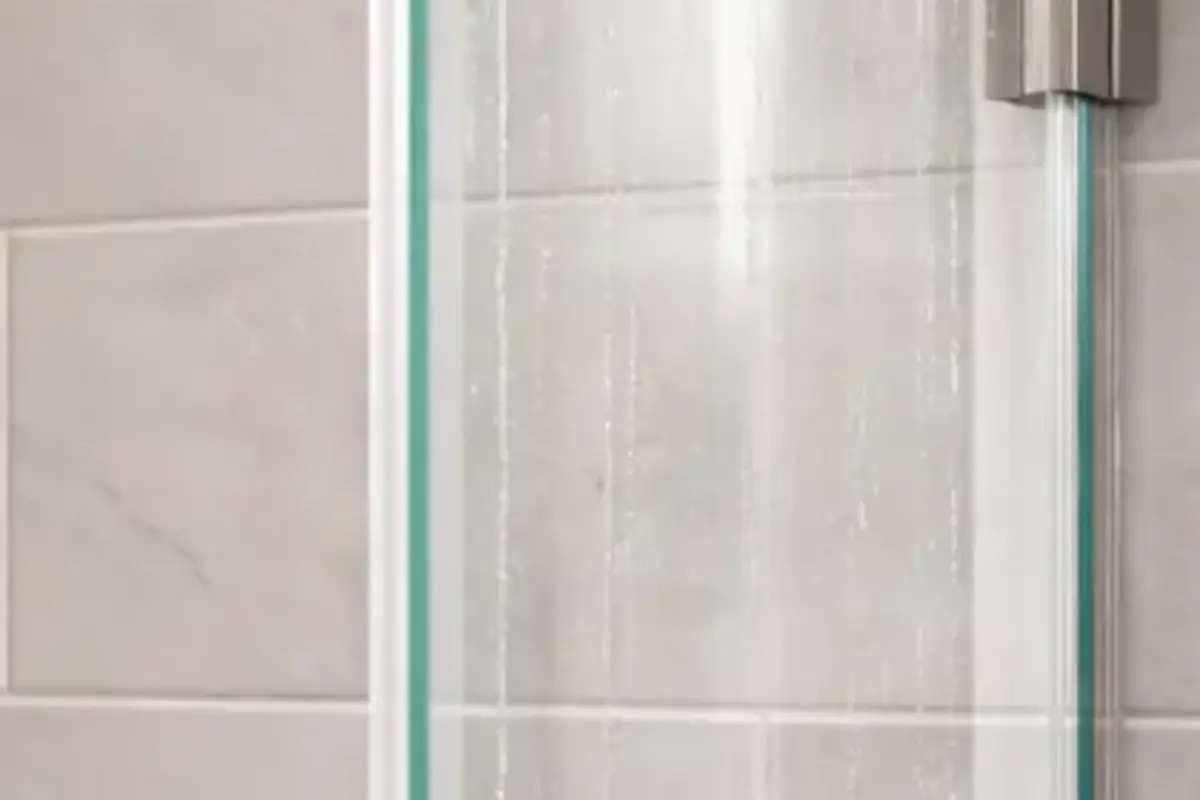
Do not buy a cartridge, shower head, trim gasket, drain part, or door seal until one leak pattern points there. Use the first wet spot and the test result, then match cartridges and trim parts by valve brand, model marking, old part shape, and published parts diagram; lookalike shower parts often do not interchange.
A shower leak sorts by timing and by the first wet surface. The stain below matters, but it is not always where the water started.
A shower leak gets more expensive when the first move is demolition or a parts order. Dry the head, trim, curb, and drain area, then use one small water test at a time before you name a part.
Dry the shower first. Then make one small water move at a time and use the first fresh wet spot to choose the next step.
| What you see | What it usually means | Next move |
|---|---|---|
| Drops form at the shower head face after 10 to 15 minutes off | Water may be passing the cartridge or valve seal. | Match the cartridge by valve brand and part diagram before any replacement. |
| Water beads at the shower head threads or arm joint | The shower head connection or washer is more likely than the cartridge. | Remove and reseal the head only when the arm stays solid in the wall. |
| Trim or handle gets wet while spray is aimed away | Water is entering at the trim seal or coming from the valve area. | Remove trim only with water off; call a plumber when moisture comes from deeper in the wall. |
| Ceiling below leaks during a direct drain pour | The drain body, gasket, trap, or connection below is suspect. | Repair from the accessible side or call a plumber when access is hidden. |
| Floor outside gets wet only during a normal shower | Spray is escaping past the door, curtain, curb, caulk, or grout. | Repair the enclosure path after the area is fully dry. |
| Ceiling sags, drips steadily, or sits near a light or fan | Hidden water and electrical exposure are possible. | Keep the shower off and get the leak path inspected before patching finishes. |
These checks keep the head, trim, drain, and enclosure from being blamed for each other. Work slowly and stop when water enters hidden areas.
Once the pattern is clear, choose the smallest repair that matches it. Skip parts that do not fit the clue.
These support diagnosis and light surface repair. They are not a reason to open hidden plumbing or work around wet electrical fixtures.
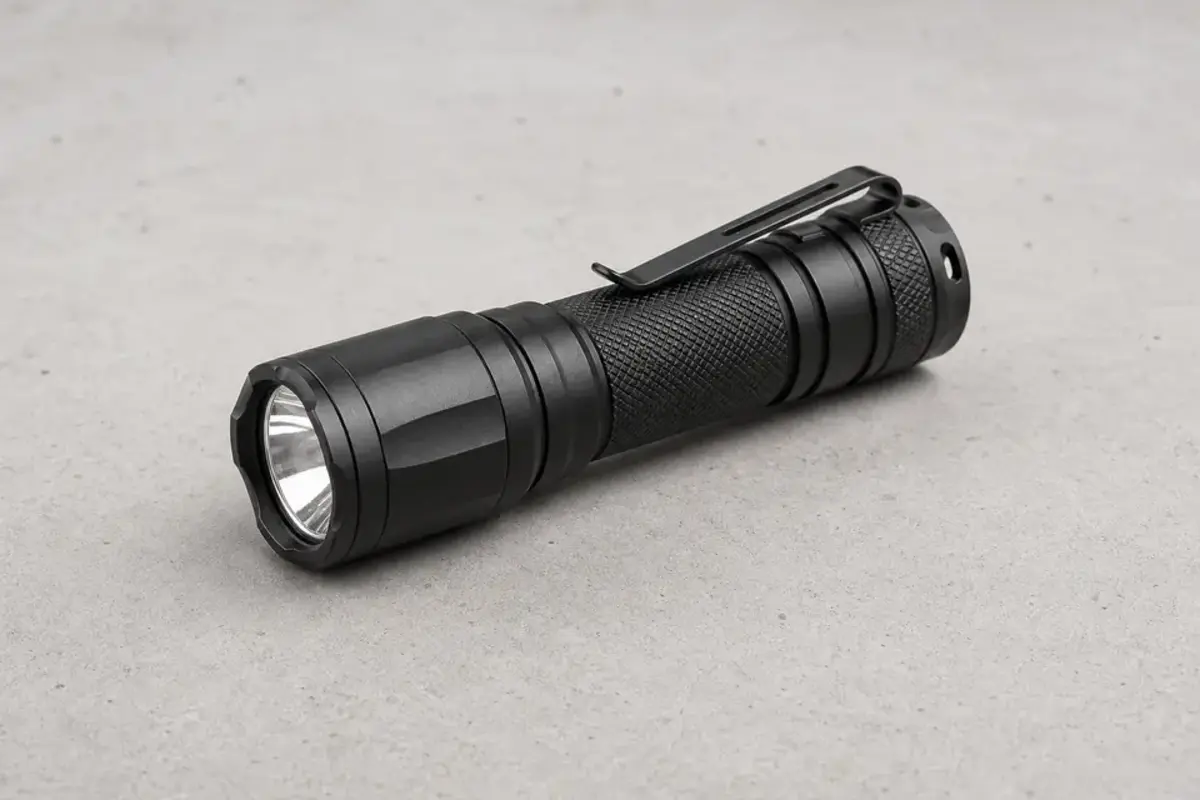
Helps when: Use this to see moisture trails at the trim edge, shower arm, drain opening, curb, and ceiling below.
Skip it when: The leak is active inside a wall or near electrical fixtures where more inspection should wait for service.
Compare inspection flashlights on Amazon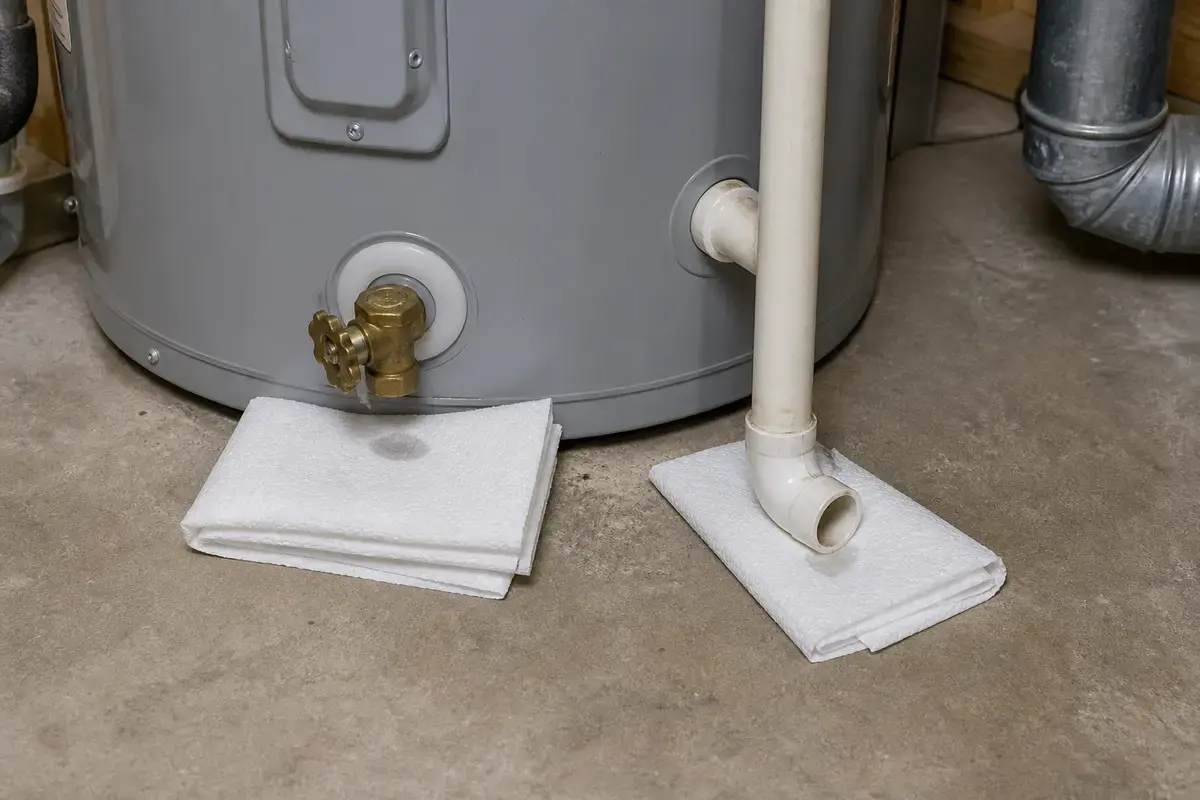
Helps when: Use these to dry the head, trim, curb, floor, and ceiling area so new water stands out immediately.
Skip it when: Water is already soaking finishes or dripping steadily; stop the shower instead of staging more tests.
Compare paper towels and rags on Amazon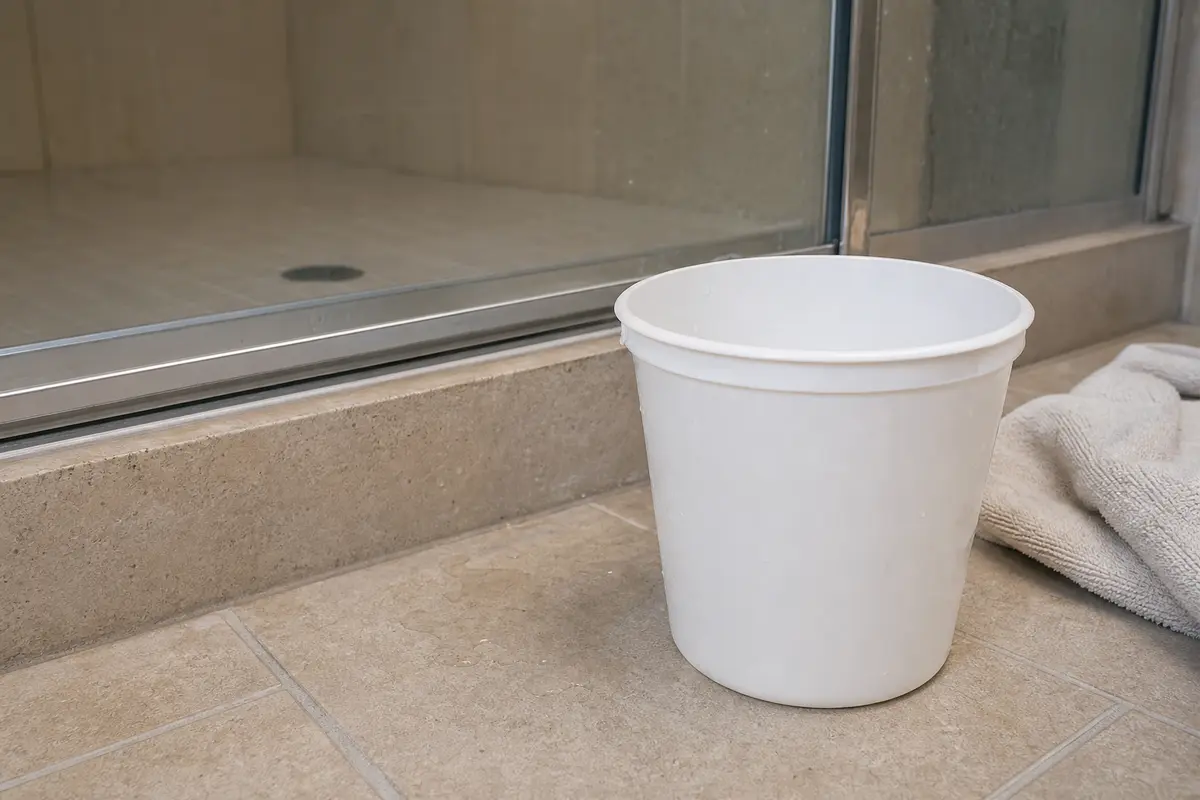
Helps when: Use this for a drain-only pour that sends water straight into the drain without spraying walls or the door.
Skip it when: Pouring into the drain immediately sends water into a ceiling or hidden cavity; stop and get access or service.
Compare buckets and large cups on Amazon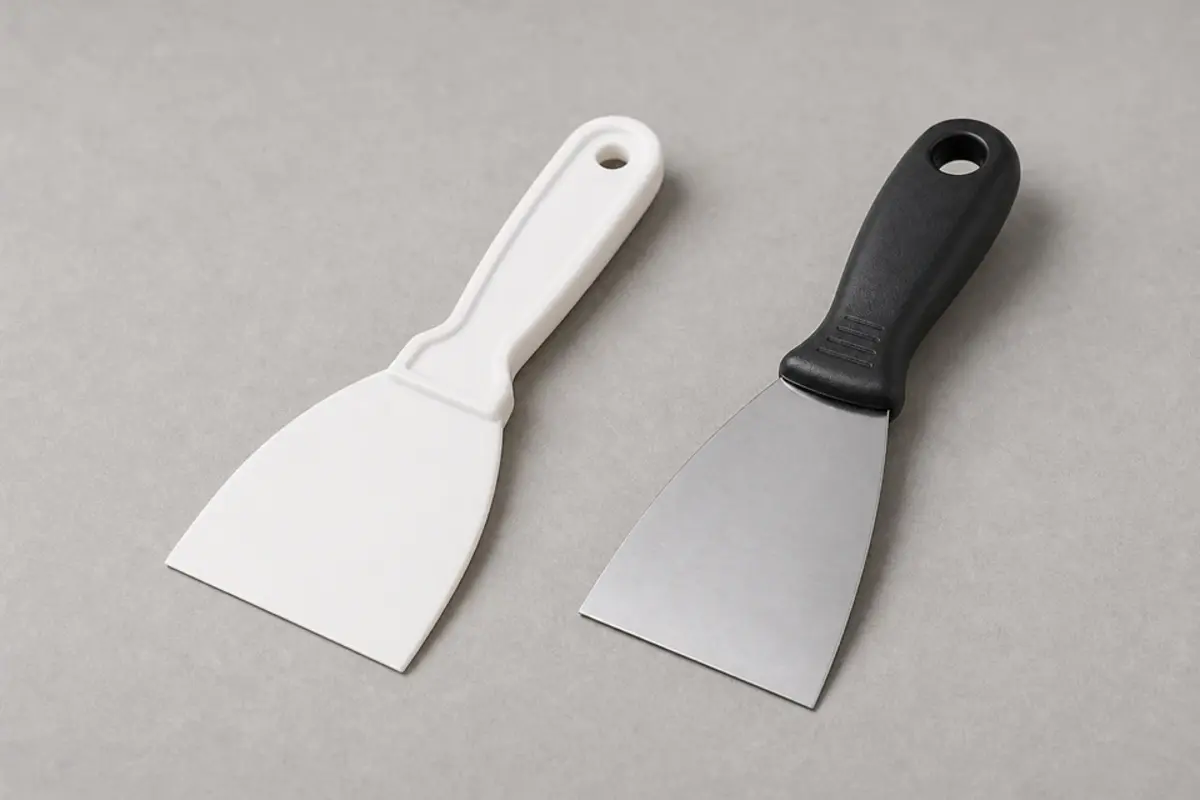
Helps when: Use this only after the leak points to failed shower caulk and the joint has time to dry.
Skip it when: The leak is from the valve, drain connection, or shower head threads rather than an enclosure seam.
Compare caulk removal tools on AmazonAs an Amazon Associate I earn from qualifying purchases. Repair Riot may earn a commission at no extra cost to you.
Parts come after the leak path. Shower cartridges, trim gaskets, drain assemblies, and door seals are not universal, even when photos look close.
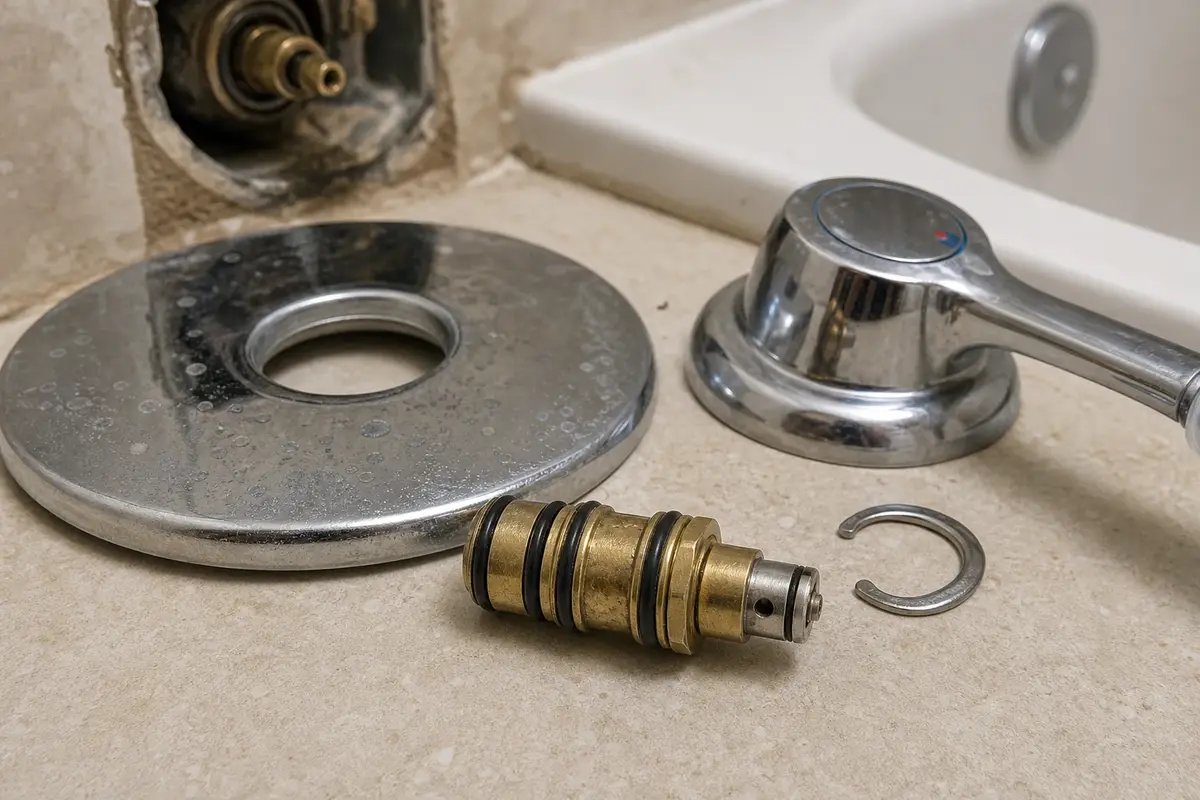
Helps when: Buy this when the shower head drips from the nozzles long after shutoff and the old cartridge can be matched exactly.
Skip it when: The leak is at the shower head threads, trim plate surface, drain, door, curtain, or caulk line.
Compare shower cartridges on Amazon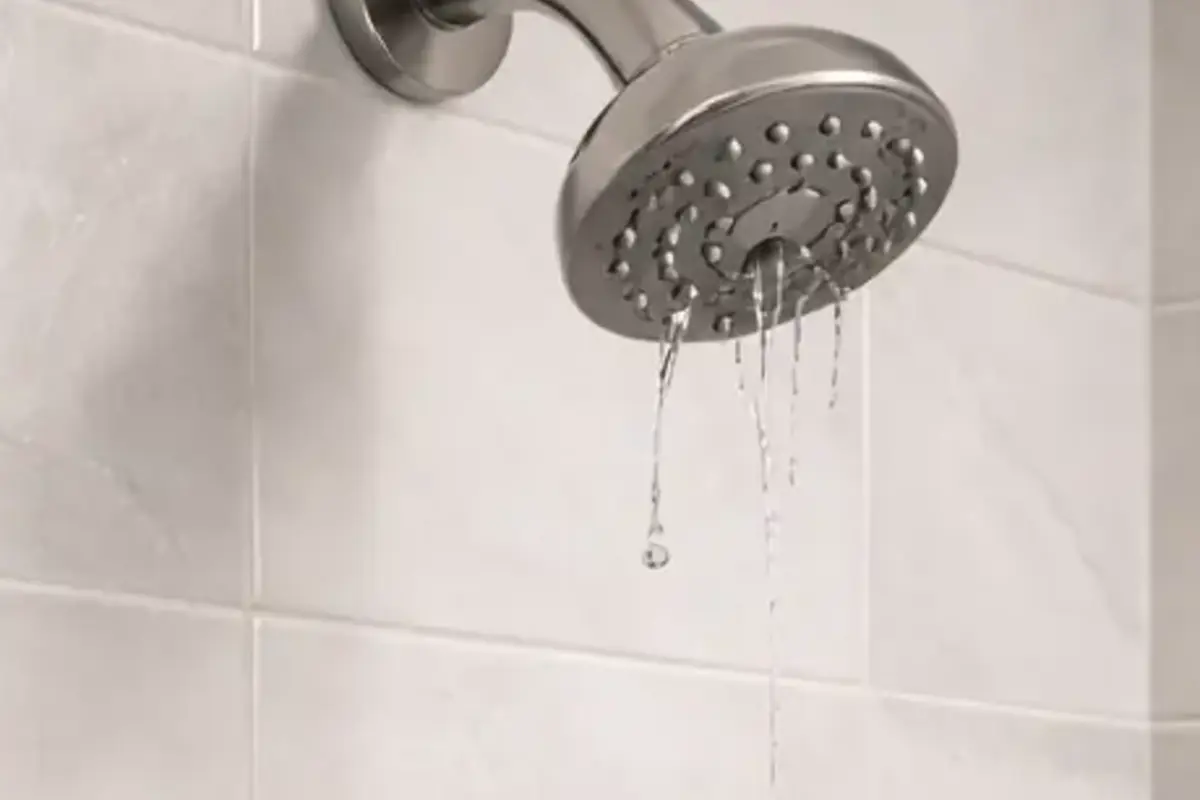
Helps when: Buy this when the head body is cracked, the swivel leaks, or the threaded connection will not seal on a solid arm.
Skip it when: Water drips from the nozzles after shutoff; that usually points to the valve or cartridge instead.
Compare shower heads on Amazon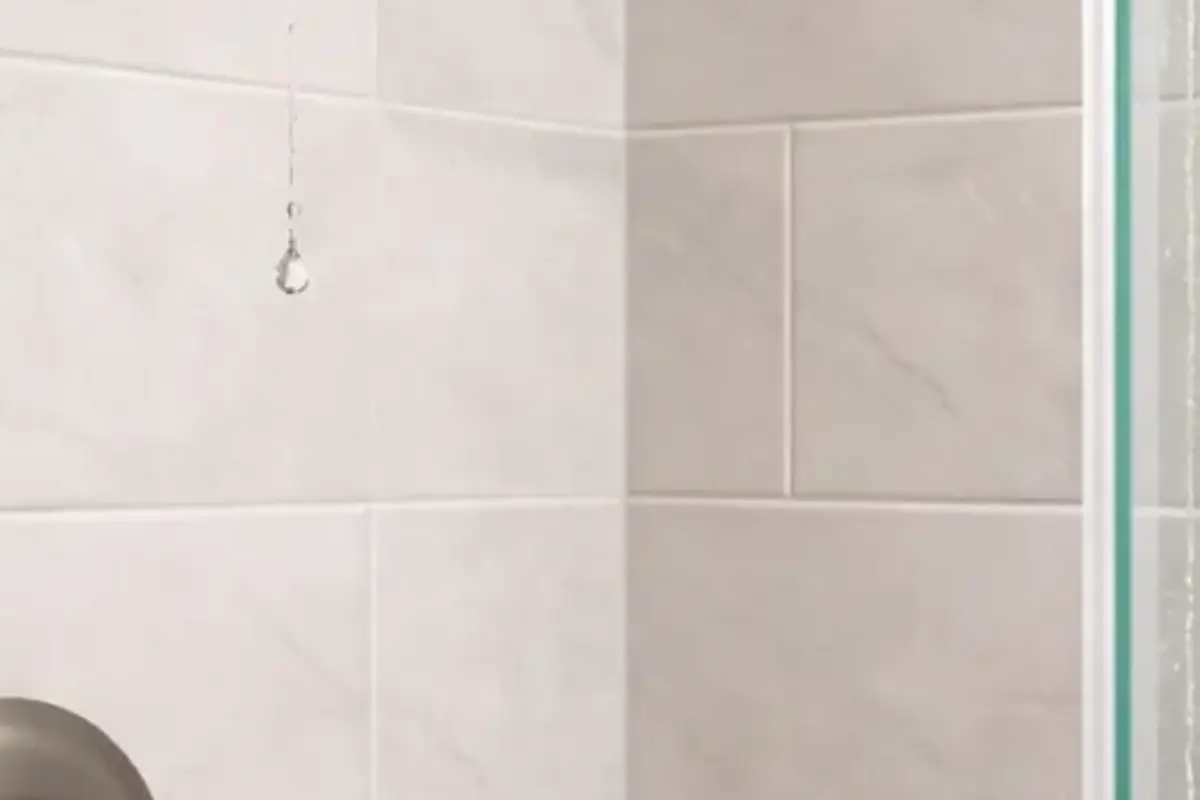
Helps when: Buy this when water reaches behind the escutcheon and the existing gasket is missing, torn, flattened, or wrong for the trim.
Skip it when: Moisture comes from deeper in the wall, or the leak only happens at the drain or door side.
Compare shower trim gaskets on Amazon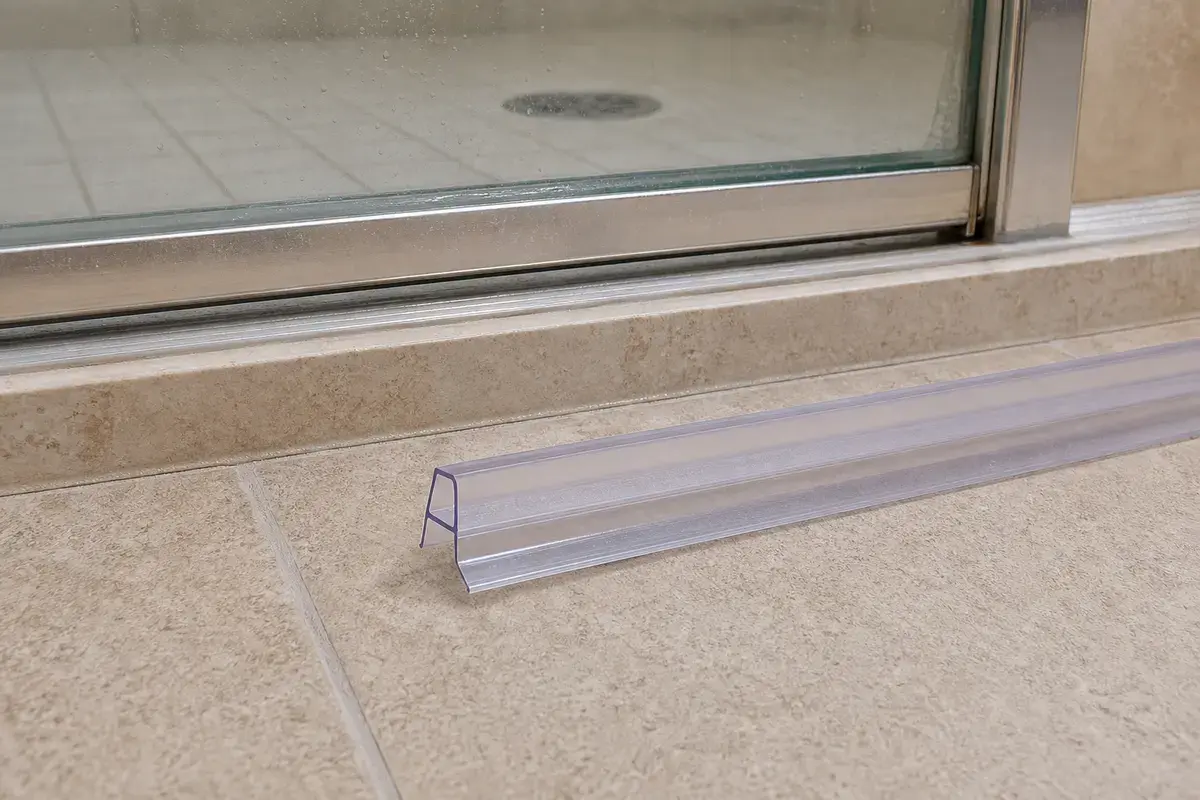
Helps when: Buy this when water escapes at the door bottom or curb during a normal shower and the sweep is torn or missing.
Skip it when: The floor stays dry during normal spray, or the leak is from the drain, trim, or shower head.
Compare shower door sweeps on AmazonAs an Amazon Associate I earn from qualifying purchases. Repair Riot may earn a commission at no extra cost to you.
The repair is done only when the same condition that caused the leak stays dry afterward. Do not patch finishes before that retest.
A few drops right after shutoff can be water draining from the shower head and arm. Dry the spray face and check again after 10 to 15 minutes; fresh drops that keep forming usually mean water is passing the valve or cartridge.
Only when the wet point is the head body, swivel, washer, or threaded joint. Dry the spray face and the arm joint separately; if the spray face makes new drops after shutoff while the joint stays dry, check the cartridge before buying a head.
Yes. Water can slip through failed caulk, open corners, or trim gaps and travel behind the surface before it appears below. Suspect that path when the leak appears only during a normal shower.
Pour water directly into the drain without spraying walls or the door, and have someone watch below if that is where the leak shows. Leakage below during that pour points to the drain path. A leak only during normal shower spray points more toward the enclosure or wall surface.
Water can travel along framing, pipe runs, tile backer, or drywall before it drips. The ceiling spot may be several feet from the first wet point above.
No. Recaulk only after the leak points to an enclosure seam, corner, curb, or trim-surface path. If the drain-only pour stays dry but normal spray wets an edge or corner, caulk may belong in the repair. It will not fix a cartridge drip, loose shower arm, or drain connection leak.
Keep it off until you know where the water is going. A small leak into drywall, framing, flooring, or a ceiling cavity can do more damage than the visible drip suggests.
Call a licensed plumber when water comes from inside the wall or the ceiling below is wet. Also call when the drain connection is hidden, the shower arm is loose in the wall, or the shutoff will not control the water.
Body weight can flex a shower base, door threshold, or drain seal. Treat that as a pan, curb, or drain clue and stop before running long tests that send water below.
Treat it as urgent. Stop using the shower and keep people away from the wet electrical area until the leak path and the electrical exposure have been checked safely.
Repair Riot built this page around visible leak timing: off-cycle drip, trim wetting, drain-only flow, enclosure splash, and hidden-water stop points. EPA guidance supports showerhead leak context, plumber escalation for valve leaks, and fixing moisture before patching finishes. The diagnostic sequence is original guidance.