Does the crack move when pressed?
Movement means support or shell failure, not just finish damage.
A cracked bathtub surface can be a shallow finish crack, a leaking shell crack, or a symptom of tub flex. Dry the area, mark the crack, check for movement, and use only a small controlled water test before buying a repair kit.
A solid tub with a shallow hairline crack may be repairable; a soft or moving tub is not a simple surface patch.
The key clue is whether the crack changes when the tub is pressed or when a small amount of water sits over it.
Don’t start with: Do not sand, drill, or smear filler over the crack until movement and leakage are ruled out.
Movement means support or shell failure, not just finish damage.
Treat it as a leak path.
Use the drain-crack path before a surface kit.
A compatible acrylic/fiberglass kit may be reasonable.
Mark it and stop using the tub until the cause is known.
A clean, dry crack check is safer than guessing with filler. Movement and moisture decide whether this is repairable.
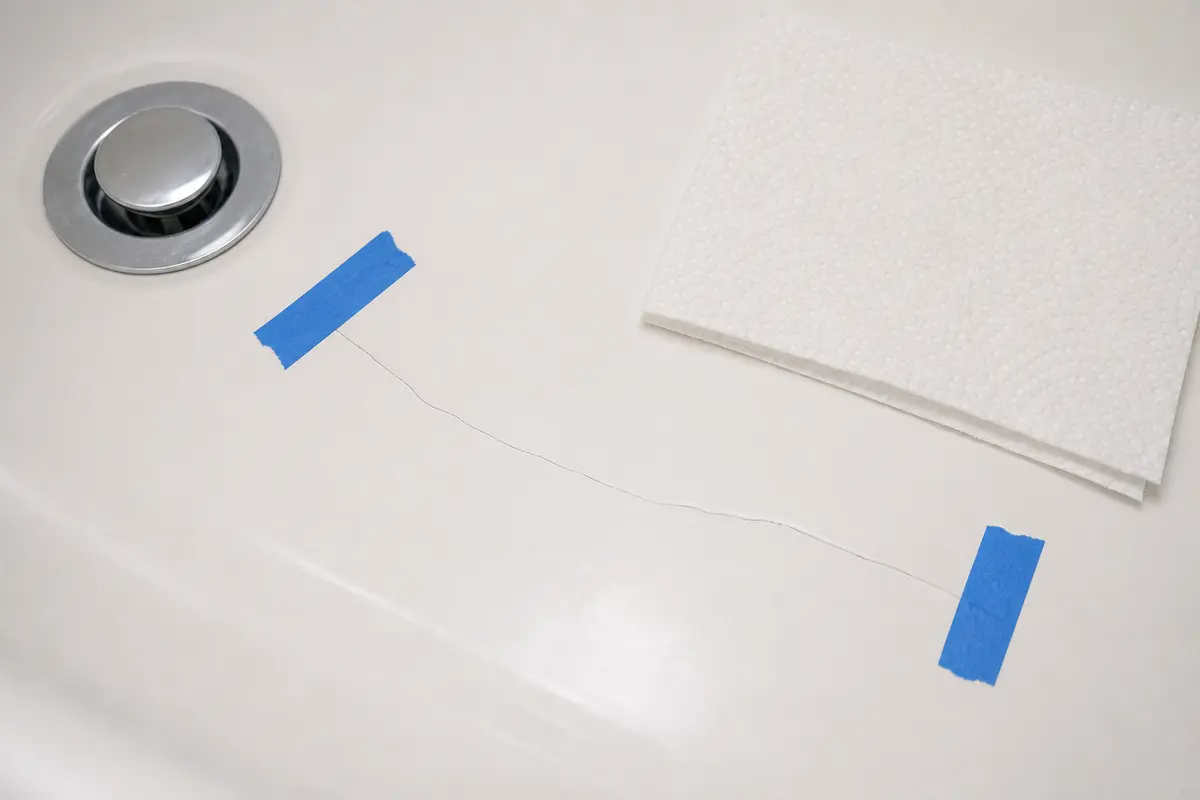
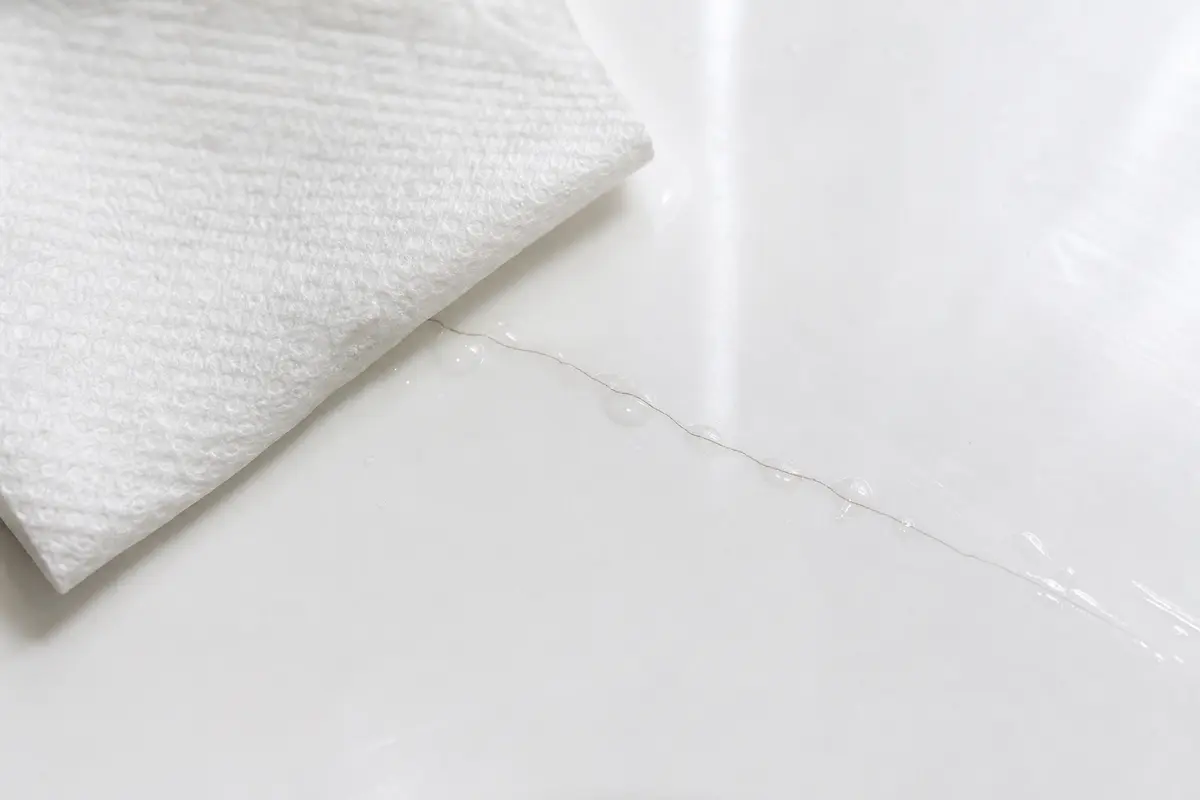
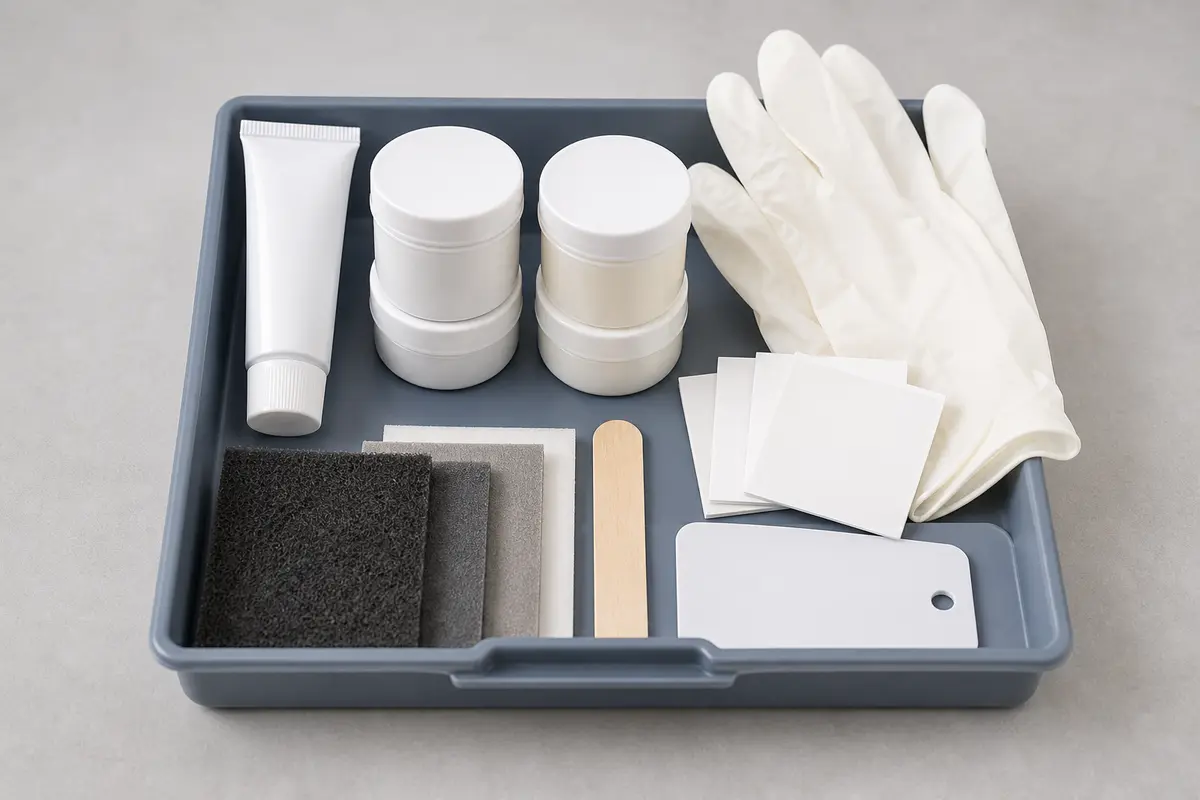
Confirm the crack is not moving, leaking, or starting at the drain. Match the exact diagnosis, fixture style, and model or material before ordering.
The crack depth and tub movement matter more than the visible line. A finish crack, shell crack, and unsupported tub need different next moves.
The wrong patch can hide moisture and make the next repair harder.
Dry the surface, mark the crack, press gently nearby, then run only a small water test if the tub feels solid.
| What you see | What it means | Next move |
|---|---|---|
| Solid tub, dry hairline | Finish-level damage possible | Match a tub repair kit. |
| Crack opens or clicks | Flex or shell failure | Stop patch planning. |
| Tissue gets wet | Leak path possible | Stop use and inspect below. |
| Crack starts at drain | Drain stress pattern | Use drain-crack diagnosis. |
Surface kits fail quickly when the tub moves. The observable clue is a crack that widens, clicks, or sits in a soft spot.
A kit is reasonable only when the crack is shallow, dry, not near the drain, and the tub material matches the kit.
These tools support inspection and prep. Skip prep tools when movement or leakage is present.
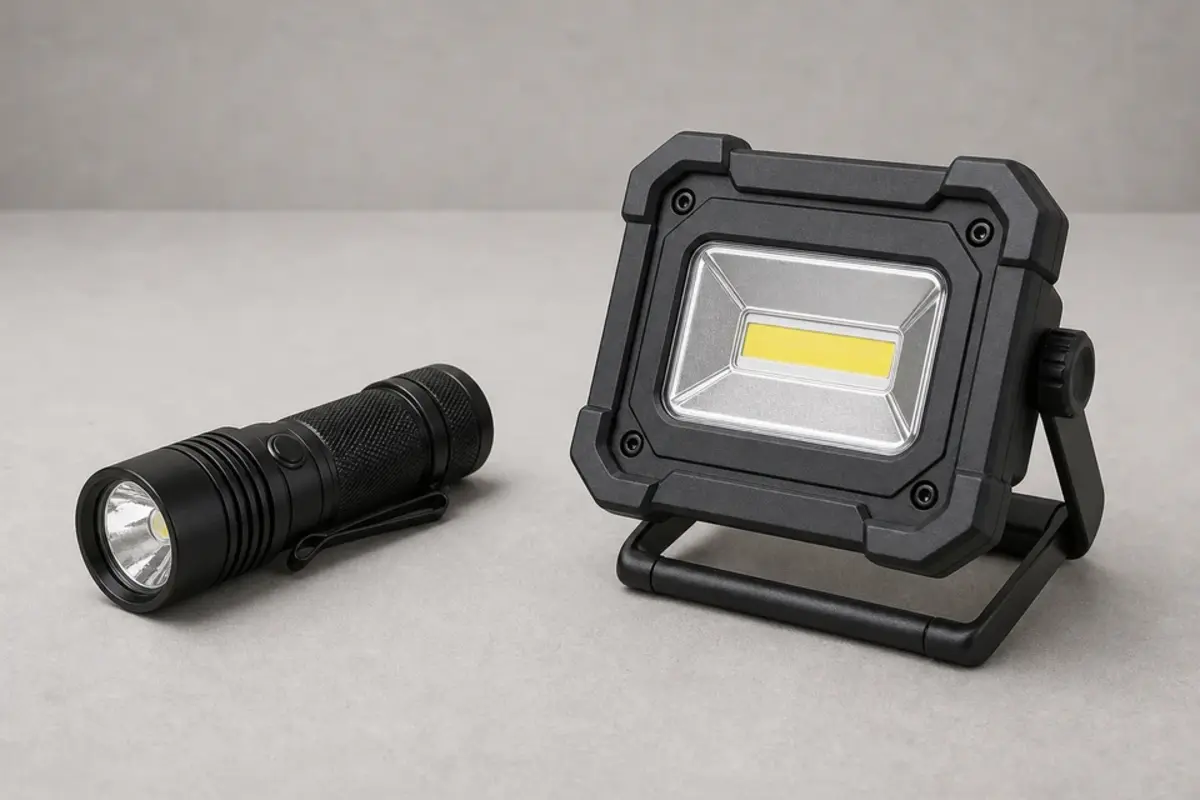
Helps when: Use side light to see whether the crack is a shallow finish line or an open split.
Skip it when: Skip judging cracks under wet glare or soap film.
Compare inspection flashlight on Amazon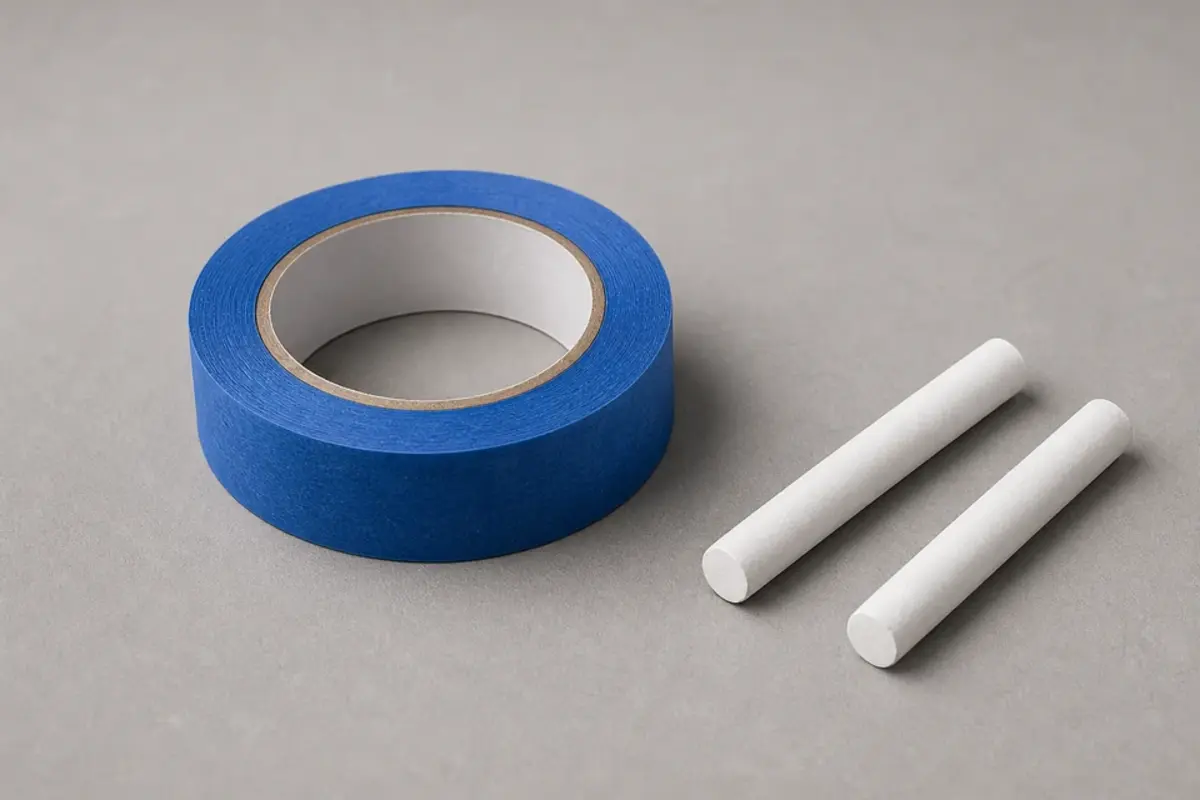
Helps when: Mark the ends of a dry crack so you can tell whether it grows after a gentle test.
Skip it when: Skip permanent markers or tape over wet, dirty, or sharp broken surfaces.
Compare painter tape on Amazon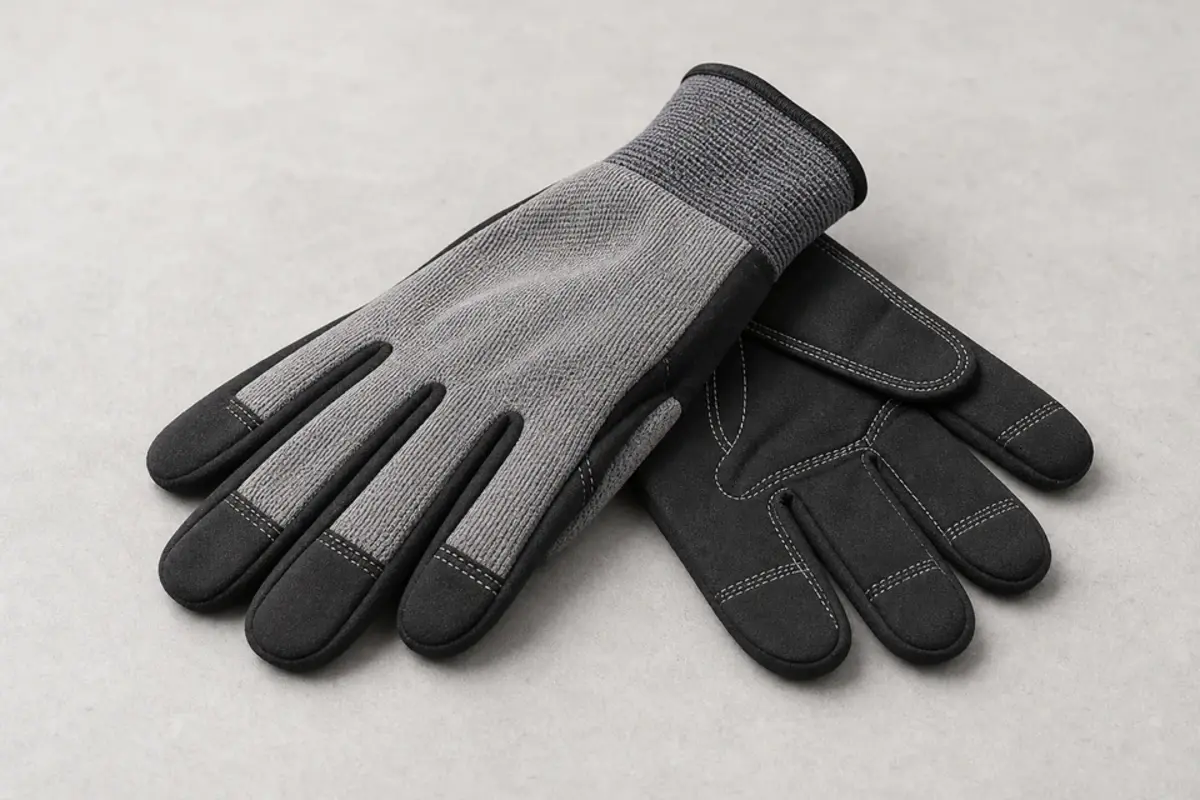
Helps when: Wear gloves when a chipped edge, old patch, or sharp crack could cut skin during inspection.
Skip it when: Skip bare-hand probing of rough fiberglass or cracked acrylic.
Compare work gloves on Amazon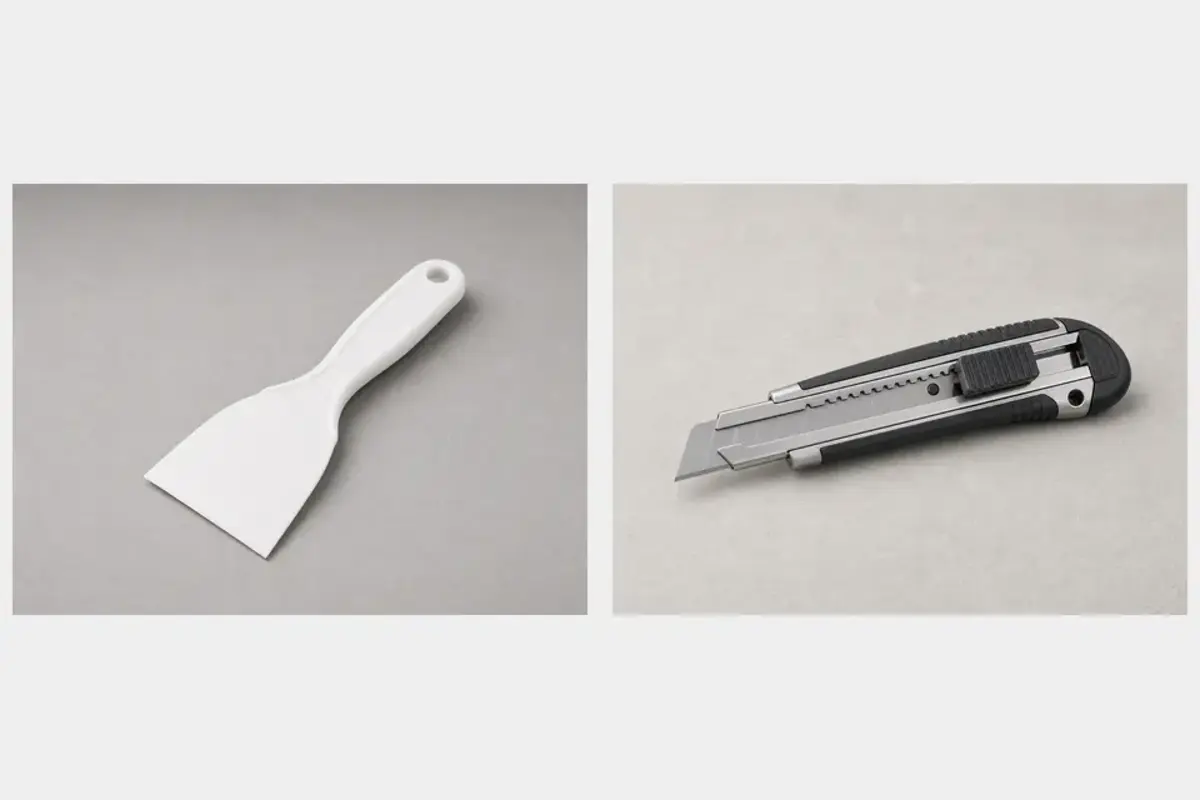
Helps when: Use only for old surface repair or caulk removal after the tub is proven solid and dry.
Skip it when: Skip scraping a moving or leaking crack; removal can enlarge the damage.
Compare caulk scraper on Amazon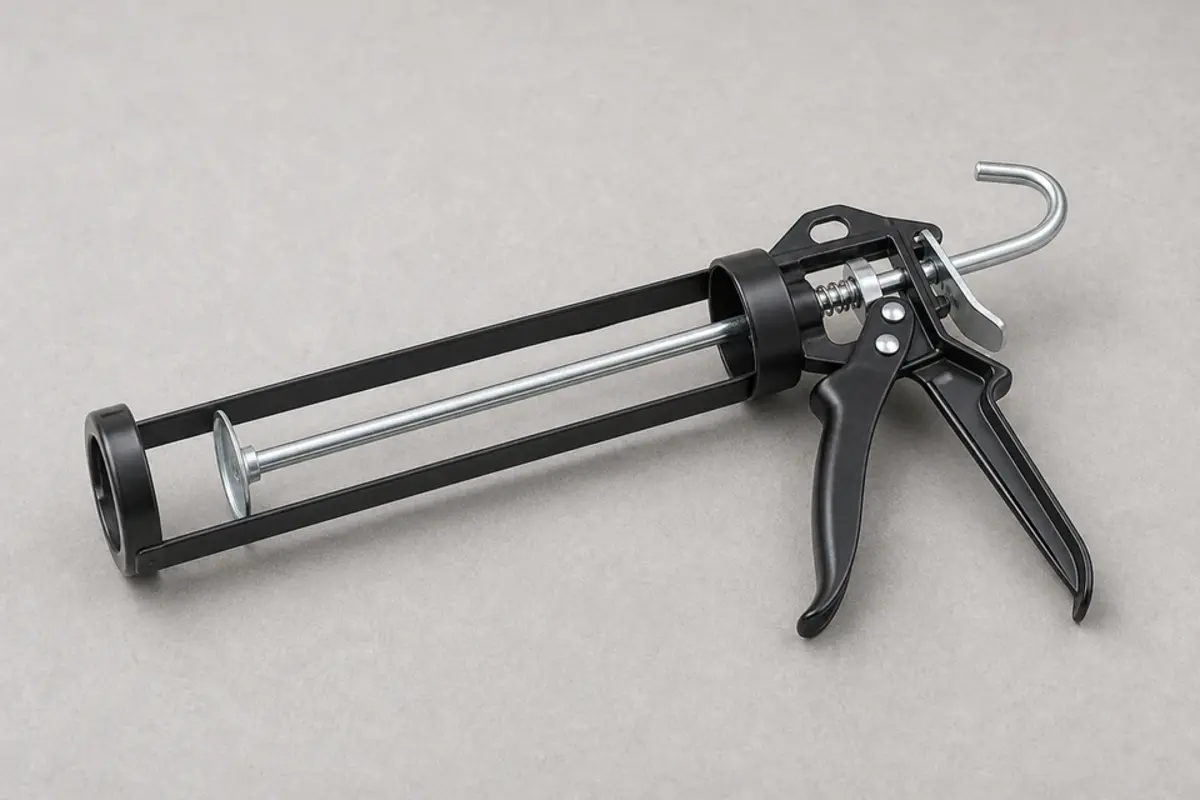
Helps when: Keep this for final trim sealing after the crack repair and support checks are complete.
Skip it when: Skip caulk as a crack repair; caulk does not restore the tub shell.
Compare caulk gun on AmazonAs an Amazon Associate I earn from qualifying purchases. Repair Riot may earn a commission at no extra cost to you.
These products belong only after the crack is proven solid, dry, and material-compatible.
Helps when: Buy this when the crack is shallow, the tub is solid, and the kit is compatible with acrylic or fiberglass.
Skip it when: Skip repair kits for a soft, flexing, leaking, or drain-area crack.
Compare acrylic and fiberglass tub repair kits on Amazon
Helps when: Use only after the cracked area is repaired or ruled out and the perimeter joint needs resealing.
Skip it when: Skip caulking over the crack itself or any surface that still moves.
Compare tub and tile silicone caulk on AmazonAs an Amazon Associate I earn from qualifying purchases. Repair Riot may earn a commission at no extra cost to you.
Only if the tub is solid, dry, and the crack is shallow enough for a compatible repair kit.
Do not patch it as cosmetic. Flex points to support or shell trouble.
No. Caulk can seal trim joints, not restore a cracked shell.
Use a small controlled water and tissue check, then inspect below if possible.
Yes. Cracks starting at the drain often involve stress or drain hardware.
Avoid use if the crack moves, leaks, grows, or has sharp edges.
Match the tub material and color only after the crack is proven repairable.
Replacement or professional repair is better when the shell is soft, unsupported, leaking, or badly fractured.
Repair Riot reviewed this page around dry crack mapping, movement checks, tissue moisture tests, drain-area stress clues, and repair-kit fit limits. Source links support leak and moisture risk context; the diagnostic sequence is original guidance.