Does water return when nobody uses the sink?
Stay on the pressurized supply side before touching drain parts.
A bathroom sink leaking under the sink needs a first-wet-point check before parts. First dry the cabinet, run a controlled test, and separate supply, shutoff, pivot, trap, and drain leaks.
Most often, the first wet point is a loose supply connection, a leaking shutoff valve, a drain body leak, or a P-trap slip joint that was bumped out of alignment.
Good clue: the highest bead points to the part to fix, not the final puddle on the cabinet floor.
Don’t start with: Do not start by replacing the whole faucet or smearing sealant around every joint. Find the first wet point before buying anything.
Stay on the pressurized supply side before touching drain parts.
Watch the faucet hoses, supply nuts, and shutoff valve outlets before the bowl fills.
Work from the drain flange to the pop-up pivot, tailpiece, and P-trap.
Stop exposed sink-part repairs and call a licensed plumber.
Do not force it. Control the water upstream before replacing connected parts.
The overview, valve close-up, and drain-test paper towel show the three checks that separate supply, drain-body, and P-trap leaks.
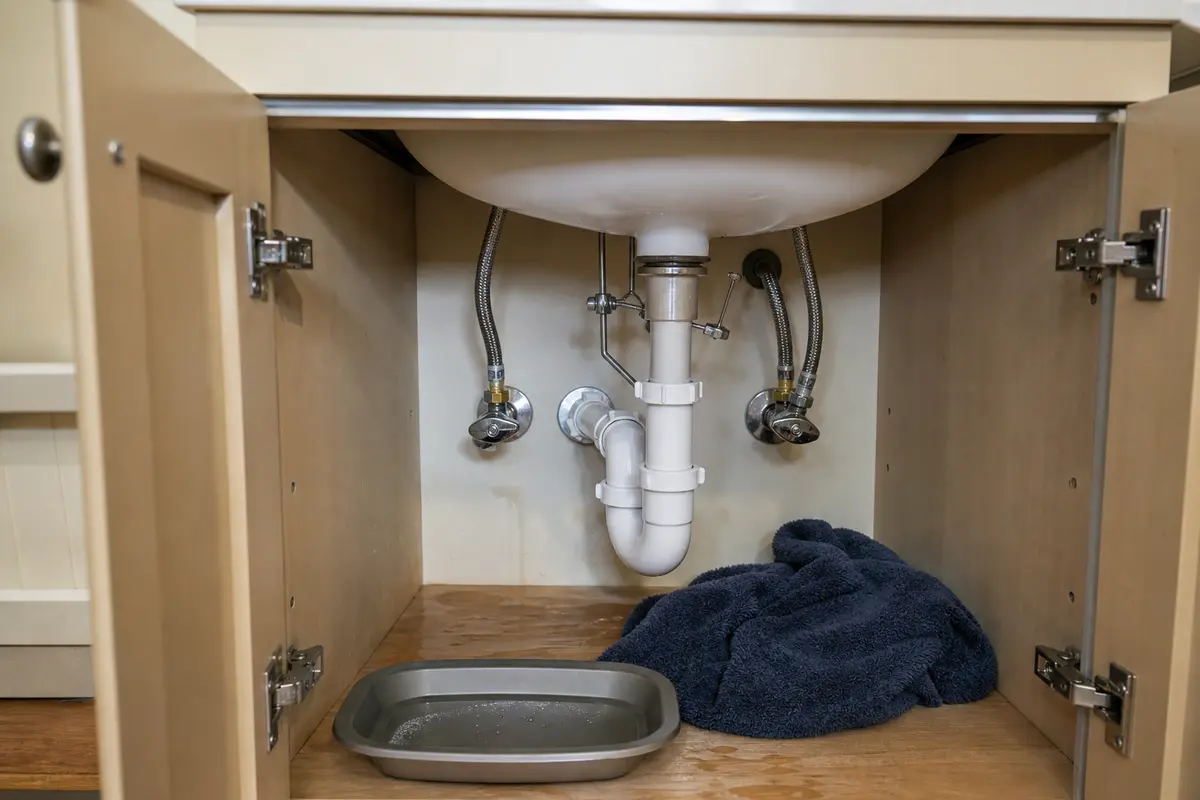
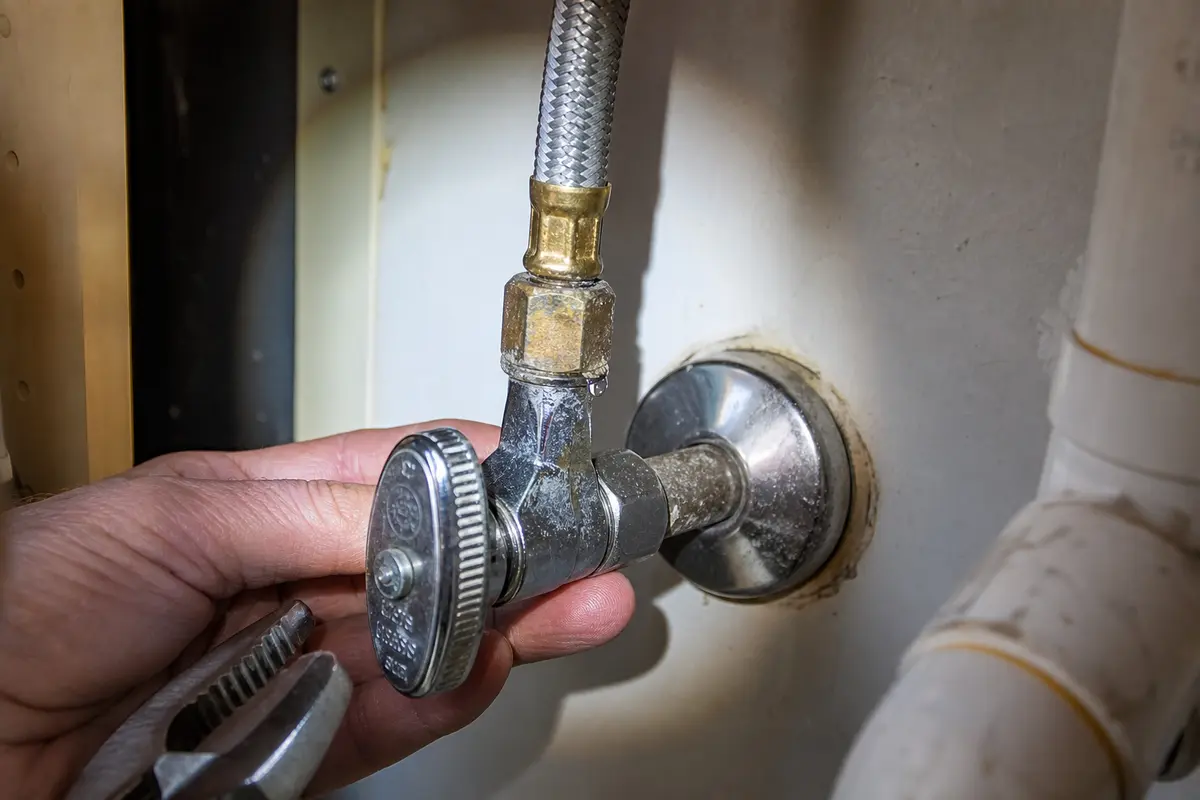
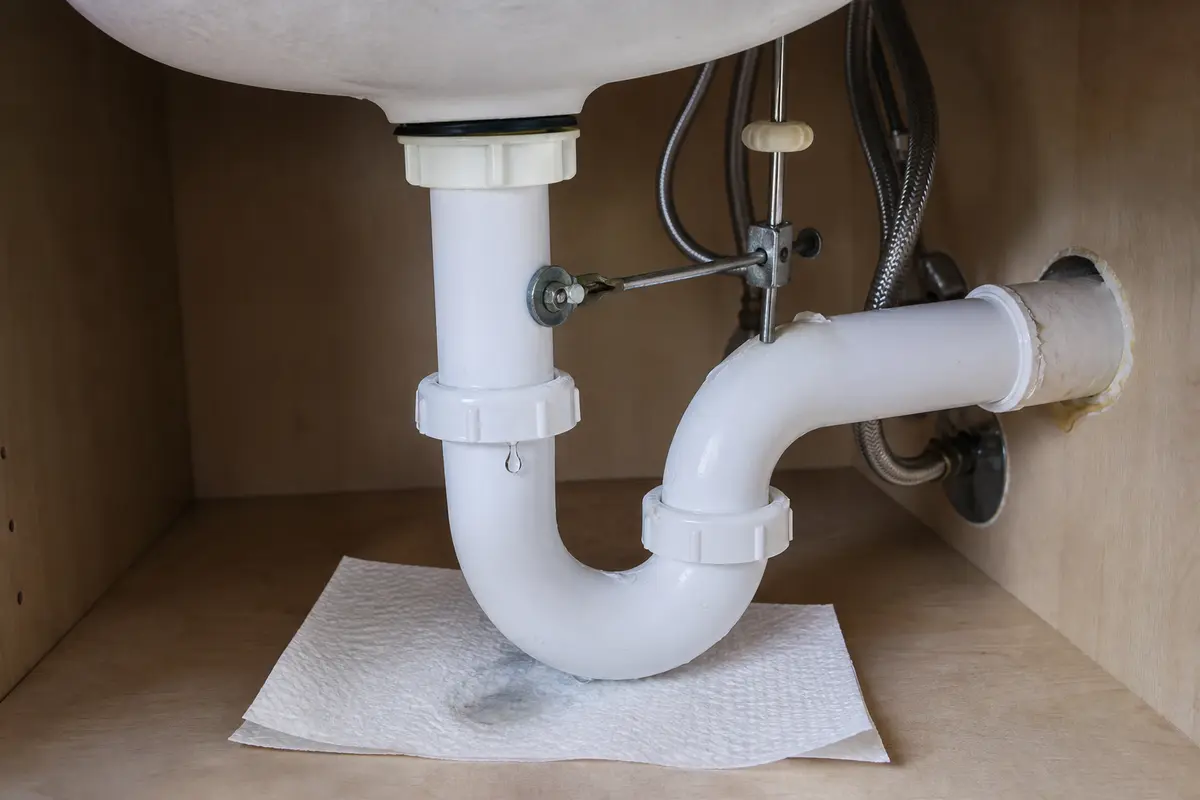
Do not buy a faucet, supply line, shutoff valve, drain assembly, pop-up kit, P-trap, or washer assortment until one dry-to-wet test points to that part. Match every replacement to the exact diagnosis, pipe size, connection style, and faucet or drain model before ordering.
Water under the vanity is usually the last place the leak lands, not the first place it started. Dry every fitting, then make the leak show itself under one controlled condition at a time.
Do not hide the leak path before you know it. The first fresh bead of water is the repair plan.
Run one test at a time and use a dry paper towel at each joint. The first damp mark matters more than the final drip.
| What gets wet first | What it usually means | Next move |
|---|---|---|
| Valve handle, packing nut, or braided line with no sink use | Pressure-side shutoff or supply line leak. | Close the valve if possible and replace only the leaking supply part. |
| Faucet hose or supply nut only while water runs | Loose connection, failed washer, or damaged braided line. | Support the fitting and snug gently only if the joint is sound. |
| Drain body or underside of the bowl while water is held | Drain flange, gasket, or drain assembly leak. | Plan on reseating or replacing the drain assembly. |
| Pop-up pivot or tailpiece as the bowl empties | Pivot ball seal, retaining nut, or tailpiece joint leak. | Inspect the pop-up hardware and replace the failed kit. |
| P-trap slip nut or trap bend during draining | Washer alignment, cracked nut, or damaged trap. | Realign and hand-tighten first; replace damaged trap parts. |
| Cabinet back, wall pipe, floor, or ceiling below | Hidden supply or drain leak. | Stop sink-level repairs and call a licensed plumber. |
The timing tells you which side to work on. A pressurized leak can return while the faucet is off; a drain leak needs water moving through the drain path.
Under-sink leaks can seep slowly after the obvious drip stops. Recheck the same condition that caused the leak and then give the cabinet time.
These tools help find the leak without damaging the cabinet or forcing old fittings.
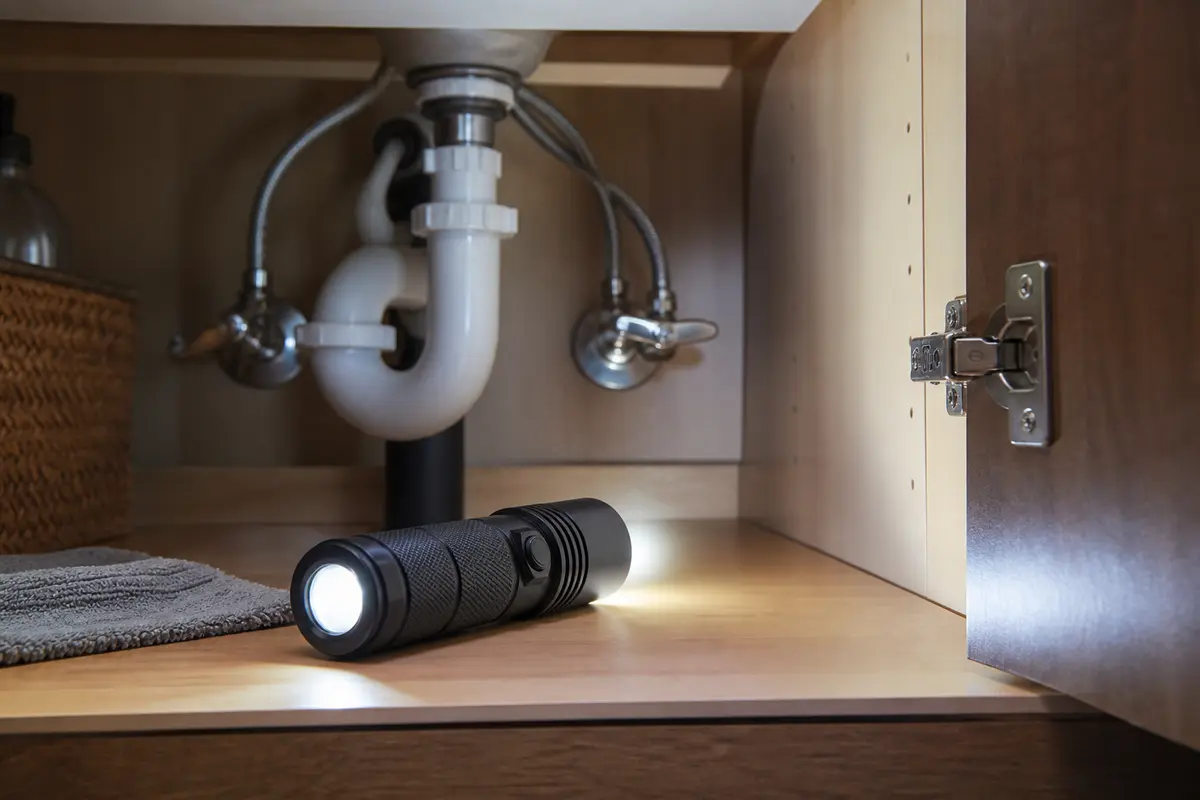
Helps when: Use an inspection flashlight to find the first wet point, valve position, trap condition, or wall-drain clue.
Skip it when: Skip working under the sink until stored items are removed and the cabinet is dry enough to inspect safely.
Compare inspection flashlights on Amazon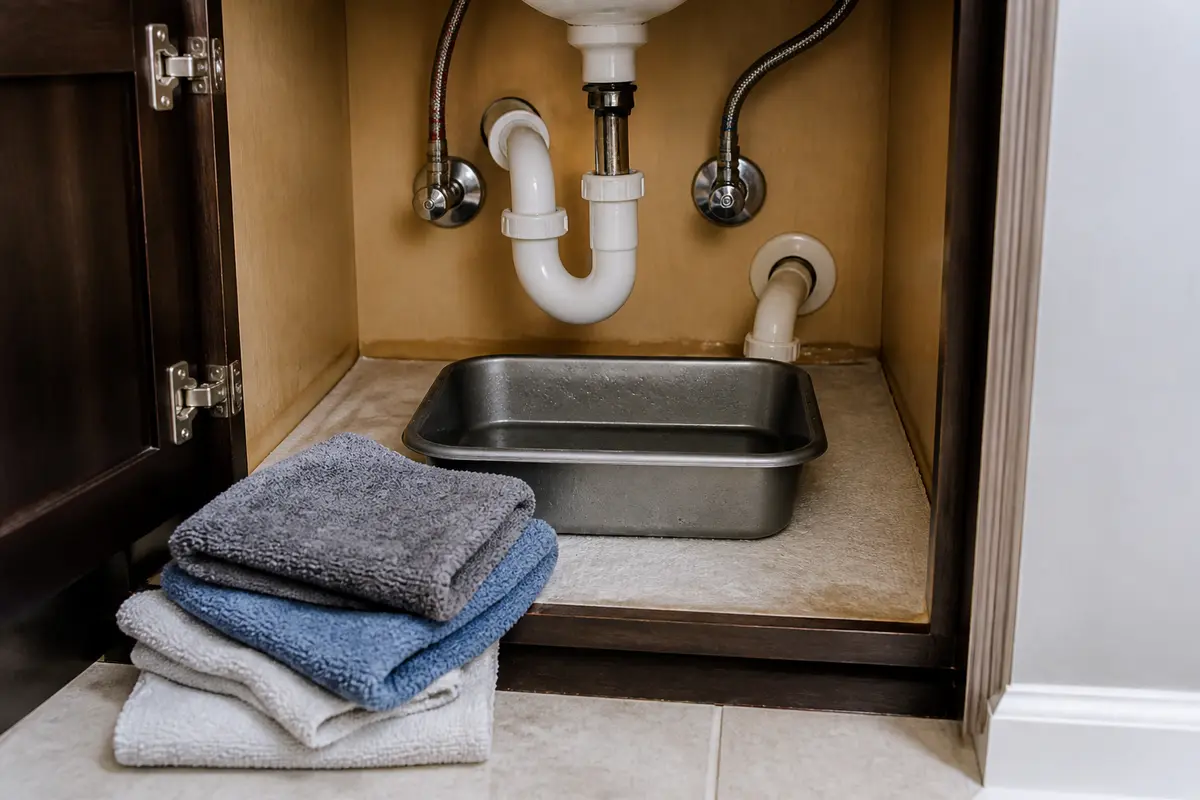
Helps when: Use a shallow pan and towels to catch water while checking supply, shutoff, trap, or drain joints.
Skip it when: Skip disassembly if water is active and you cannot shut it off or keep the cabinet safe.
Compare shallow pans and towels on Amazon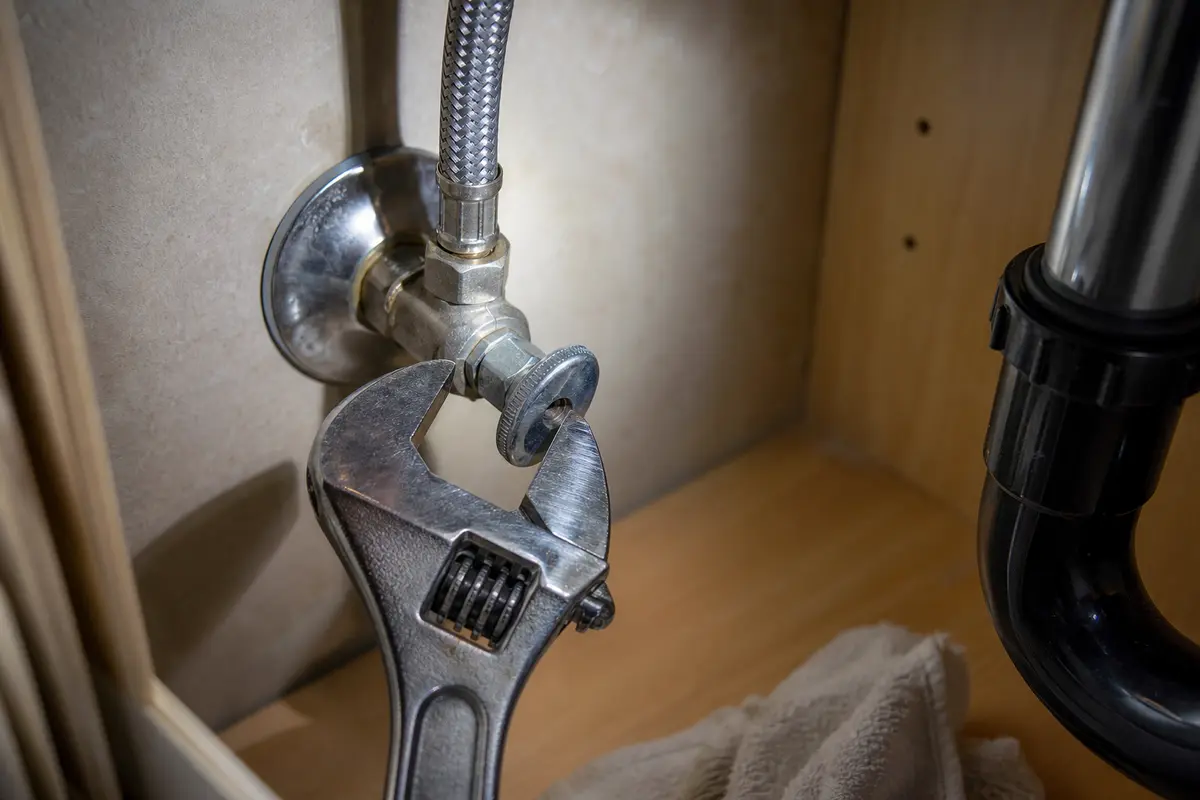
Helps when: Use a small adjustable wrench on metal supply nuts, faucet hardware, or shutoff connections that fit squarely.
Skip it when: Skip using it on plastic slip nuts where hand tightening or pliers are safer.
Compare small adjustable wrenches on Amazon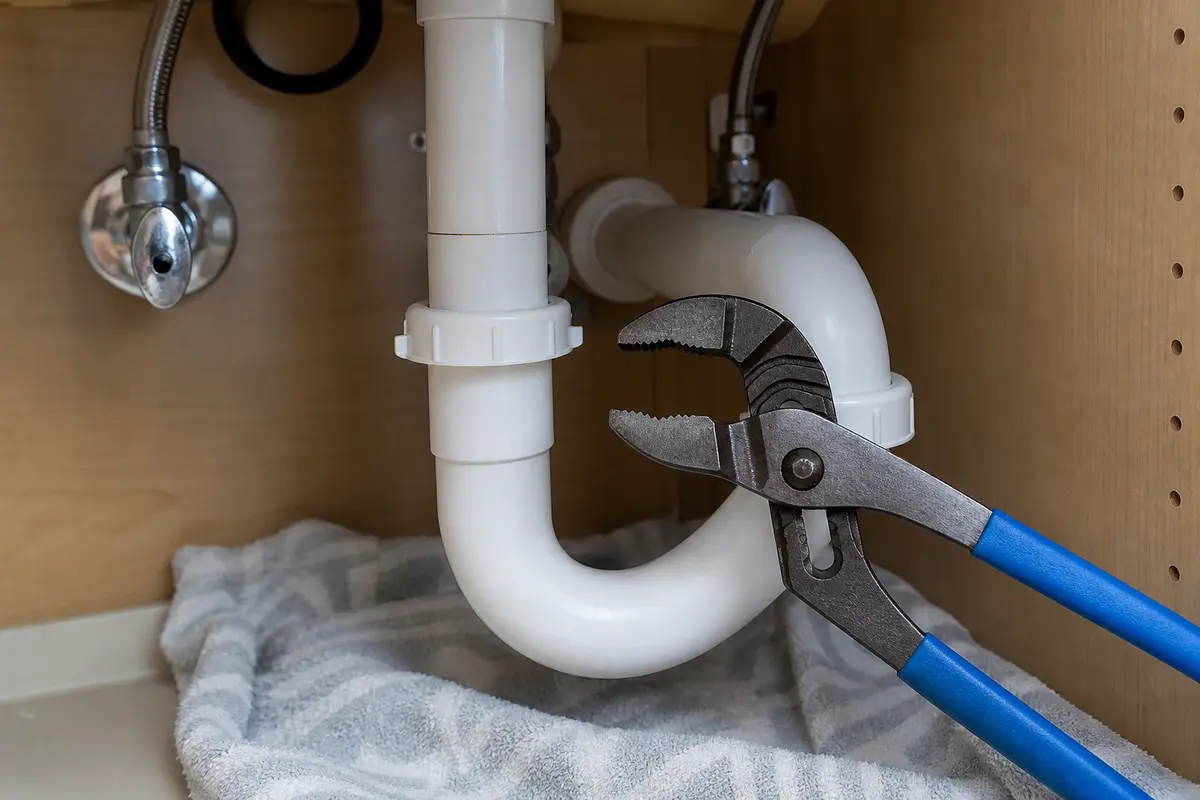
Helps when: Use tongue-and-groove pliers to loosen accessible slip nuts while supporting plastic fittings by hand.
Skip it when: Skip overtightening plastic drain parts because it can deform washers and cause leaks.
Compare tongue-and-groove pliers on AmazonAs an Amazon Associate I earn from qualifying purchases. Repair Riot may earn a commission at no extra cost to you.
Buy only after the first wet point proves which part failed.
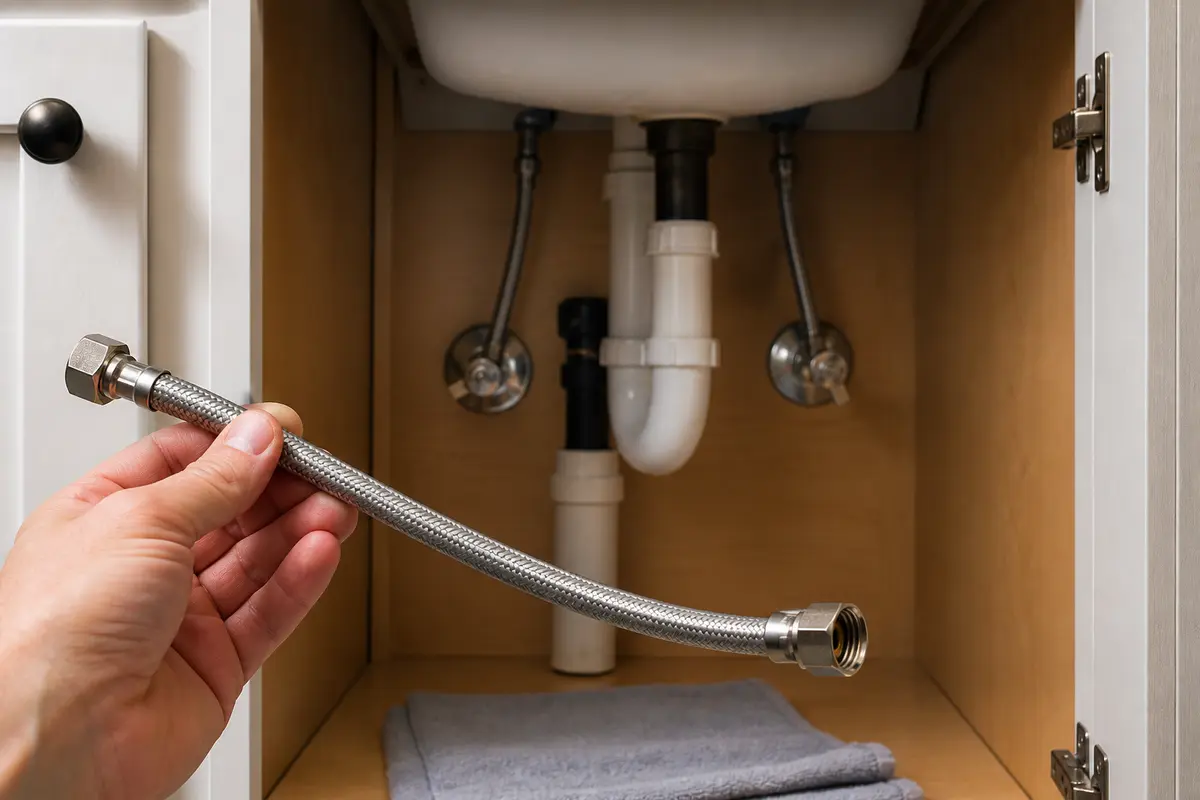
Helps when: Use a bathroom sink supply line when the line is kinked, clogged, corroded, or leaking at the connector.
Skip it when: Skip replacing the line until the stop is off and the connector size is verified.
Compare bathroom sink supply lines on Amazon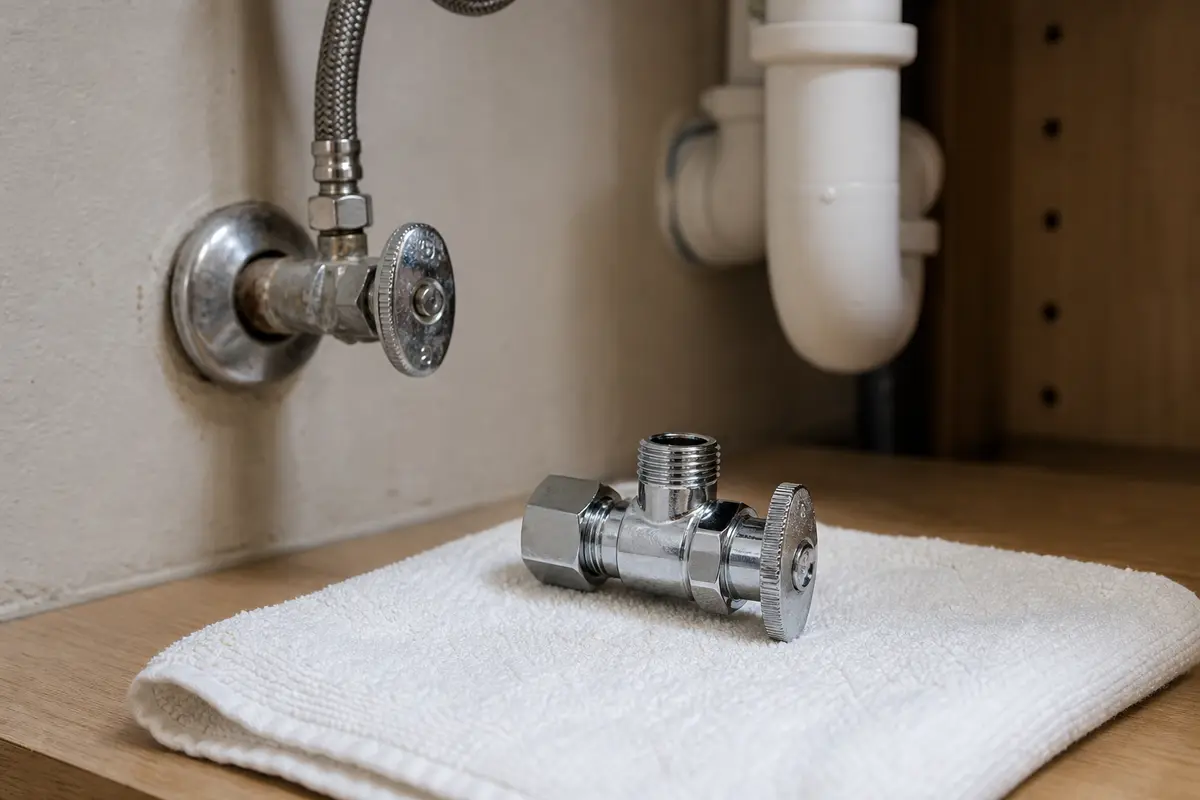
Helps when: Use a bathroom sink shutoff valve when the stop is seized, leaking, or not passing water after safe shutoff.
Skip it when: Skip valve replacement without a working upstream shutoff and the right fitting type.
Compare bathroom sink shutoff valves on Amazon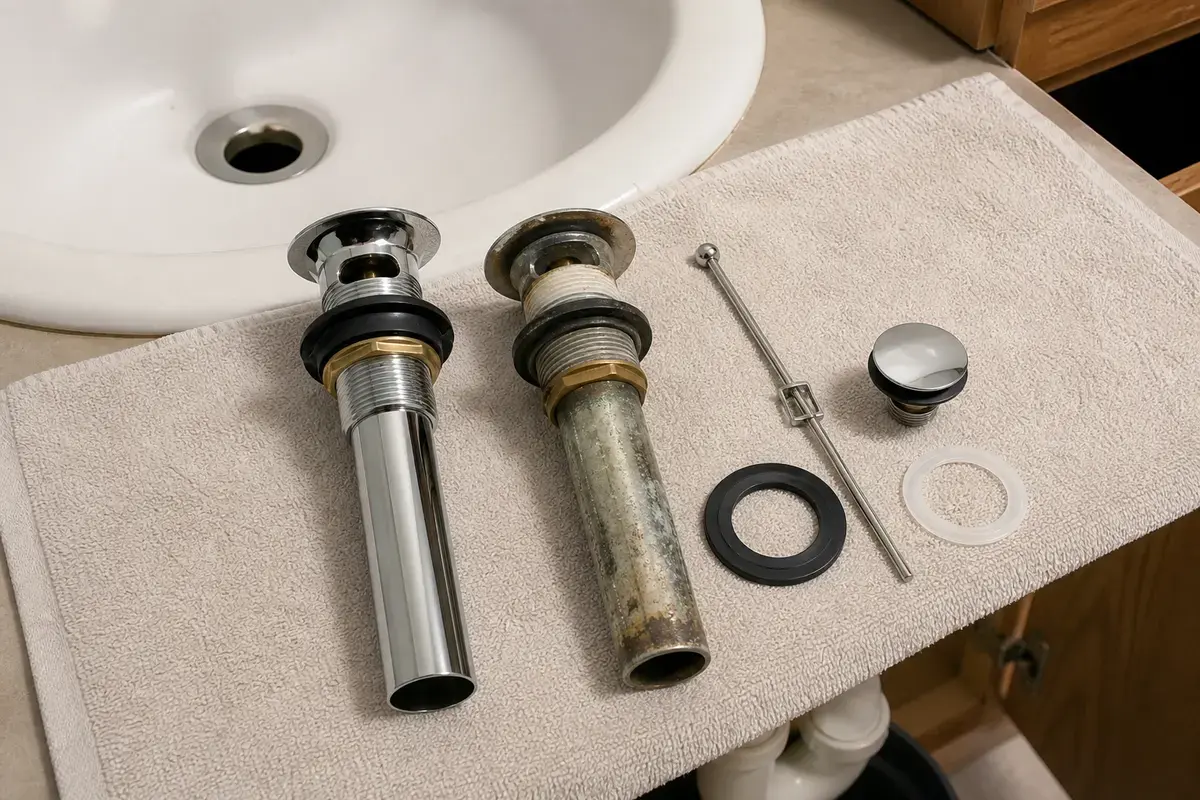
Helps when: Use a bathroom sink drain assembly when the flange or body is damaged and the highest wet point proves it.
Skip it when: Skip replacing the full assembly when only a pivot seal, trap washer, or tailpiece joint is wet.
Compare bathroom sink drain assemblies on Amazon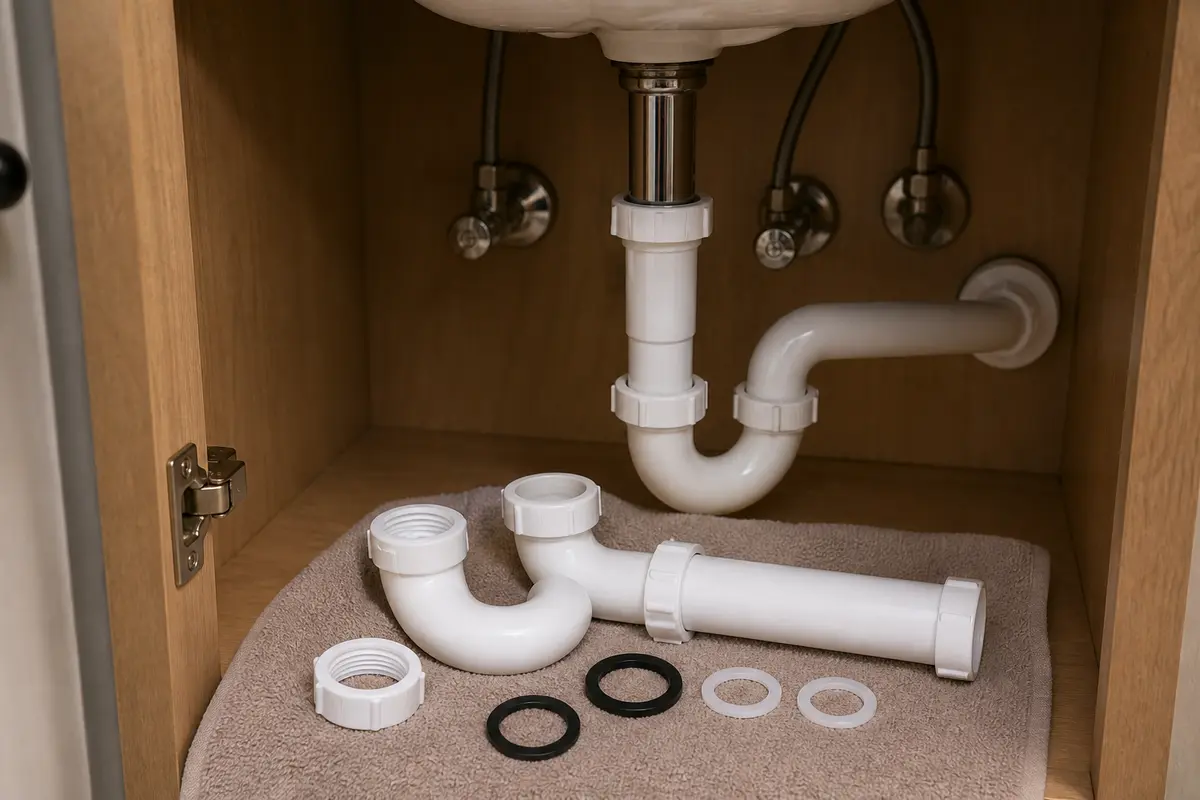
Helps when: Use a bathroom sink P-trap kit when the trap is cracked, corroded, misaligned, or leaking after washer replacement.
Skip it when: Skip trap replacement if the leak or clog starts higher at the drain flange or pop-up pivot.
Compare bathroom sink P-trap kits on Amazon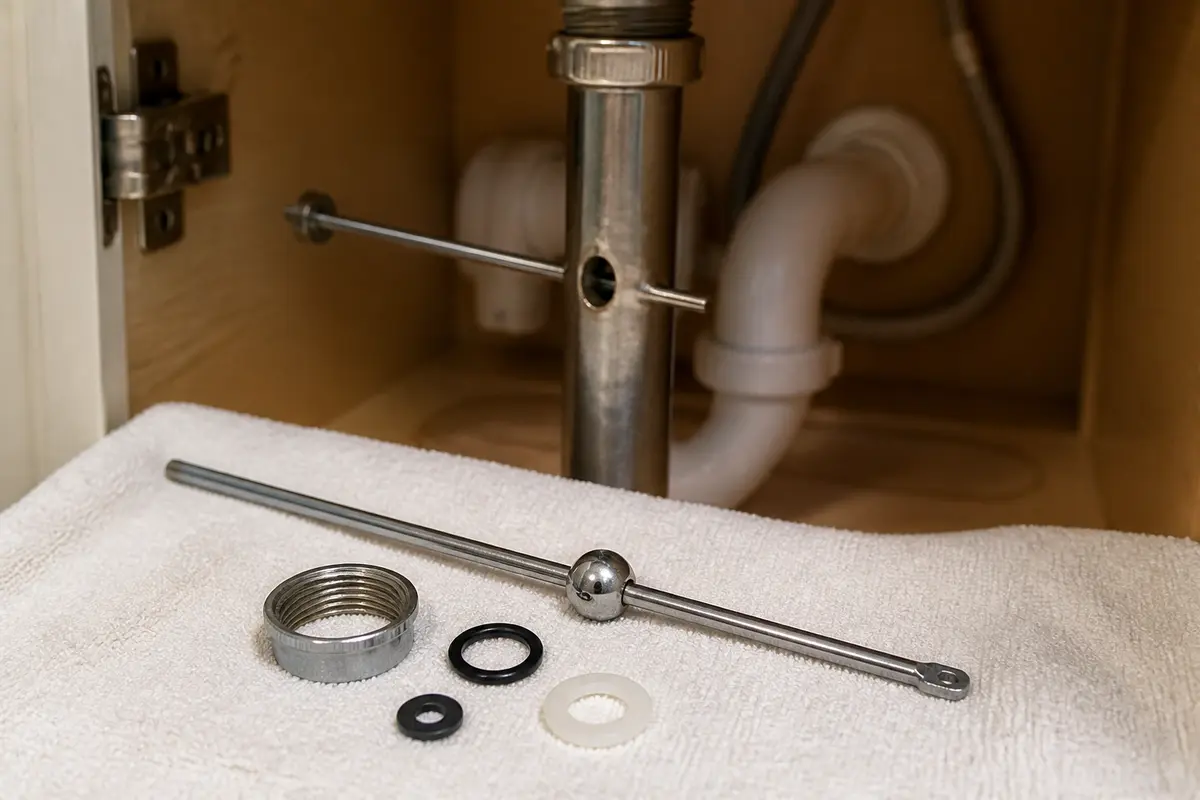
Helps when: Use a pop-up pivot rod and ball kit when the pivot leaks, corrodes, or no longer moves the stopper correctly.
Skip it when: Skip replacing it if the leak starts at the flange, tailpiece, trap, or wall drain instead.
Compare pop-up pivot rod kits on Amazon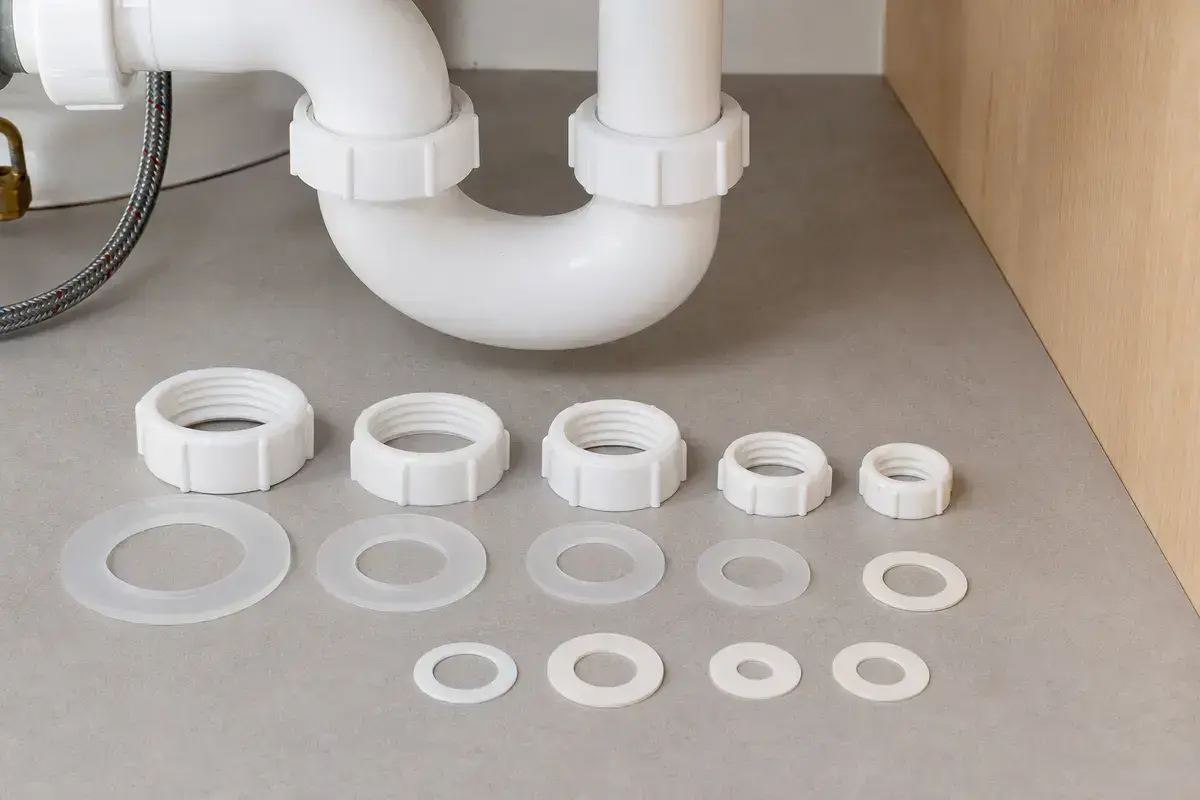
Helps when: Use a slip-joint washer assortment when a trap or tailpiece joint leaks but the pipe parts are sound.
Skip it when: Skip stacking old and new washers or overtightening to compensate for misalignment.
Compare slip-joint washer assortments on AmazonAs an Amazon Associate I earn from qualifying purchases. Repair Riot may earn a commission at no extra cost to you.
It is usually a supply connection, shutoff valve, drain body, pop-up pivot, or P-trap joint. Dry everything and find the first wet point before replacing parts.
A supply leak can return while the sink is idle or while the faucet runs. A drain leak usually appears only when the bowl drains or water is moving through the trap.
No. Tighten only the proven joint, and only gently. Overtightening can crack plastic nuts, distort washers, or twist a valve at the wall.
Replace it when water starts at the drain flange, drain body, tailpiece, or pivot opening and simple alignment or a correct washer does not solve it.
Call a plumber when the shutoff will not isolate the fixture, the wall pipe moves, water appears inside the wall, or the cabinet or floor is already soft from long-term leakage.
Yes. Water can run down a supply line, tailpiece, pop-up rod, or trap bend before falling. That is why the highest fresh wet point matters more than the puddle.
Match the exact wet fitting, pipe diameter, compression or slip-joint style, supply length, drain finish, and faucet or drain assembly design.
Yes. Bottles and bins can bump a P-trap, kink a braided supply line, or turn a shutoff handle partly closed. Keep storage clear of all plumbing after the repair.
This guide was built around the timing of the leak: idle, faucet running, and bowl draining. That keeps supply-side and drain-side repairs separate and avoids replacing parts that never got wet first.