Does water start under the bowl?
The drain flange, gasket, or drain assembly is the first suspect.
A bathroom sink drain leak usually starts at the flange, pop-up pivot, tailpiece, or P-trap. First dry everything, drain a full bowl, and repair the highest wet point.
Most often, the leak is a worn slip-joint washer, a loose trap nut, or a drain body or pop-up pivot seal that only leaks while the basin drains.
Good clue: the first bead above the cabinet floor is more useful than the final puddle.
Don’t start with: Do not start with caulk around the sink opening or a new faucet. A drain leak needs the failed drain joint identified first.
The drain flange, gasket, or drain assembly is the first suspect.
Inspect the pivot ball seal, retaining nut, or drain body opening.
Realign the pipe and inspect the washer before replacing the whole trap.
Stop before forcing it. A wall-side drain leak is a plumber-level clue.
Do not open the trap until the chemical risk is handled safely.
These views separate a general cabinet leak from a drain-body leak, pivot clue, and trap joint clue.
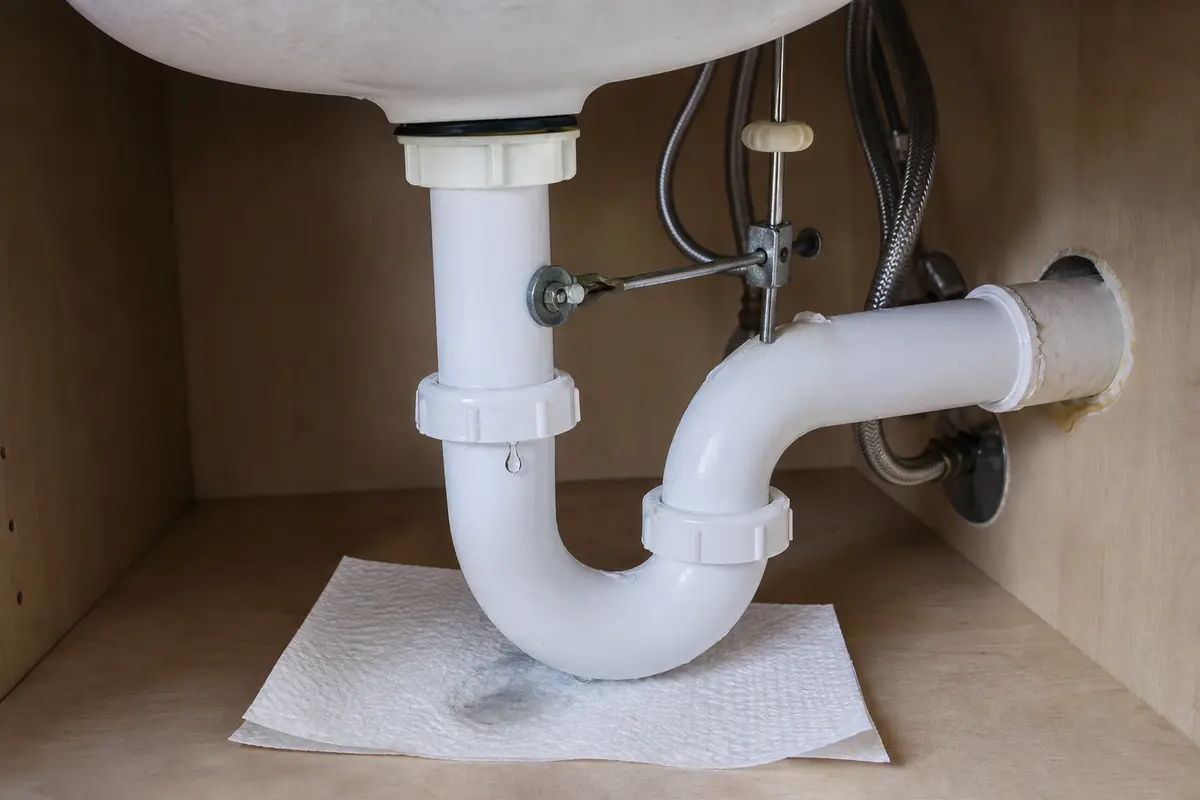
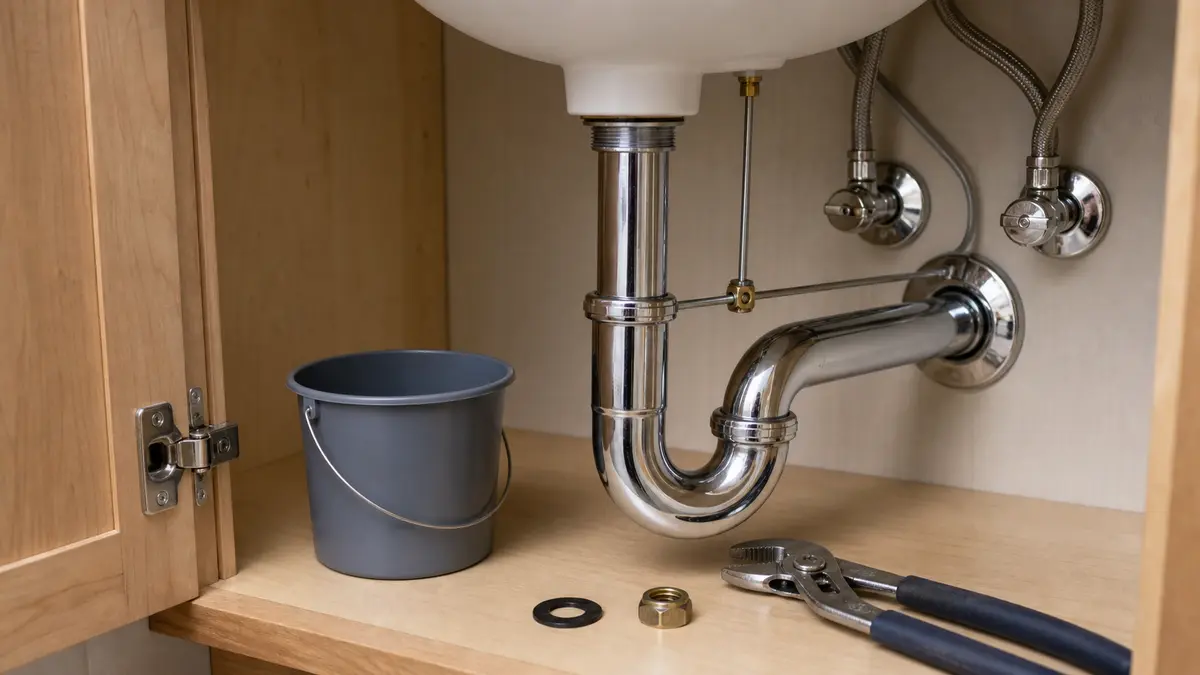
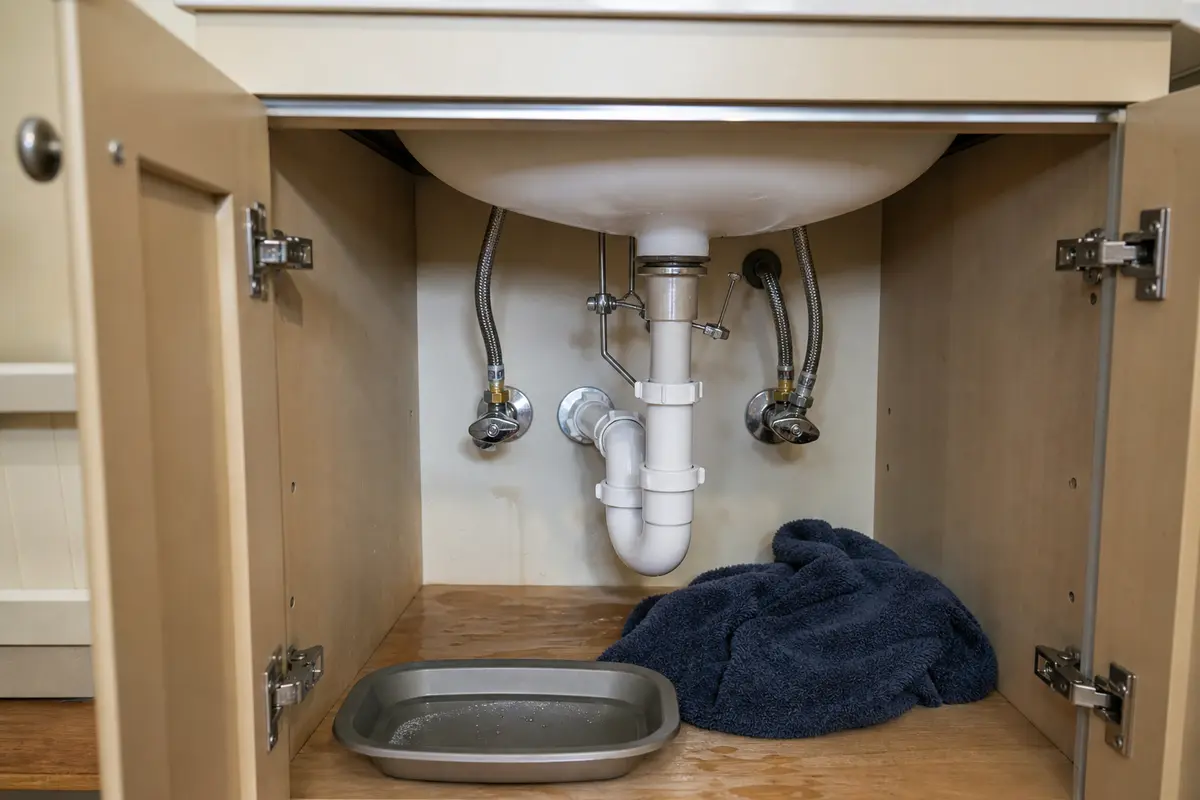
Do not buy a drain assembly, pivot kit, P-trap, or washer set until the first wet point proves which joint failed. Match the exact diagnosis, drain size, stopper style, trap layout, washer shape, and finish before ordering parts.
A bathroom sink drain leak is a timing problem. If the leak waits until the bowl drains, stay on the drain flange, tailpiece, pop-up pivot, trap arm, and P-trap before blaming the faucet.
Do not seal the outside of a drain leak. You need the failed gasket, washer, pivot seal, or drain body to be addressed from the joint itself.
Fill the bowl, release it, and watch from the drain opening downward. The highest wet point is the part to fix.
| First wet point | Likely failed part | Repair direction |
|---|---|---|
| Underside of sink around drain opening | Drain flange gasket or seal | Reseat or replace the drain assembly. |
| Back of drain body at horizontal rod | Pop-up pivot ball seal or nut | Replace the pivot kit or drain assembly if worn. |
| Tailpiece nut below drain body | Slip-joint washer or tailpiece alignment | Realign, replace washer, or replace damaged tailpiece. |
| Trap bend or lower slip nut | P-trap washer, nut, or trap body | Hand-tighten, align, then replace damaged trap parts. |
| Wall-side trap arm | Trap arm washer or wall drain issue | Replace washer if accessible; stop if wall pipe leaks. |
A single full-bowl drain can make several old joints wet. Separate the top drain seal, pivot opening, and trap joints so you do not buy every part.
A drain repair is done only when the highest wet point stays dry through repeated full-bowl tests.
Use light, controlled tools so drain fittings stay aligned and visible.
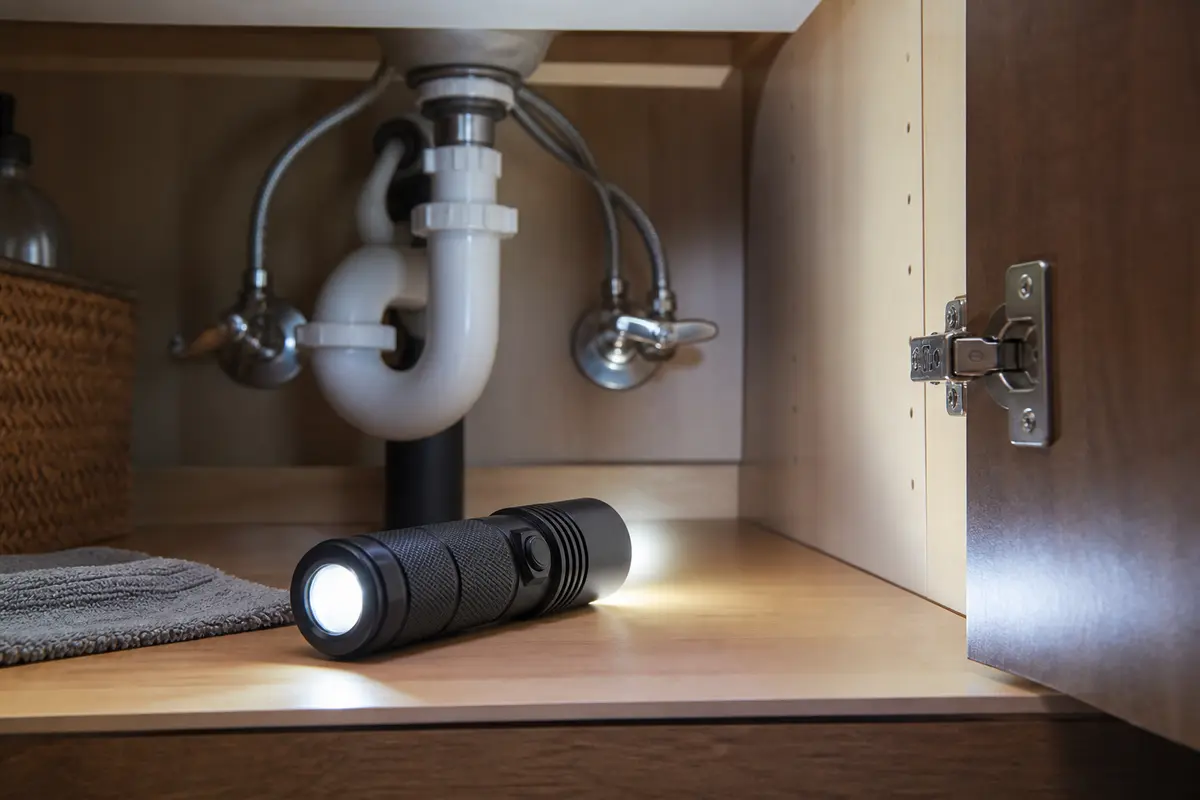
Helps when: Use an inspection flashlight to find the first wet point, trap condition, and wall-drain clues under the sink.
Skip it when: Skip working under the sink until stored items are removed and the cabinet floor is dry enough to inspect safely.
Compare inspection flashlights on Amazon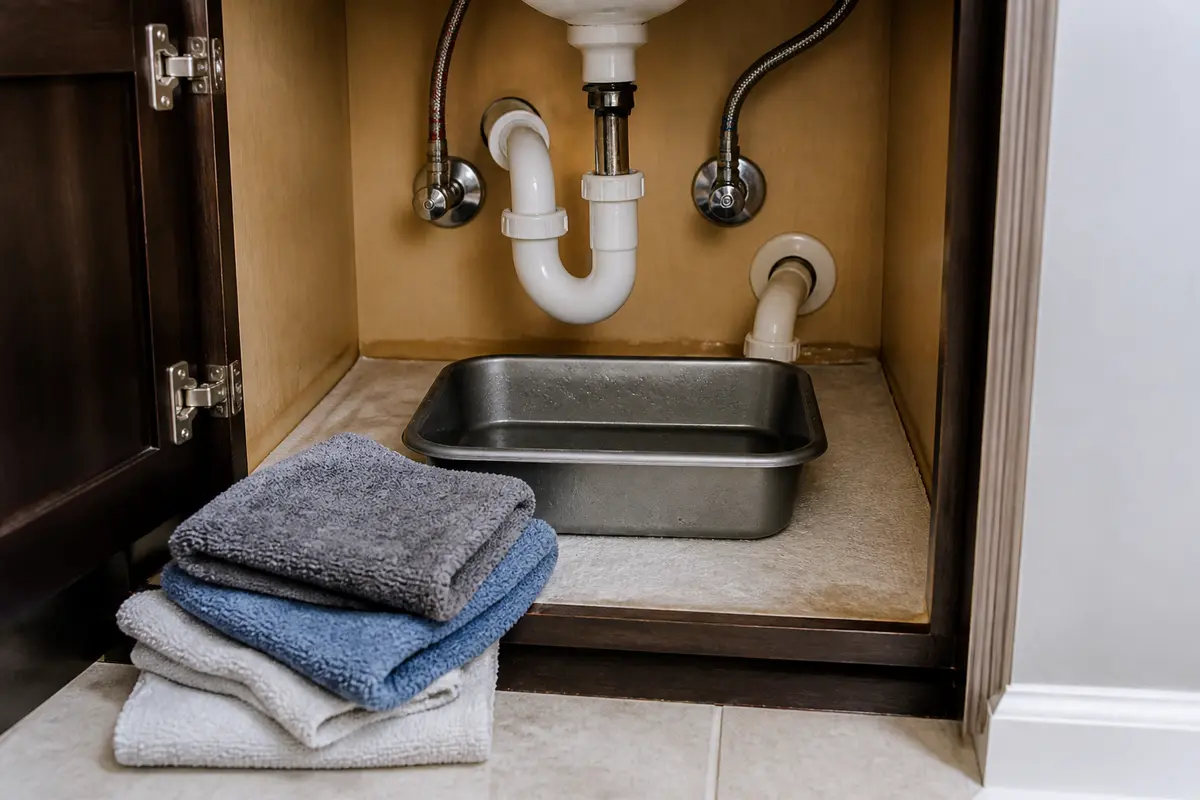
Helps when: Use a shallow pan and towels to catch water while checking supply lines, stops, or drain joints.
Skip it when: Skip disassembly if water is active and you cannot shut it off or keep the cabinet safe.
Compare shallow pans and towels on Amazon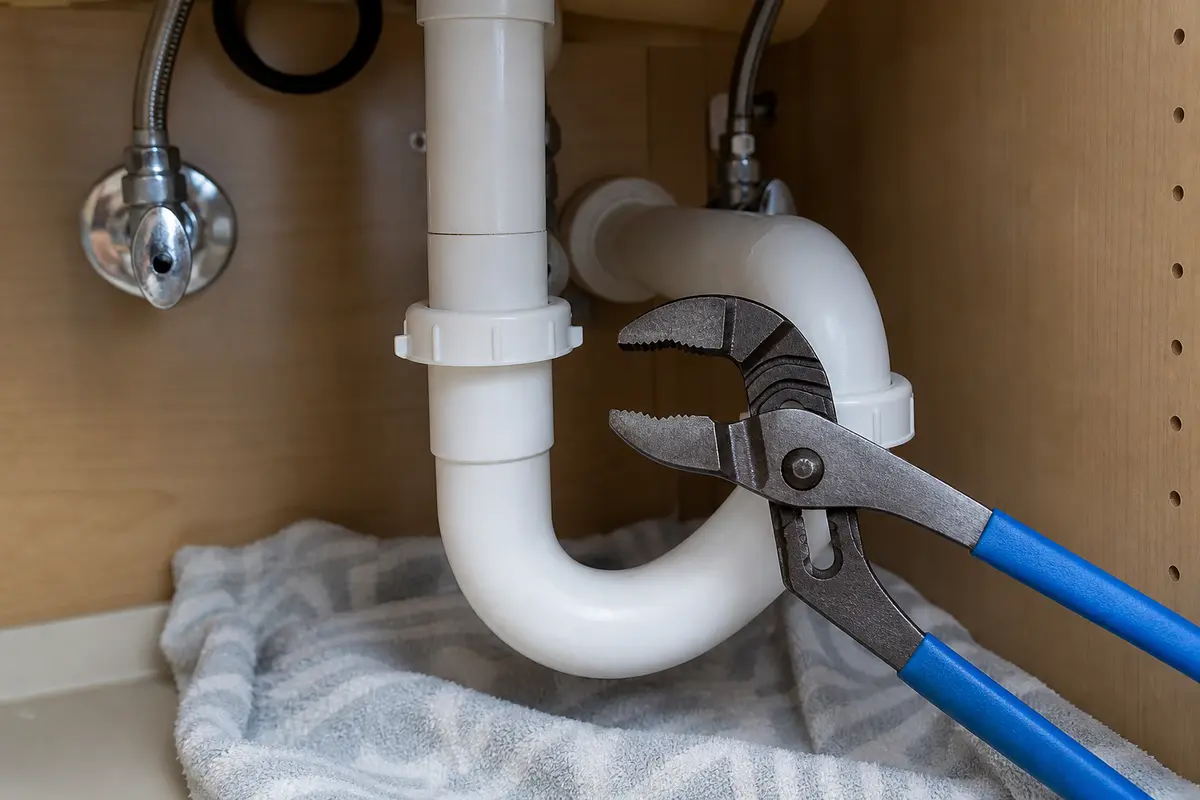
Helps when: Use tongue-and-groove pliers to loosen accessible slip nuts while supporting plastic fittings by hand.
Skip it when: Skip overtightening plastic drain parts because it can deform washers and cause leaks.
Compare tongue-and-groove pliers on Amazon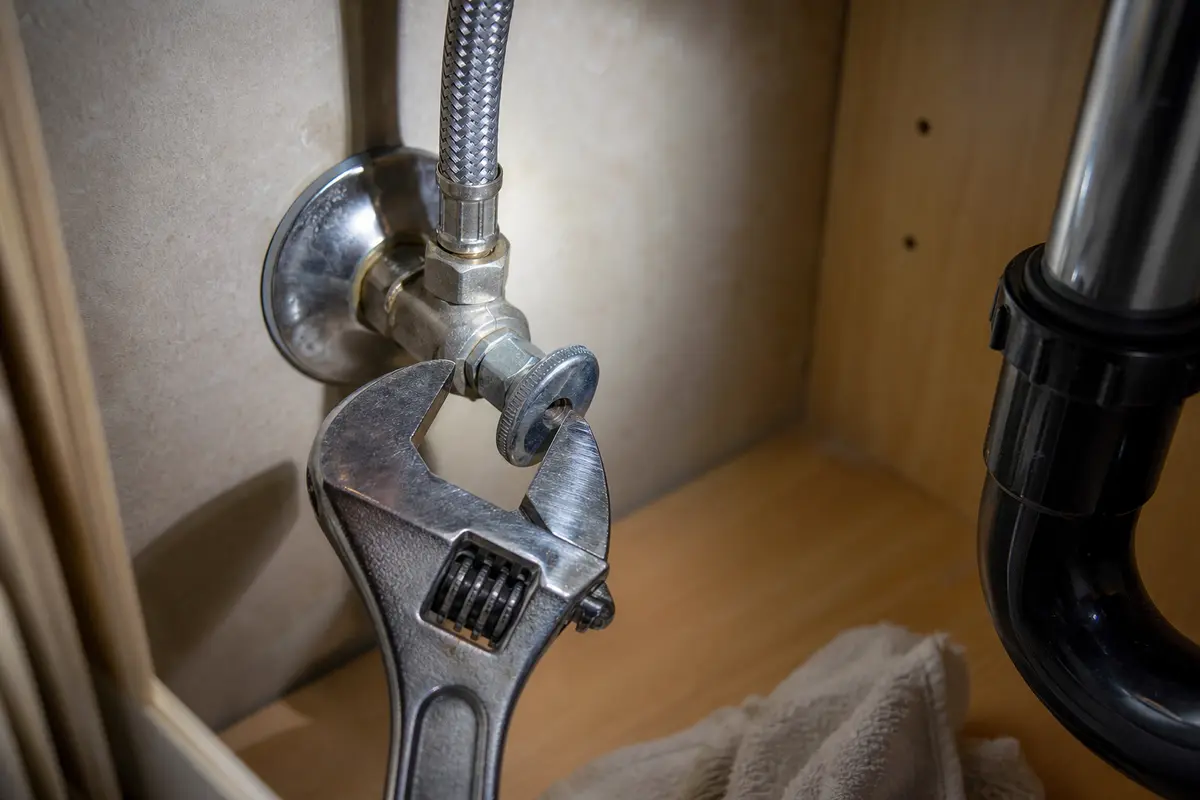
Helps when: Use a small adjustable wrench on metal supply nuts or faucet hardware that fits squarely.
Skip it when: Skip using it on plastic slip nuts where pliers or hand tightening is safer.
Compare small adjustable wrenches on AmazonAs an Amazon Associate I earn from qualifying purchases. Repair Riot may earn a commission at no extra cost to you.
Match the part to the first wet point, not the lowest drip.
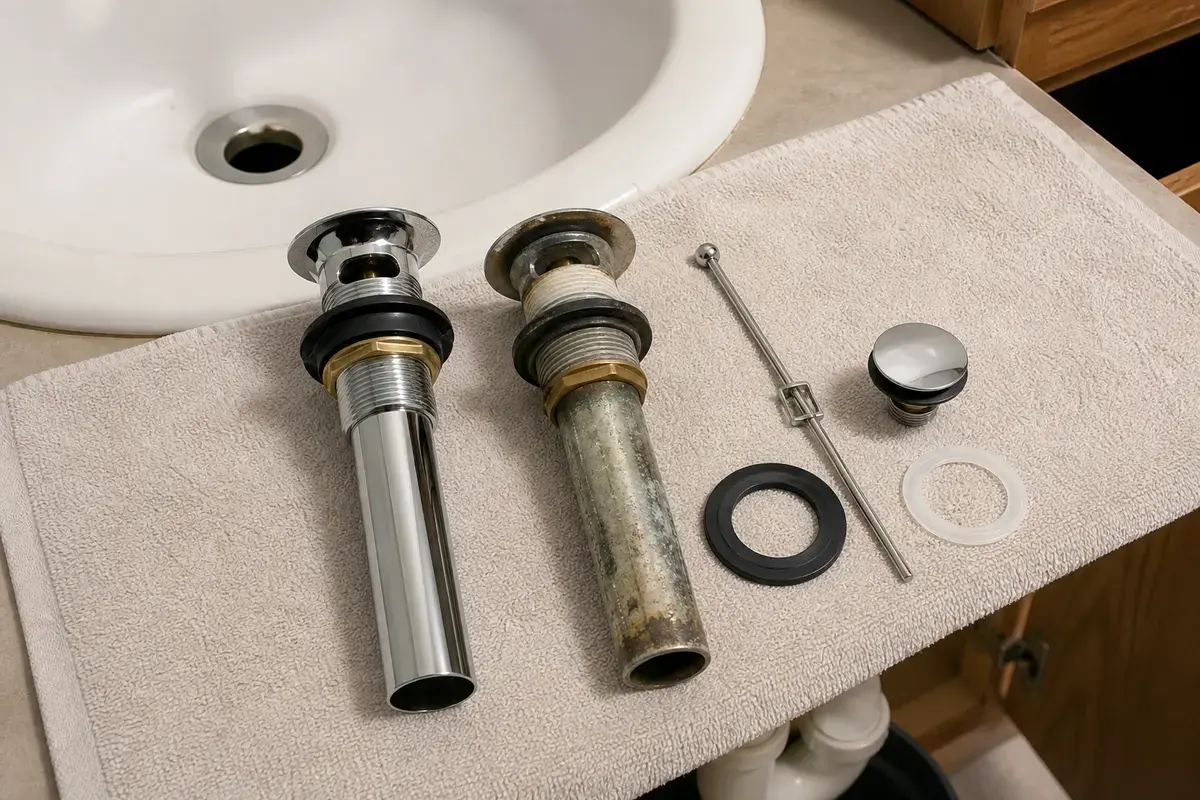
Helps when: Use a bathroom sink drain assembly when the flange or body is damaged and the highest wet point proves it.
Skip it when: Skip replacing the full assembly when only a pivot seal, trap washer, or tailpiece joint is wet.
Compare bathroom sink drain assemblies on Amazon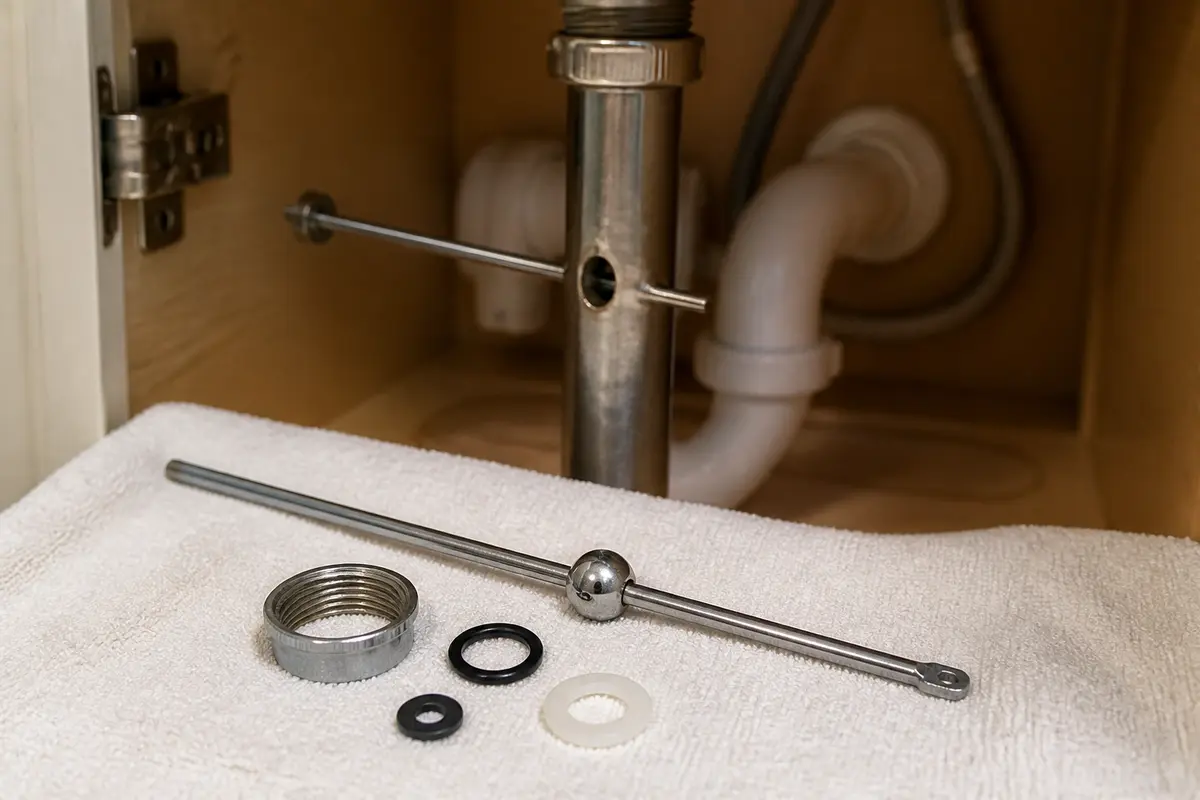
Helps when: Use a pop-up pivot rod and ball kit when the pivot is leaking, corroded, or no longer moving the stopper correctly.
Skip it when: Skip replacing it if the leak starts at the flange, tailpiece, trap, or wall drain instead.
Compare pop-up pivot rod kits on Amazon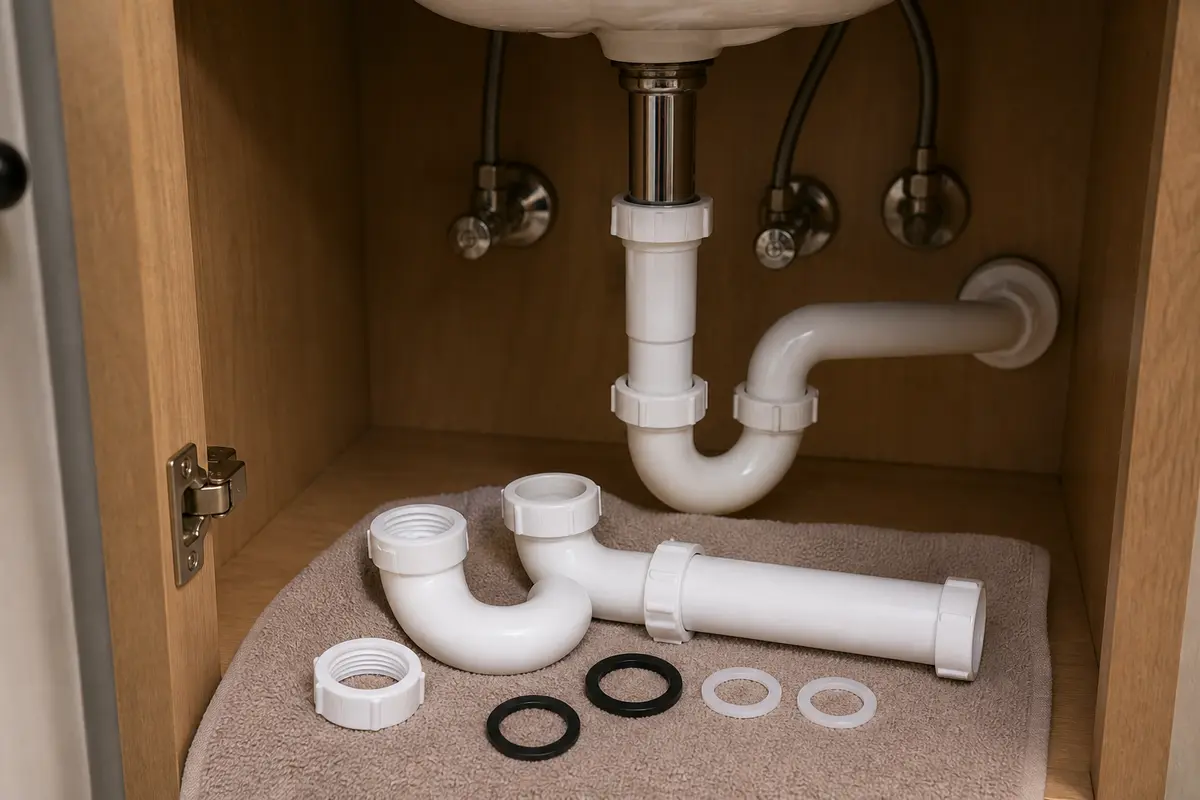
Helps when: Use a bathroom sink P-trap kit when the trap is cracked, corroded, misaligned, or leaking after washer replacement.
Skip it when: Skip trap replacement if the leak starts higher at the drain flange or pop-up pivot.
Compare bathroom sink P-trap kits on Amazon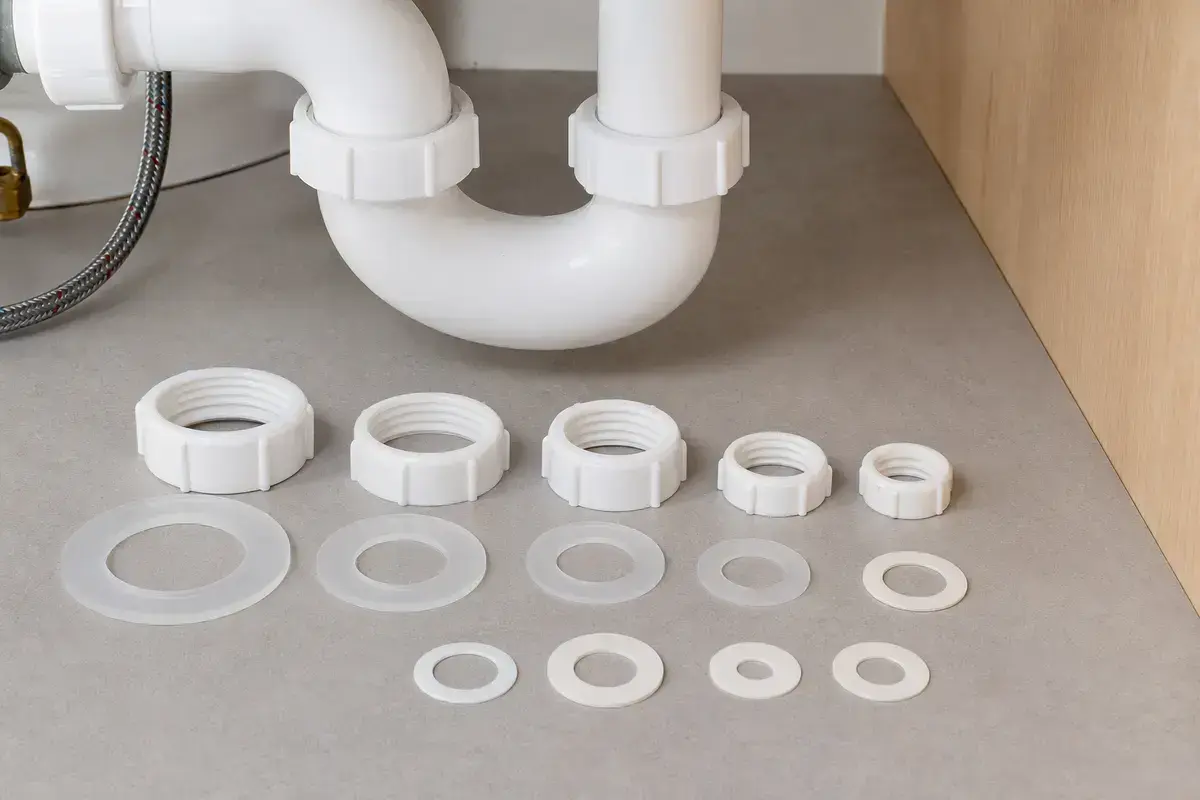
Helps when: Use a slip-joint washer assortment when a trap or tailpiece joint leaks but the pipe parts are sound.
Skip it when: Skip stacking old and new washers or overtightening to compensate for misalignment.
Compare slip-joint washer assortments on AmazonAs an Amazon Associate I earn from qualifying purchases. Repair Riot may earn a commission at no extra cost to you.
That timing points to the drain assembly, pop-up pivot, tailpiece, or P-trap because those parts only see water when the bowl drains.
Sometimes, but only if the joint is aligned and the washer is good. If the washer is split or the pipe is crooked, more tightening will not seal it.
No. If the flange seal failed, the drain usually needs to be removed and resealed or replaced from the joint, not patched from outside.
Watch the back of the drain body during a full-bowl drain. If water beads at the horizontal rod first, the pivot seal or kit is the suspect.
Water often runs down the outside of the drain body or tailpiece and drips from the lowest bend. The highest wet point is the part to repair.
Yes. Slow drainage can leave water sitting against older seals and expose a weak washer or misaligned trap joint that normally stays dry.
Many bathroom sinks use 1-1/4 inch drain parts, but you should measure the existing tailpiece and trap before buying because adapters and older work vary.
Only if the leak starts at the drain body, flange, or worn pivot opening. If the first wet point is a trap washer, a full drain assembly is unnecessary.
This guide uses drain timing and first-wet-point testing so a visible drip at the trap does not automatically become a trap replacement.