Live bats or fresh pellets?
Stop. Use wildlife removal before cleanup or sealing.
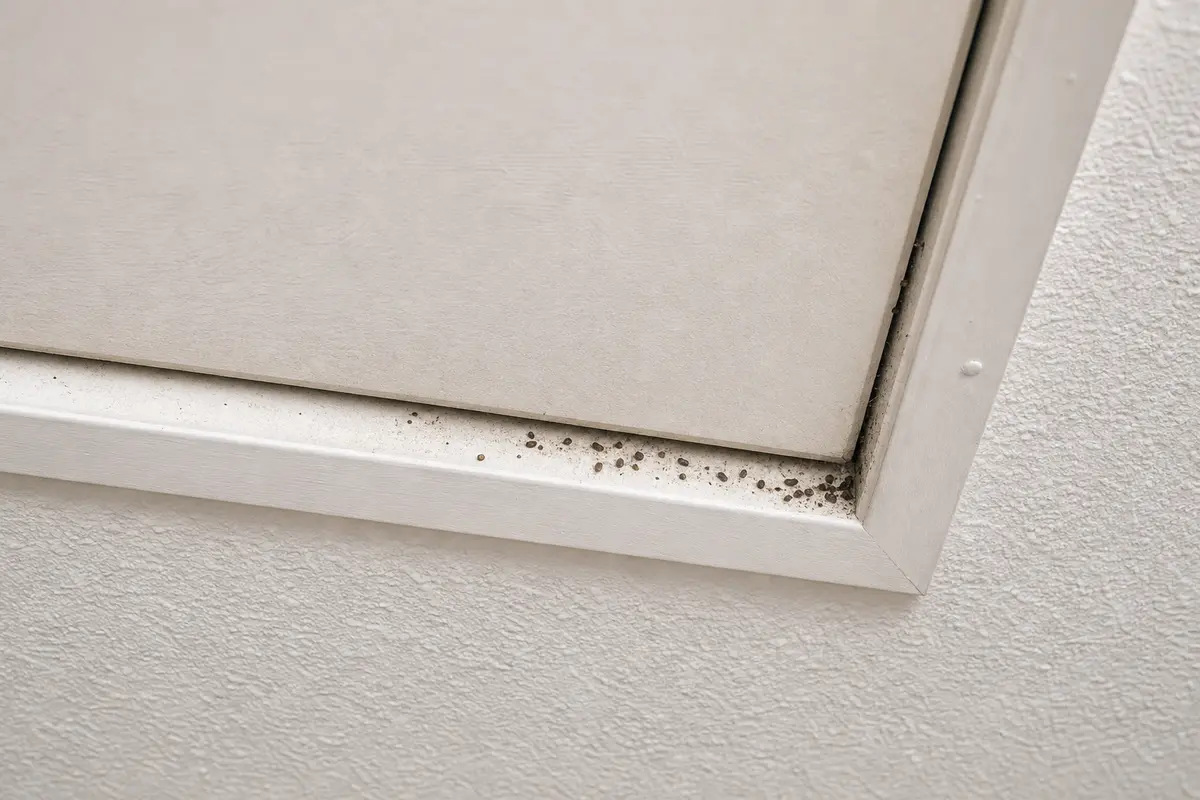
Bat guano around an attic hatch should be treated as active contamination until proven otherwise. First check from below for fresh pellets, staining, odor, scratching, live bats, or insulation contact before cleanup.
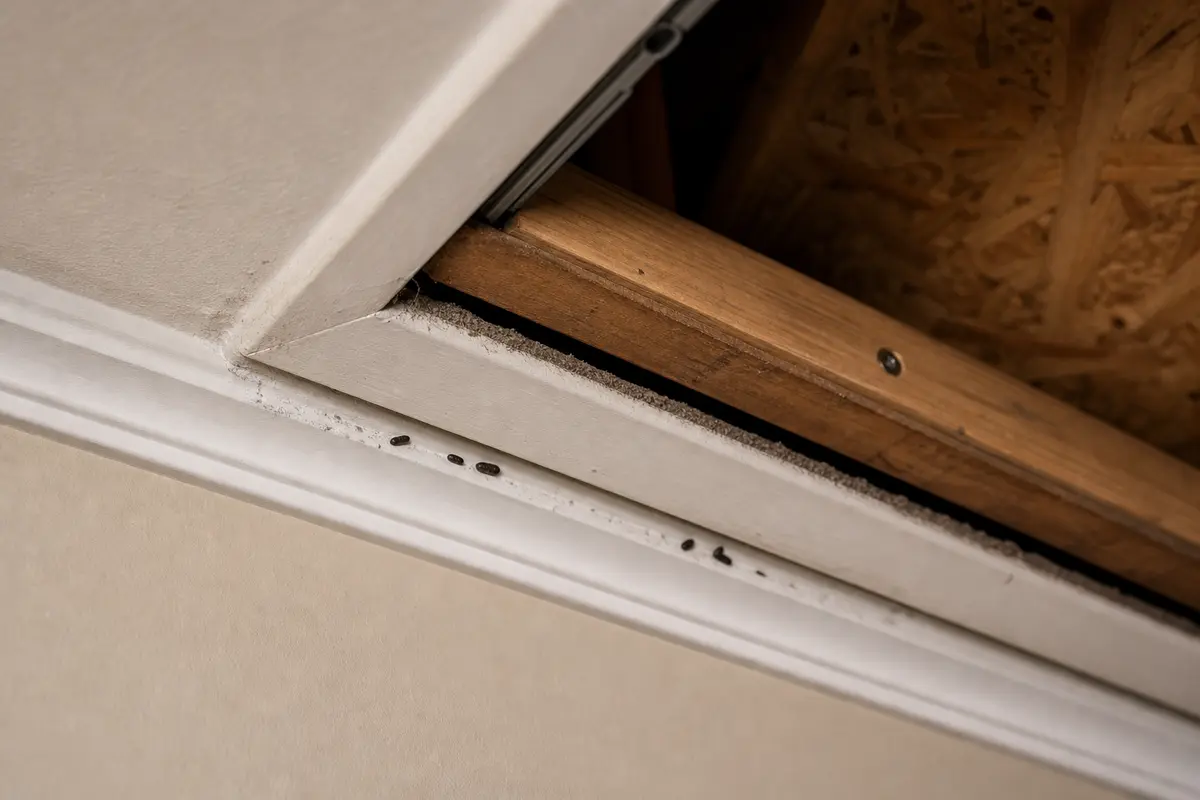
Good clue: a small dry pile collects at a leaky hatch edge while the attic access panel does not compress evenly.
Good clue: fresh dark pellets or new staining means activity is not resolved yet.
Don’t start with: Do not sweep dry, use a regular shop vacuum, or seal the hatch before active bat use and the entry source are ruled out.
Stop. Use wildlife removal before cleanup or sealing.
Use remediation service, not a small DIY cleanup.
Document, isolate, dampen carefully, and bag disposable material.
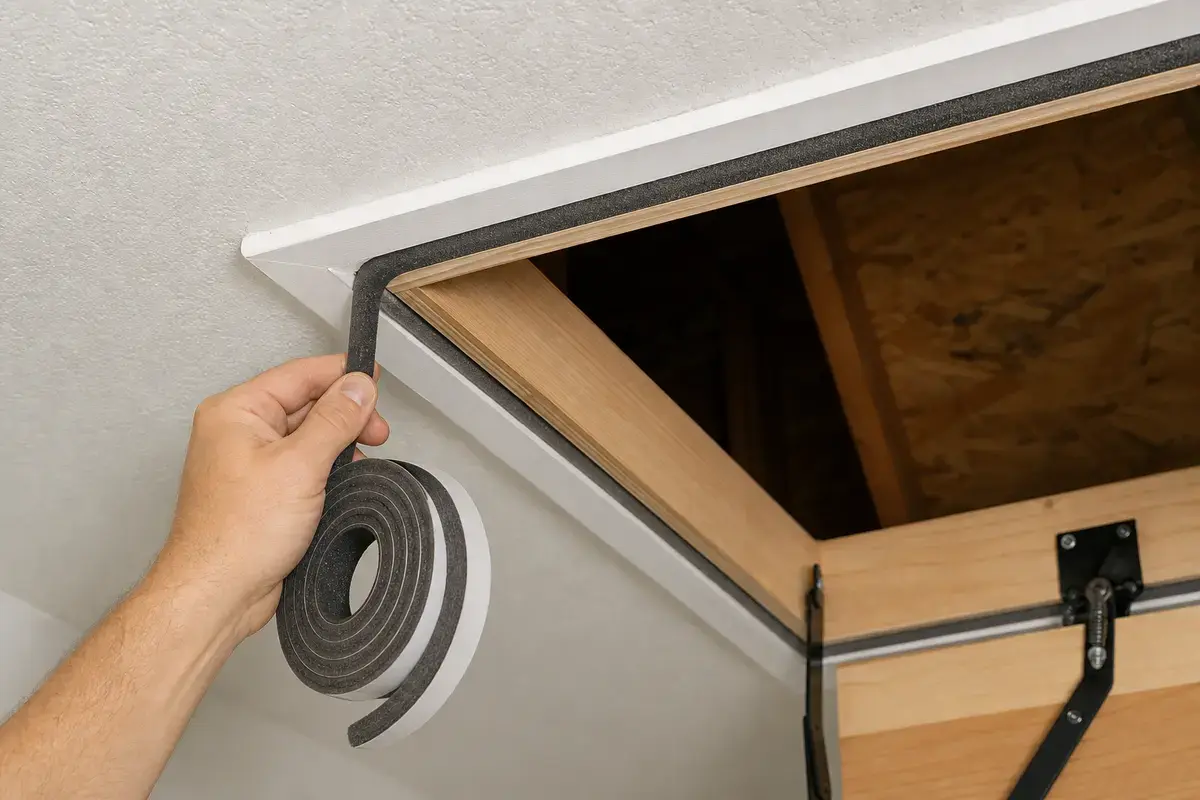
Fix the hatch seal after active source is ruled out.
Stop and seek local health or wildlife guidance before cleanup.
Use the droppings pattern, hatch gap, and attic-side source before touching the area.
Match the exact diagnosis before shopping. Confirm no active bats, no heavy buildup, no contact risk, and no contaminated insulation field. Then size supplies for a small localized hatch-area cleanup only.
Treat the hatch pile as a source-control question first, then a cleanup question.
Dry disturbance and premature sealing create the biggest risk.
Use activity, spread, and hatch condition before deciding DIY cleanup or service.
| What you see | Likely meaning | Next move |
|---|---|---|
| Fresh pellets or live activity | Active roost or entry | Stop and call wildlife removal. |
| Heavy buildup in insulation | Contamination field | Use remediation service. |
| Small dry pile at hatch edge | Old debris plus hatch leakage possible | Document, isolate, and clean only after activity is ruled out. |
| Dust line around hatch | Air leak at access | Seal hatch after cleanup and source control. |
| Water stain or odor | Moisture or contamination spread | Stop and get service advice. |
A small localized cleanup still needs containment and a hatch repair sequence.
Use these only when the small localized cleanup is appropriate and the active source is ruled out.
Paid links. As an Amazon Associate I earn from qualifying purchases. Repair Riot may earn a commission at no extra cost to you.
Helps when: Use attic hatch weatherstripping only after bat activity is resolved and the hatch area is cleaned enough to seal safely.
Skip it when: Skip sealing if bats may still be active, droppings are fresh, or the hatch gap is not the entry source.
Compare attic hatch weatherstripping on Amazon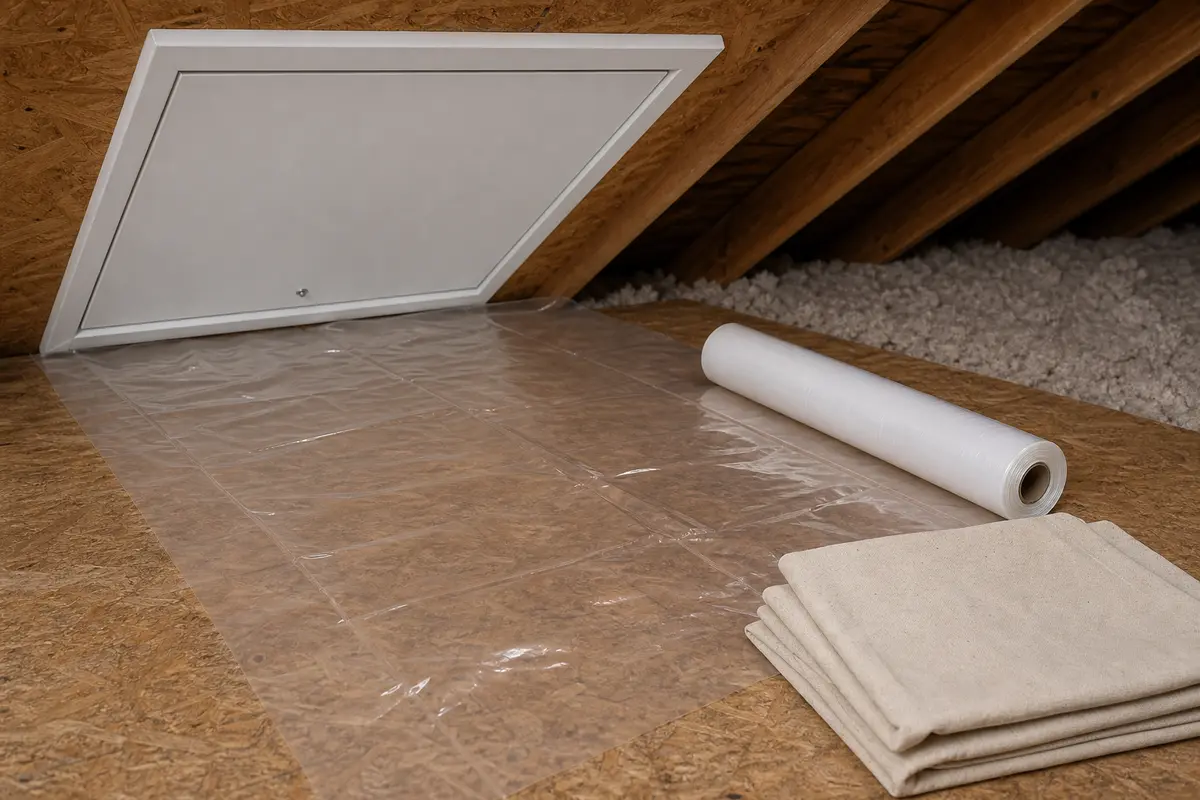
Helps when: Use plastic sheeting or a drop cloth to protect the floor below a small, safe hatch-area cleanup.
Skip it when: Skip DIY containment for heavy guano, live bats, insulation contamination, or debris above safe reach.
Compare plastic sheeting and drop cloths on Amazon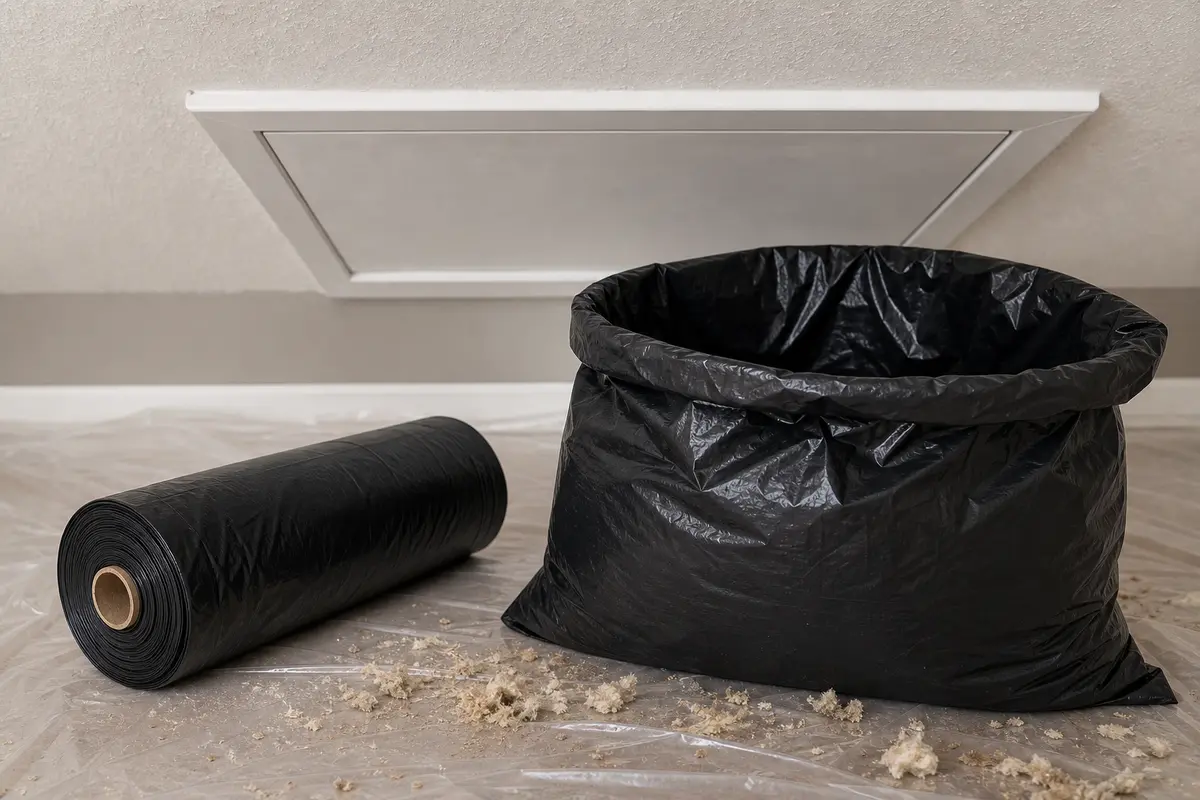
Helps when: Use contractor cleanup bags for bagging light contaminated disposable materials after activity is resolved.
Skip it when: Skip overfilling bags or handling heavy, dusty, wet, or insulation-contaminated guano yourself.
Compare contractor cleanup bags on AmazonThese are for small old localized debris only. Active bats, heavy guano, or exposure concerns need service.
Paid links. As an Amazon Associate I earn from qualifying purchases. Repair Riot may earn a commission at no extra cost to you.
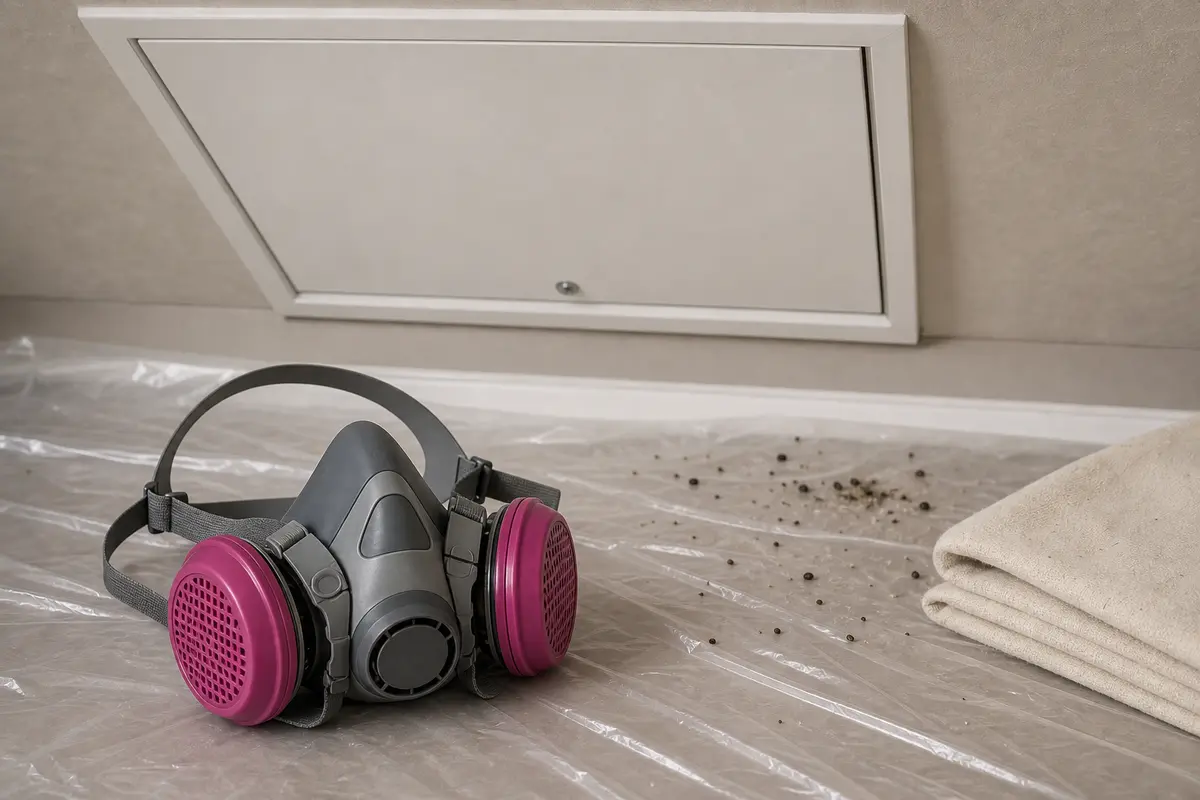
Helps when: Use a P100 respirator as one layer of protection for limited, safe inspection or small cleanup tasks.
Skip it when: Skip DIY cleanup if live bats, heavy guano, confined attic work, or respiratory risk is present.
Compare P100 respirators on Amazon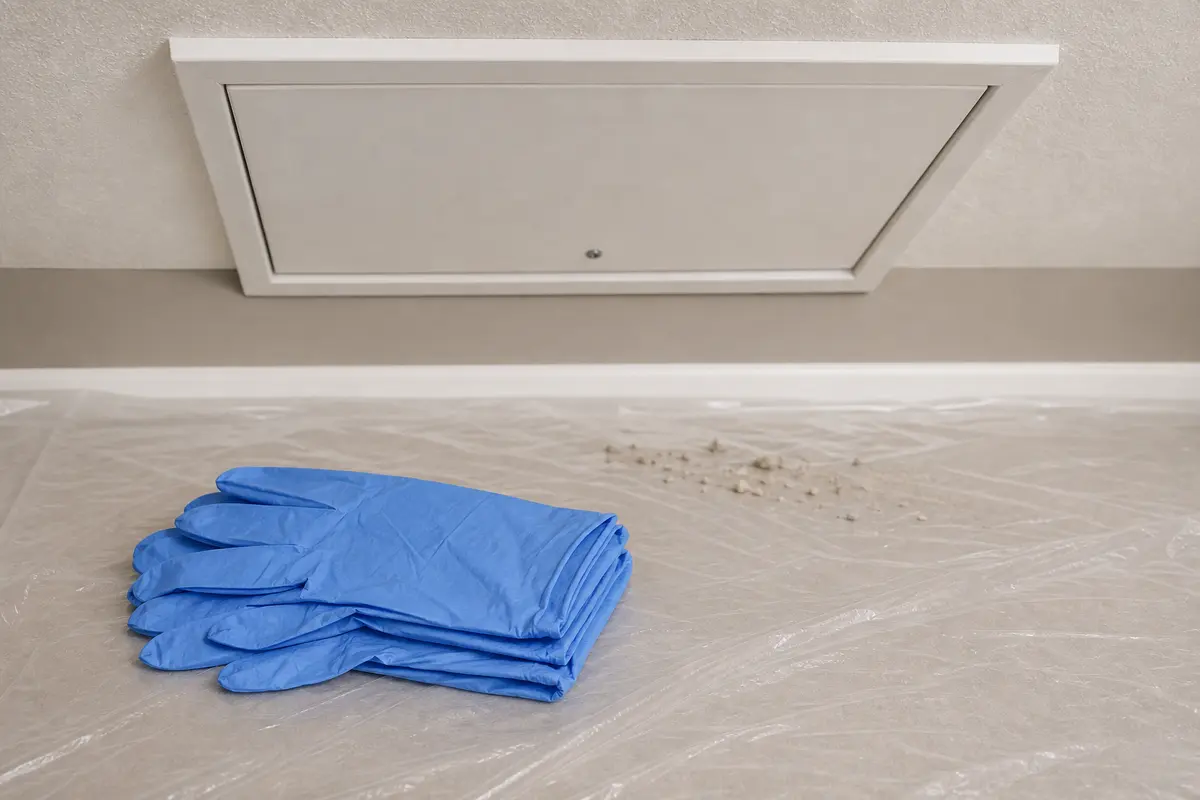
Helps when: Use disposable nitrile gloves when handling contaminated disposable materials during a limited cleanup.
Skip it when: Skip bare-handed handling and stop if sharp debris, bites, heavy buildup, or unknown contamination is present.
Compare disposable nitrile gloves on Amazon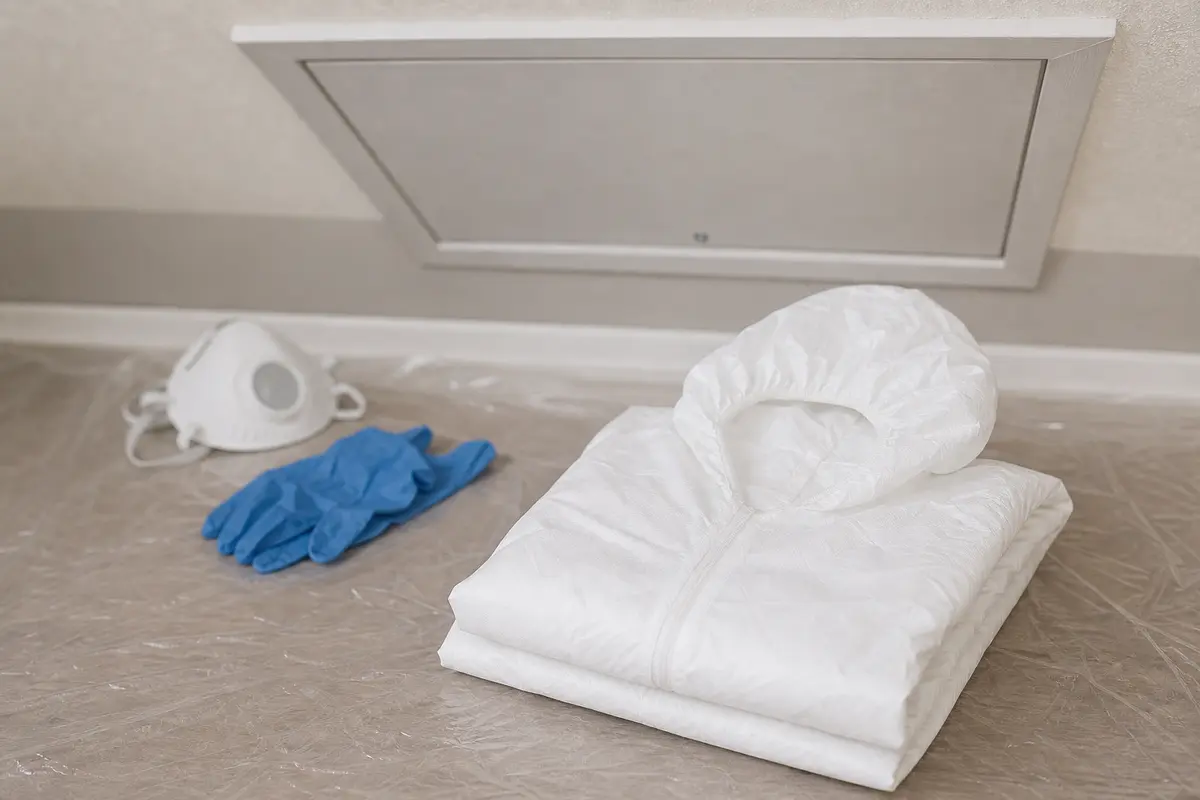
Helps when: Use disposable coveralls to keep light contamination off clothing during a limited, safe cleanup.
Skip it when: Skip DIY cleanup if the job requires crawling, overhead work, insulation removal, or heavy contamination handling.
Compare disposable coveralls on AmazonOnly a small old localized area after active bats, heavy buildup, contact risk, and contaminated insulation are ruled out.
No. Do not sweep, brush, or vacuum dry droppings.
Stop and use wildlife removal. Keep the hatch or entry path unsealed while bats may be active.
A loose hatch can let air movement pull dust and pellets down to the trim or floor below.
Heavy buildup, damp material, insulation contamination, odor spread, or direct exposure concerns belong with remediation or wildlife service.
No. Source control and cleanup come first; sealing too early can hide activity or trap the source.
Containment sheeting, disposable protection, and hatch weatherstripping can make sense only after activity and spread are ruled out.
No new pellets, odor, or scratching appears after several nights, and the hatch closes with an even seal.
Repair Riot built this page around visible hatch-area contamination clues: fresh droppings, activity, spread, hatch air leakage, exposure stop points, and cleanup-after-source-control sequencing.