Nest is active?
Stop. Do not disturb the opening or seal insects inside.
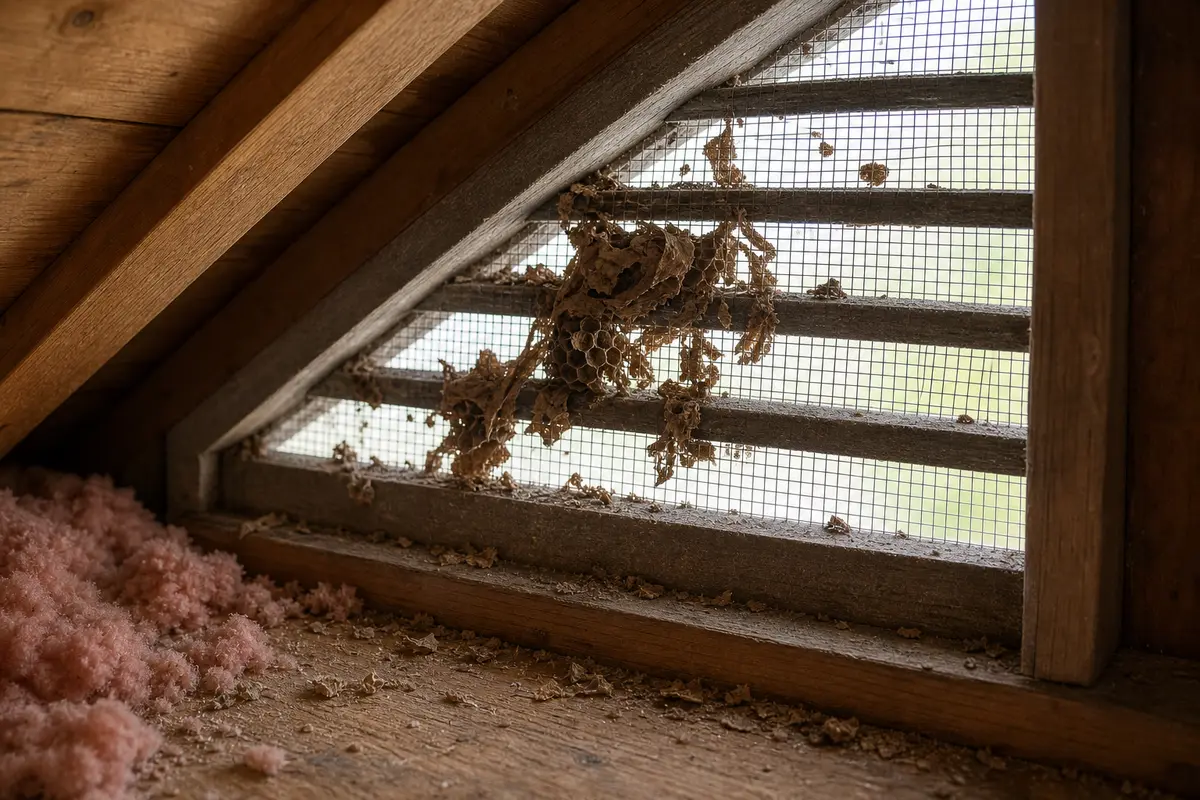
After an insect nest in an attic vent, first confirm the nest is inactive and the vent frame is still sound. Look for papery residue on the mesh, a torn screen edge, or loose retainers before buying screen material.
Good clue: dry nest scraps cling to one corner of the screen while the vent body and surrounding wood still sit flat.
Start at the mesh edge; torn mesh with a dry square frame usually means screen and fasteners.
Don’t start with: Do not seal the vent shut, spray from inside, or pull the screen while insects are active. Confirm inactivity and frame condition first.
Stop. Do not disturb the opening or seal insects inside.
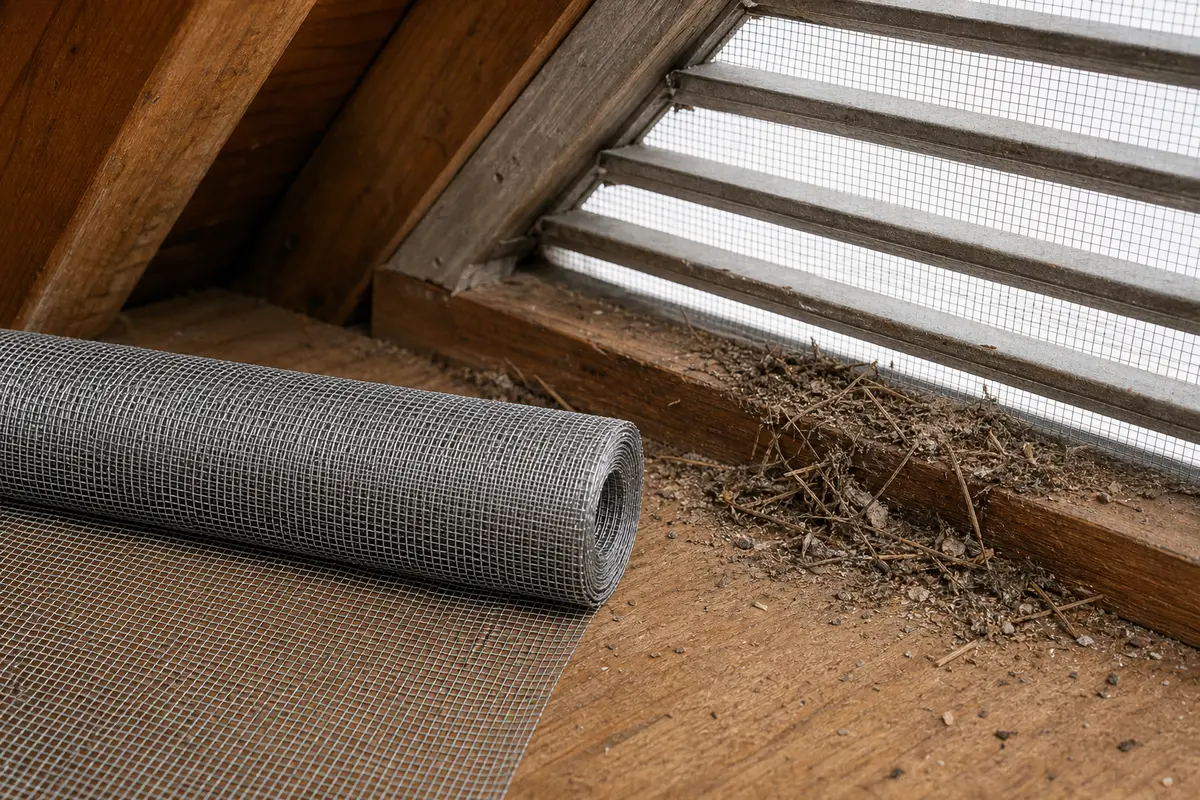
Replace mesh after the nest is inactive and debris is removed.
Repair fasteners or backing before installing screen.
Use vent replacement, not screen-only repair.
Use mesh, not foam or blocked panels.
Check activity, mesh damage, and frame condition before replacing anything.
Match the exact diagnosis before shopping. Measure the vent opening, mesh type, and retainer style. Verify the nest is inactive. Screen mesh, fasteners, sealant, and a full vent cover solve different failures.
Look for activity first, then inspect the screen edge and vent frame before buying mesh.
The wrong first move can trap pests, block airflow, or erase the damage clue.
Use activity, frame condition, and mesh damage before choosing parts.
| What you see | Likely meaning | Next move |
|---|---|---|
| Live insects or fresh traffic | Active nest | Stop and use pest service. |
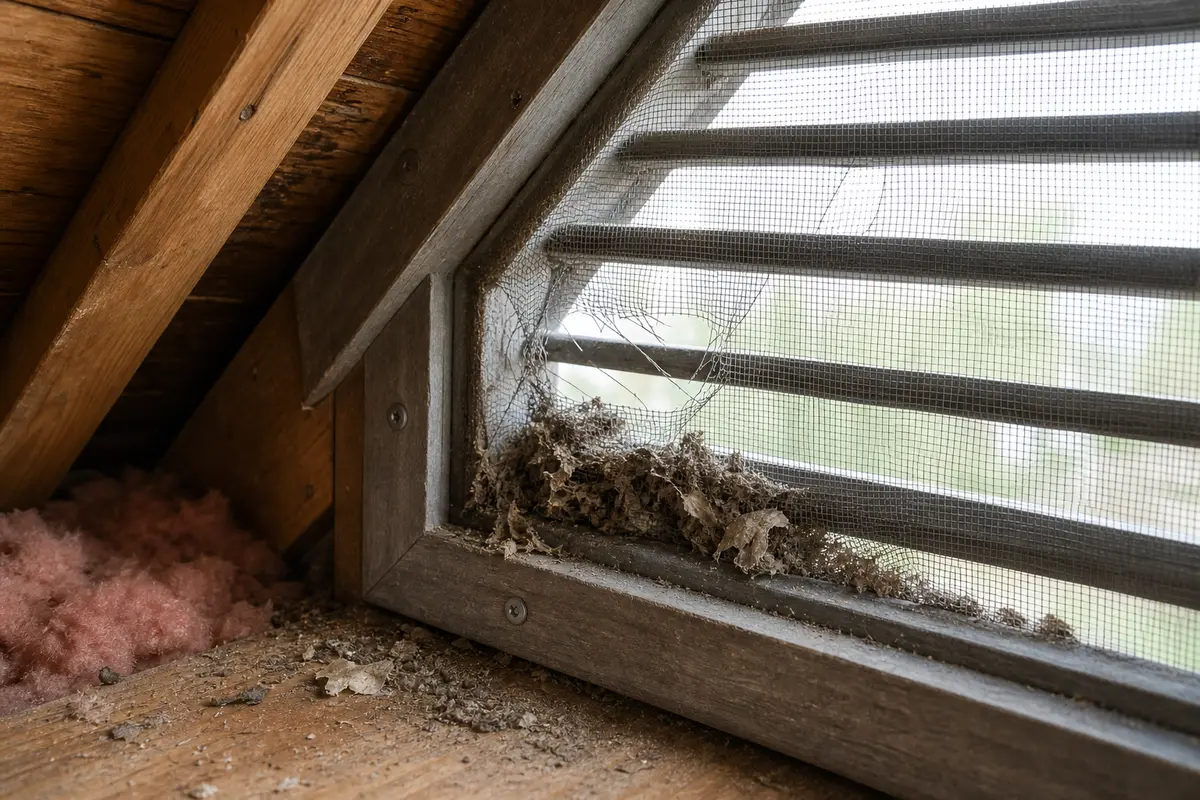
| Dry nest on intact mesh | Cleanup problem | Clear only from a safe position after inactivity is confirmed. |
| Torn mesh, solid frame | Screen replacement | Measure and replace mesh or retainer. |
| Loose vent body | Fastener or backing issue | Secure sound backing before screen work. |
| Water stain around vent | Weather-entry clue | Trace exterior path before screen-only repair. |
The finished screen should protect the opening while leaving the attic ventilation path open.
Use these only when the visible clue names the part.
Paid links. As an Amazon Associate I earn from qualifying purchases. Repair Riot may earn a commission at no extra cost to you.
Helps when: Use when the vent screen is torn, rusted, missing, bowed, or clogged after activity is ruled out.
Skip it when: Skip if the vent frame is rotten, active insects remain, or the repair would block required airflow.
Shop replacement screen mesh on Amazon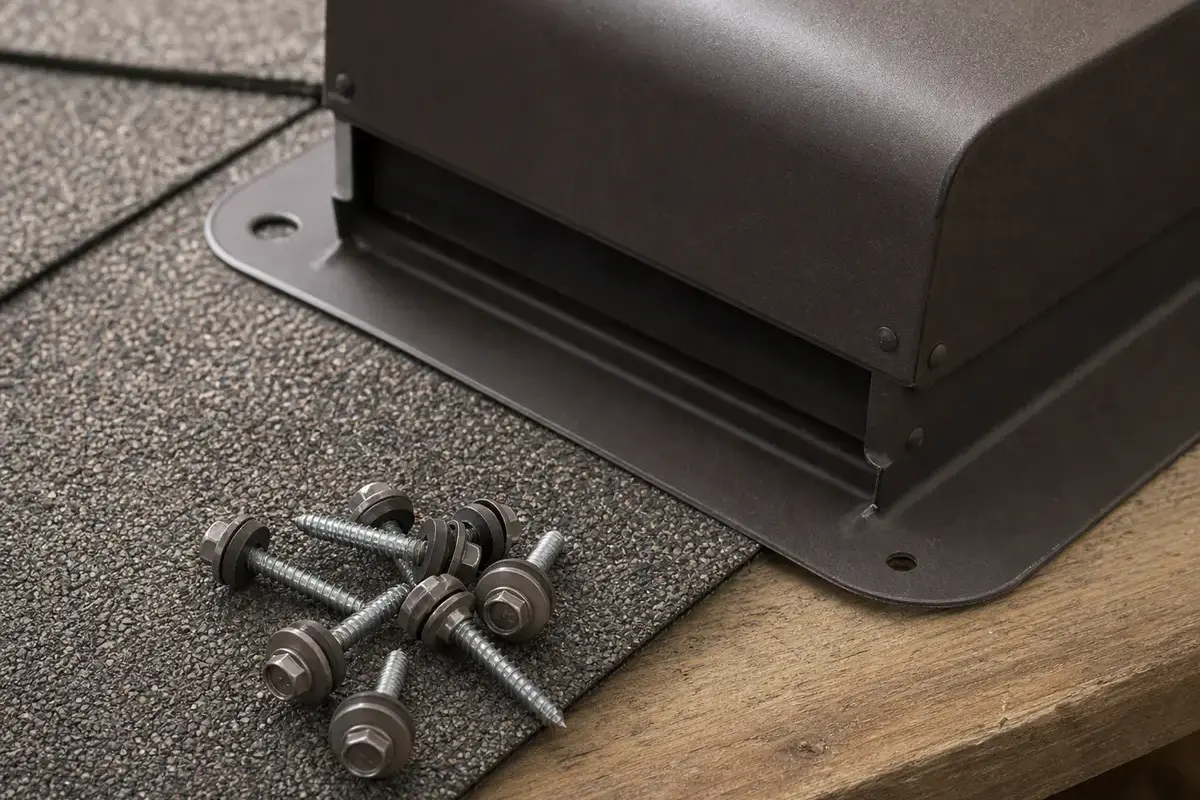
Helps when: Use when the vent screen is torn, rusted, missing, bowed, or clogged after activity is ruled out.
Skip it when: Skip if the vent frame is rotten, active insects remain, or the repair would block required airflow.
Shop replacement screen mesh on Amazon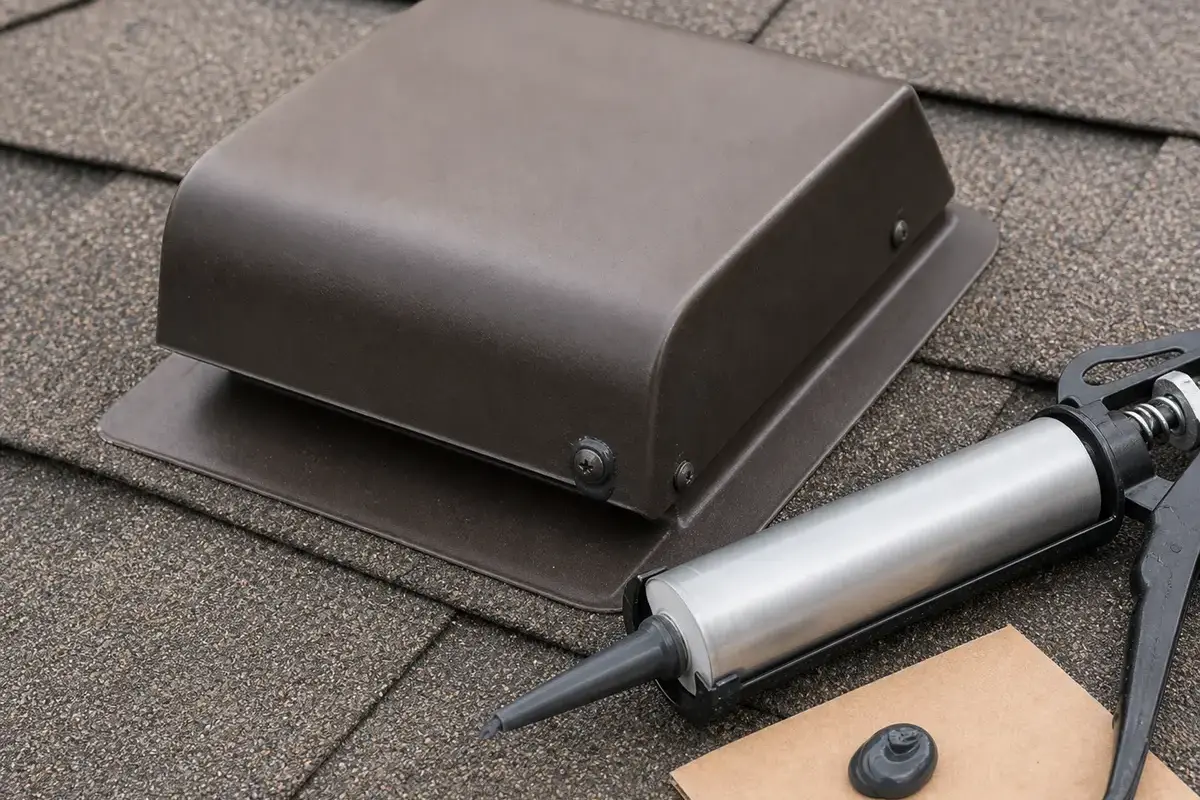
Helps when: Use for a small dry weather gap only after the vent is mechanically secured and still ventilates.
Skip it when: Skip using sealant as the main fastener, over wet material, or anywhere it would block intended airflow.
Browse exterior sealants on AmazonThese support safe inspection. They do not make active insects safe to disturb.
Paid links. As an Amazon Associate I earn from qualifying purchases. Repair Riot may earn a commission at no extra cost to you.

Helps when: Use when the vent screen is torn, rusted, missing, bowed, or clogged after activity is ruled out.
Skip it when: Skip if the vent frame is rotten, active insects remain, or the repair would block required airflow.
Shop replacement screen mesh on Amazon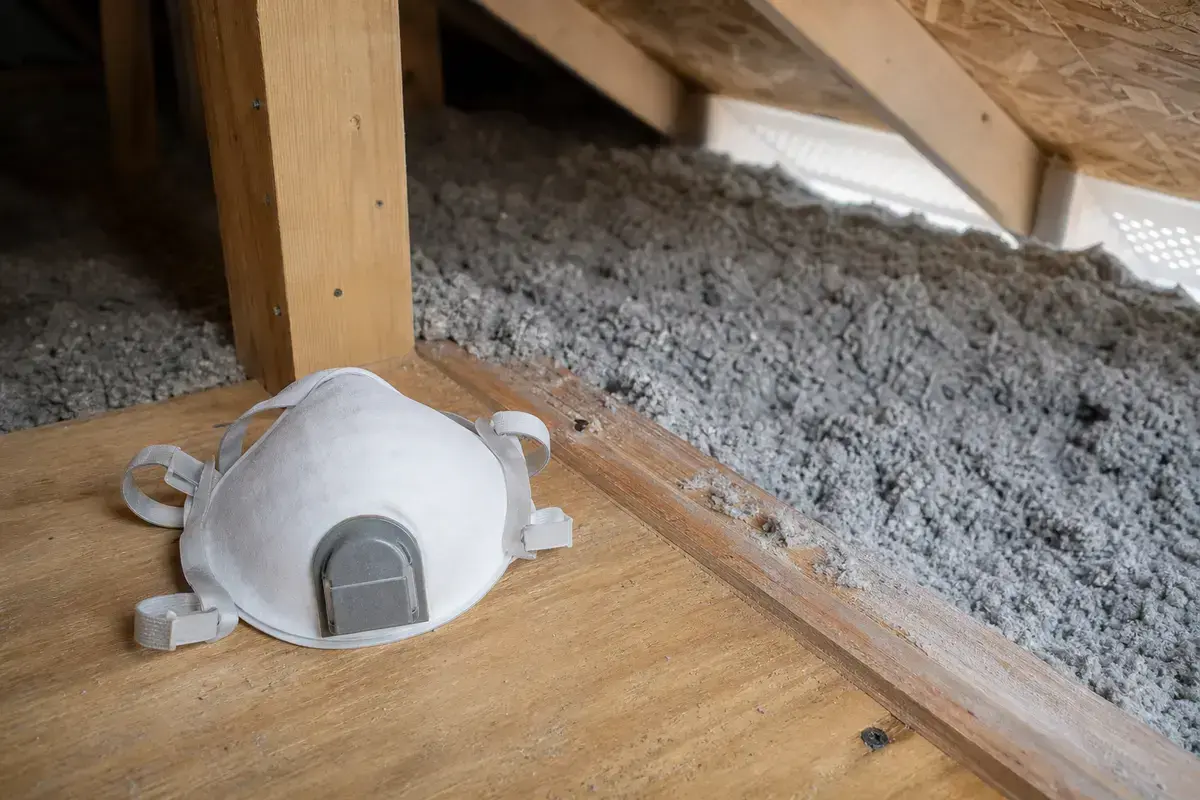
Helps when: Use for a short dusty attic inspection from stable framing or a walkway.
Skip it when: Call a pro for heavy mold, animal contamination, soaked insulation, wet wiring, or unsafe attic access.
Browse dust masks on Amazon
Helps when: Use when the vent screen is torn, rusted, missing, bowed, or clogged after activity is ruled out.
Skip it when: Skip if the vent frame is rotten, active insects remain, or the repair would block required airflow.
Shop replacement screen mesh on AmazonNo. Stop and use pest service before disturbing the vent or trapping insects inside.
No. The vent still needs airflow. Use screen mesh or a proper vent repair, not foam or blocked panels.
When the nest is inactive, the frame is sound, and only the screen is torn, rusted, missing, or clogged.
A cracked or warped cover is a vent replacement decision, not just a screen job.
Only for a small dry frame gap after the vent is mechanically secure. Do not seal the screen area.
Treat staining as weather-entry evidence and trace the exterior path before installing screen.
Match the existing opening, retainer style, corrosion exposure, and airflow need. Avoid overly restrictive mesh.
The screen sits flat, the vent still passes air, and no new debris or insect traffic appears after a few days.
Repair Riot built this page around visible attic vent screen clues: insect activity, dry nest residue, torn mesh, loose frames, water staining, and airflow preservation.