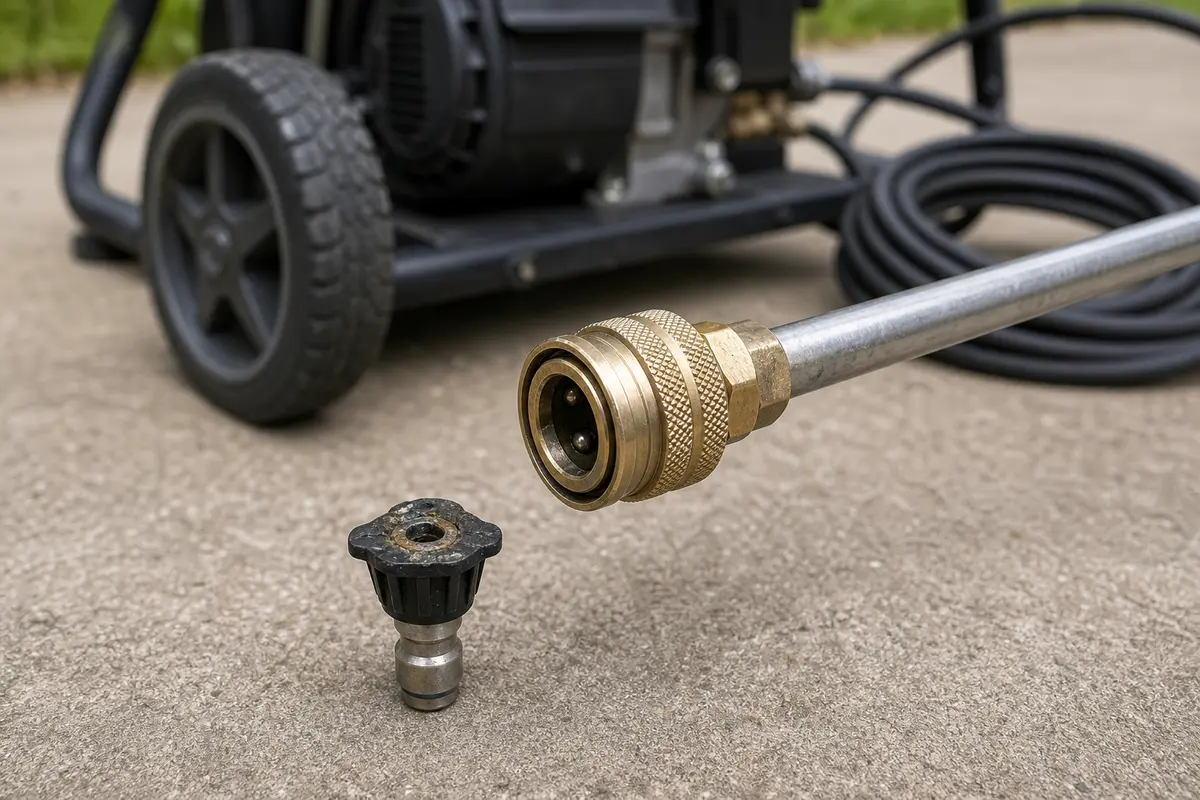
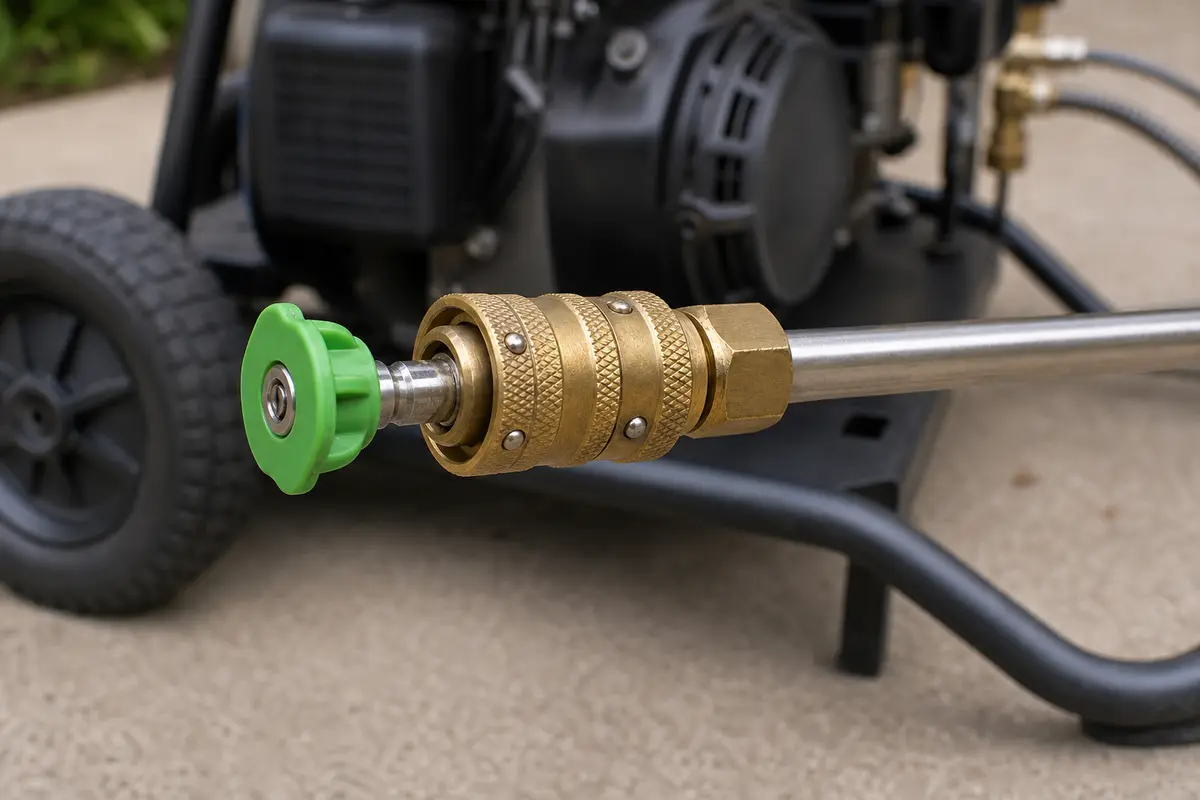
Shut the pressure washer off and relieve pressure first. Then remove the old tip from the wand or quick-connect end, install the matching replacement tip, and test the spray pattern with water running.
A worn, clogged, or damaged nozzle tip can cause weak pressure, an uneven fan, or poor cleaning. Use the correct connection style, spray angle, and orifice rating. The wrong tip can damage surfaces or make the wand harder to control.
Before you start: Match the replacement nozzle tip to the wand connection, spray angle, orifice rating, and pressure washer rating before ordering. Stop if the quick connect coupler is cracked, will not lock, or leaks after pressure is relieved.
Last reviewed: 2026-06-15
Make sure this is the right repair
Before replacing the pressure washer spray nozzle tip, confirm the nozzle is damaged, clogged, worn, missing, or loose. Do not buy a tip until the wand coupler, water supply, hose, and inlet screen still make sense.
This page fits
This page fits when: The spray tip is missing, cracked, clogged again after cleaning, worn into a weak fan, or loose in the quick-connect coupler.
Check something else when: Check the coupler collar and locking balls. A new tip will not hold if the wand end is cracked, stuck, or worn out.
Confirm the fit first
This page fits when: You can match the quick-connect size, spray angle, orifice rating, color code, and pressure washer rating before ordering.
Check something else when: If the old tip is missing, use the spray wand and pressure washer model to match the connection before buying a nozzle set.
Stop for hidden damage
This page fits when: The washer is off, the trigger pressure is relieved, the wand is stable, and the coupler is not leaking or cracked.
Check something else when: Stop if the coupler will not lock, the trigger gun leaks, or the machine keeps building pressure after shutdown.
Check the nozzle and dry-fit the replacement
Use the visible damage and dry-fit check to confirm the nozzle tip is the failed piece. Compare the stem, spray rating, coupler fit, and lockup before you restore pressure.
Start by finding the failed spray tip and checking that the quick-connect coupler still moves and locks.Dry-fit the replacement before starting the washer. The tip should seat fully and stay locked when you tug it lightly.
Safety first
Always shut the pressure washer off and relieve pressure before removing the nozzle tip.
Never point the wand at skin, pets, or anyone nearby, even when you think pressure is low.
Test the new tip on a safe surface first because the wrong spray angle can damage wood, paint, and soft materials.
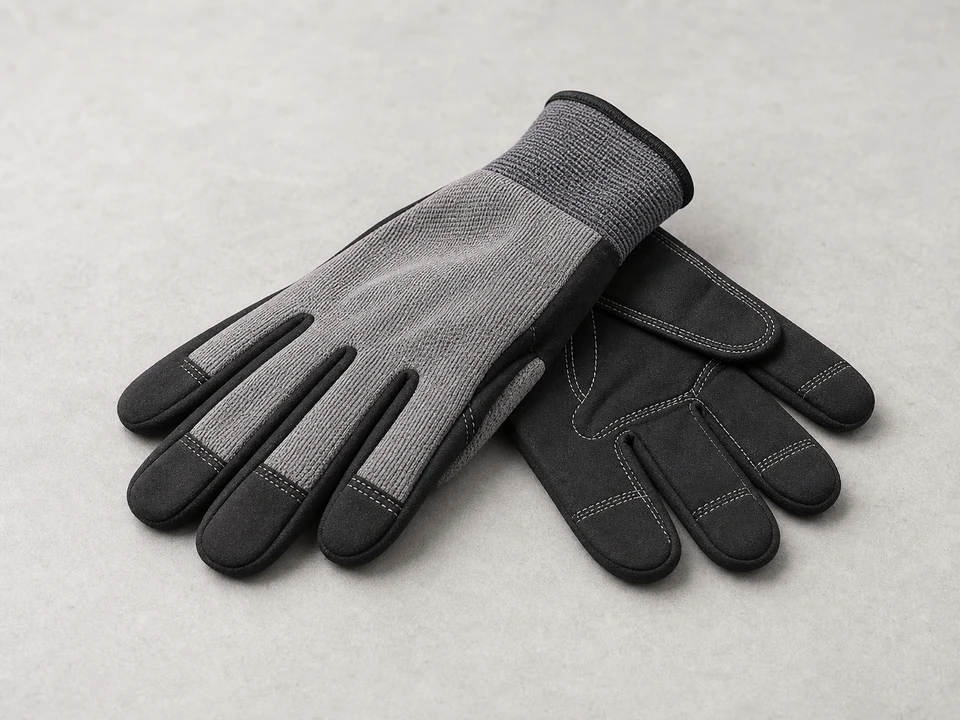
Wear gloves and keep a firm grip on the wand during the first test after replacement.
Tools you may need
Replacement pressure washer spray nozzle tip
Use it for: This restores the spray angle and orifice size only when the old tip is damaged, worn, missing, or repeatedly clogged.
As an Amazon Associate I earn from qualifying purchases. Repair Riot may earn a commission at no extra cost to you.
Step-by-step fix
Step 1: Make sure the nozzle tip is really the problem
Set the pressure washer on a stable surface and make sure the trigger is not locked on.
Look at the spray pattern from the nozzle during recent use or after a brief test: a bad tip often causes a crooked stream, uneven fan, weak cleaning, or obvious clogging.
Inspect the tip for a cracked opening, bent metal, worn or enlarged orifice, or damage where it locks into the wand.
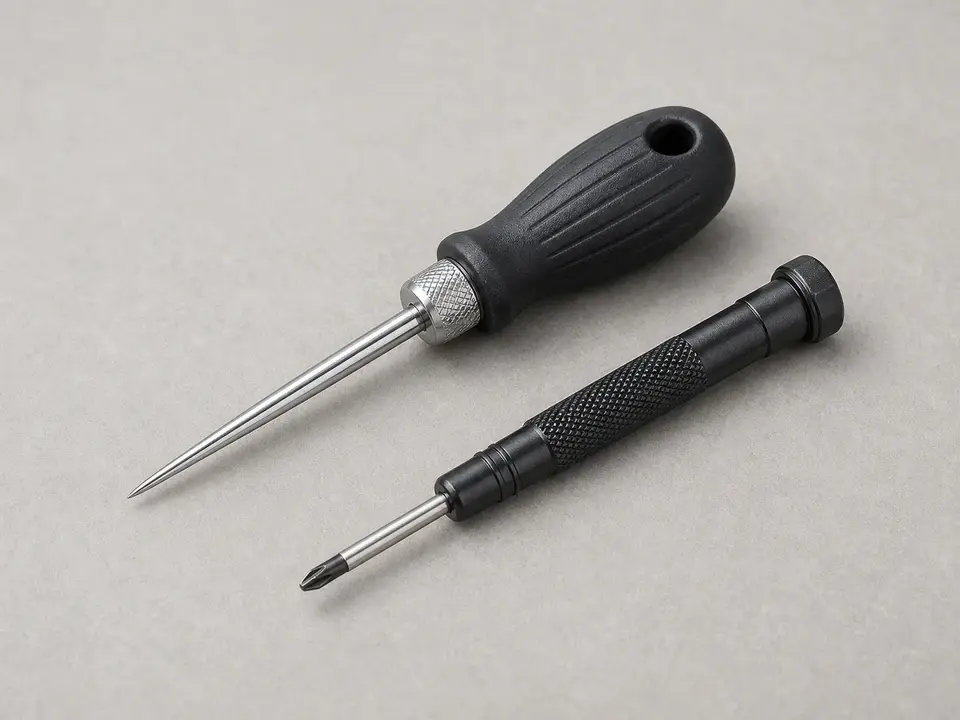
If you have a cleaning pin, clear visible debris from the opening once before replacing the tip so you do not swap parts for a simple clog.
If it works: You have a damaged, worn, or repeatedly clogged nozzle tip and replacement makes sense.
If it doesn’t: If the spray pattern is normal and pressure is still low, check the water supply, inlet screen, hose, and spray wand for the real cause.
Stop if:
The wand, quick-connect coupler, or trigger gun is cracked or leaking.
The machine surges badly, smokes, or has engine or motor problems that point to a larger issue.
Step 2: Shut the washer down and relieve pressure
Turn the pressure washer off and let the engine or motor stop completely.
Shut off the water supply at the hose spigot or inlet valve.
Point the wand at bare ground, away from people, pets, glass, siding, and painted surfaces.
Squeeze the trigger until water flow fades and the hose relaxes, then squeeze it once more to confirm pressure is gone.
Set the wand on a stable surface with the nozzle end visible and the quick-connect collar easy to reach.
If it works: The washer is off, the hose has relaxed, and the wand no longer feels pressurized.
If it doesn’t: If the trigger still feels hard or the wand seems pressurized, keep the tip pointed safely away and squeeze the trigger again until pressure is gone.
Stop if:
You cannot relieve pressure from the wand.
Water continues spraying forcefully after shutdown, which can mean a stuck valve or another unsafe fault.
Step 3: Remove the old spray nozzle tip
Look at the end of the wand and identify the quick-connect collar, nozzle stem, and locking shoulder before you pull anything apart.
Hold the wand firmly, slide the collar back, and pull the old nozzle tip straight out.
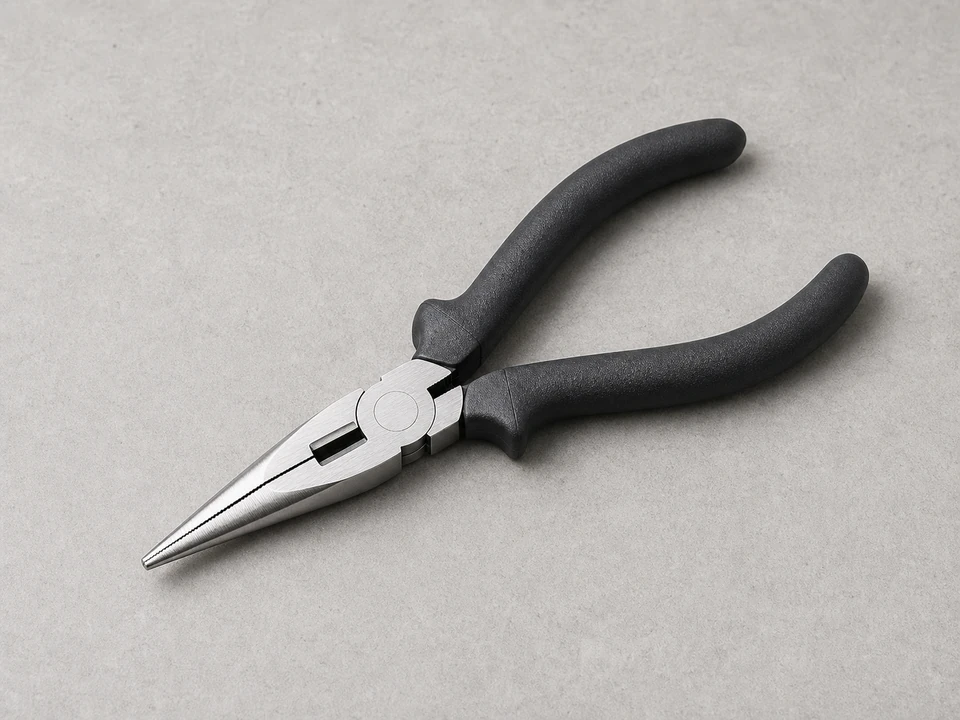
If the tip is stuck, wiggle it gently while holding the collar back. Use needle-nose pliers only on the tip body, not on the coupler lip.
Check the coupler opening for grit, rust, damaged O-ring material, stuck locking balls, or a collar that does not spring back.
Flush loose debris from the coupler with clean water before you install the new nozzle tip.
If it works: The old nozzle tip is out, the quick-connect collar moves freely, and the coupler opening is clean enough for the new tip.
If it doesn’t: If the tip will not come out, flush the coupler area with clean water and try again. If the coupler itself is damaged, the tip may not stay locked in place.
Stop if:
The quick-connect collar will not move or does not spring back.
The coupler is cracked, badly corroded, or too damaged to hold a new tip securely.
Step 4: Match and install the new tip
Compare the new tip to the old one for the same connection style and similar size and spray pattern type.
Insert the new pressure washer spray nozzle tip fully into the wand or quick-connect fitting.
Release the collar if your wand uses one, then tug lightly on the tip to make sure it locked in place.
Aim the tip away from people, pets, windows, and delicate surfaces before restoring water and power.
If it works: The new tip fits correctly and stays locked in the wand.
If it doesn’t: If the new tip feels loose, will not insert fully, or does not match the old connection, stop and get the correct replacement tip.
Stop if:
The replacement tip does not fit the coupler securely.
The wand end is damaged enough that even the correct tip will not lock in place.
Step 5: Test the spray pattern at low risk first
Turn the water supply back on and check for leaks around the wand and tip connection.
Start the pressure washer.
Point the wand at a safe test area like bare concrete or a large piece of scrap material and squeeze the trigger briefly.
Watch for a clean, even spray pattern and steady pressure without sputtering or side spray.
If it works: The washer sprays evenly and the new tip works normally.
If it doesn’t: If the spray is still uneven, shut the machine off, relieve pressure again, and confirm the tip is fully seated and the water supply is strong and unobstructed.
Stop if:
The tip blows out of the coupler or the wand leaks at the connection.
The machine develops severe pulsing, unusual vibration, or other signs that the problem is not limited to the nozzle tip.
Step 6: Confirm the repair during real cleaning
Use the pressure washer on a normal cleaning job for several minutes with the correct distance from the surface.
Watch the spray fan for even width, steady pressure, and no side stream from a damaged orifice.
Confirm the nozzle tip stays locked when the trigger is released and squeezed again.
Listen for pulsing or surging that would point upstream to water supply, hose, inlet screen, pump, or engine trouble.
After use, shut the machine down, relieve pressure, and inspect the tip opening for grit or an immediate re-clog.
If it works: The pressure washer holds a steady fan pattern in real use, and the new nozzle tip stays locked in the coupler.
If it doesn’t: If pressure drops again or the new tip clogs right away, inspect the water source, inlet screen, and hose for debris feeding the nozzle.
Stop if:
The new tip repeatedly clogs within one short use, which points to contamination upstream.
The wand or trigger gun becomes hard to control or leaks during operation.
Match the replacement part to your exact pressure washer before ordering.
As an Amazon Associate I earn from qualifying purchases. Repair Riot may earn a commission at no extra cost to you.
Verify the repair
The new nozzle tip locks into the wand securely and does not pull out by hand.
The spray pattern is even and matches the intended fan or stream style.
Cleaning performance is improved without sputtering, side spray, or sudden pressure loss.
There are no leaks or connection problems at the wand tip during use.
FAQ
How do I know if my pressure washer spray nozzle tip is bad?
Common signs are an uneven fan pattern, a stream that sprays off to one side, weak cleaning, or visible wear or cracking at the tip. If cleaning the opening does not fix it, replacement is usually the right move.
Can I clean the old nozzle tip instead of replacing it?
Yes, if the problem is just debris. Use a proper nozzle cleaning pin and flush it with water. If the opening is worn, enlarged, cracked, or keeps clogging, replace the tip.
Do I need the exact same nozzle tip?
You need a tip that matches your pressure washer's connection style and intended spray pattern. Using the wrong tip can affect pressure, cleaning results, and control of the wand.
Why does my new nozzle tip still have weak pressure?
The nozzle tip may not be the only issue. Check for low water supply, a clogged inlet screen, hose restrictions, air in the system, or a problem in the wand or pump.
Is it safe to use pliers to remove a stuck nozzle tip?
Only gently and only if needed. It is easy to damage the coupler or deform the tip seat. If the connection itself is damaged, replacing just the tip may not solve the problem.
Sources and reference notes
Repair Riot uses related pressure-washer symptom pages and fit checks to keep this nozzle-tip guide focused on safe, visible homeowner decisions.