Remove and Replace a Leaking Hose Bib Vacuum Breaker Safely
To remove and replace a leaking hose bib vacuum breaker, first prove the leak is at the small backflow fitting on the hose outlet. Remove the hose, find any hidden set screw, and support the faucet body. Loosen the old breaker without twisting the hose bib in the wall, clean the outlet threads, install the matching replacement, and test with and without a hose attached.
This is a small outdoor plumbing job until someone forces it. If the first drip starts at the breaker vent holes or the seam on the hose outlet, take the hose off and look for the hidden set screw before using pliers. Older vacuum breakers often hide that screw under crust, come apart in layers, or seize to the faucet outlet. Protect the faucet threads, and stop the second the hose bib body starts moving.
Before you start: Make sure the leak is from the vacuum breaker at the hose outlet, not the handle, packing nut, wall, or faucet body. Find the set screw before twisting, especially on older breakers that separate into pieces. Stop if the faucet moves in the wall.
Last reviewed: 2026-06-05
Confirm the leak and removal risk before pliers go on
Check the exact leak point before you put pliers on the faucet. A leaking outlet breaker, a packing leak, and a loose hose bib need different fixes.
Vacuum breaker leak
This page fits when: Water drips, sprays, or spits from the small backflow fitting screwed onto the hose outlet.
Check something else when: If water is coming from the handle, packing nut, wall, stem, or faucet body, leave the breaker alone and fix that leak first.
Breaker style match
This page fits when: The old breaker is a removable add-on fitting and you can match the thread size, shape, sealing surface, and set-screw style.
Check something else when: If the breaker is built into the faucet, fused by corrosion, or the outlet threads are chewed up, the whole hose bib may need replacing.
Removal risk
This page fits when: The old breaker turns without the faucet body moving in the siding, brick, or wall.
Check something else when: If the faucet starts moving, stop. Twisting the supply pipe behind the wall is a bigger problem than a leaking breaker.
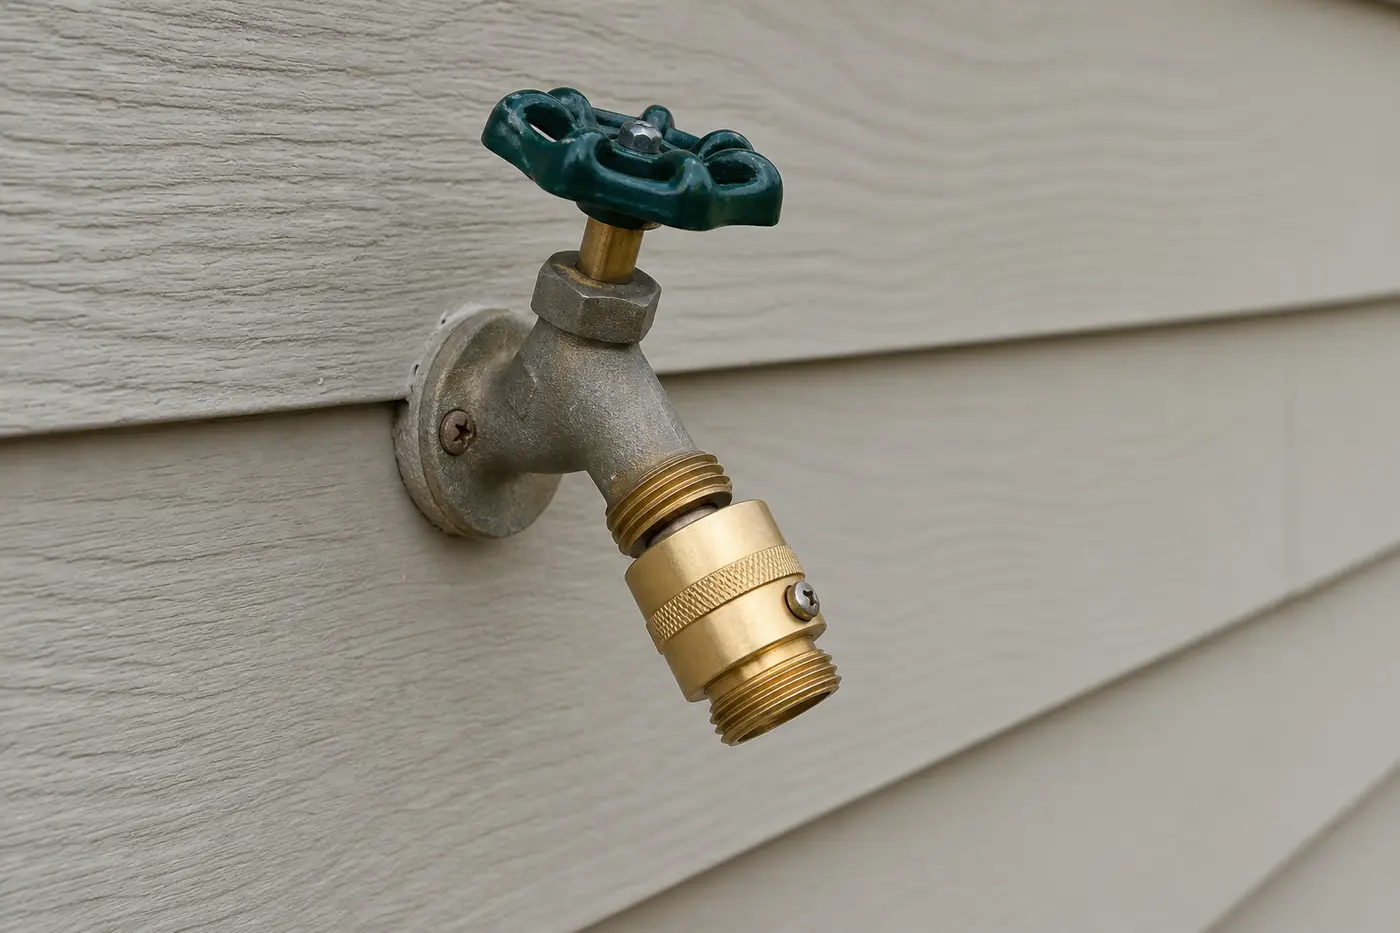
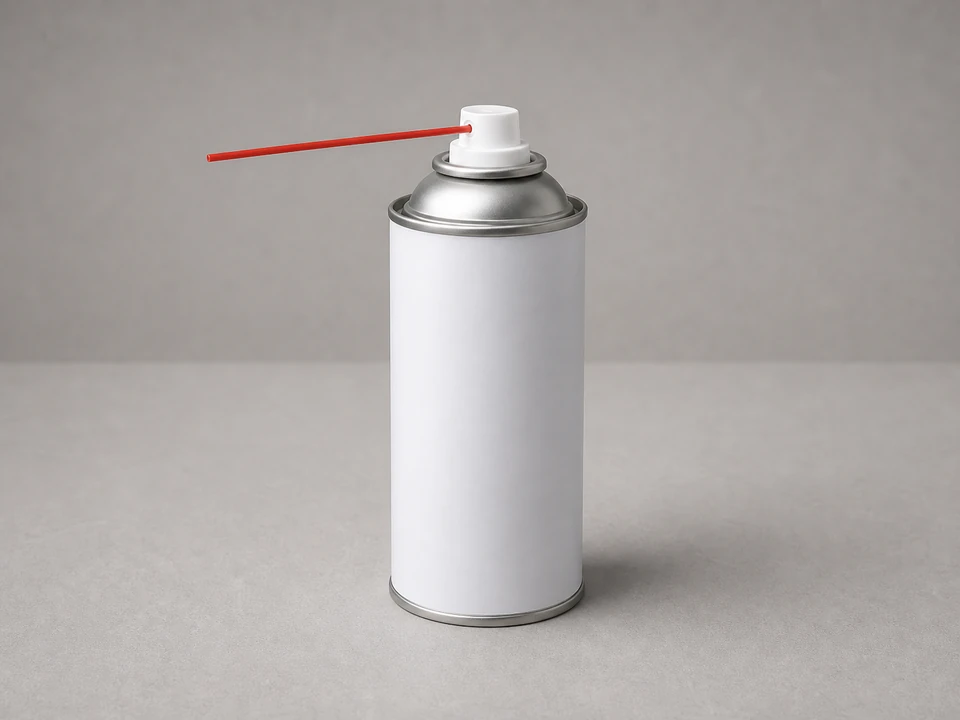
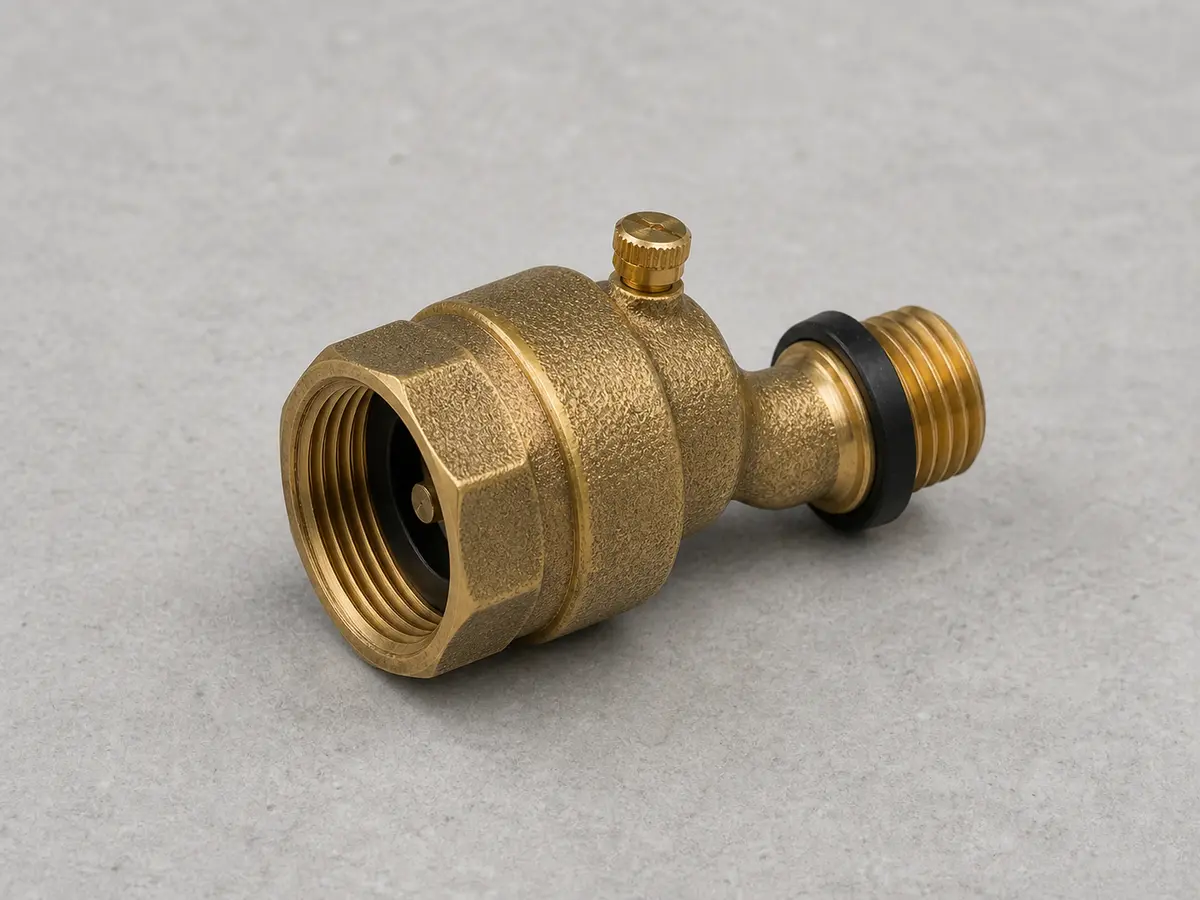
What the vacuum breaker looks like on the hose bib
The vacuum breaker is the small brass backflow fitting on the hose outlet. It is not the handle, packing nut, or pipe coming through the wall.
Confirm the leak is coming from this add-on fitting before you put pliers on the faucet. If the faucet body moves in the wall, stop.Match the thread, sealing face, and set-screw style before you thread the new breaker on.
Safety first
Remove the hose and shut the faucet off before loosening the old breaker.
Do not force the old part if the whole faucet starts moving.
Wear eye protection if you are scraping mineral buildup, drilling a broken set screw, or using penetrating oil.
Stop if water is coming from inside the wall, behind siding, or around the pipe penetration.
Tools you may need
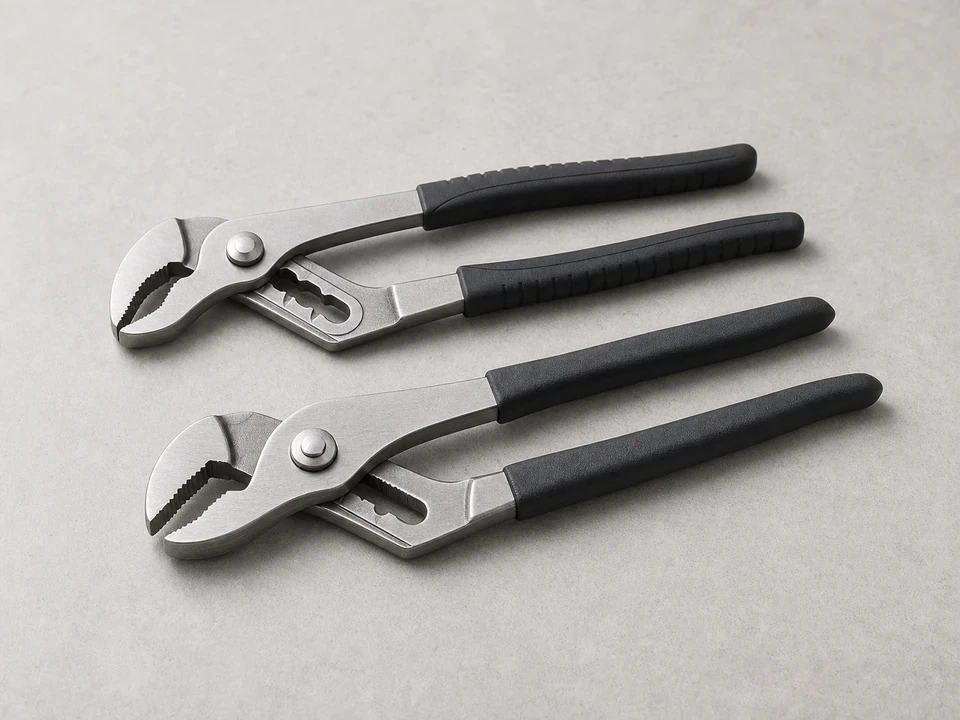
Adjustable pliers
Use it for: To grip and turn the old vacuum breaker or hold the faucet body steady if needed.
As an Amazon Associate I earn from qualifying purchases. Repair Riot may earn a commission at no extra cost to you.
Step-by-step fix
Step 1: Prove the vacuum breaker is the leak point
Take the garden hose off so the vacuum breaker is fully visible.
Dry the faucet outlet, handle, packing nut, wall plate, and pipe penetration with a rag.
Turn the faucet on slowly and watch the first wet spot, not the biggest splash after water runs down the faucet.
Look at the seam between the breaker and faucet outlet, the small vent holes, and the breaker body. Water there points to the outlet breaker.
Compare that with the hose washer seat. A split hose washer or crooked hose can make the breaker look guilty when the hose is the leak.
If water starts at the handle, packing nut, faucet body, wall, siding, or pipe behind the wall, stop this repair and fix that leak instead.
Turn the faucet back off before removing anything.
If it works: The leak is clearly coming from the vacuum breaker, not the rest of the faucet.
If it doesn’t: If the first wet spot is somewhere else, a new breaker will not fix the leak.
Stop if:
The faucet is loose in the wall.
Water is leaking from inside the wall or siding.
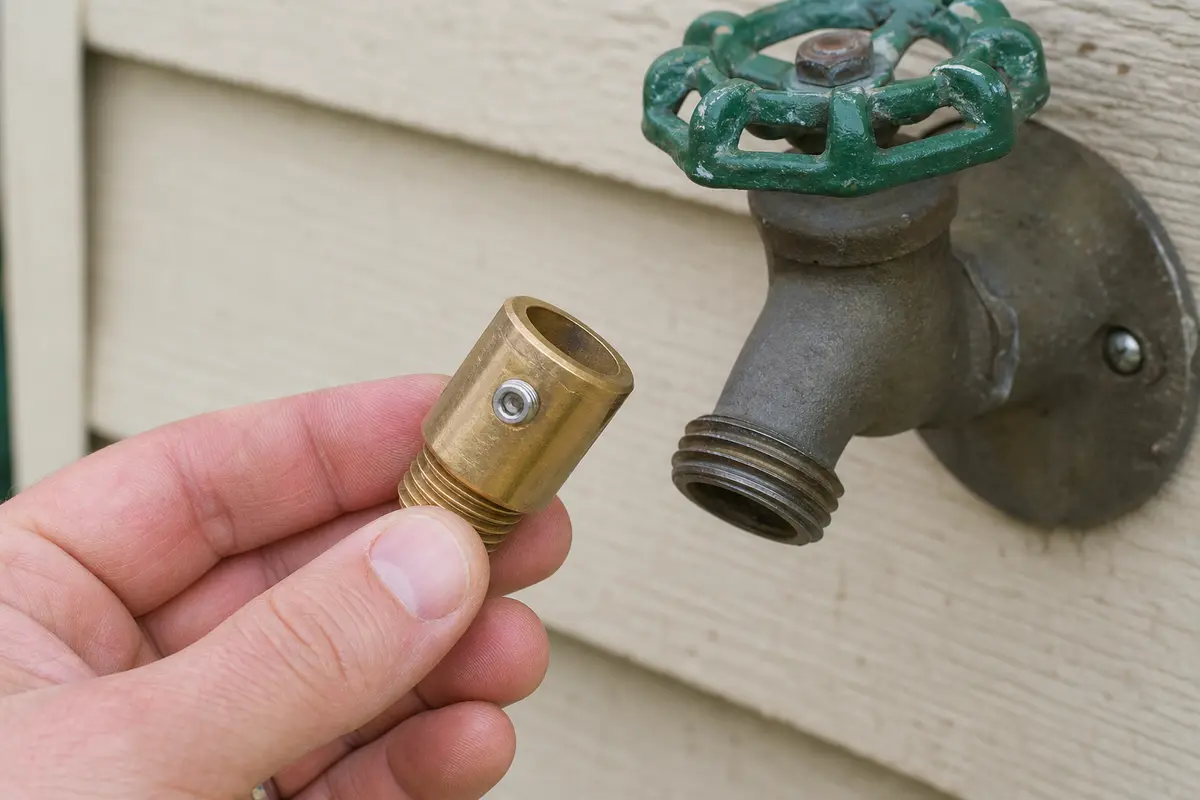
Step 2: Prep the faucet and match the new breaker
Wipe the old breaker clean so you can see the seam, threads, and any screw head.
Compare the new breaker to the old one. The threads, length, sealing surface, washer style, and basic shape should match.
Look all the way around the side of the old breaker for a tiny set screw, often partly hidden by mineral buildup.
If the screw head is broken off, stripped, or missing, do not force the breaker yet. The screw may still be biting into the faucet.
If the old vacuum breaker comes apart as you handle it, remove the loose cap or body pieces, then look again for the remaining threaded sleeve and set screw before turning harder.
Use a little penetrating oil if the old breaker looks crusty or stuck.
If it works: The replacement matches, and you know whether the old breaker is held by a set screw.
If it doesn’t: If the new breaker does not match, get the correct thread and set-screw style before taking the old one off.
Stop if:
The old breaker is so corroded that the faucet starts moving when you test it.
Step 3: Remove the old vacuum breaker carefully
Loosen the set screw first if your breaker has one. Back it out enough to clear the faucet threads.
Hold the hose bib body steady with one hand or a second wrench if you can do that without crushing it.
Wrap the breaker with a rag, then grip it with pliers.
Turn it counterclockwise with steady pressure. Do not snap it sideways.
If it will not move, add penetrating oil and wait a few minutes before trying again.
If the set screw is broken off and still holding, carefully work the screw loose or cut only the old breaker body. On older style breakers that separate into pieces, remove the loose shell first, then treat the remaining threaded ring as the piece that has to come off.
Once it breaks free, spin it off by hand.
If it works: The old vacuum breaker is off and the faucet threads are still usable.
If it doesn’t: If it will not come off without twisting the faucet, stop before you damage the hose bib or the pipe inside the wall.
Stop if:
The faucet starts moving in the wall.
The threads are tearing up.
The old breaker breaks and you cannot remove the sleeve or screw fragments cleanly.
Step 4: Clean and inspect the faucet threads
Wipe the exposed faucet threads with a clean rag.
Pick out loose mineral buildup, old screw fragments, or broken gasket bits gently.
Inspect the first few threads. If they are flattened or torn, the new breaker may not seal.
Check that the new breaker can start by hand for at least two clean turns.
Dry the area so a new leak is easy to spot during testing.
If it works: The threads are clean enough for the new breaker to start by hand without wobbling or cross-threading.
If it doesn’t: If the new breaker will not start by hand, the faucet threads may be damaged or the breaker may be the wrong style.
Stop if:
The faucet threads are too damaged to hold the new breaker.
Step 5: Install the new hose bib vacuum breaker
Thread the new hose bib vacuum breaker on by hand first.
Turn it clockwise until it seats straight and square against the faucet outlet.
Check the gap around the base. It should look even, not cocked to one side.
Snug it gently with pliers if the breaker design calls for it.
If the new breaker has a set screw, tighten it only as much as the breaker instructions call for. Do not drive the screw deep enough to split the faucet threads.
Do not crank down on it. This is a small fitting, not a pipe union.
If it works: The new breaker is straight, snug, and not wobbling on the faucet outlet.
If it doesn’t: If it will not thread on smoothly, back it off and check the thread and sealing-face match.
Stop if:
The new breaker cross-threads or will not seat.
Step 6: Test the repair under real use
Turn the faucet on slowly with no hose attached and watch the breaker from the side.
Check the joint between the breaker and faucet threads, then check the breaker body itself.
Attach the hose and test again under normal use, because some leaking vacuum breakers only show up under back pressure.
Shut the faucet off and check once more around the breaker, faucet threads, handle, and wall.
If it works: The faucet runs with and without the hose attached, and the new breaker stays dry.
If it doesn’t: If it still leaks at the breaker, the replacement may be the wrong thread, cross-threaded, or not seated. If it leaks elsewhere, the hose bib itself needs attention.
Stop if:
Water now leaks from the faucet body or inside the wall.
Match the vacuum breaker style and thread size before ordering.
As an Amazon Associate I earn from qualifying purchases. Repair Riot may earn a commission at no extra cost to you.
Verify the repair
Water no longer sprays, spits, or drips from the vacuum breaker during use.
The new vacuum breaker threads on straight, seats squarely, and does not wobble.
The faucet still works normally with and without a hose attached.
No new leaks appear at the faucet body, stem, packing nut, wall, or siding after the repair.
FAQ
Can I replace the vacuum breaker instead of the whole hose bib?
Yes, if the faucet body is in good shape and the leak is clearly coming from the vacuum breaker. If the faucet is cracked, loose, or leaking elsewhere, replacing only the breaker will not solve the problem.
Why won't the old vacuum breaker come off?
Usually it is mineral buildup, corrosion, or a small set screw biting into the outlet threads. Take the hose off, wipe the breaker clean, and look all the way around for the screw before adding force. Loosen the screw if there is one, use a little penetrating oil, and stop if the whole faucet starts moving. The goal is to remove the breaker, not twist the pipe in the wall.
What if the vacuum breaker set screw is broken off?
Assume the screw is still holding the breaker. Do not force it. Try to pick or drill the screw loose, or carefully cut only the old breaker body. If you cannot protect the faucet threads, stop and replace the hose bib or call a plumber.
What if an older hose bib vacuum breaker comes apart?
Do not assume the whole part is off. Many older breakers can leave a threaded sleeve or ring still locked on the faucet outlet. Clear the loose pieces, find any set screw, and remove the remaining sleeve without twisting the hose bib in the wall.
Why is my hose bib vacuum breaker leaking only when the hose is attached?
That usually means the breaker is leaking under back pressure, the hose washer is bad, or the hose is pulling the fitting crooked. Test once with no hose and once with the hose attached. If it only leaks with the hose, check the hose washer and make sure the breaker is seated straight. Hose bibb vacuum breaker and hose bib vacuum breaker usually mean this same backflow fitting, but the thread size, set screw style, and sealing surface still have to match.
What if it still leaks after I replace it?
Recheck that the new breaker matches the faucet, started straight, and seated fully. If the faucet threads are worn, the outlet is cracked, or the faucet body is leaking, the hose bib itself may need repair or replacement.
Sources and reference notes
Repair Riot uses related field pages and source references to keep the fit, safety, and stop-condition guidance grounded in real repair situations.
Frozen hose bib risk - Repair Riot source page that references this repair topic.