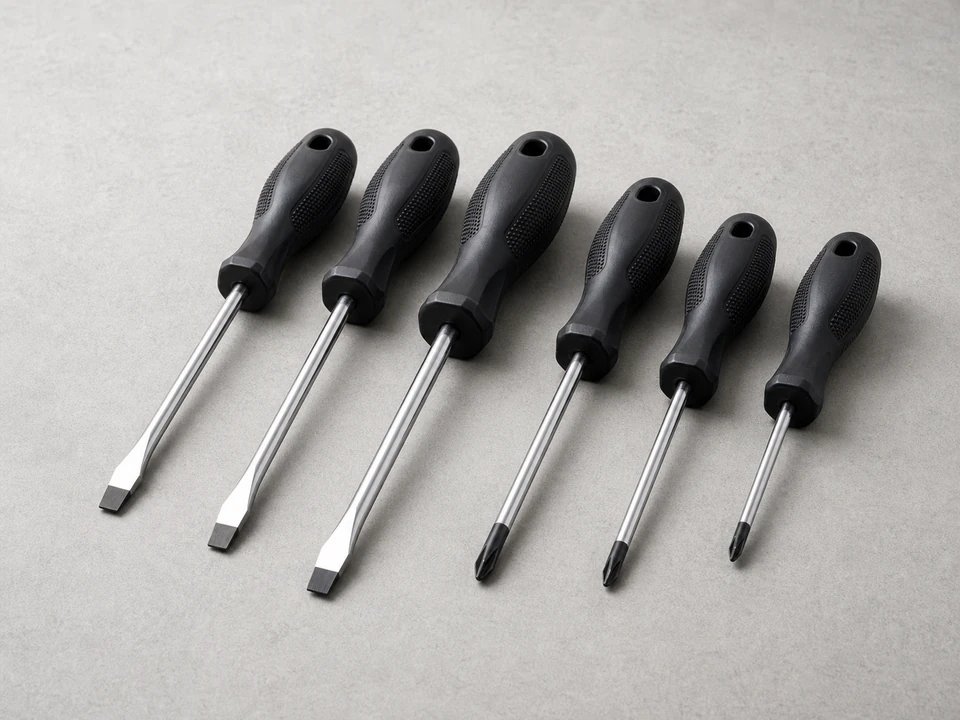
Screwdriver set
Use it for: To remove trim and mounting screws without stripping them.
Find a screwdriver setReplace a cooktop control board by confirming the board is the failed part, shutting off power, documenting every connector, swapping the matched board, and testing all controls.
This is not a guess-and-swap job. The board has to match the model, and every connector has to go back exactly where it came from.
Before you start: Match brand, full model number, board part number, connector layout, relay rating, and control style.
Use it for: To remove trim and mounting screws without stripping them.
Find a screwdriver set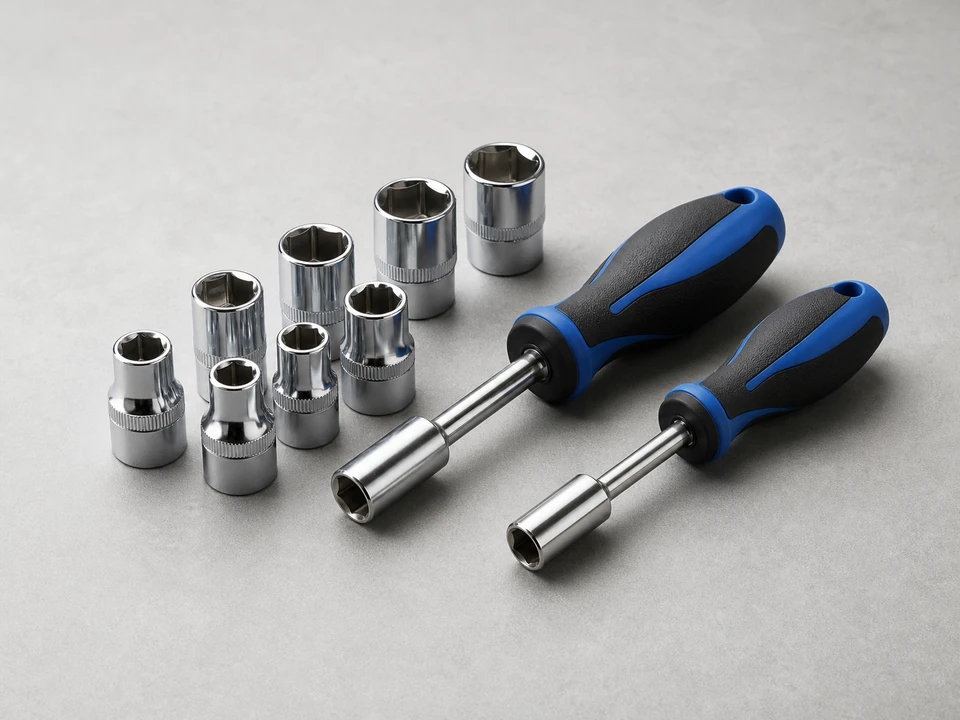
Use it for: To remove common appliance hex-head screws.
Find a nut driver set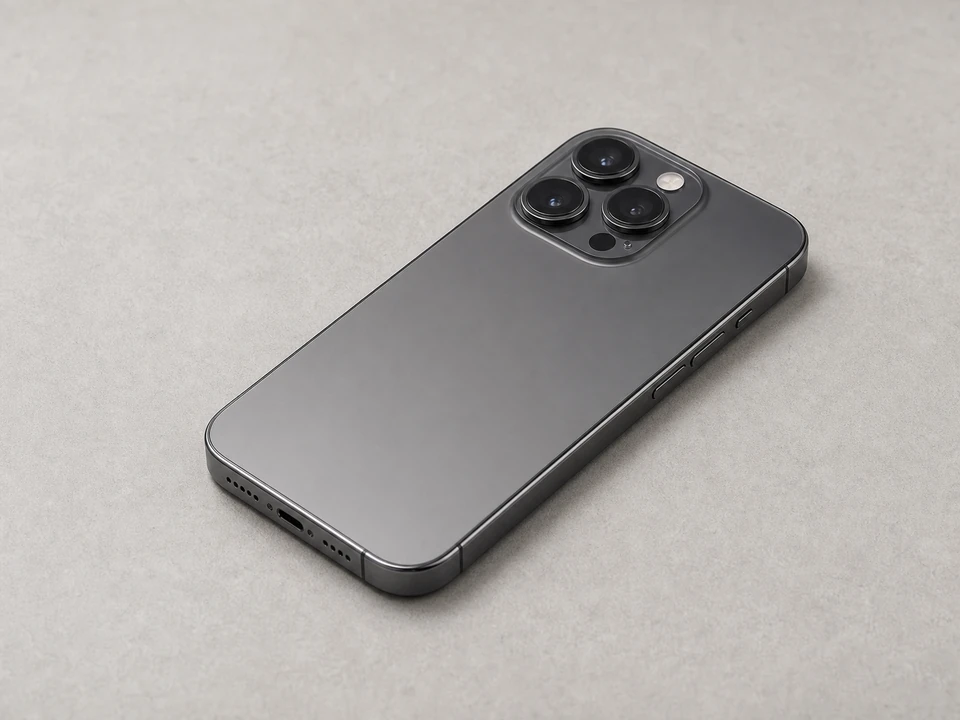
Use it for: To document wire locations before unplugging the board.
Find a phone camera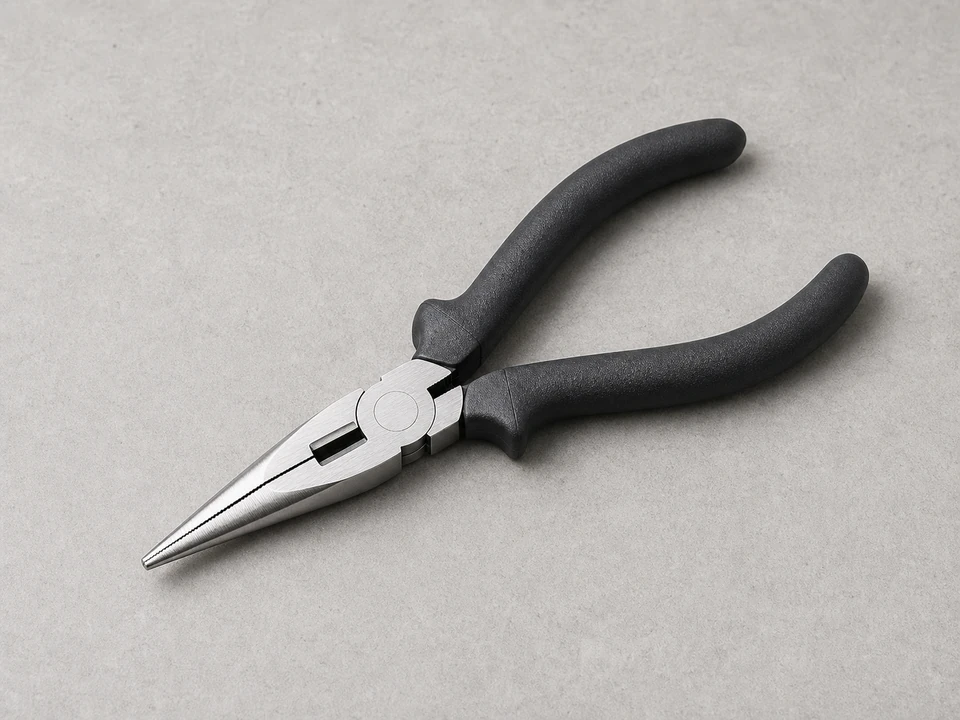
Use it for: To handle small connectors by the body instead of pulling wires.
Find needle nose pliers
Use it for: To protect hands from sharp sheet metal edges.
Find work glovesAs an Amazon Associate I earn from qualifying purchases. Repair Riot may earn a commission at no extra cost to you.
If it works: The symptoms point to the cooktop control board and the replacement matches the model.
If it doesn’t: If only one burner or knob has a problem, diagnose that circuit before replacing the main board.
If it works: The cooktop is de-energized and you can access the control area without forcing parts.
If it doesn’t: If power cannot be confidently shut off, stop and bring in a qualified technician.
If it works: You have clear photos and the board is exposed without strained wiring.
If it doesn’t: If a panel will not release, look for hidden fasteners instead of prying glass or trim.
If it works: The new board is mounted and every connector is seated in the correct position.
If it doesn’t: If any connector does not match, stop and recheck the part number before powering up.
If it works: The cooktop controls respond normally and no error returns during a basic function test.
If it doesn’t: If the same fault returns, the board may have been damaged by another failed component.
Match brand, full model number, board part number, connector layout, relay rating, and control style.
As an Amazon Associate I earn from qualifying purchases. Repair Riot may earn a commission at no extra cost to you.
Common clues are dead controls, repeated board-related error codes, relay clicking with no response, or multiple controls failing after power and lockout checks pass.
Many homeowners can if the cooktop is electric, power is fully shut off, and the board is accessible. Hardwired or gas-adjacent work raises the risk.
Many connectors look similar. Photos prevent crossed plugs, pinched wires, and a second failure during reassembly.
Stop and recheck the model and part number. Do not modify wiring to make a wrong board fit.