Cooktop repair

Loose Cooktop Switch: How to Replace a Burner Control Switch

If the cooktop switch is loose, wobbly, sticky, or no longer changes heat reliably, check the knob and mounting first. Replace the burner control switch when the shaft, terminals, or internal contacts point to the switch itself.

A loose cooktop switch can start with a cracked knob insert, loose mounting nut, sticky shaft, burned terminal, or failed infinite switch, and those failures can all feel similar from the front panel. Turn the breaker off before opening the cooktop, document every wire, and stop if you find heat damage or arcing.

Before you start: Before ordering a switch, pull the knob and check for a cracked insert, loose mounting hardware, sticky shaft, burned terminals, and the exact switch markings. Shut the breaker off before opening the panel, and stop if the burner heats with the knob off, wiring is scorched, or the breaker trips.

Last reviewed: 2026-06-23

Check the knob, shaft, and switch body

A loose cooktop switch can start at the knob, the mounting hardware, or the switch body itself. These photos show what to compare before you move wires.
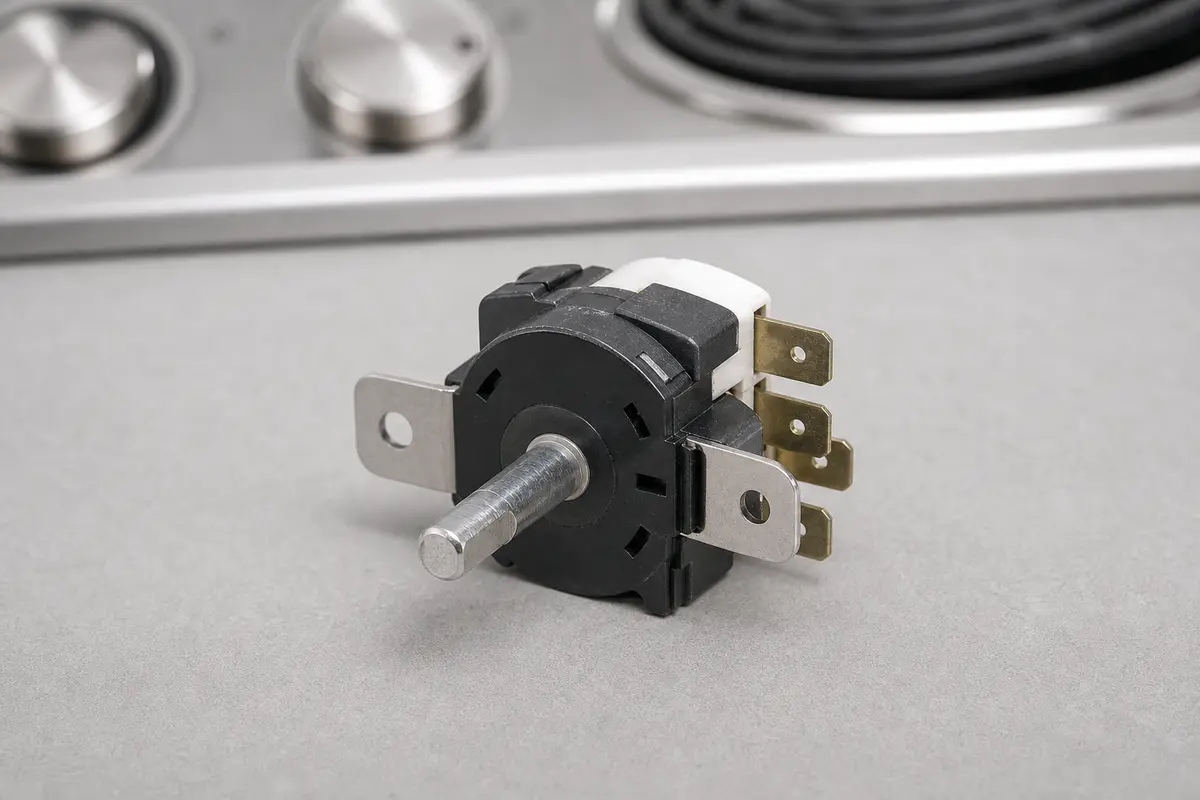
Cooktop infinite switch with shaft, mounting ears, and wire terminals visible
Match the shaft length, flat side, mounting ears, terminal layout, and burner function before ordering. A switch for a dual or bridge element may not wire like a standard single element switch.
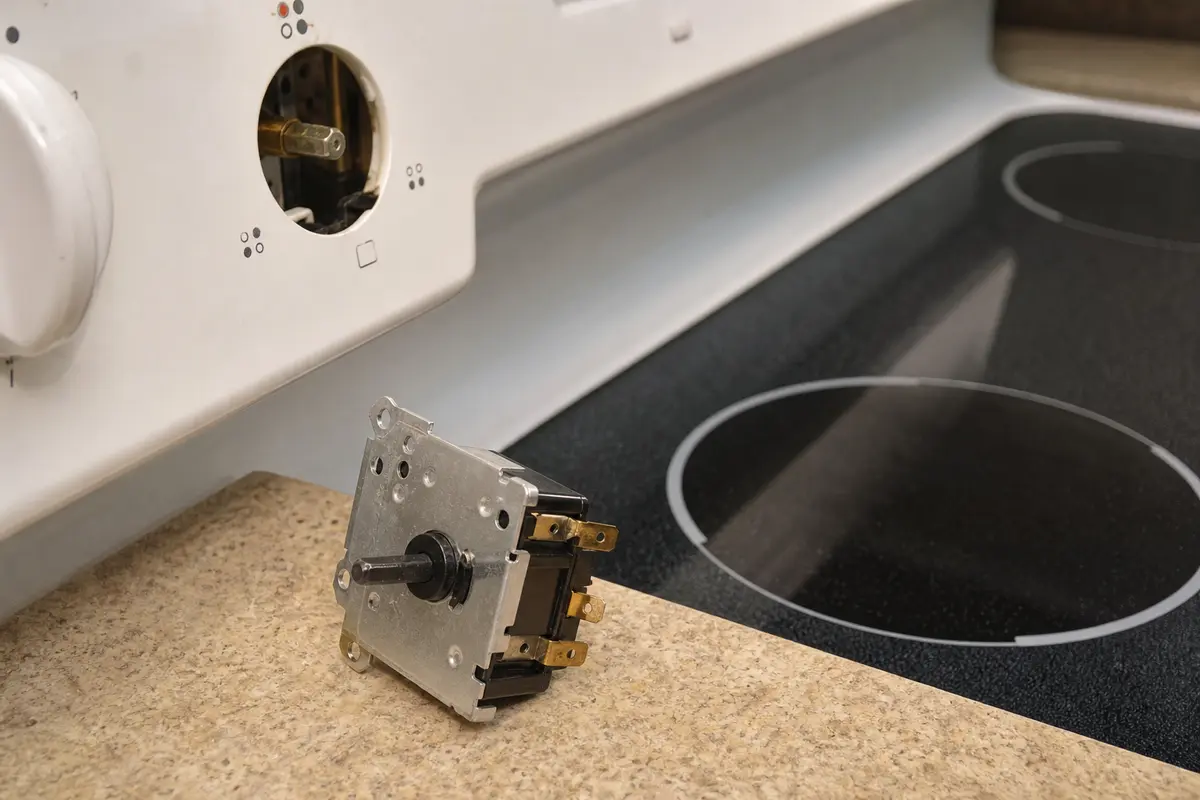
Cooktop burner switch shaft visible behind a control panel opening
If the knob is off, the shaft should sit straight and solid in the switch body. A shaft that rocks, binds, or feels gritty points more toward the switch than the knob.

Safety first

  • Disconnect power at the breaker before opening the cooktop or touching any internal wiring.
  • Confirm power is off with a meter if you will touch switch terminals or harness wiring.
  • Let the cooktop cool completely before starting so you are not working around hot surfaces.
  • Use pliers on wire terminals, not on the wire insulation, to avoid pulling a wire loose from its connector.
  • Watch for sharp sheet-metal edges inside the control area.
  • Leave the breaker off and call a pro if the burner heats when the knob is off, the breaker trips repeatedly, or you find burned wires, melted insulation, or signs of arcing beyond the switch itself.

Tools you may need

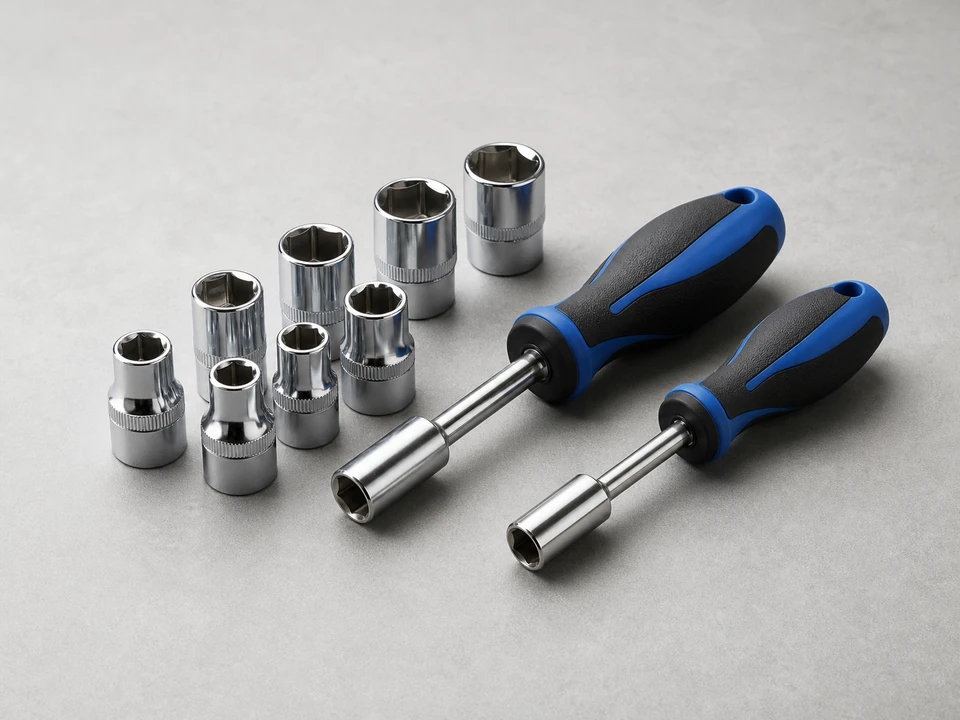
Nut driver set tool

Nut driver set

Use it for: Many cooktops use hex-head screws on the front panel or mounting brackets.

Shop nut driver sets
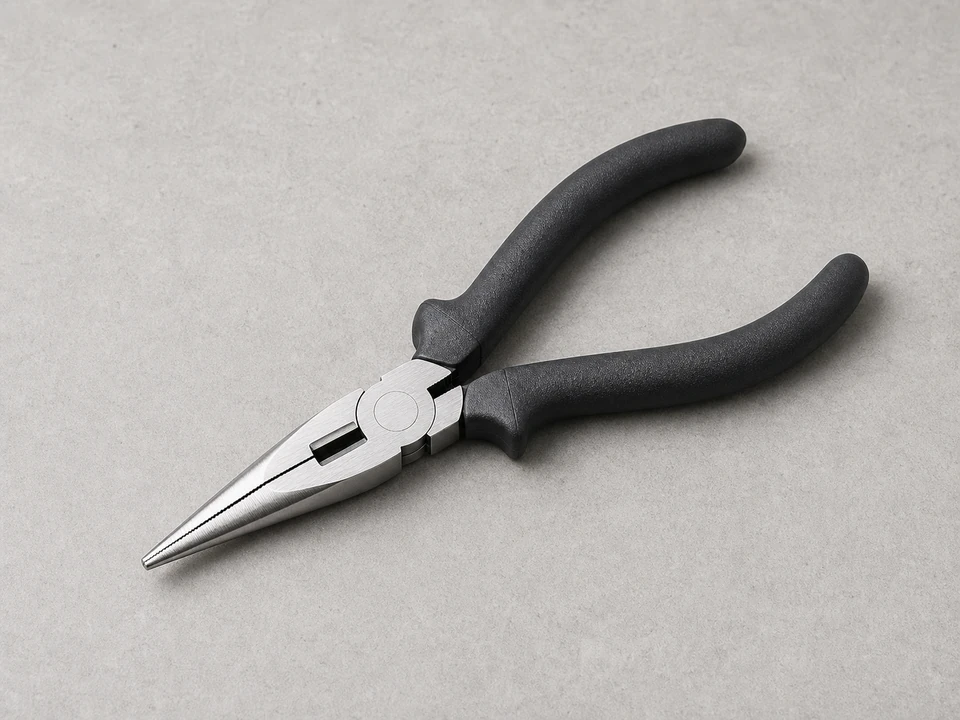
Needle-nose pliers tool

Needle nose pliers

Use it for: To pull wire terminals off the old switch without damaging the connectors.

Shop needle-nose pliers
Work gloves tool

Work gloves

Use it for: To protect your hands from sharp sheet-metal edges inside the cooktop.

Shop work gloves

As an Amazon Associate I earn from qualifying purchases. Repair Riot may earn a commission at no extra cost to you.

Step-by-step fix

Step 1: Decide whether the loose switch is really the failed part

  1. Pull the knob straight off and inspect the plastic insert. A cracked insert can make a good switch feel loose or wobbly.
  2. Turn the bare switch shaft gently through its full range. A sticky, gritty, loose, or wobbling shaft points more toward the switch body.
  3. Check whether the burner stays on high, will not turn off, drops out at some settings, or changes heat only when you wiggle the knob.
  4. Look for a loose mounting nut, loose bracket, or shifted control panel before blaming the internal switch contacts.
  5. Compare that switch feel and burner response to a similar working burner if your cooktop has one.
  6. Let the cooktop cool fully before starting the repair.

If it works: You know whether the cooktop switch loose symptom points to the knob, mounting hardware, or the burner control switch.

If it doesn’t: If the knob is cracked, the burner element is visibly damaged, or multiple burners are acting up, diagnose that problem before replacing this switch.

Stop if:
  • The cooktop shows signs of melted wiring, burning smell inside the control area, or scorched insulation.
  • The burner heats with the knob set to off or comes on as soon as power is restored.
  • More than one burner has the same problem and the issue does not track to a single control.

Step 2: Disconnect power and open the control area

  1. Turn off the cooktop power at the breaker. If the cooktop has a plug and you can safely reach it, unplug it too.
  2. Confirm power is off with a meter before touching internal wiring. Do not rely only on the knob position.
  3. Remove the control knobs for access if they pull straight off.
  4. Take out the screws holding the front control panel, top trim, or access cover, depending on how your cooktop is built.
  5. Set screws and knobs aside in a small container so they do not get lost.

If it works: The cooktop is de-energized and you can see the back side of the burner control switches.

If it doesn’t: If you cannot access the switch without lifting the cooktop or removing additional trim, keep going carefully and take photos as you go.

Stop if:
  • You cannot confirm power is off.
  • Access requires disturbing a hardwired connection you are not comfortable handling.
  • A breaker trips again immediately after you reset it.

Step 3: Identify the bad switch and document the wiring

  1. Find the switch connected to the loose, wobbly, or sticky control. It will usually sit directly behind that burner's knob.
  2. Check the switch body for heat damage, loose terminals, a cracked shaft, a loose mounting ear, or a shaft that rocks in the switch body.
  3. Take a clear photo showing every wire connected to the old switch.
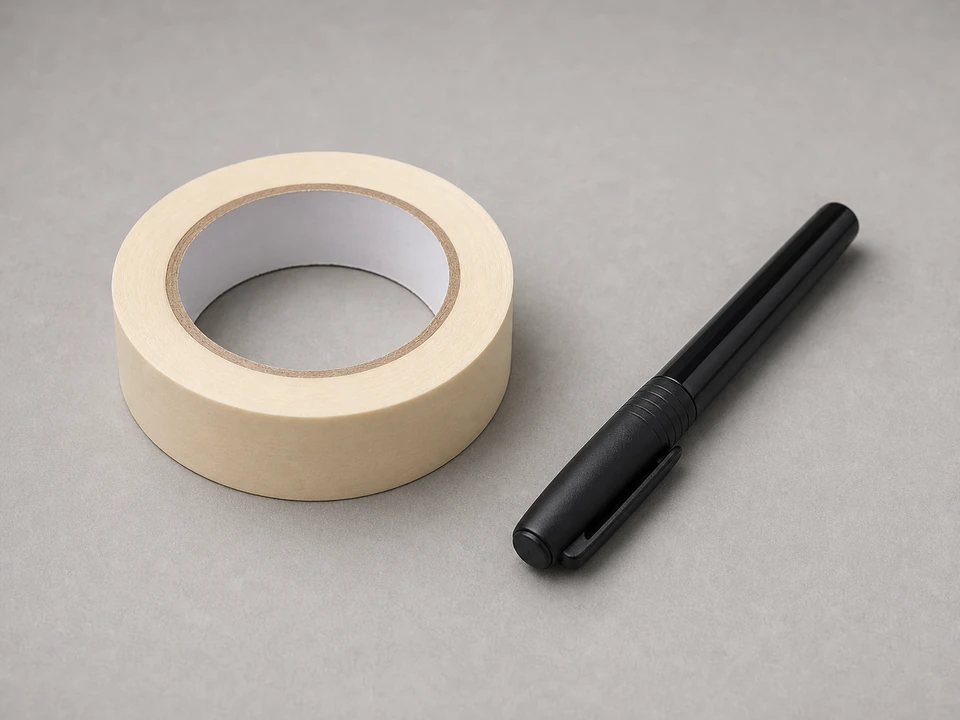
  4. Label each wire with masking tape before removing anything.
  5. Compare the replacement now: shaft length, flat-side orientation, D-shaft shape, terminal labels, mounting ears, amperage or watt rating, and burner position should match.
  6. If the old switch controls a dual or bridge element, make sure the new switch supports that same function.

If it works: You know exactly which switch is being replaced, why it failed, and how each wire must transfer.

If it doesn’t: If the wire layout is confusing, take more photos from different angles before disconnecting any terminals.

Stop if:
  • The replacement switch does not match the old switch's terminal layout, shaft style, rating, burner function, or mounting setup.
  • Wire colors or terminal markings do not give you a reliable way to transfer connections safely.

Step 4: Remove the old switch and install the new one

  1. Pull the wires off the old switch one at a time using needle-nose pliers on the terminal ends, not on the wire itself.
  2. Transfer each wire to the matching terminal on the new switch, using your labels and photos to stay organized.
  3. Remove the mounting screws or retaining clip holding the old switch in place.
  4. Set the new switch into the same position and secure it firmly without overtightening the mounting screws or nut.
  5. Make sure the shaft sits straight through the panel and the knob will not rub the trim.
  6. Make sure all wire terminals fit snugly and no bare connector is loose or touching metal where it should not.

If it works: The new cooktop burner control switch is mounted securely, the shaft feels solid, and the wiring matches the original layout.

If it doesn’t: If a terminal feels loose, remove it and gently tighten the connector before reinstalling it so it grips the switch tab properly.

Stop if:
  • A wire terminal is burned, brittle, or will not stay attached securely.
  • You find melted insulation or damaged harness wiring beyond the switch itself.
  • The old switch failed because the connector overheated and the matching harness terminal is damaged.

Step 5: Reassemble the cooktop and restore power

  1. Reinstall the control panel, trim, or access cover.
  2. Push the control knob back onto the new switch shaft and make sure it sits straight, does not wobble, and turns smoothly through the full range.
  3. Restore power at the breaker or plug the cooktop back in.
  4. Watch and listen for anything unusual right away, such as sparking, buzzing, or a burner heating without being turned on.

If it works: The cooktop is back together, powered up, and ready for a controlled test.

If it doesn’t: If the knob does not line up, feels sticky, or still wobbles, shut power back off and check the switch orientation, shaft match, and knob fit.

Stop if:
  • The burner starts heating as soon as power is restored without the knob being turned on.
  • You see sparks, smell burning insulation, or hear arcing from the control area.

Step 6: Test the burner in real use

  1. Turn the repaired burner to a low setting and confirm it begins heating normally instead of jumping straight to full heat.
  2. Move the knob gradually through medium and high settings and watch for a normal change in heat output.
  3. Turn the burner off and confirm it shuts off as expected.
  4. Lightly touch the knob face after testing to confirm it still feels secure on the shaft.
  5. If possible, cook or heat a pan briefly to make sure the burner cycles and responds normally during actual use.

If it works: The burner now turns on, changes heat levels, shuts off normally, and the loose cooktop switch feel is gone.

If it doesn’t: If the burner still overheats, does not regulate, or will not shut off, the diagnosis may be wrong or there may be additional wiring or element trouble to address.

Stop if:
  • The same symptom remains after the switch replacement.
  • The burner behaves unpredictably or trips the breaker during testing.

Replacement Parts

As an Amazon Associate I earn from qualifying purchases. Repair Riot may earn a commission at no extra cost to you.

Verify the repair

  • The repaired burner responds to low, medium, and high settings instead of acting stuck on one heat level.
  • The burner turns fully off when the knob is set to off.
  • The knob no longer feels loose, wobbly, or sticky and lines up normally with the control markings.
  • No burning smell, sparking, or breaker trip appears during testing.

FAQ

What should I check when a cooktop switch is loose?

Pull the knob off first. If the plastic insert is cracked or stripped, the knob may be the problem. If the bare switch shaft wobbles in the switch body, feels sticky, or changes burner heat only when you wiggle it, the control switch is more suspicious.

Can a wobbly cooktop knob be something other than the switch?

Yes. A loose knob, worn shaft sleeve, loose mounting nut, or shifted control panel can feel like a bad switch from the front. Confirm the switch body and shaft before ordering parts.

Can I clean a sticky cooktop switch instead of replacing it?

Do not spray cleaner into an electrical switch. If the shaft is sticky because the switch is failing internally or has heat damage, replace the switch. If food residue is only around the knob and panel, clean the outside with the power off.

Which cooktop burner control switch fits my model?

Match the model number, burner location, shaft length, flat-side orientation, terminal markings, mounting style, and switch function. Dual, bridge, simmer, and standard elements can use different switches even when the shaft looks similar.

What if the burner turns on when the switch is off?

Turn the breaker off and do not keep testing it. A burner that heats with the knob off can point to a failed switch, miswired replacement, or shorted wiring, and it is not safe to leave energized.

Sources and reference notes

Repair Riot used related cooktop control and burner symptom pages to keep this repair focused on loose knobs, failed switches, heat-control symptoms, wiring safety, and part matching.