Cooktop repair

How to Replace a Burner on a Radiant Cooktop

On a radiant glass cooktop, the "burner" is usually a radiant surface element mounted under the glass. Replace it only after you rule out the switch, receptacle, wiring, and cookware clues.

If you need to know how to replace a burner on a radiant cooktop, start by identifying the cooktop style. A plug-in coil burner, radiant element under glass, and gas burner head are different repairs. Turn the breaker off, support the glass top safely, match the exact element, and stop if you find burned wiring, cracked glass, or a breaker that trips.

Before you start: Before ordering, identify whether you have a radiant glass cooktop, plug in coil element, or gas burner. For a radiant cooktop, match the model number, element diameter, wattage, limiter or sensor, terminal layout, and mounting bracket. Stop if the glass is cracked, wiring is scorched, or the breaker trips.

Last reviewed: 2026-06-23

Choose the right burner branch

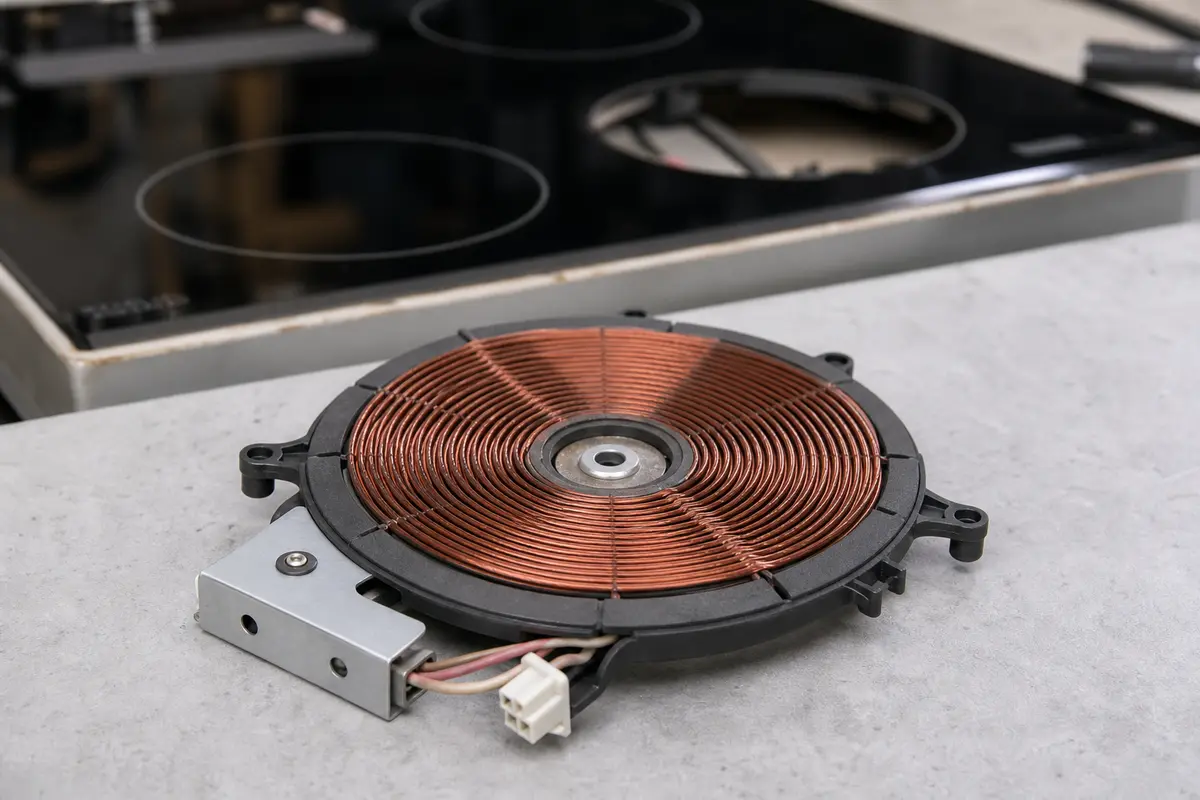
A radiant glass cooktop hides the heating element under the glass. A plug-in coil element lifts out from the top. Use the photos to keep those repairs separate before ordering parts.
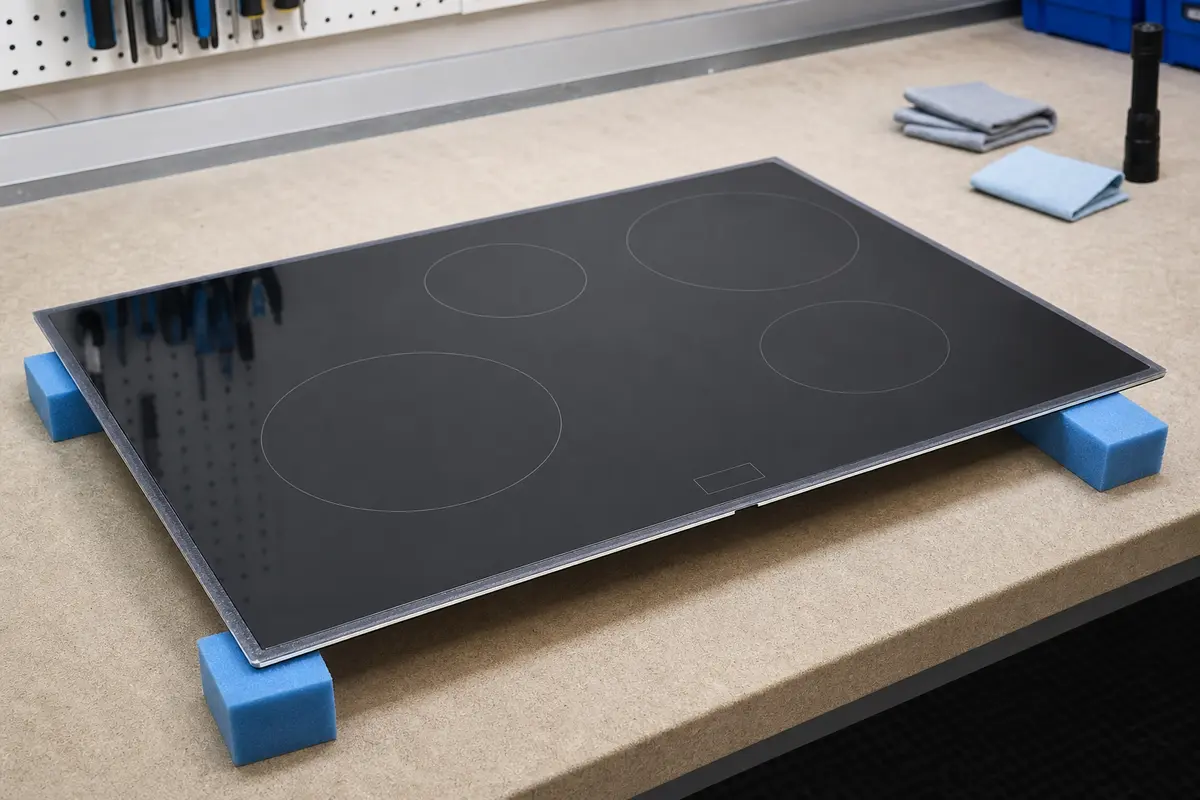
Glass cooktop surface supported on foam blocks with burner zones visible
For a radiant glass cooktop, work under the glass after the breaker is off. Do not force a cracked top, and do not order by burner-circle size alone.
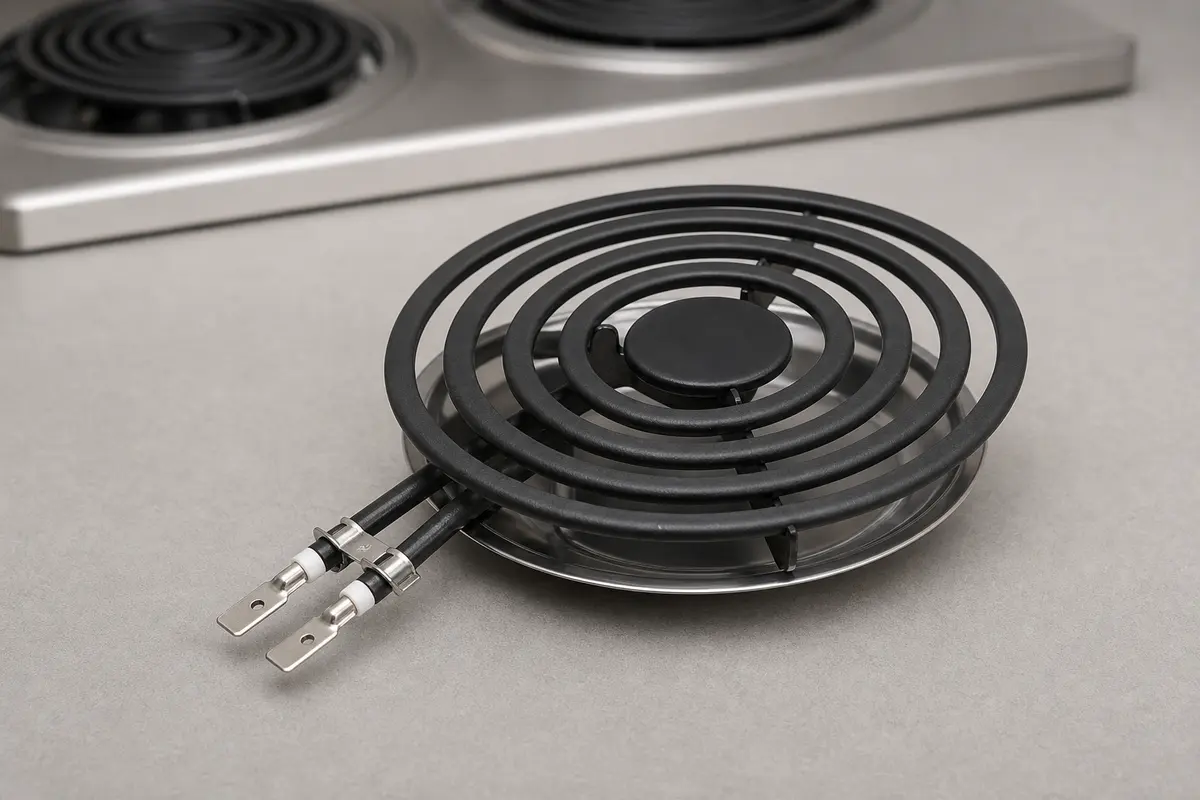
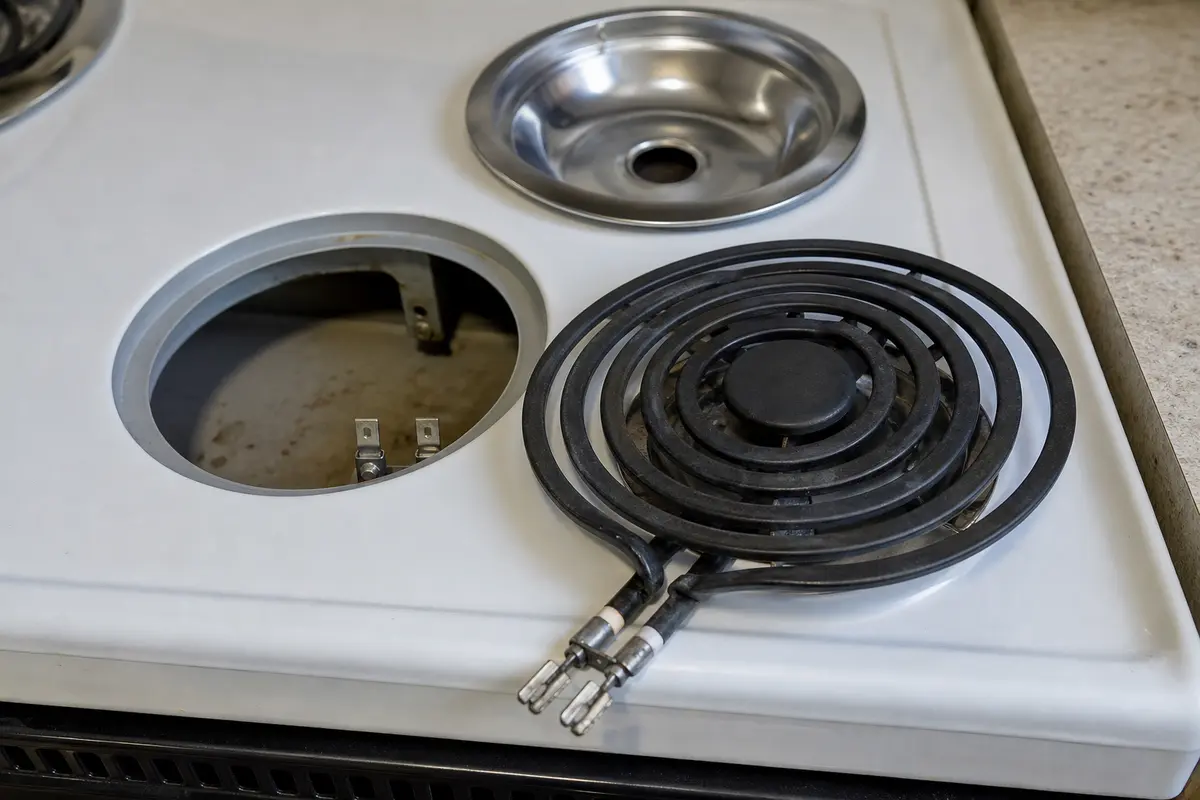
Plug-in electric coil surface element lifted beside its burner receptacle
A plug-in coil element is a different branch. If the coil terminals or receptacle contacts are burned or loose, use the receptacle guide before blaming the switch.

Safety first

  • Turn off power at the breaker before opening the cooktop or touching burner wiring.
  • Confirm power is off with a meter before handling radiant element terminals or switch wiring.
  • Wait until the cooktop is fully cool before starting.
  • Support the glass top securely before putting your hands under it.
  • Wear gloves around sheet metal edges and burner brackets.
  • Do not continue if you find melted wiring, arcing, repeated breaker trips, or a cracked glass top.

Tools you may need

Screwdriver set tool

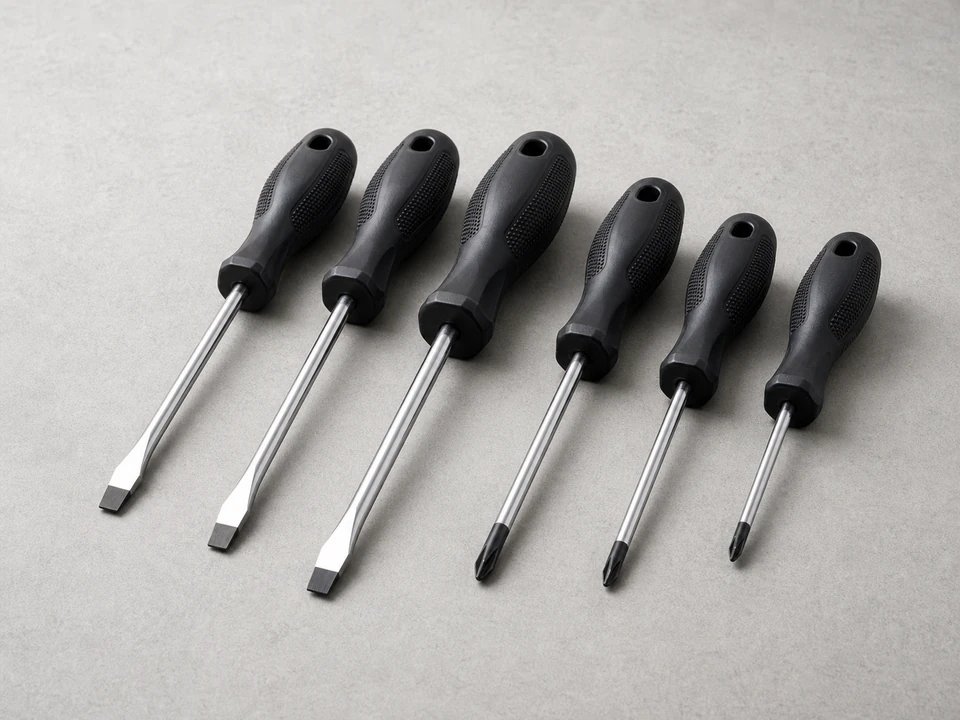
Screwdriver set

Use it for: To remove the cooktop top, mounting screws, or burner brackets.

Shop screwdriver sets
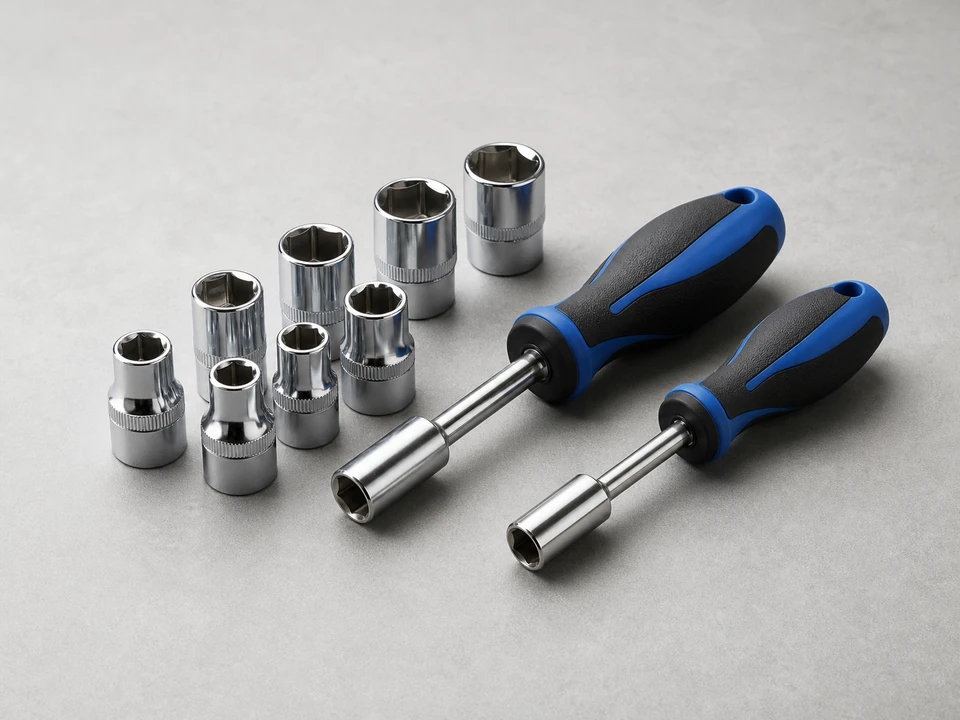
Nut driver set tool

Nut driver set

Use it for: Some cooktops use hex-head screws instead of standard screws.

Shop nut driver sets

Work gloves tool

Work gloves

Use it for: To protect your hands from sharp sheet metal edges under the cooktop.

Shop work gloves

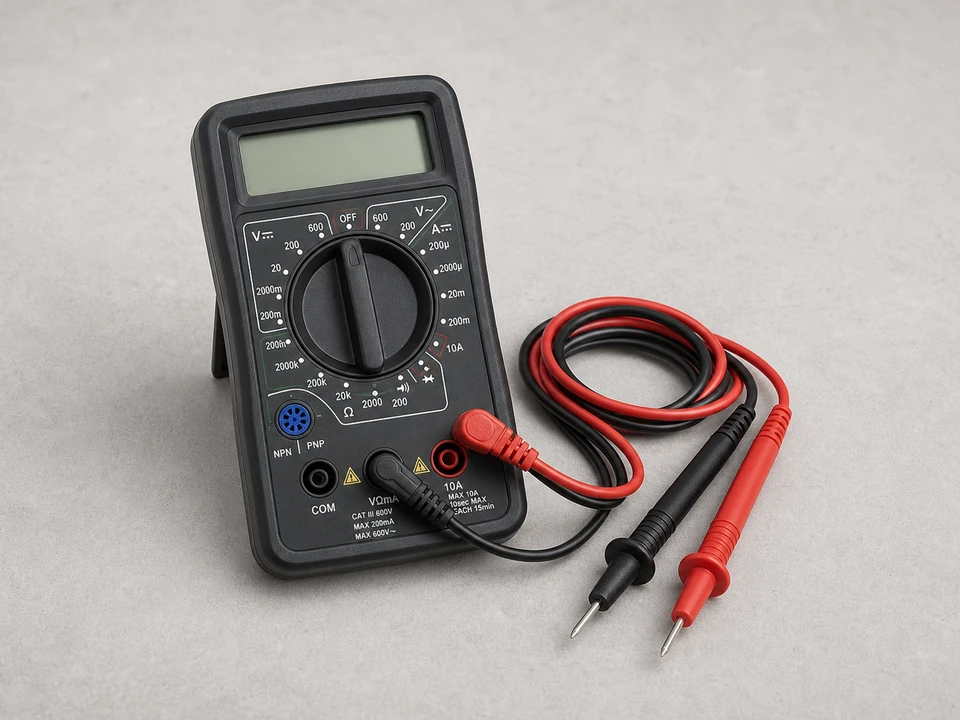
Digital multimeter for checking cooktop power and element continuity

Multimeter

Use it for: To check for continuity or confirm power is off before handling wiring.

Shop multimeters

As an Amazon Associate I earn from qualifying purchases. Repair Riot may earn a commission at no extra cost to you.

Choose the right cooktop repair path

The same no-heat symptom can come from the radiant element, a burner receptacle, a switch, or the surface element branch. Use the repair path that matches what failed.

Step-by-step fix

Step 1: Confirm which cooktop burner style you have

  1. Make sure the problem is limited to one heating area and not the whole cooktop.
  2. If it is a radiant glass cooktop, the failed part is usually the radiant surface element under the glass, not a top-side burner you can lift out.
  3. If it is a plug-in coil cooktop, inspect the coil element and burner receptacle for loose, burned, or spread terminals.
  4. If it is a gas cooktop, this is not the right repair path; burner heads, caps, igniters, and gas valves are separate repairs.
  5. Try a different pan if your cooktop depends on pan contact or pan detection.
  6. Look for obvious element damage such as blistering, cracks, warping, burn marks, or a section that never glows or heats.

If it works: You know whether this is a radiant element, plug-in coil, receptacle, switch, or gas burner repair.

If it doesn’t: If multiple burners are failing, controls are unresponsive, or the cooktop has no power, this is probably not a burner-only repair.

Stop if:
  • You smell burned insulation, see melted wiring, or find signs of arcing under the cooktop.
  • The glass top is cracked or the burner area is structurally damaged.
  • You cannot safely identify which burner assembly matches the failed heating area.

Step 2: Shut off power and open the radiant cooktop safely

  1. Turn off the cooktop at the breaker so the unit cannot energize while you work.
  2. Confirm the cooktop is cool to the touch, then verify power is off with a meter before touching wiring.
  3. Remove the screws, trim, or brackets that hold the glass top or element support frame, depending on your model.
  4. Lift the glass top only far enough to reach the element and support it securely so it cannot fall while your hands are inside.
  5. Take clear photos of the radiant element location, wire colors, limiter or sensor connections, terminal positions, and how the old part is mounted.
  6. Keep towels or padding nearby so glass and trim do not scrape the counter or cabinet.

If it works: The cooktop is safely opened and you can clearly reach the burner and its connections.

If it doesn’t: If the top will not lift or you cannot access the burner without forcing glass, trim, or wiring, look up access steps for your exact cooktop before continuing.

Stop if:
  • Power still appears present when checked with a meter.
  • The cooktop top cannot be supported securely in the open position.
  • You find damaged insulation, scorched terminals, or brittle wiring that will not safely reconnect.

Step 3: Match the radiant element before removing the old one

  1. Read the model number from the cooktop tag and compare it to the radiant element listing.
  2. Compare the old radiant element to the new one before disconnecting wires: diameter, wattage, limiter or sensor style, terminal layout, mounting tabs, and bracket position should match.
  3. Check whether the element is single, dual, bridge, or triple-zone. Those versions can look close but wire differently.
  4. If the old element has an attached limiter or temperature sensor, confirm whether it transfers over or comes with the replacement.
  5. Do not install a part that only matches the diameter but not the wattage, terminals, or mounting setup.

If it works: The replacement radiant element matches the old part closely enough to install without guessing.

If it doesn’t: If the new part does not match the old one closely, stop and verify the correct replacement before installing anything.

Stop if:
  • The wire terminals are burned away, loose in the harness, or too damaged to hold a safe connection.
  • The mounting area is cracked, warped, or no longer supports the burner correctly.

Step 4: Remove the old element and install the new one

  1. Disconnect the element wires one connection at a time, using your photos as a guide.
  2. Remove the clips, brackets, or screws holding the old element and keep the hardware in order.
  3. Lift the old element out carefully without dragging it across insulation, glass, or nearby wiring.
  4. Set the new radiant element into the same position and orientation as the original.
  5. Reinstall brackets, clips, or screws so the element sits flat and secure without twisting.
  6. Reconnect each wire or connector to the matching terminal shown in your photos, then route wires away from hot surfaces, pinch points, and sharp metal edges.

If it works: The new burner is mounted securely and all connections are back in their original positions.

If it doesn’t: If a connector feels loose or the burner will not sit flat, remove it and correct the fit before reassembling the cooktop.

Stop if:
  • A wire will not reach its terminal without stretching.
  • Any connector sparks, crumbles, or slips off with light pressure.

Step 5: Reassemble the cooktop and restore power

  1. Lower the cooktop top carefully, watching that no wires get pinched.
  2. Reinstall all screws, trim pieces, drip bowls, grates, or other parts you removed.
  3. Turn the breaker back on.
  4. Set the repaired radiant burner to a low setting first, then raise it gradually while watching for normal glow and heat response.
  5. Listen and look for anything unusual such as popping, smoke, arcing, or an error condition.

If it works: The cooktop is back together and the repaired burner begins heating normally without obvious trouble signs.

If it doesn’t: If the burner still does not heat, heats only partway, or trips the breaker, the issue may be in the switch, receptacle, limiter, wiring, sensor, or power supply rather than the burner alone.

Stop if:
  • You see smoke, arcing, or glowing at a wire connection instead of the burner area.
  • The breaker trips immediately after power is restored.

Step 6: Verify the repair in real cooking use

  1. Run the repaired radiant burner through low, medium, and higher heat settings to make sure it responds smoothly.
  2. Heat a pan or pot as you normally would and confirm the burner maintains steady heat instead of cycling abnormally or dropping out.
  3. Check that nearby surfaces, trim, and controls stay normal and that no burning smell develops after several minutes of use.
  4. After the burner cools, do one last visual check for shifted parts or loose trim.

If it works: The burner works through normal cooking use and the repair appears to be holding.

If it doesn’t: If the burner works briefly and then fails again, or heat control is still erratic, the next likely checks are the burner switch, receptacle, wiring, limiter, or related control components.
Stop if:
  • The burner overheats uncontrollably, shuts off unpredictably, or damages cookware.
  • Any new crack, scorch mark, or melted connector appears after testing.

Replacement Parts

As an Amazon Associate I earn from qualifying purchases. Repair Riot may earn a commission at no extra cost to you.

Verify the repair

  • The repaired radiant burner heats at low, medium, and high settings.
  • The burner glows and cycles evenly or as designed for that cooking zone.
  • No breaker trip, smoke, arcing, or burning smell appears during testing.
  • The cooktop reassembles cleanly with no loose trim, screws, or pinched wires.

FAQ

How do I replace a burner on a radiant cooktop?

Turn the breaker off, support the glass top, photograph the wiring, match the exact radiant element, move each wire to the same terminal, secure the element flat, then test on low before using higher heat.

Is a radiant cooktop burner the same as a surface element?

On many glass cooktops, yes. The part is often listed as a radiant surface element, radiant burner element, or cooktop element. Match the model number and element details instead of relying on the name alone.

Do I need the exact same radiant element?

Yes. Match the element diameter, wattage, limiter or sensor, terminal layout, mounting tabs, and cooktop model. A similar-looking element can overheat, underheat, or wire incorrectly.

When should I not DIY a radiant cooktop burner replacement?

Stop if the glass is cracked, the harness is burned, the breaker trips, the cooktop is hardwired in a way you cannot safely isolate, or the new element does not match. Those are good points to call an appliance tech or licensed electrician.

Should I replace a burned wire connector at the same time?

If a connector is scorched, loose, or brittle, it should not be reused. A damaged connector can overheat again and make the new burner fail or operate unsafely.

Sources and reference notes

Repair Riot used related cooktop no-heat and replacement pages to keep this guide focused on burner style, safe power isolation, element fit, receptacle clues, and when the switch or wiring should be checked instead.