Does the door hit food, a shelf, drawer, or door bin before it closes?
Fix the loading problem first. If the door seals after unloading, do not buy a gasket.
Start with the door path, not the cooling system. Clear bins and food packages, clean the gasket and cabinet face, then use a paper test. A good clue is where the paper gets loose.
A blocked shelf, dirty or folded gasket, forward-leaning cabinet, or sagging hinge is more likely than a compressor problem. Look for the loose paper-test spot or the place where the gasket lifts before you move past the door.
A small air leak usually leaves sweat, long run time, or soft food. Check whether paper slips at one damaged gasket spot or the door is being held out by a shelf, bin, hinge, or cabinet stance.
Don’t start with: Do not buy a control board, universal gasket, or cooling part before the paper test shows even drag around the clean gasket path.
Fix the loading problem first. If the door seals after unloading, do not buy a gasket.
Clean it with warm water and mild soap, dry it, and reseat the lip before testing again.
That points to a torn, hardened, shrunken, or wrong-profile gasket after cleaning and leveling are ruled out.
Look at hinge screws, hinge cam wear, hinge bushing play, and door sag before blaming the gasket alone.
Move away from the gasket. Check airflow, frost on the back panel, and other cooling or defrost symptoms.
The useful clues are visible along the door edge. Check shelf clearance, gasket contact, paper-test drag, cabinet stance, and door sag.
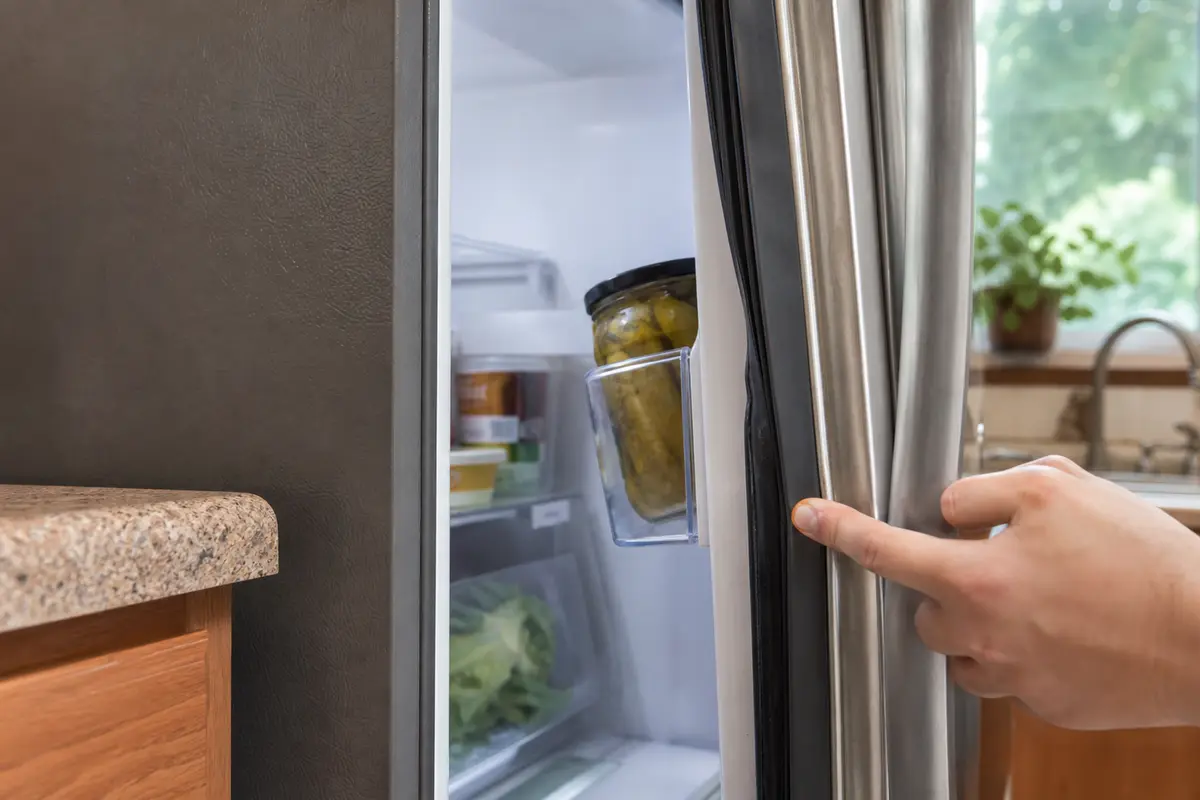
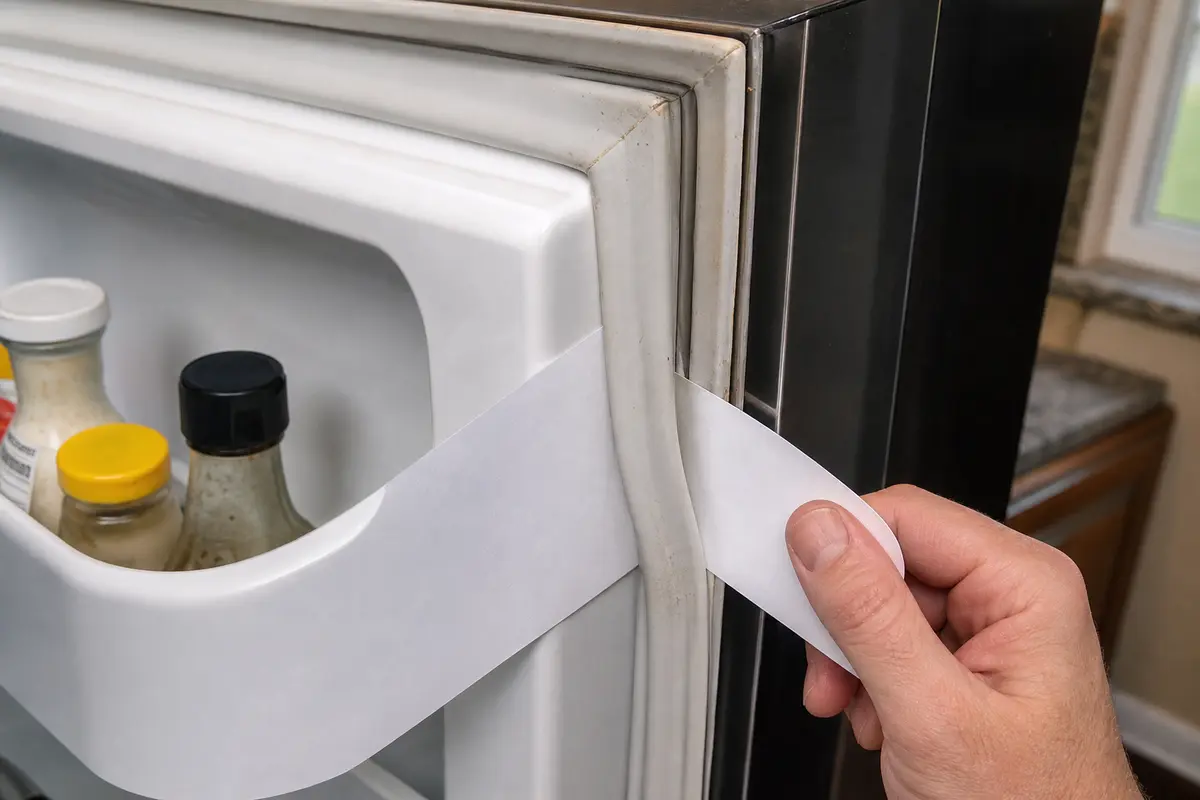
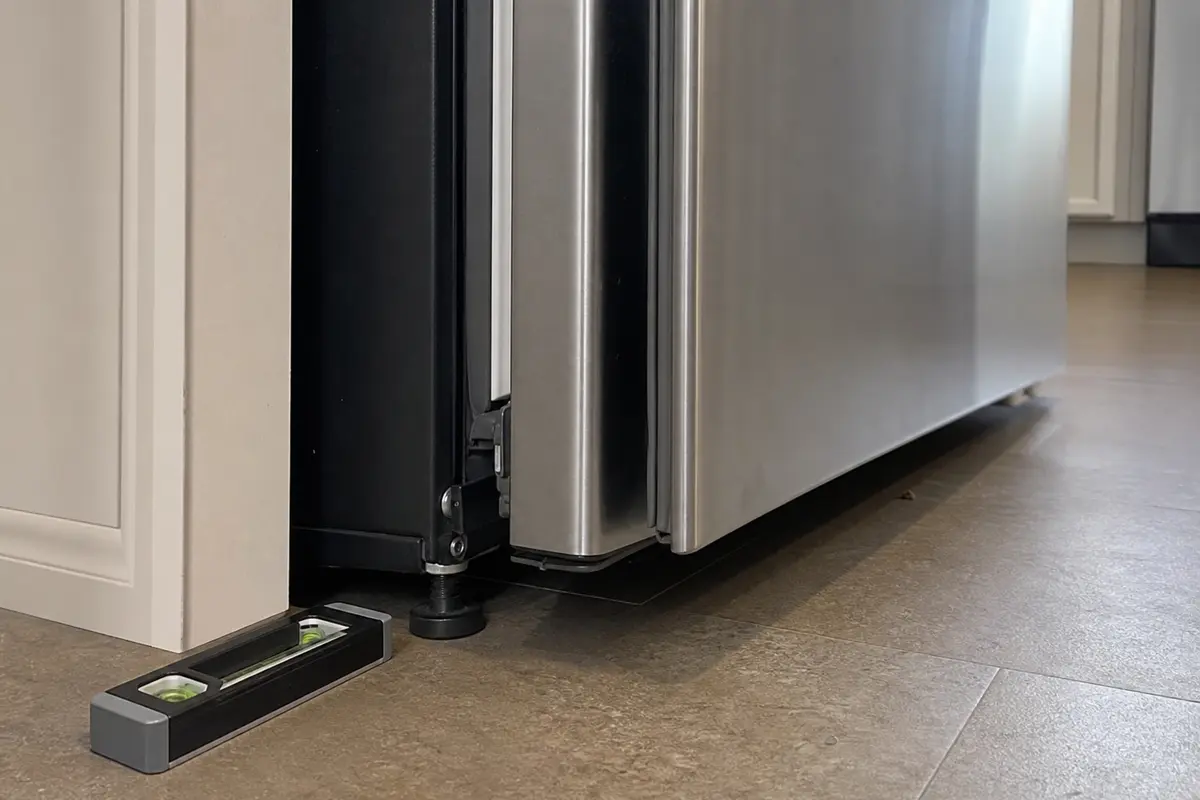
Buy a gasket only after the door path is clear and the gasket face is clean. If the same section still fails the paper test, order by full model number and exact door location.
A refrigerator door seal problem leaves clues you can see or feel. Look for a bounce-back door, gritty gasket, loose paper strip, or gap that changes when you lift the handle.
Bad seals push people toward expensive guesses. Keep the first round on the door, gasket, and cabinet position.
The paper test works only when you compare several spots. One pull does not tell the whole story.
| What you find | What it usually means | Next move |
|---|---|---|
| Paper drags evenly all around | The gasket is probably making contact. | Look for a different cooling, airflow, or temperature-control symptom if the refrigerator is still warm. |
| Paper slips at one torn or flattened section | That gasket section is failing after cleaning. | Order the exact gasket for the model and door location. |
| Paper slips mostly near the top or bottom corner | Door sag, hinge wear, or cabinet stance may be changing the gap. | Check leveling feet, hinge screws, closing cam, and hinge bushing. |
| Paper test improves after unloading the door | The door was being held open or pulled out of position. | Fix shelf clearance and lighten heavy door bins before buying parts. |
| New gasket still has one stubborn gap | The gasket may need gentle shaping, or the door/cabinet may be out of square. | Use low heat carefully, then stop for service if the door body is twisted. |
A good gasket cannot seal a crooked door. Check the cabinet and hinge clues before you call the gasket bad.
These are for cleaning, checking, and light adjustment. Skip any step that requires forcing the door or exposing wiring.
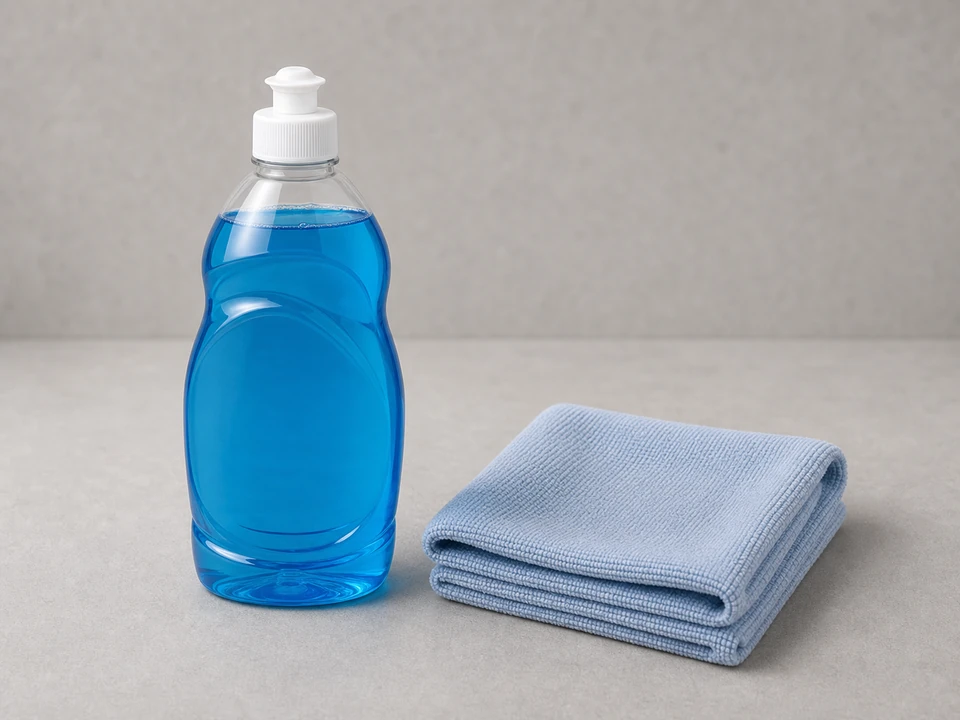
Helps when: Use them to clean gasket folds and the cabinet face without tearing the vinyl or leaving oily residue.
Skip it when: Skip harsh cleaners, solvent, abrasive pads, and petroleum products on the gasket.
Compare gasket cleaning supplies on Amazon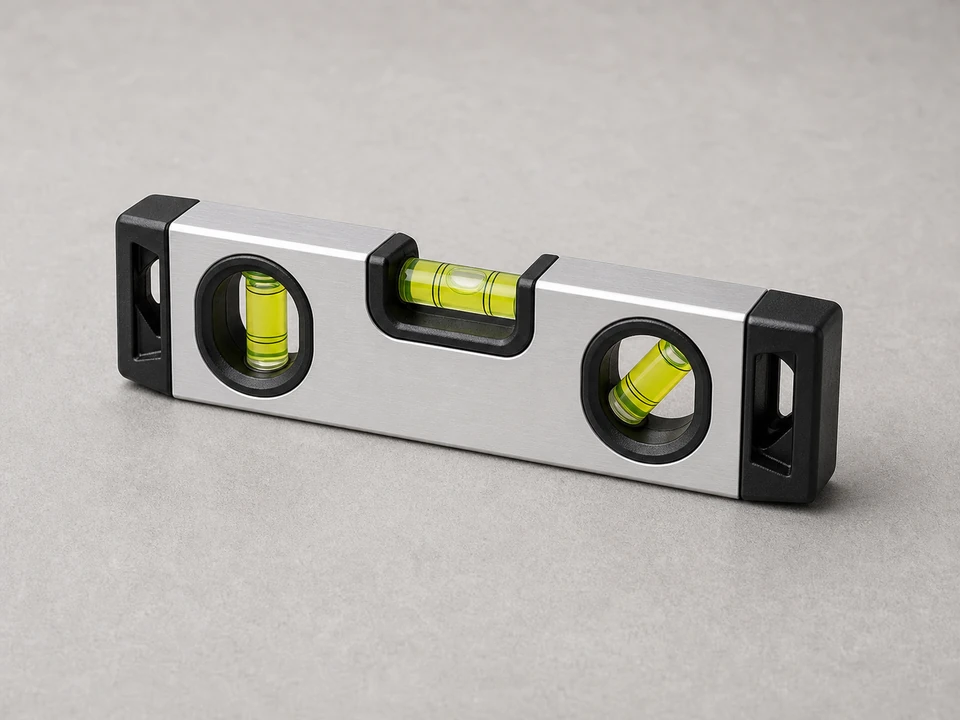
Helps when: Use it to check side-to-side level and whether the front is low enough to let the door drift open.
Skip it when: Do not move a heavy built-in refrigerator alone or adjust feet if the cabinet is unstable.
Compare small levels on Amazon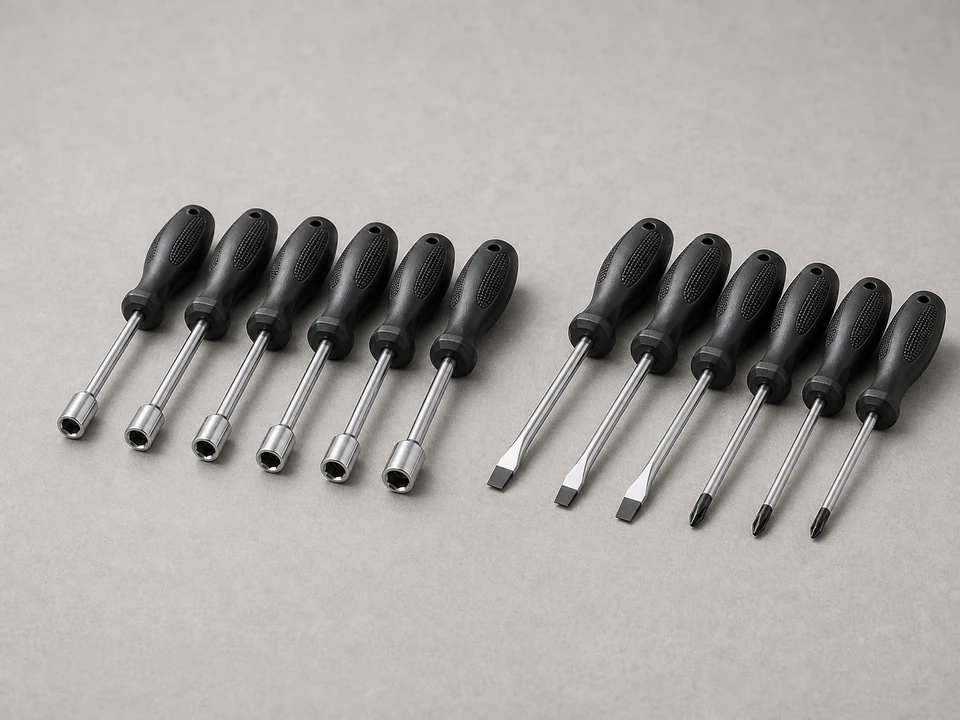
Helps when: Useful for snugging accessible hinge screws or removing normal trim when the refrigerator is unplugged.
Skip it when: Do not open wiring covers or disassemble hinge wiring unless you have the service procedure and are comfortable with it.
Compare screwdriver sets on AmazonAs an Amazon Associate I earn from qualifying purchases. Repair Riot may earn a commission at no extra cost to you.
Buy parts only after the test points there. The wrong gasket or hinge part can create the same leak you were trying to fix.
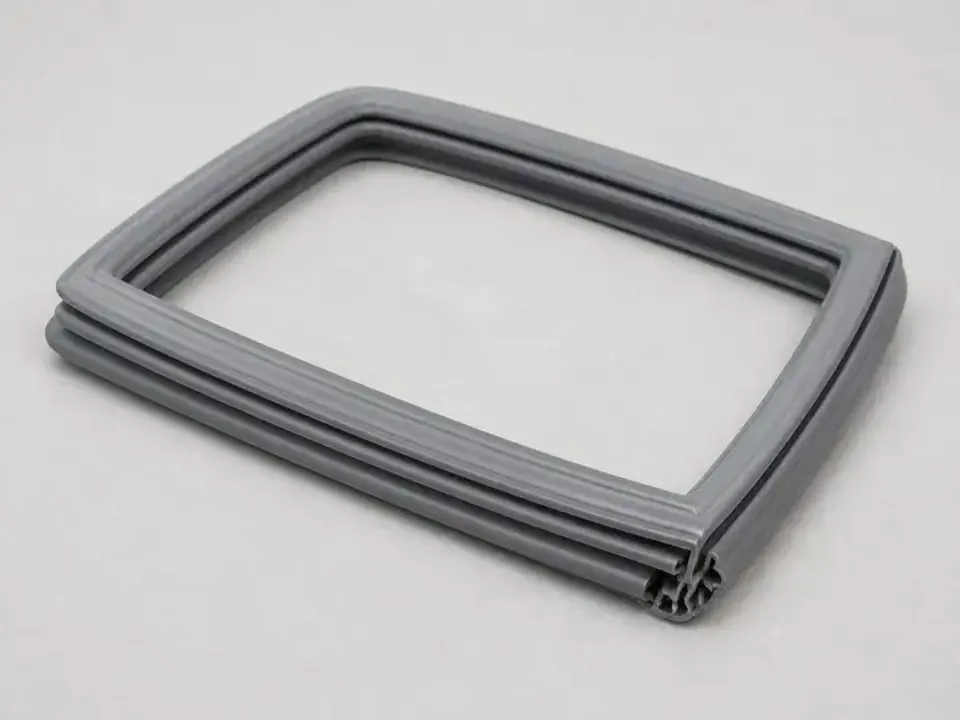
Helps when: A confirmed damaged gasket still fails in the same area after cleaning, unloading, and leveling.
Skip it when: Skip it when the seal improves after unloading shelves, cleaning grime, or correcting cabinet stance.
Compare refrigerator door gaskets on Amazon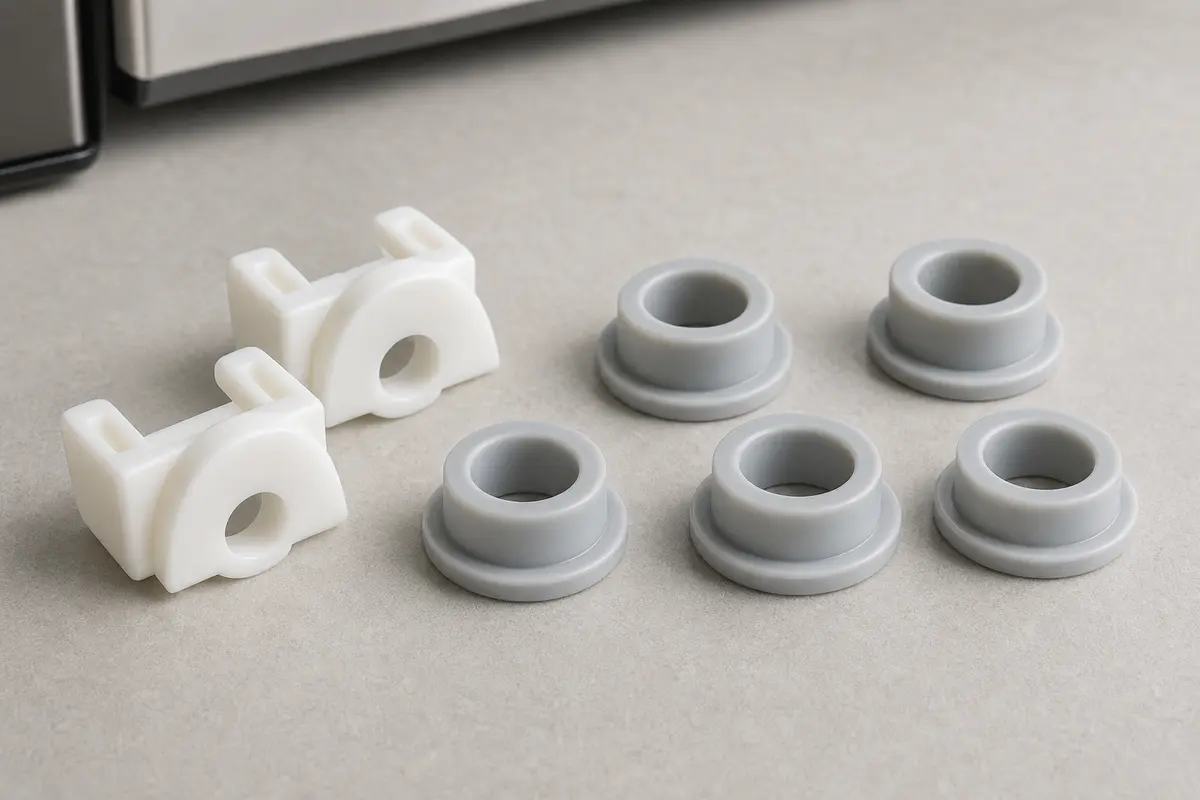
Helps when: The door drops, wobbles, or will not settle closed even though the gasket itself is not torn.
Skip it when: Skip hinge parts when the reveal is even and the weak spot follows visible gasket damage.
Compare refrigerator hinge parts on AmazonAs an Amazon Associate I earn from qualifying purchases. Repair Riot may earn a commission at no extra cost to you.
A repaired seal should stop warm-air leakage, but it cannot fix every cooling problem. Watch the next clue instead of buying another door part.
Yes. A thin air leak can pull warm, humid room air into the cabinet all day. Look for sweat around the frame, soft food, or long run time, then clean the gasket and cabinet face and repeat the paper test before blaming the cooling system.
Use both the paper test and a visual gap check. If the paper slips in the same damaged-looking spot, the gasket is the likely problem. If the gap around the door is uneven or the door sags, look harder at leveling and hinge wear.
Look for a shelf, drawer, or door bin holding the door open, then check whether the cabinet leans forward or the door has dropped at the hinge. A gasket can look fine but still miss the cabinet if the door is sagging or the refrigerator is not sitting correctly.
It might make the gasket feel softer for a short time, but it is not a real repair and can leave a mess. Clean the gasket first, try gentle warming for a light warp, and replace it if it is torn, hardened, or permanently deformed.
Usually something inside is hitting the door, the cabinet is leaning forward, or the door is overloaded and dropping slightly. Clear the front edge of the shelves, check the door gap, and watch whether lifting the handle changes the seal; if it does, look at hinge wear or the closing cam next.
Then the door leak was not the only problem. Check for frost on the interior back panel, weak airflow, or a separate cooling issue. A good seal with continued warming points away from the gasket and toward defrost or airflow trouble.
Use the full refrigerator model number and match the exact door location. Do not buy by size or appearance alone; fresh-food, freezer, left, right, and French-door gaskets can look similar but seal differently.
Give the refrigerator several hours with the door closed, then check an appliance thermometer. If the seal is even but temperatures do not recover, look for airflow, frost, fan, or defrost trouble instead of buying another door part.
Repair Riot built this page around visible door-seal checks, model-specific part fit, and food-temperature caution. Gasket, hinge, and leveling advice is kept diagnosis-first so a warm refrigerator does not turn into a parts-guessing job.