Does it leak with the hose removed?
Test the bare spout first. A drip that disappears with the hose removed points to the hose washer, splitter, nozzle, or threads.
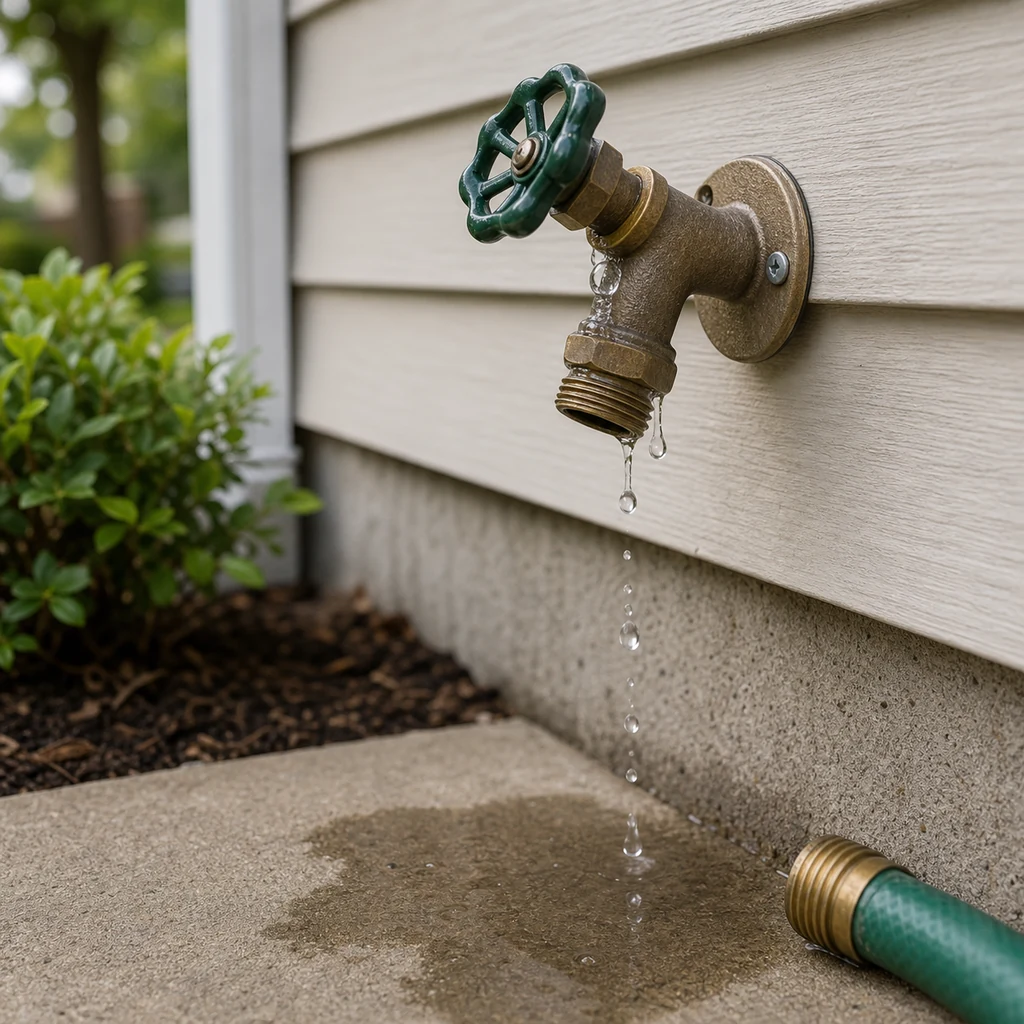
Start by sorting a hose bib leak by the first wet spot. Dry the faucet, remove the hose, test it bare, and watch the handle stem, spout, anti-siphon cap, wall plate, and indoor side.
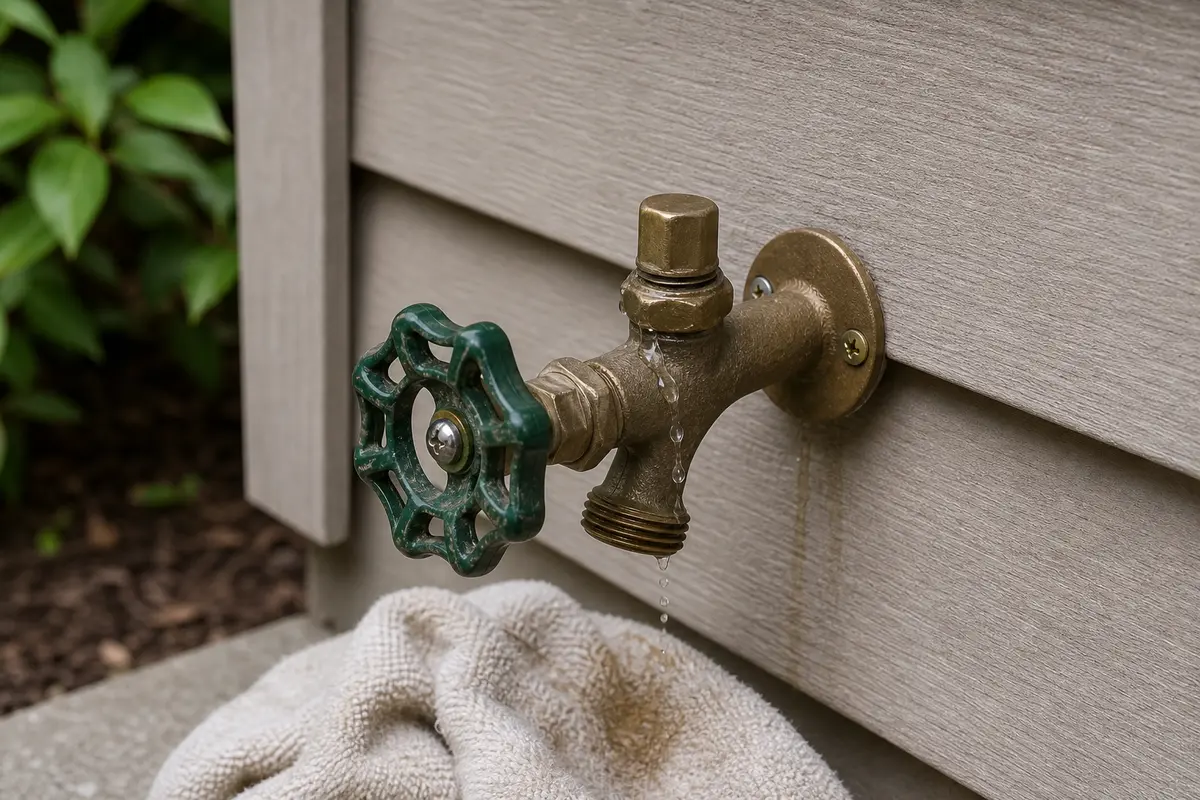
Water centered behind the handle means stem packing: shut off the supply and check the packing nut with a slight snug. Spray from the anti-siphon cap sends you to the vacuum breaker. Water at siding or inside the house means shut off first.
Find the wet spot first. The repair follows that clue.
Don’t start with: Do not start with a full hose bib replacement or a parts order. First remove the hose and test the bare spout; if a cap, hose, or packing nut is seized, stop before the pipe twists in the wall.
Test the bare spout first. A drip that disappears with the hose removed points to the hose washer, splitter, nozzle, or threads.
Check the packing nut. A tiny snug may stop a stem leak, but a stiff handle means you went too far.
If the hose is off and the closed bare spout still drips, look at the shutoff washer or seat area, not the vacuum breaker. Match parts only after the stem style is clear.
Look at the anti-siphon or vacuum breaker. Buy that part only if the faucet body is sound and the cap style matches.
Stop testing and shut off the supply. Frost-free hose bibs can split inside the wall where the damage is not visible.
Check for a hose left attached, a cracked body, delayed indoor dripping, or water that appears only while the faucet is open.
Dry the faucet, remove the hose, and watch where fresh water first appears. Water that starts at the handle, bare spout, top cap, or wall leads to different parts and different stop points.
Do not buy a vacuum breaker, packing kit, washer, handle kit, or whole hose bib until the diagnosis points there. Match the exact faucet model or brand marking when present, plus the thread, stem size, cap style, and whether it is frost-free. Leaks at siding or interior finishes are shutoff-and-access problems, not cart problems.
A hose bib can leak at the stem, spout, anti-siphon cap, wall connection, or hose threads. First check: remove every attachment, dry the faucet, run it briefly, and follow the first wet spot.
A small outdoor faucet leak can turn into an active wall leak when the wrong part gets forced. Keep the first pass clean and low-risk.
Dry the faucet and wall first. Remove the hose and all add-ons, run the faucet briefly, close it, and watch where fresh water appears.
| First wet spot | What it usually means | Next move |
|---|---|---|
| Behind the handle | Packing nut or stem packing is loose, dry, or worn. | Try a tiny packing-nut snug; stop if the handle binds or the faucet twists. |
| Bare spout while closed | Shutoff washer or seat area is not sealing. | Plan a stem washer check only after the hose-side pieces are ruled out. |
| Hose threads only with an attachment | Hose washer, splitter, timer, nozzle, or cross-threading is leaking. | Replace the washer or bad attachment before opening the faucet body. |
| Top cap or anti-siphon vent | Vacuum breaker seal, cap, or insert may be failing. | Match the cap style and stop if fasteners are seized or tamper-resistant. |
| Wall plate, siding, basement, or crawlspace | Cracked body, split frost-free tube, or hidden supply leak is possible. | Shut off the supply and inspect from inside before running more water. |
Work from outside-in: remove attachments, dry the faucet, run a short bare-spout test, and stop when water shows at the wall or indoor side. That keeps you from opening a good faucet or stressing a weak pipe.
These three leak points use different parts. Mixing them up is how a cheap repair turns into a pile of unused parts.
A wall-area leak gets handled differently. A frost-free hose bib can split behind the siding or inside the wall and look fine from outside until water is turned on.
Use light hand tools only after the leak location is clear and the supply can be shut off. A stuck outdoor faucet is not a strength test.
Parts come after the leak location. Match the old part and faucet style before ordering; outdoor faucet parts are less universal than they look.
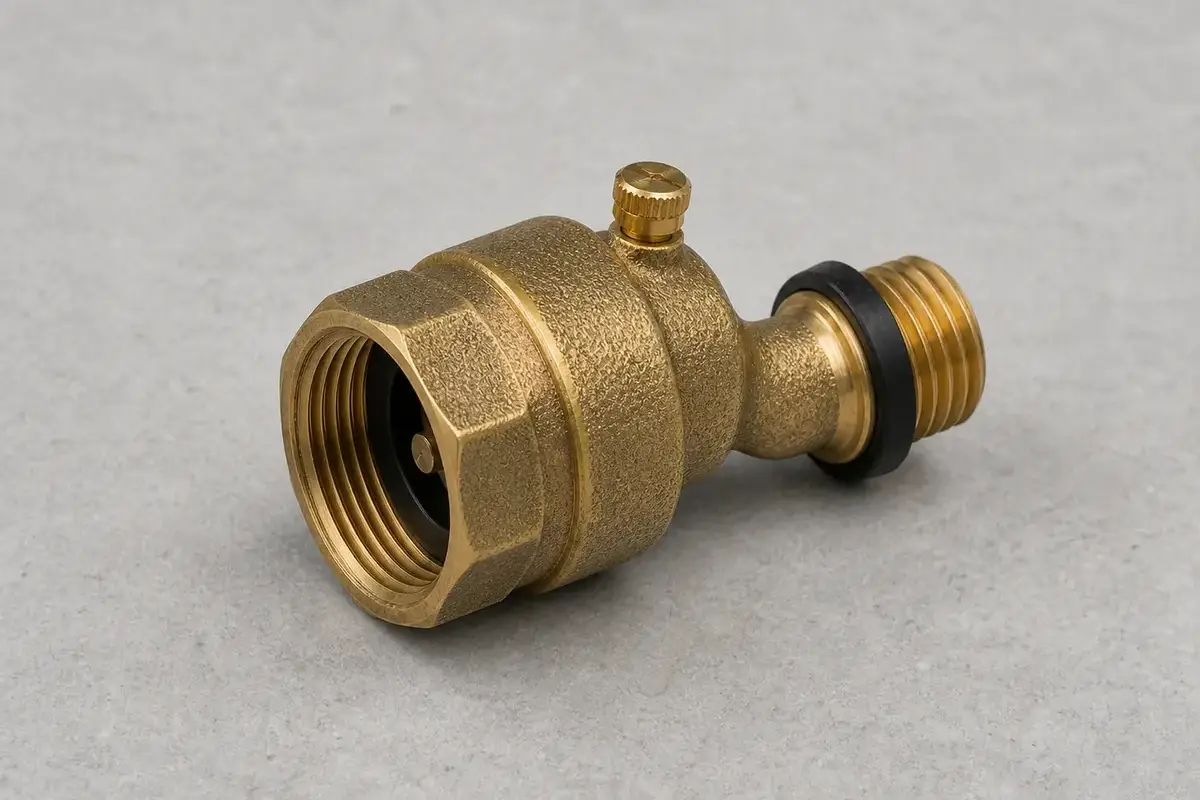
Helps when: Buy this only when spray or seepage comes from the anti-siphon cap while the faucet runs and the brass faucet body stays dry.
Skip it when: The bare spout drips when closed, water is behind the handle, or water shows at the wall or indoor side.
Compare hose bib vacuum breakers on Amazon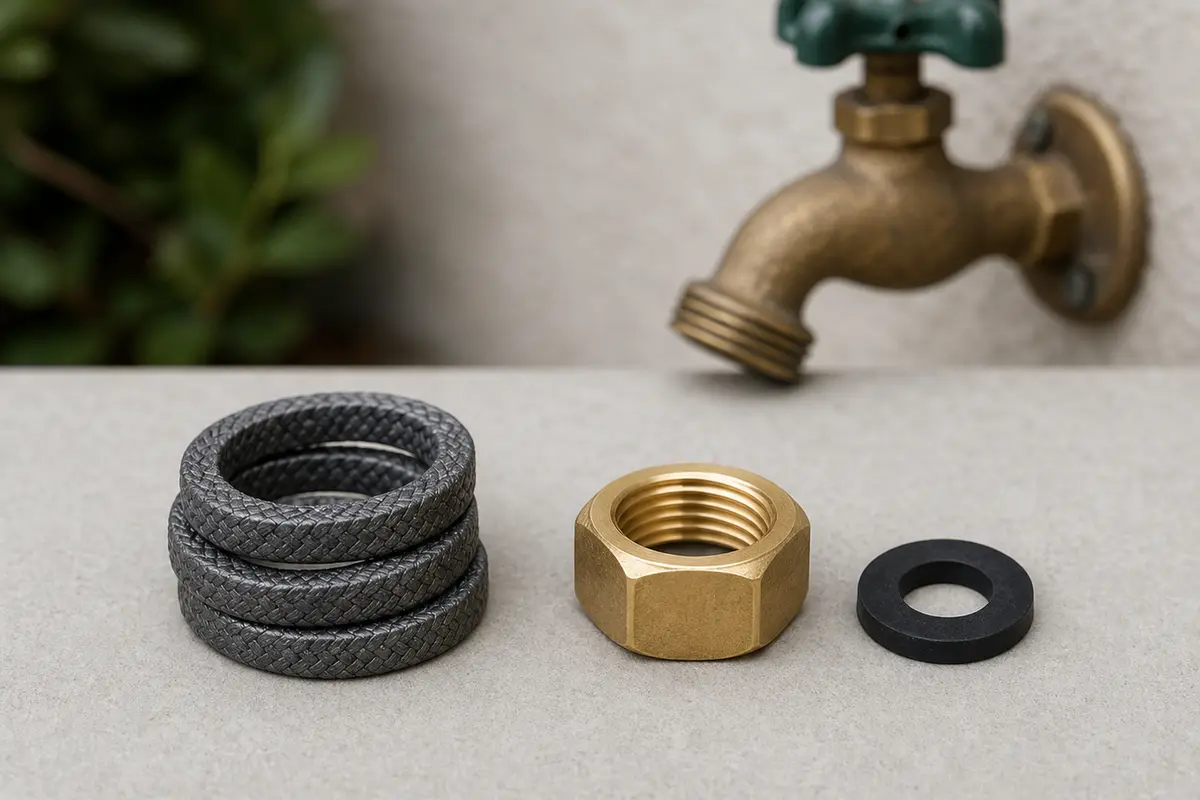
Helps when: Buy this only when water is centered behind the handle and a small packing-nut adjustment helps but does not hold.
Skip it when: The leak comes from the bare spout, top cap, hose threads, wall plate, or indoor side.
Compare hose bib stem packing kits on Amazon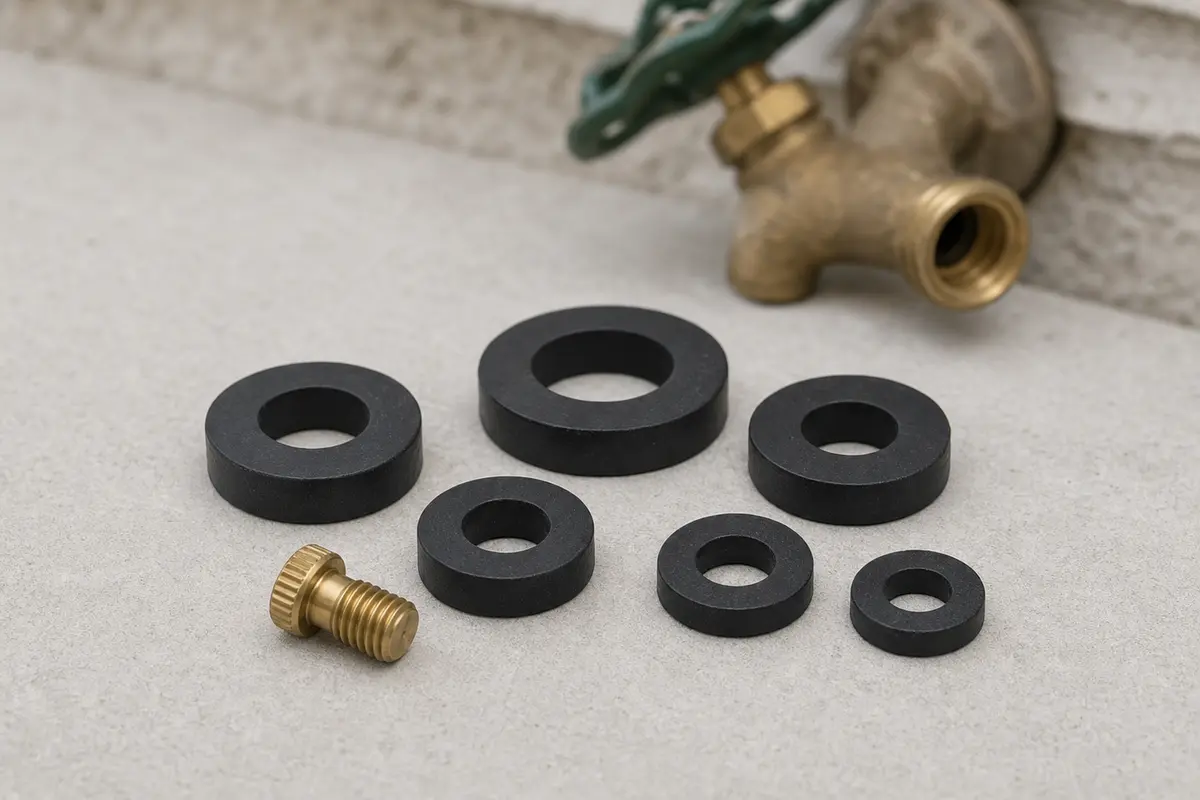
Helps when: Buy this only when the hose is removed, the closed bare spout still drips, and your faucet has a serviceable stem washer.
Skip it when: The drip disappears with the hose removed or the faucet body, wall, or anti-siphon cap is the first wet spot.
Compare outdoor faucet washers on AmazonAs an Amazon Associate I earn from qualifying purchases. Repair Riot may earn a commission at no extra cost to you.
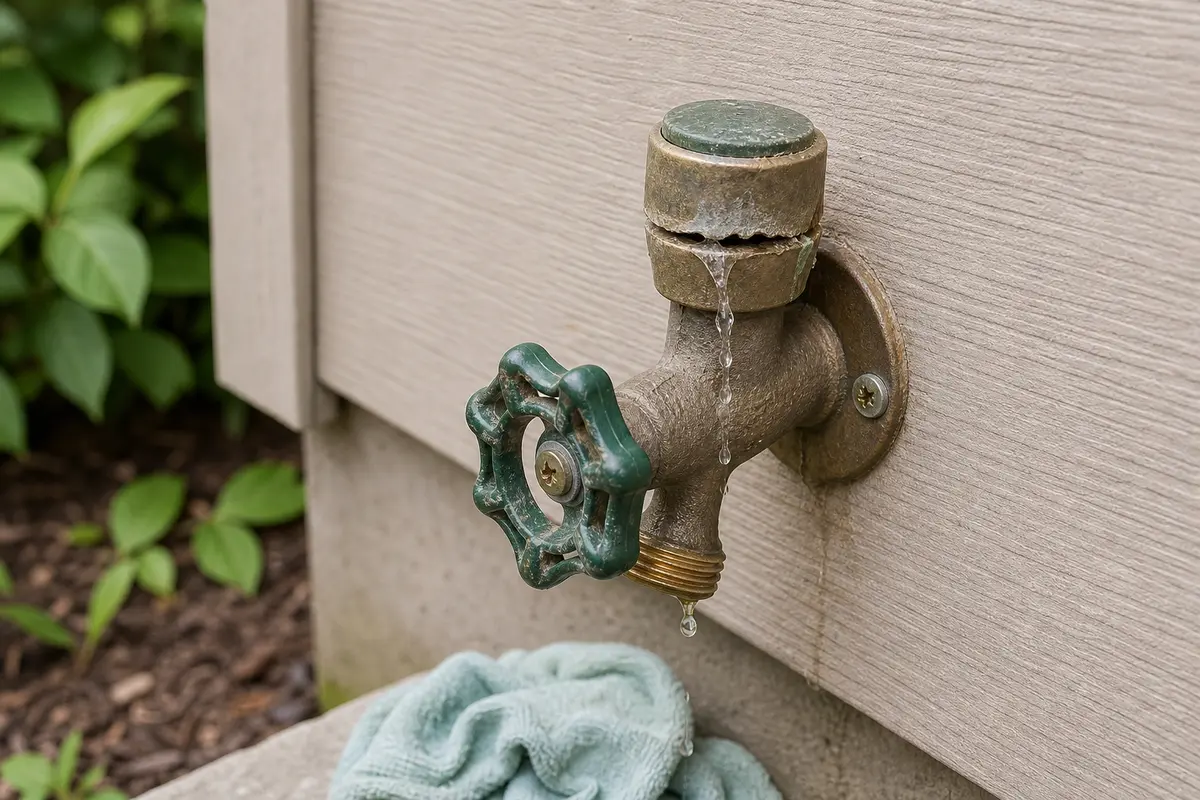
Running-only leaks often point to the handle packing, vacuum breaker, hose connection, or a crack that opens under pressure. Dry the faucet and watch the first wet spot while it runs briefly. Damp siding, framing, or interior finish means shutoff first.
A bare-spout drip after shutoff usually means the internal washer or seat area is not sealing. Remove the hose and attachments before judging it, because a bad hose washer can drip from the same area.
No. Extra handle force can damage the washer, stem, or seat. If water is behind the handle, shut off the supply and check the packing nut with a tiny adjustment. If the closed bare spout drips, test the washer or seat instead.
Water from the anti-siphon or vacuum breaker cap while the faucet runs usually means that cap, seal, or insert is failing. Dry the cap, run the faucet briefly to confirm the wet spot, then match the exact style before buying; stop if the cap is seized.
Recent freezing weather, a hose left attached, a cracked body, and water showing indoors when the faucet opens are strong clues. A frost-free hose bib can split farther back than you can see outside.
Replace the whole hose bib when the body is cracked, wall leakage is present, freeze damage is likely, or the internal connection has to be opened anyway. Stem packing and vacuum breaker leaks can often stay smaller.
Tape may help a threaded hose connection when the threads are sound and the washer is correct. It will not fix stem packing, a bad shutoff washer, a cracked body, or a leaking vacuum breaker.
That usually points to the hose washer, splitter, nozzle, timer, quick-connect, or thread alignment. Test the bare spout first. A faucet that stays dry bare may not need faucet parts.
Call a licensed plumber for leakage at siding or interior finishes, a cracked body, hidden freeze damage, a stuck supply shutoff, twisting pipe, or any repair that requires cutting pipe or opening finished surfaces.
Repair Riot built this page around visible leak points: handle stem, bare spout, anti-siphon cap, wall penetration, and indoor side of the supply. The cited sources support leak context, hose-connection checks, shutoff guidance, and freeze-risk safety; the repair sequence is original guidance.