Does the sound change when you press the bucket face?
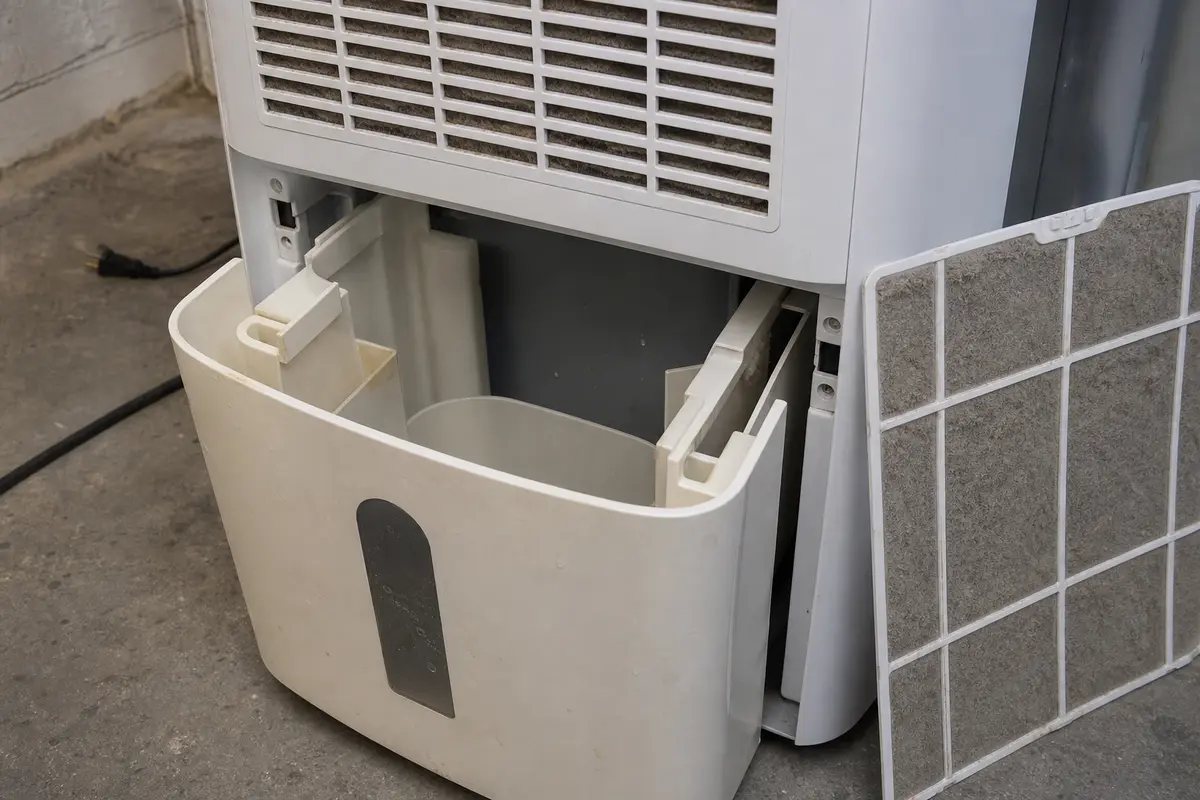
Pull the bucket, wipe the rails and lip, then slide it back in squarely. Listen during a short test; if pressing the bucket face changes the noise, check bucket fit and front-panel contact.
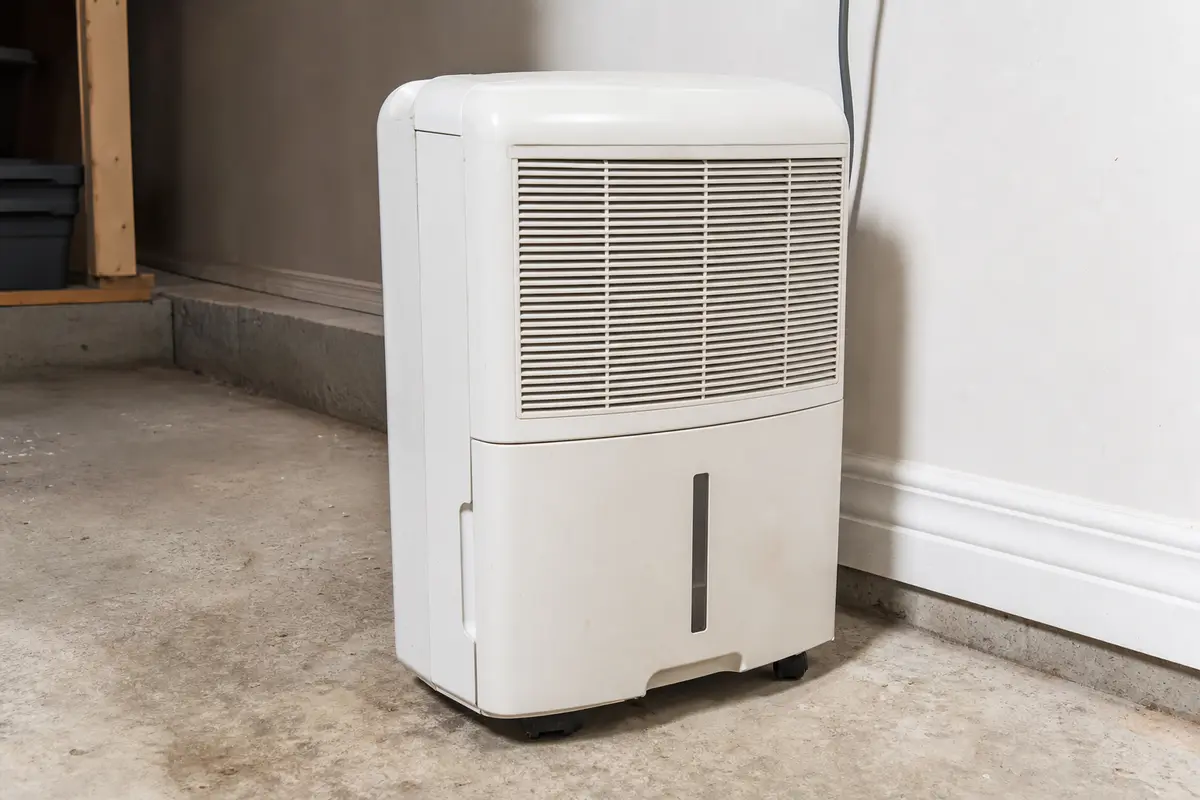
A dehumidifier vibrating noise usually starts outside the sealed system: one foot sitting high, a bucket buzzing in its rails, a dirty filter, or a loose cabinet panel. Move it into open space, reseat the bucket, clean the filter, and listen again.
Start with the floor, bucket, and filter. Those checks are safer and more common than a bad motor.
Sort the sound before you touch parts. A bucket buzz is different from a low metal shake that makes the cabinet walk.
Don’t start with: Do not start by ordering a motor or opening sealed refrigeration parts. Most vibration complaints need a simple outside check first.
Pull the bucket, wipe the rails and lip, then slide it back in squarely. Listen during a short test; if pressing the bucket face changes the noise, check bucket fit and front-panel contact.
The vibration was being amplified by floor contact, baseboard trim, furniture, or one foot not sitting flat.
Clean and fully dry the washable filter before retesting. Restricted airflow can make fan noise and cabinet chatter worse.
Check open space, stable footing, a seated bucket, and a clean filter once. Listen at startup; after that test, a deep low shake that still starts with the compressor belongs with internal mounts or the compressor area, not a blind parts buy.
Unplug it and stop at visual inspection. A fan or blower problem needs safe access and a confirmed model-specific part.
Stop using it. That is no longer a simple vibration page; service or replacement is safer than more test runs.
Look at the outside clues first: floor contact, wall clearance, bucket fit, and filter restriction. Those checks explain many buzzes without opening the sealed system.
Do not buy a motor, compressor part, control board, or sealed-system part for a vibrating dehumidifier. Buy a filter only when the old one is torn, warped, or still loose after cleaning. Buy bucket-area switches only when the bucket, float, or switch is visibly broken or misreads after the bucket seats correctly. Match the exact model number and part diagram before ordering anything.
A portable dehumidifier can turn normal compressor hum into a loud buzz when one foot is high, the cabinet touches trim, or the unit is sitting on a hard resonant floor.
A bucket that is only a little crooked can buzz against the front frame. The unit may still run, so the rattle gets mistaken for an internal failure.
A clogged filter can make the fan pull unevenly and add a fluttering cabinet noise. This is one of the safest checks because it stays in the normal cleaning path.
Vibration pages go wrong when a cheap rattle turns into a shopping list. Keep the first pass outside the sealed system and away from live electrical testing.
Use the result of each simple check to decide whether to keep cleaning, fix a contact point, or stop before the repair gets invasive.
| What you find | What it usually means | Next move |
|---|---|---|
| Noise drops after moving the unit away from the wall | Floor, trim, hose, cord, or cabinet contact was amplifying normal hum. | Keep clearance around the unit and set it where all feet sit flat. |
| Pressing the bucket changes the buzz | Bucket fit, rail dirt, cracked plastic, or front-panel contact is involved. | Clean and reseat the bucket; replace bucket parts only when damage is visible. |
| Filter is lint-packed and airflow sounds rough | The fan is pulling through restriction and vibrating the cabinet. | Clean and dry the filter, clear reachable intake lint, and retest. |
| Light rattle remains near an exterior panel | A grille tab, screw, or plastic edge may be loose. | Unplug it and tighten only accessible exterior screws. Do not overtighten plastic. |
| Deep shake remains after bucket, filter, and floor checks | Internal blower balance, fan rubbing, or compressor mounts move up the list. | Stop blind parts buying and decide between service and replacement. |
These tools support safe outside checks. Skip any tool use that would require opening sealed-system or wiring areas.
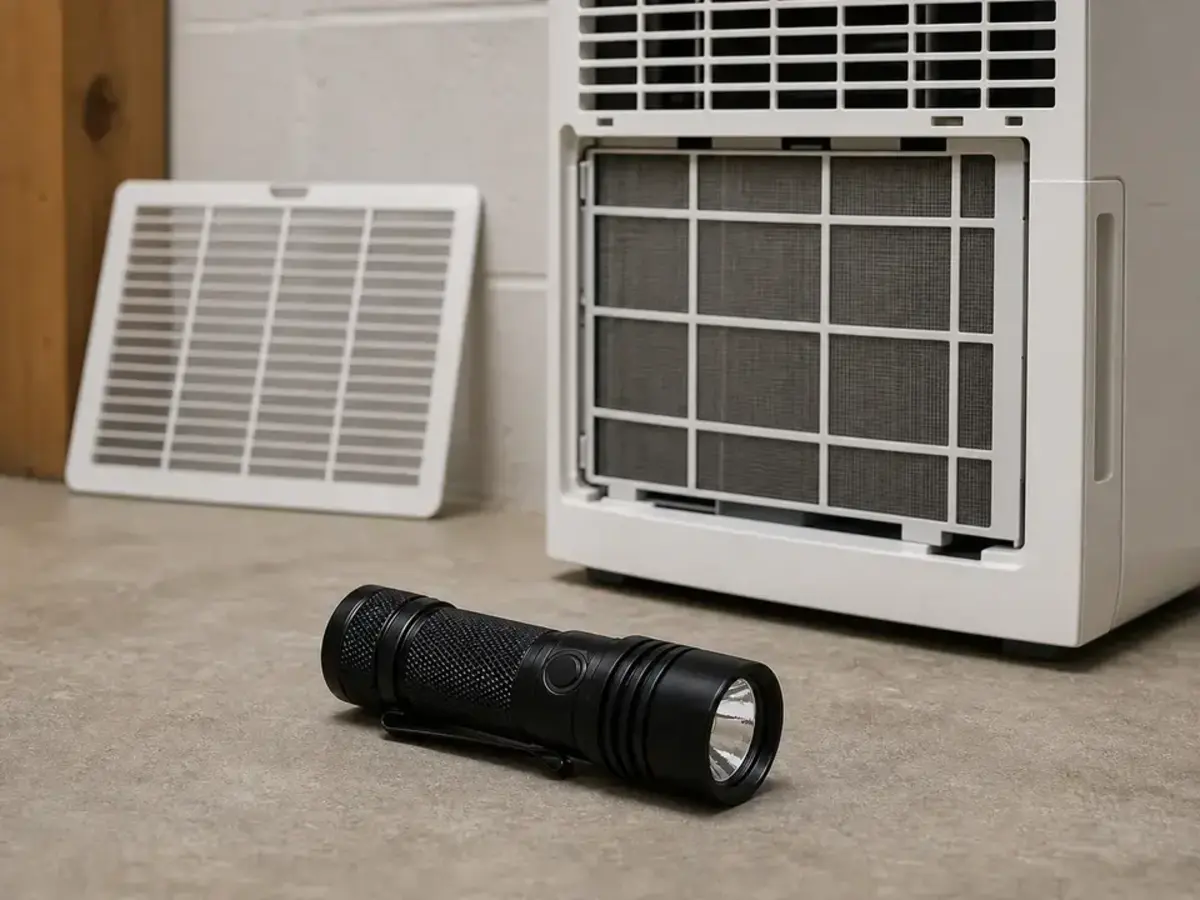
Helps when: Shows bucket rails, filter dust, grille gaps, and visible rubbing marks without opening unsafe areas.
Skip it when: Do not use it as a reason to probe deep into the fan or wiring area.
Compare compact flashlights on Amazon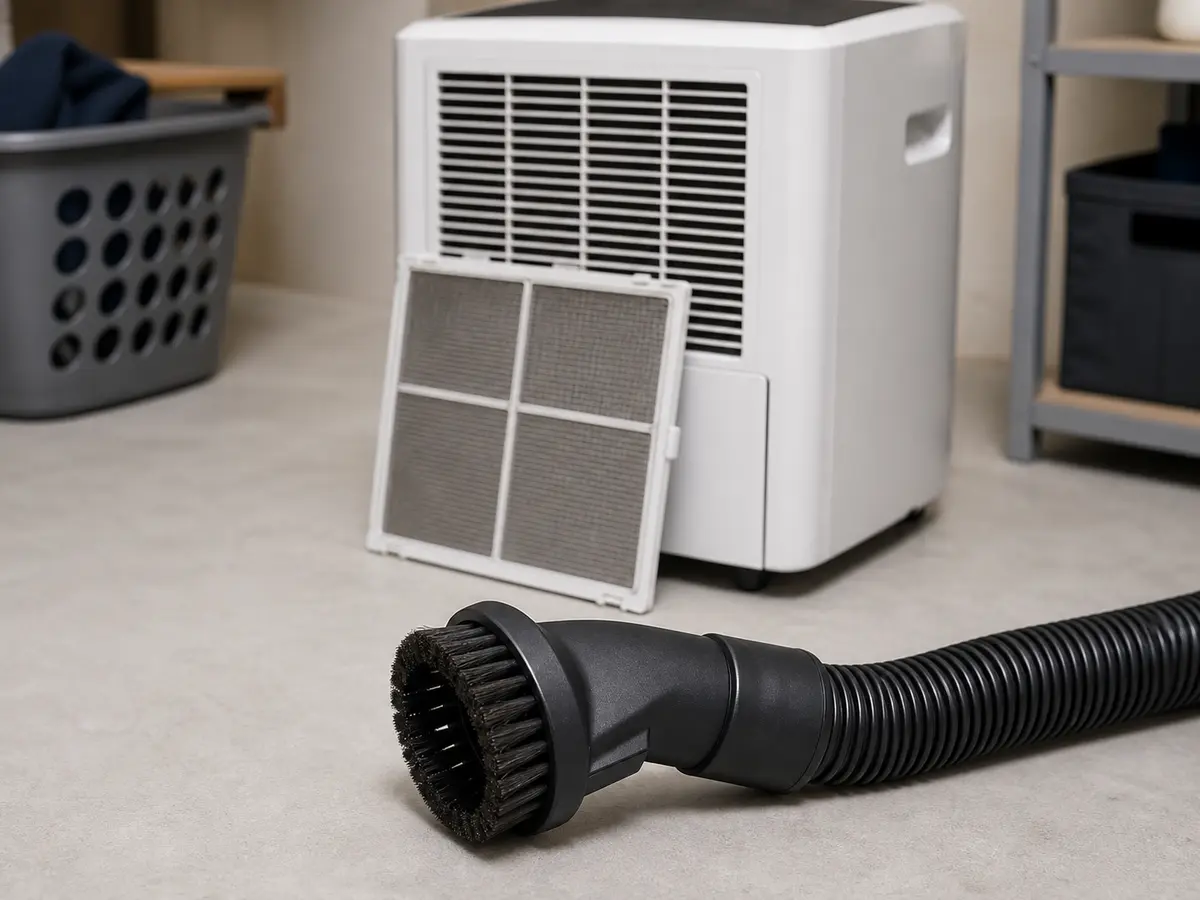
Helps when: Removes loose lint from the filter and intake grille without driving debris deeper into the cabinet.
Skip it when: Skip aggressive suction or hard tools if debris is wrapped around a fan you cannot safely reach.
Compare vacuum brush attachments on Amazon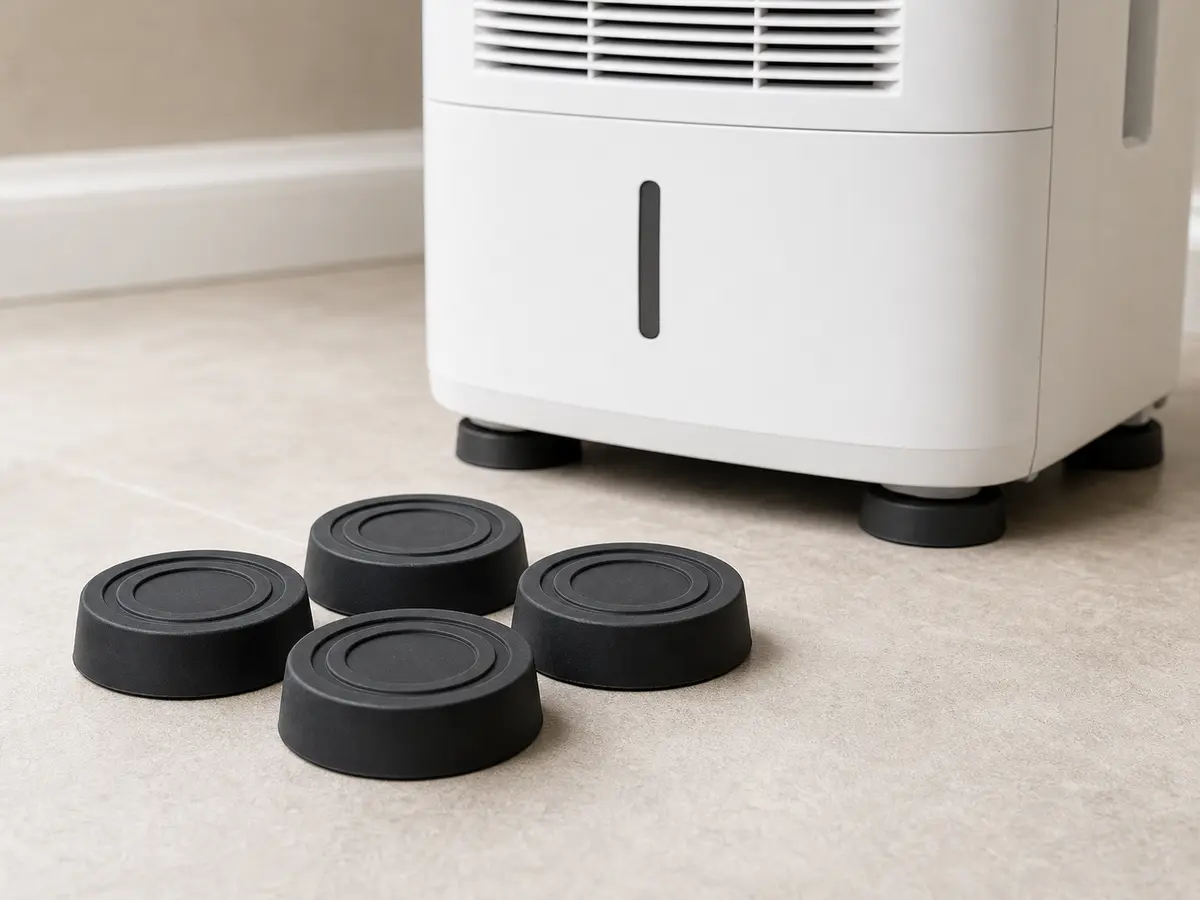
Helps when: Can reduce floor buzz after you confirm the cabinet is level, clear of walls, and not hiding a broken foot.
Skip it when: Do not use pads to mask a bent base, cracked cabinet, or deep internal shake.
Compare anti-vibration pads on AmazonAs an Amazon Associate I earn from qualifying purchases. Repair Riot may earn a commission at no extra cost to you.
Parts come late on this repair. Clean, reseat, and run a short test first. Buy only after you find visible damage, a fit problem, or a test result that names the failure; the word vibration is not enough.
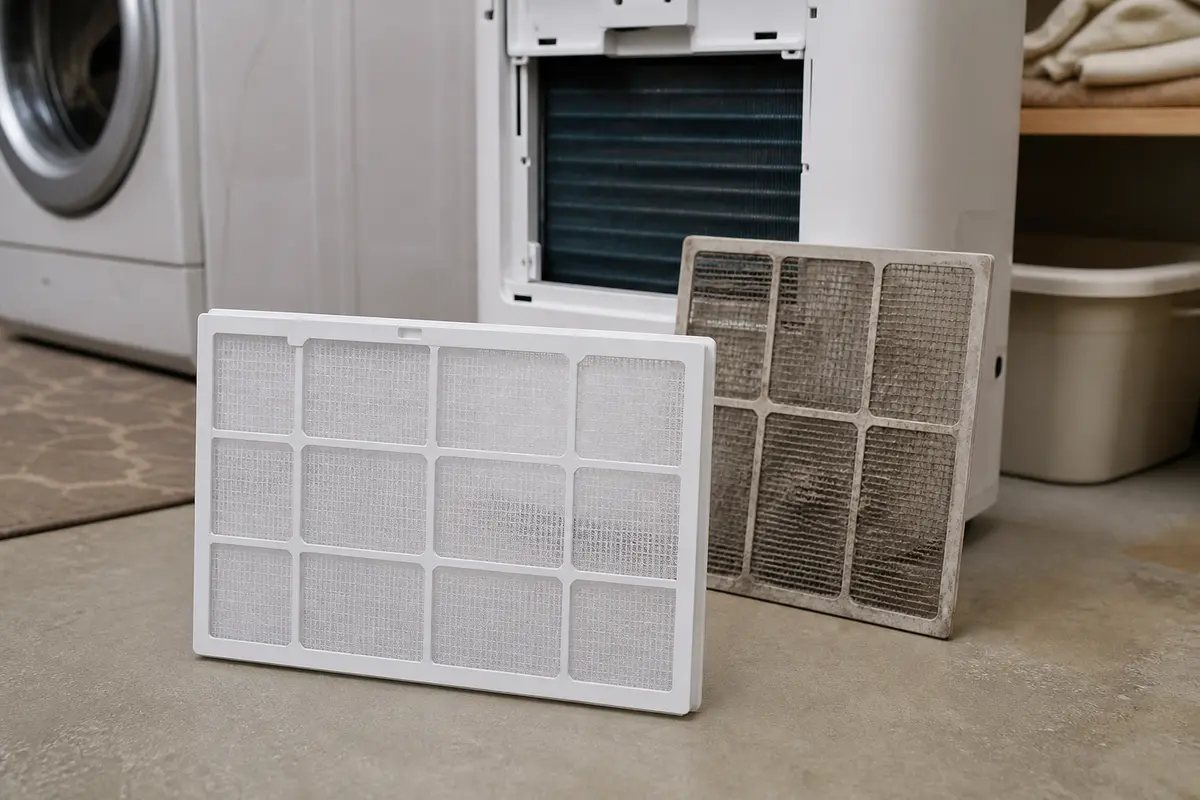
Helps when: The filter is torn, warped, or still restricts airflow after proper cleaning and drying.
Skip it when: The filter cleans up, sits flat, and airflow sounds smooth after reinstalling it.
Compare dehumidifier air filters on Amazon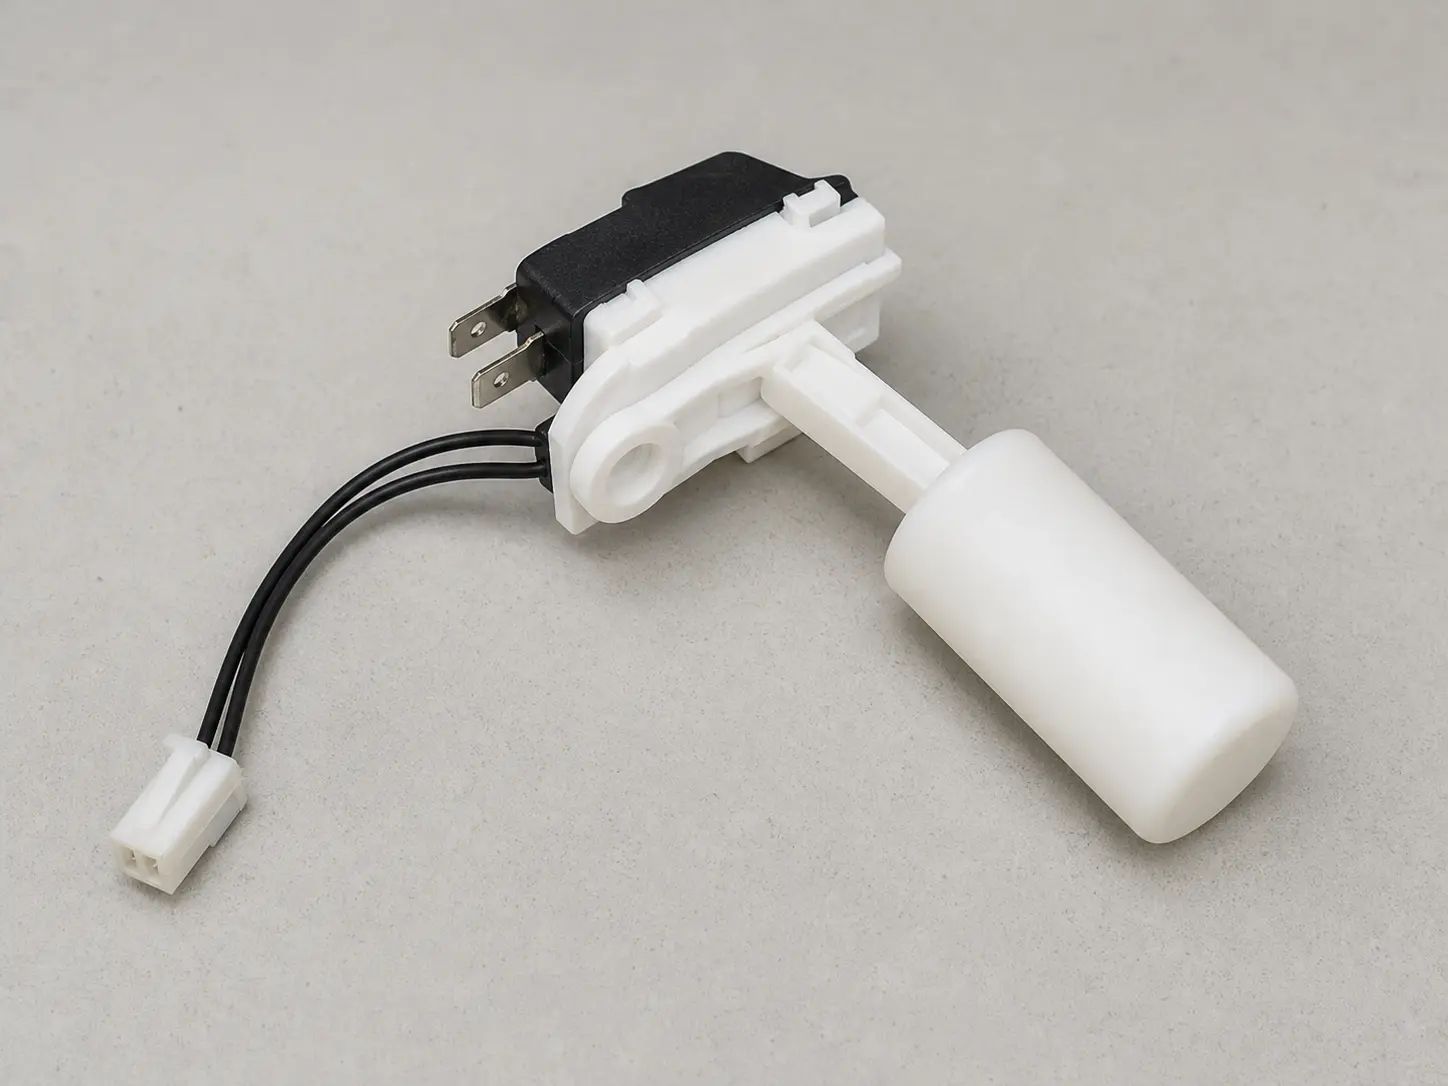
Helps when: The bucket or float area is damaged and no longer sits or senses correctly.
Skip it when: The bucket seats squarely and the vibration does not change around the collection area.
Compare dehumidifier float switches on AmazonAs an Amazon Associate I earn from qualifying purchases. Repair Riot may earn a commission at no extra cost to you.
Hard floors reflect and amplify normal machine hum. Move the unit into open space, make sure all four feet touch, and listen again. A quieter test in open space points to floor or cabinet resonance.
A full bucket usually does not create vibration by itself. A crooked bucket can buzz badly, especially if pressing the front changes the noise. Pull it out, check the rails and lip for grit, wipe them clean, reinstall the bucket squarely, and press the bucket face lightly during a short test.
Yes, especially on smaller portable units. A lint-packed dehumidifier filter can make airflow uneven and add fan-side chatter. Clean and dry the filter, seat it fully, then listen for smoother airflow.
No. A deep, metallic, lower-cabinet shake is different from a loose bucket buzz. Unplug the unit after one outside-check pass and decide on service or replacement before more run time.
Repair starts to look weak when the unit still has a heavy internal shake after leveling, bucket checks, and filter cleaning, especially if it also removes little water, smells hot, or trips power.
The compressor adds a deeper operating hum than the fan. Check wall contact, uneven footing, and a loose bucket by moving the unit, planting all four feet, and reseating the bucket. Listen when the compressor starts; a low shake that stays puts compressor mounts or another internal mechanical issue on the service side of the repair.
Use pads only after the base is stable and the cabinet is not bent. Set the unit on a flat spot first, check each foot, and look for a bent panel edge. If the remaining noise is mostly floor buzz, a proper anti-vibration pad can help; cardboard shims can hide a crooked cabinet or make the unit less stable.
A repeated scrape, tick, or rough fan-side vibration that does not change with the bucket, filter, or floor checks moves the blower wheel up the list. Unplug the unit and stop at what you can see through normal access.
Usually no. A motor is not the first buy for a vibrating dehumidifier. Check bucket fit, filter restriction, footing, panel contact, and visible fan rubbing before considering any motor-side repair.
Repair Riot built this page around safe outside checks: level footing, bucket fit, filter airflow, cabinet contact, and stop points for electrical or sealed-system noise.