Worse right after rain?
Start outside. Check overflowing gutters, short downspouts, soil sloping toward the wall, low mulch beds, and wet foundation edges before working inside.
To treat crawl space wet rotting, check the ground and water path first. Stop rain entry, plumbing leaks, ground vapor, or condensation before cleanup. Soft joists, beams, sill plates, or subfloor move this from drying work to structural repair.
Start with chronic ground moisture: missing plastic, torn seams, poor grading, or downspouts dumping water beside the foundation.
Rot is the late clue. Source control comes first, then drying, then judging whether the wood is stained or compromised.
Don’t start with: Do not start with mold spray, new plastic over mud, or sistered boards while the moisture source is still active. Check the water source, joist, and subfloor first; if mold is widespread or the air irritates your breathing, stop and call a pro.
Start outside. Check overflowing gutters, short downspouts, soil sloping toward the wall, low mulch beds, and wet foundation edges before working inside.
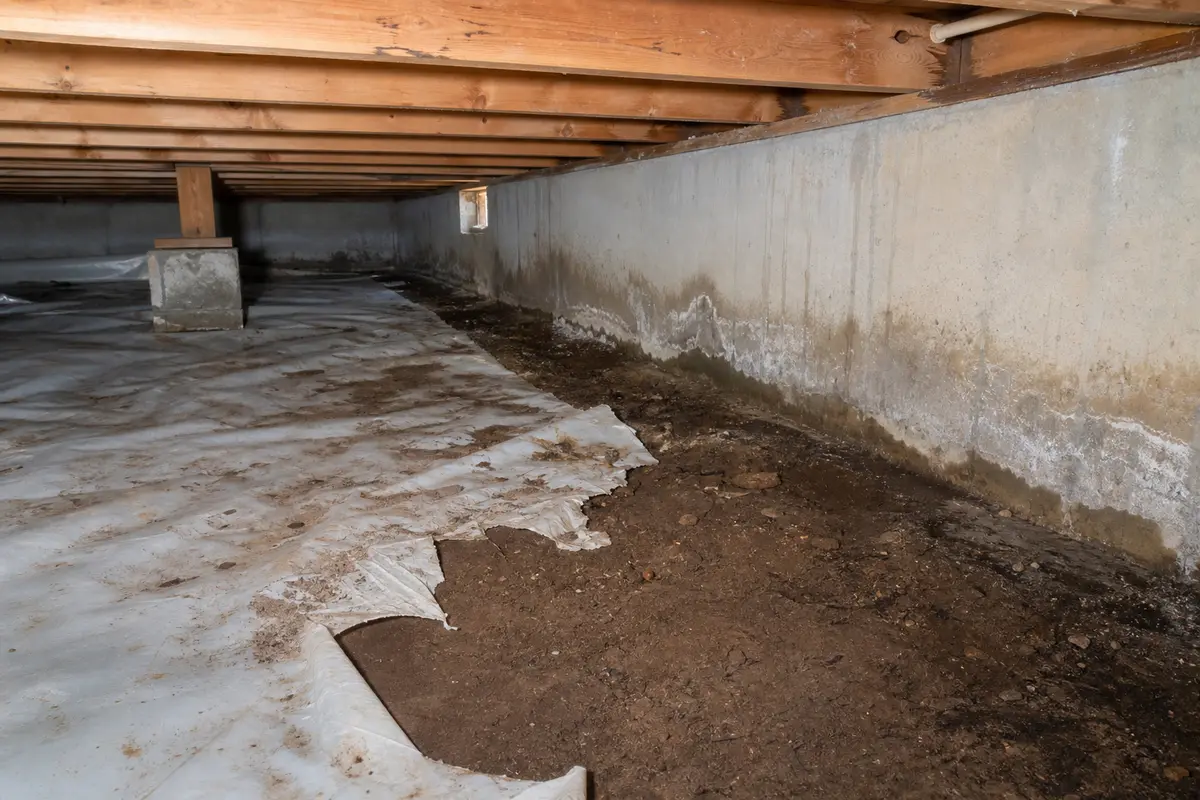
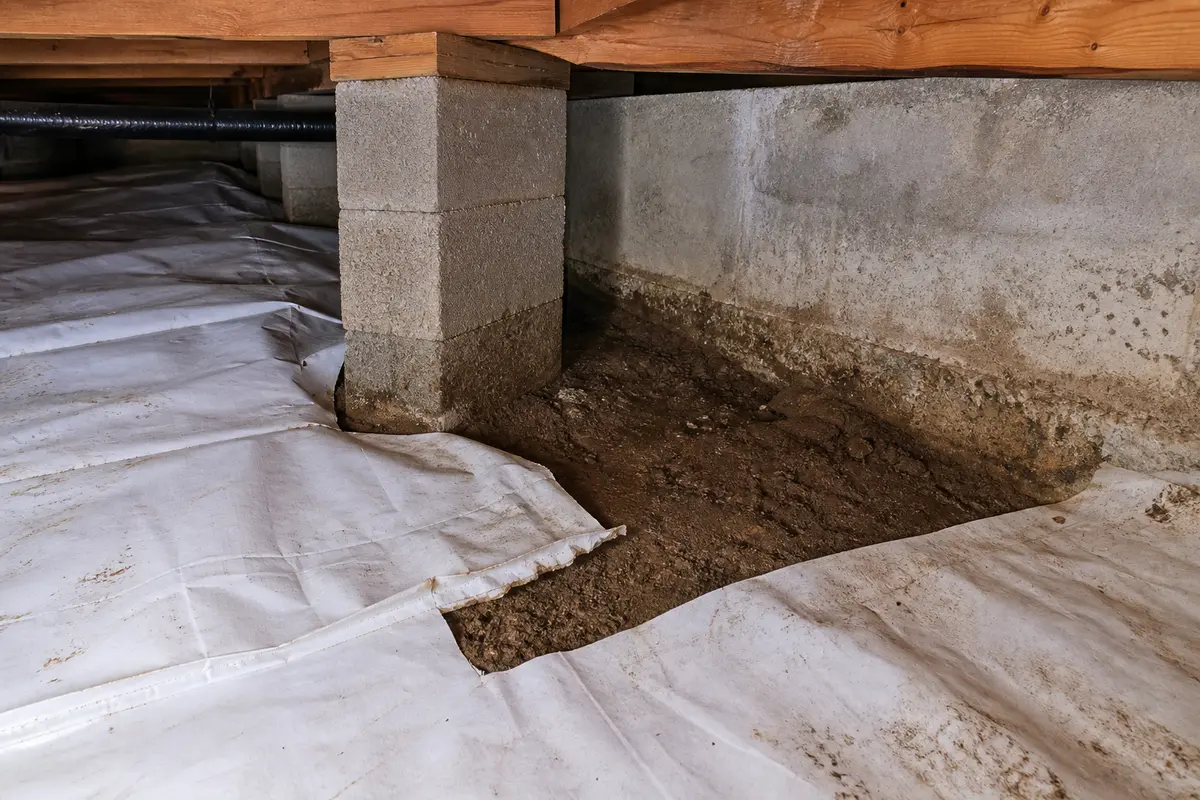
Look for bare dirt, torn seams, plastic that stops short of walls and piers, or moisture under the sheet. Ground vapor is the lead.
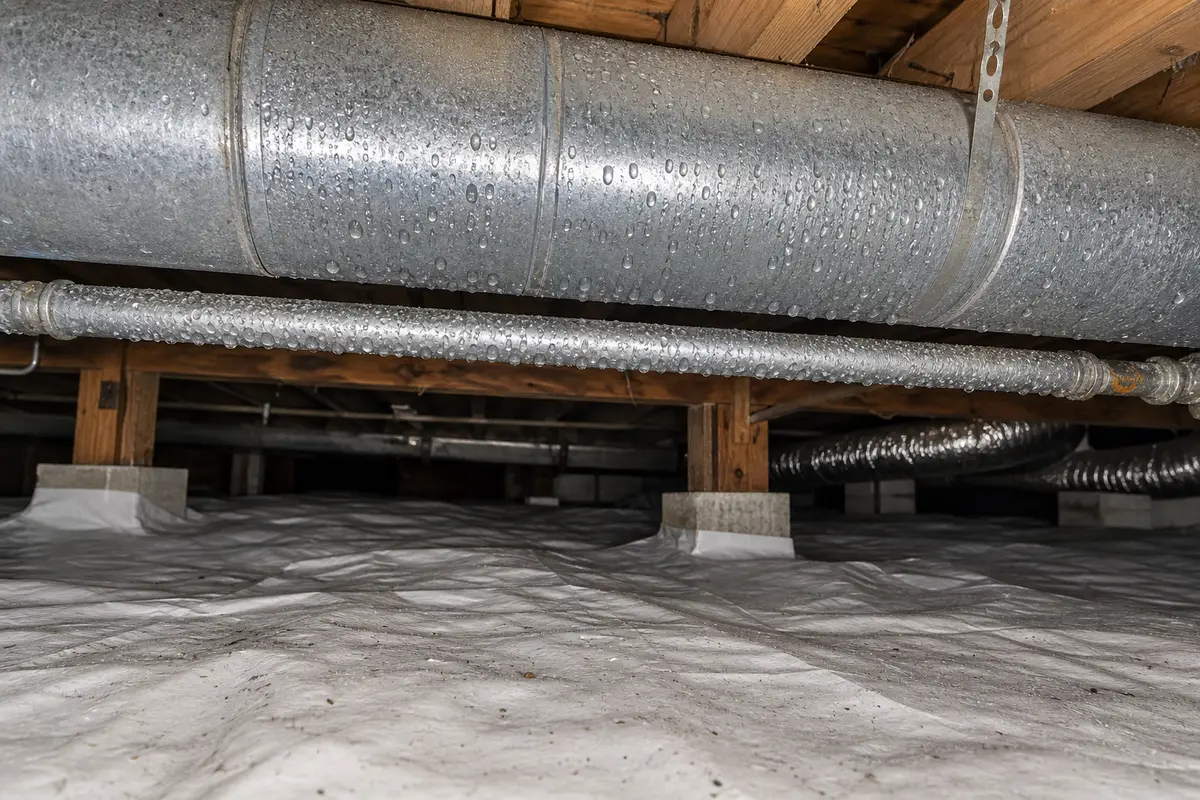
Treat condensation separately. Compare the duct, pipe, and nearby soil; humid air on cool surfaces needs humidity and insulation checks.
Run fixtures one at a time and watch below. A local drip, mineral trail, or soaked insulation points to plumbing before crawlspace equipment.
Stop cleanup work and judge structure. Drying and stain treatment do not restore a compromised joist, sill, beam, or subfloor.
Use the crawlspace surfaces as clues. Wet soil, torn plastic, water at the foundation edge, and sweating metal point to different fixes, so check the ground, perimeter, and cold metal before you buy treatment.
Check the crawlspace clues before you buy mold spray, replacement lumber, a vapor barrier roll, or a dehumidifier. Wear gloves and eye protection in a musty crawlspace. If mold is widespread or the air irritates your breathing, stop and bring in a qualified cleanup pro. Match the purchase to the exact diagnosis you can see. Rain-linked wetting needs a drain-path fix. Exposed soil after bulk water is gone needs plastic repair. One local drip needs supply-line or drain repair. Condensation needs humidity control.
Wet rot in a crawlspace is a history lesson. The dark wood is showing where moisture has been allowed to stay, but the useful repair starts with the path that keeps feeding it.
Dry rot is a name for fungal wood decay, not proof that the crawlspace is dry now. The wood needed moisture for decay to start, and some water-conducting fungi can carry moisture into nearby wood.
Do not cover damp plastic, soft joists, or broad visible growth. Find the water source first: runoff, leak, exposed soil, or condensation.
Use one crawlspace pass and one outside pass. The pattern matters more than the amount of wetness you see on the first look.
| What you see | What it usually points to | Next move |
|---|---|---|
| Wet perimeter soil, trickle marks, or puddles after rain | Drainage, grading, gutter overflow, or foundation water entry | Walk the matching outside wall during or right after rain and fix the water path before indoor cleanup. |
| Bare dirt, torn plastic, or dampness under the vapor barrier | Ground moisture moving upward | Repair or replace the ground cover only after standing water and mud are gone. |
| Beads on metal ducts, cold pipes, or foil-faced insulation | Condensation from humid air hitting cool surfaces | Check humidity, duct or pipe insulation, and whether outdoor air is making the space wetter. |
| One dark wet zone below a bathroom, kitchen, laundry, or water heater | Supply, drain, trap, wax ring, or condensate leak | Run fixtures one at a time and watch below before adding fans or dehumidifiers. |
| Soft joist, sill plate, beam, or subfloor | Structural wood damage, not just moisture cleanup | Stop crawling and bring in a contractor, structural carpenter, or qualified crawlspace pro. |
Rain-linked crawlspace rot usually starts above grade before it shows up below the floor. The outside check is often cleaner, safer, and more useful than crawling deeper into a damp space.
A crawlspace can stay wet without a leak from above. Bare soil releases moisture, and torn or short plastic leaves that moisture in contact with framing air.
Condensation can make a crawlspace look leaky even when the soil is not soaked. The clue is where the water forms: on cool metal and piping instead of one foundation joint or plumbing fitting.
Carry inspection gear, not a cart full of treatments. The useful tools help you see moisture patterns, protect yourself, and decide whether to stop.
Paid links. As an Amazon Associate I earn from qualifying purchases. Repair Riot may earn a commission at no extra cost to you.

Helps when: You need to see condensation beads, torn vapor barrier seams, plumbing drips, and wet foundation edges without dragging a cord into the crawlspace.
Skip it when: Standing water, exposed wiring, sewage, or soft framing makes the crawlspace unsafe to enter.
Compare headlamps on Amazon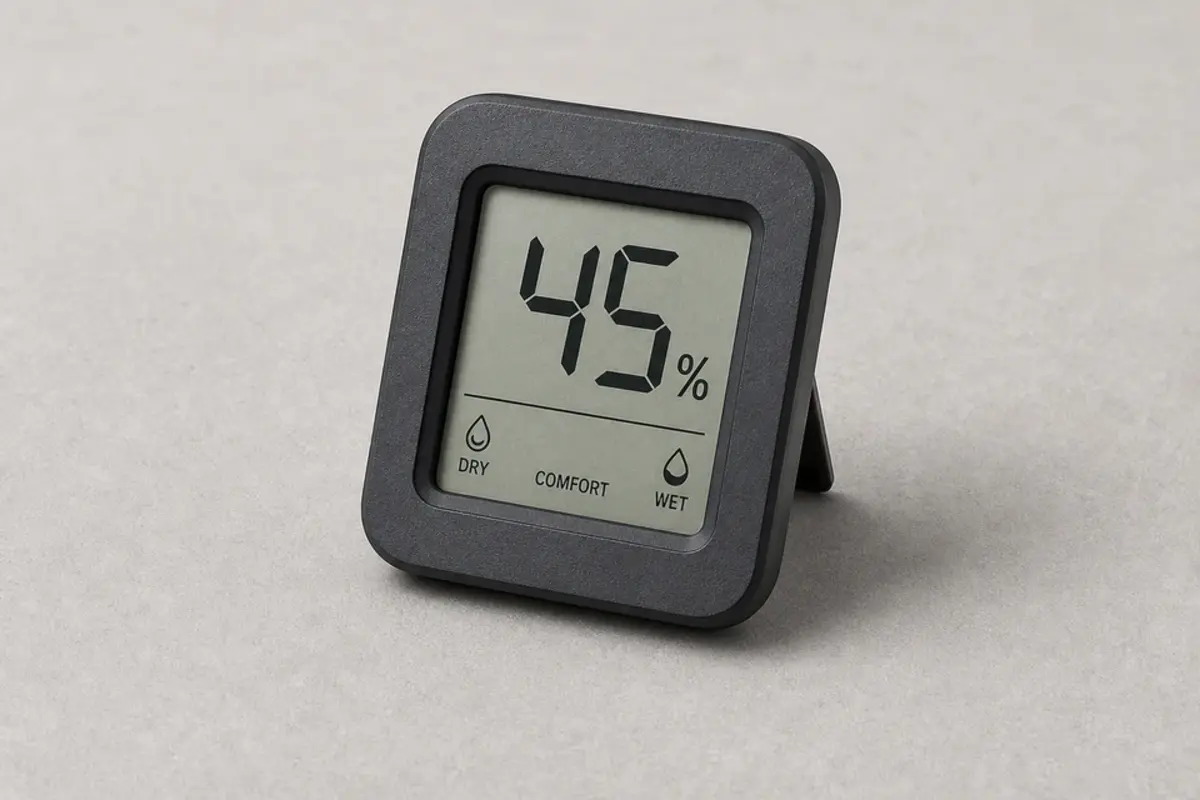
Helps when: You can compare crawlspace humidity with outdoor air before opening vents, running fans, or blaming a foundation leak.
Skip it when: The space has active leaking, standing water, or widespread visible growth that needs source control first.
Compare humidity meters on Amazon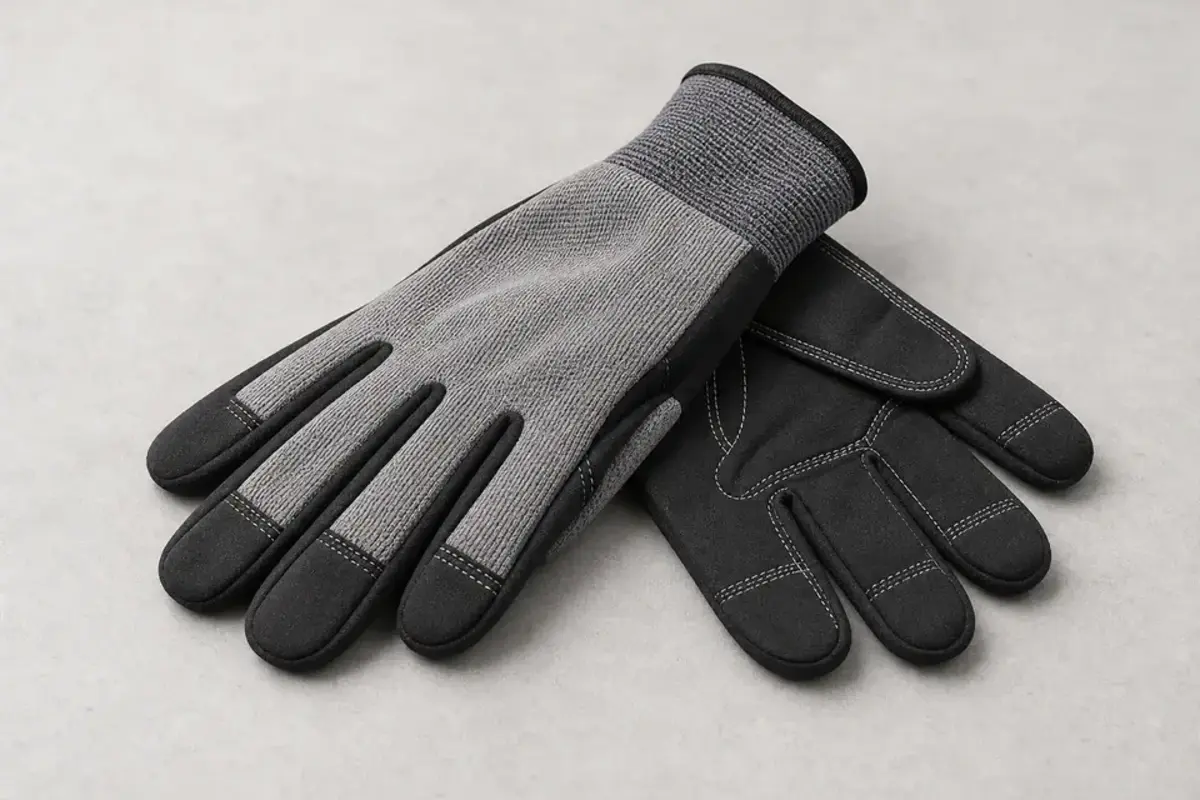
Helps when: You need hand protection around rough framing, torn plastic, fasteners, debris, and damp ground cover.
Skip it when: Gloves do not make moldy debris, sewage, sharp metal, or unstable framing safe to handle.
Compare work gloves on Amazon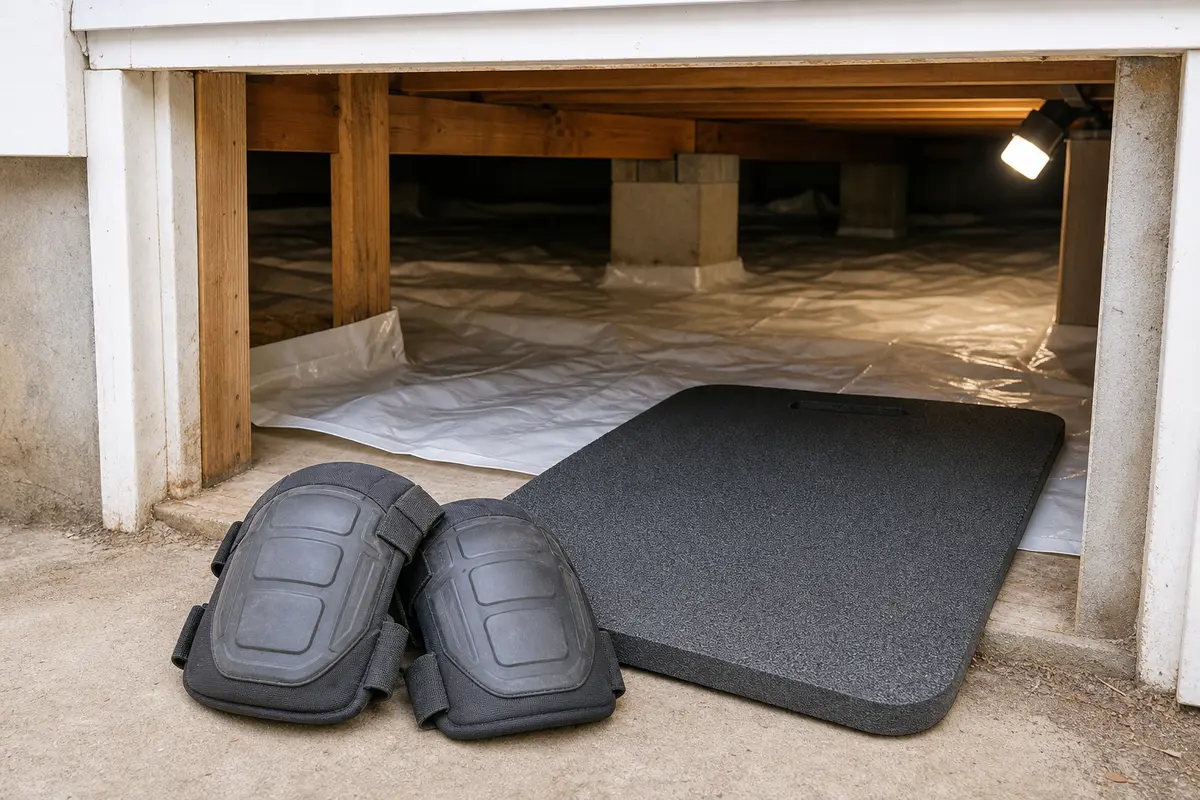
Helps when: You can inspect the full crawlspace more safely without grinding through or tearing the vapor barrier.
Skip it when: The crawlspace has standing water, animal contamination, or framing that feels unstable under light pressure.
Compare crawl mats on Amazon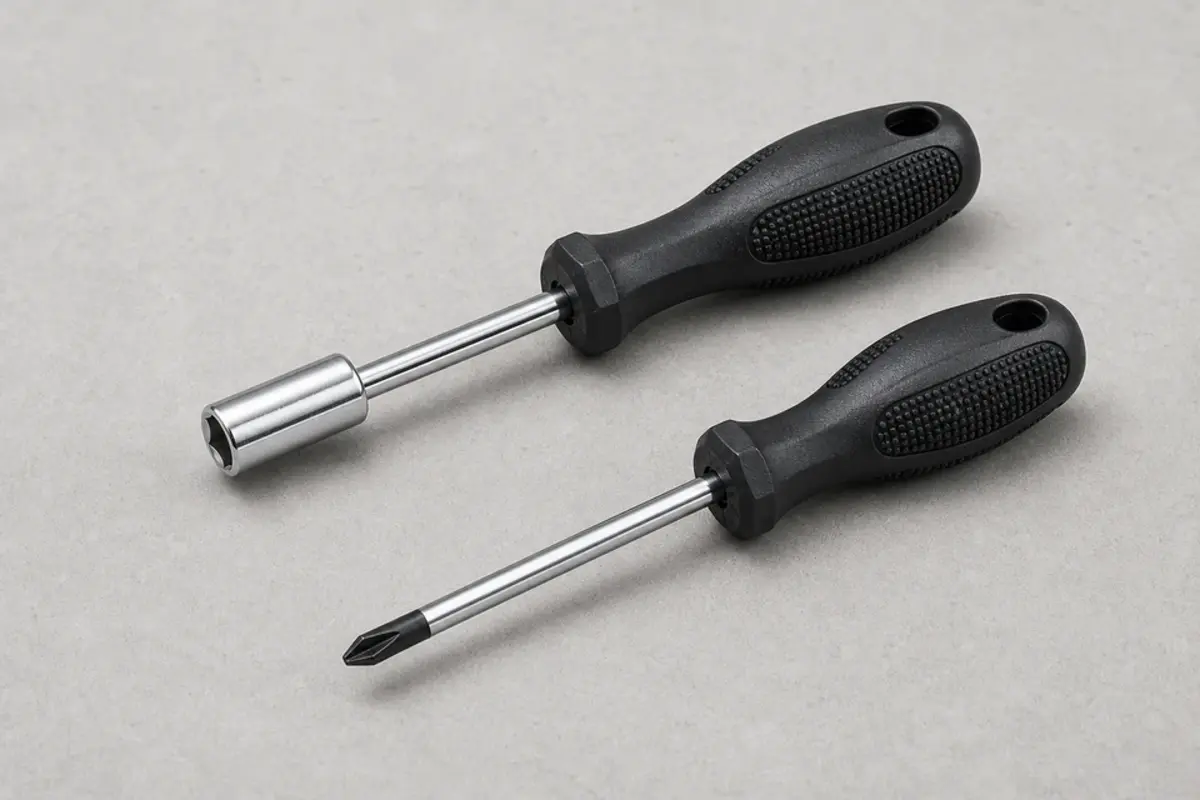
Helps when: A hand tool can open simple access covers and lightly probe suspect wood for softness without turning the job into demolition.
Skip it when: If the tool sinks into joists, beams, sill plates, or subfloor, stop and treat it as structural damage.
Compare screwdriver sets on Amazon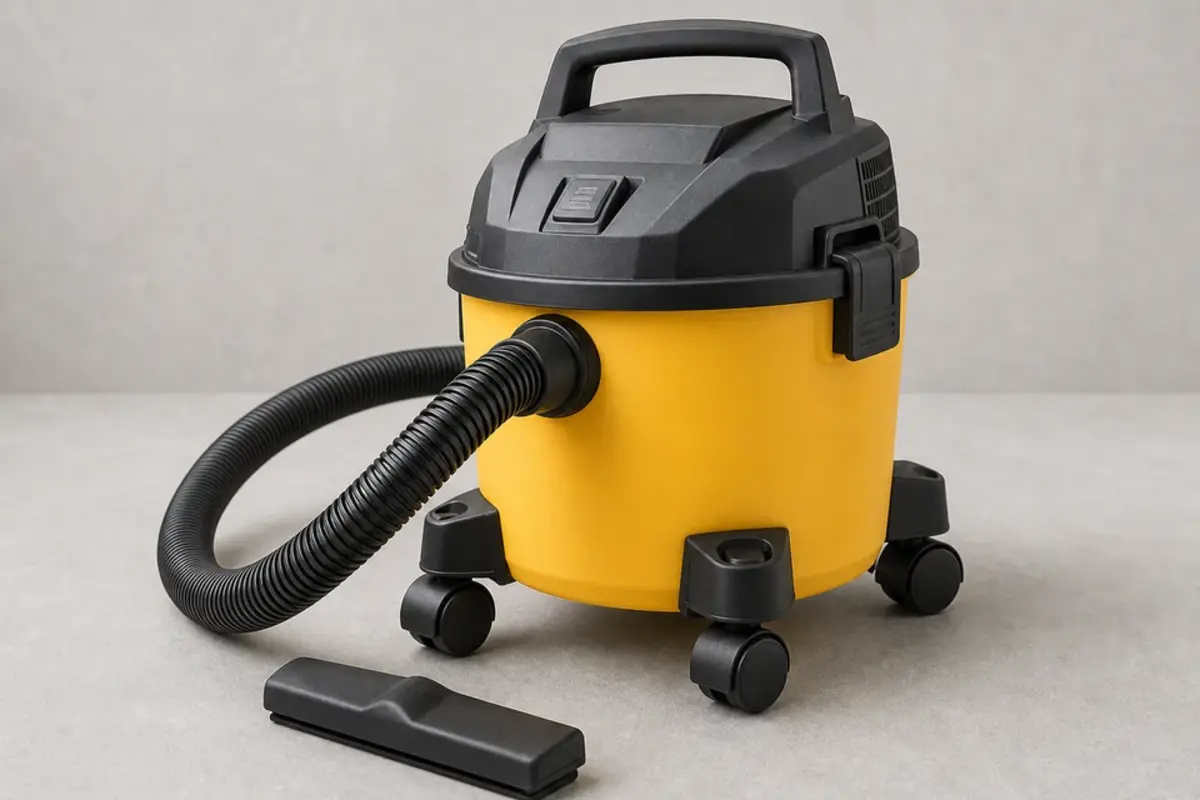
Helps when: It can remove a small safe amount of water or mud after the moisture source is corrected and power is protected.
Skip it when: Do not use it in standing water near wiring, plugged-in equipment, sewage, or ongoing water entry.
Compare wet/dry vacuums on AmazonNo. A lot of crawlspace moisture is ground vapor or condensation on cool ducts and pipes. If the space gets wetter right after rain, check gutters, downspouts, grading, and foundation edges first. If it stays damp in dry weather, look for torn plastic, exposed soil, or one wet plumbing zone.
Not always. In hot humid weather, open vents can bring in more moisture and make ducts, pipes, and framing sweat. Venting helps only when the outdoor air is actually drier than the crawlspace air.
Only after you deal with active water entry and remove standing water or heavy mud. New plastic over a wet crawlspace can hide the problem, trap water, and tear quickly if the surface below is rough or saturated.
That usually means moisture is coming up from the soil and condensing under the plastic. Lift only a dry-looking edge and compare the top and underside. If the crawlspace also gets muddy or puddled after rain, check exterior drainage before sealing anything down.
Call when you have standing water, soft joists or subfloor, repeated wetting after rain despite drainage fixes, widespread mold, sewage contamination, or a source you cannot pin down. Probe suspect wood lightly and look for the matching water path; if the clue is still unclear, the job may need waterproofing, drainage redesign, cleanup containment, or structural repair.
Sometimes, if the wood is only stained and still hard. Drying does not restore wood that is soft, crushed, sagging, or punky. Probe lightly and stop if structural framing gives way under the tool.
No, not as the main repair. A dehumidifier can help after drainage, leaks, ground cover, and condensation sources are addressed. If water keeps entering, the machine is just chasing the symptom.
No. Mold treatment does not fix wet soil, rain entry, plumbing leaks, or condensation. Wear gloves and eye protection for a minor musty inspection. Look at the supply line, drain, joist, and moisture source first, and stop for professional removal if the growth is widespread or the damaged material cannot be cleaned safely.
A single wet corner often lines up with an outside clue or one plumbing run. Check the matching exterior corner for a downspout, low grade, hose discharge, or ponding, then check fixtures above that area.
Repair Riot built this page around source-first crawlspace triage: rain pattern, ground vapor, plumbing leaks, condensation, and structural stop points. The sequence keeps treatment and replacement advice behind the moisture diagnosis.