Is the tank damp all over after you dry it?
Treat broad beads or a wet film as condensation first, especially in a humid basement or garage.
If a water heater expansion tank drips, start by drying the tank, pipe, and valve area. Trace the first wet spot with a paper towel before you tighten or replace anything.
Check the towel first: shell beads usually mean condensation, a wet top fitting points to the threads, and seam or air-valve water points to a failed tank.
Water runs around the tank body, so the puddle rarely tells the whole story. Prove the starting point first.
Don’t start with: Do not tighten, tape, cap, or replace anything while the line is pressurized and the leak point is still unclear.
Treat broad beads or a wet film as condensation first, especially in a humid basement or garage.
Focus on the threaded connection and the pipe above it. The tank body may only be carrying water downward.
That points to a failed expansion tank. Do not try to seal the shell or keep tightening the connection.
Put thermal expansion, a waterlogged tank, and high house pressure ahead of random splashes.
Stop treating the expansion tank as the only problem. The pressure side of the plumbing needs diagnosis.
Separate three patterns before you buy an expansion tank or touch a threaded connection. Look for broad sweating, a top-fitting drip, or a body or seam leak.
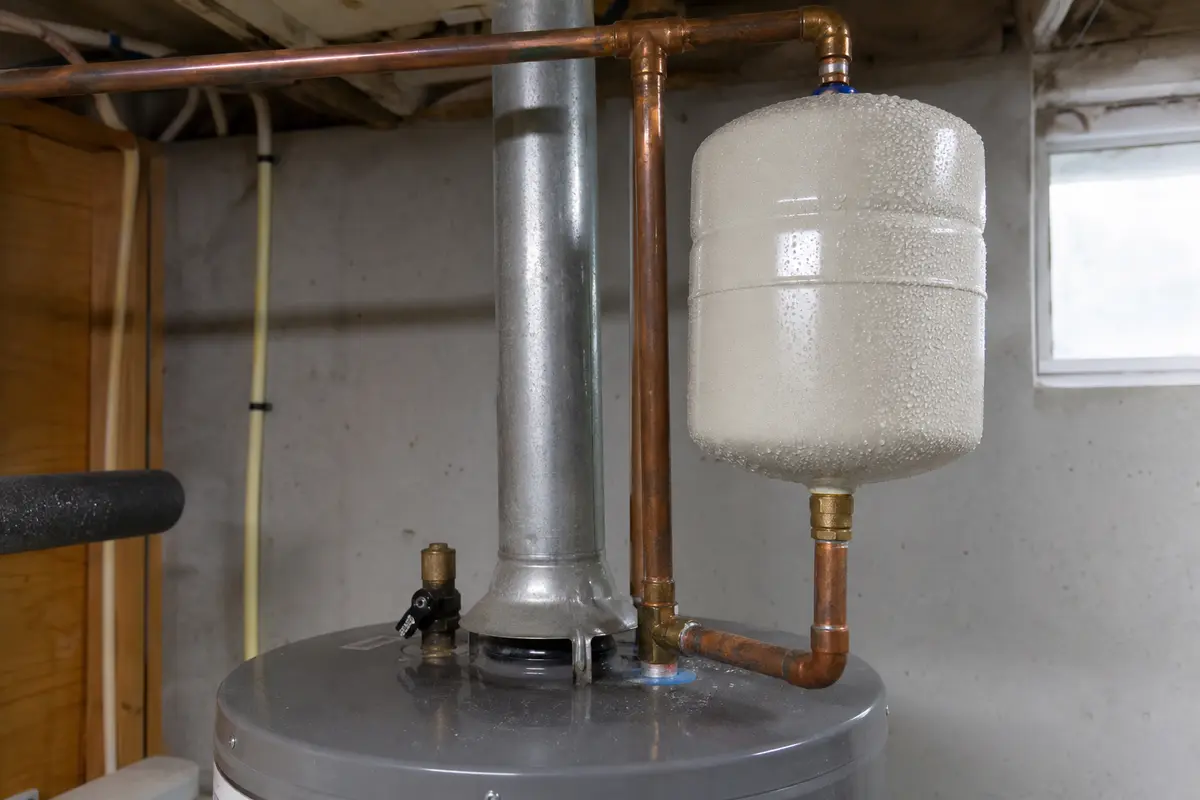
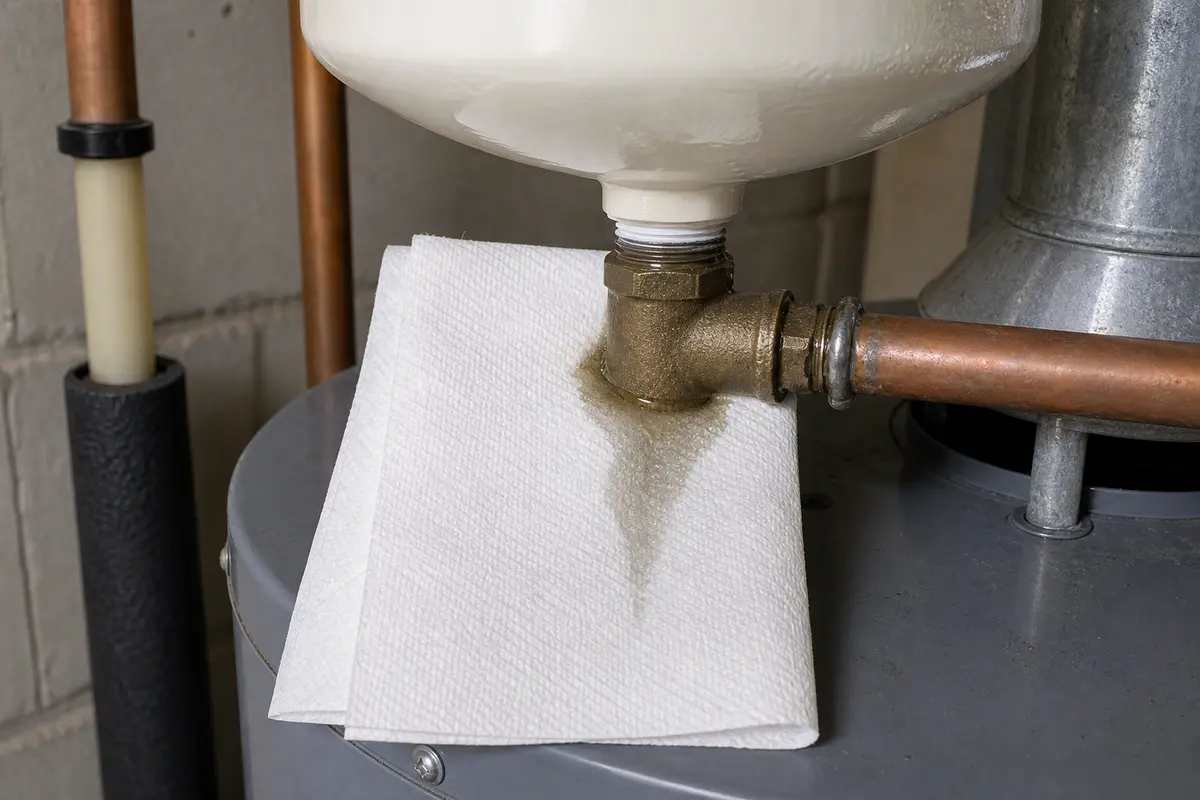
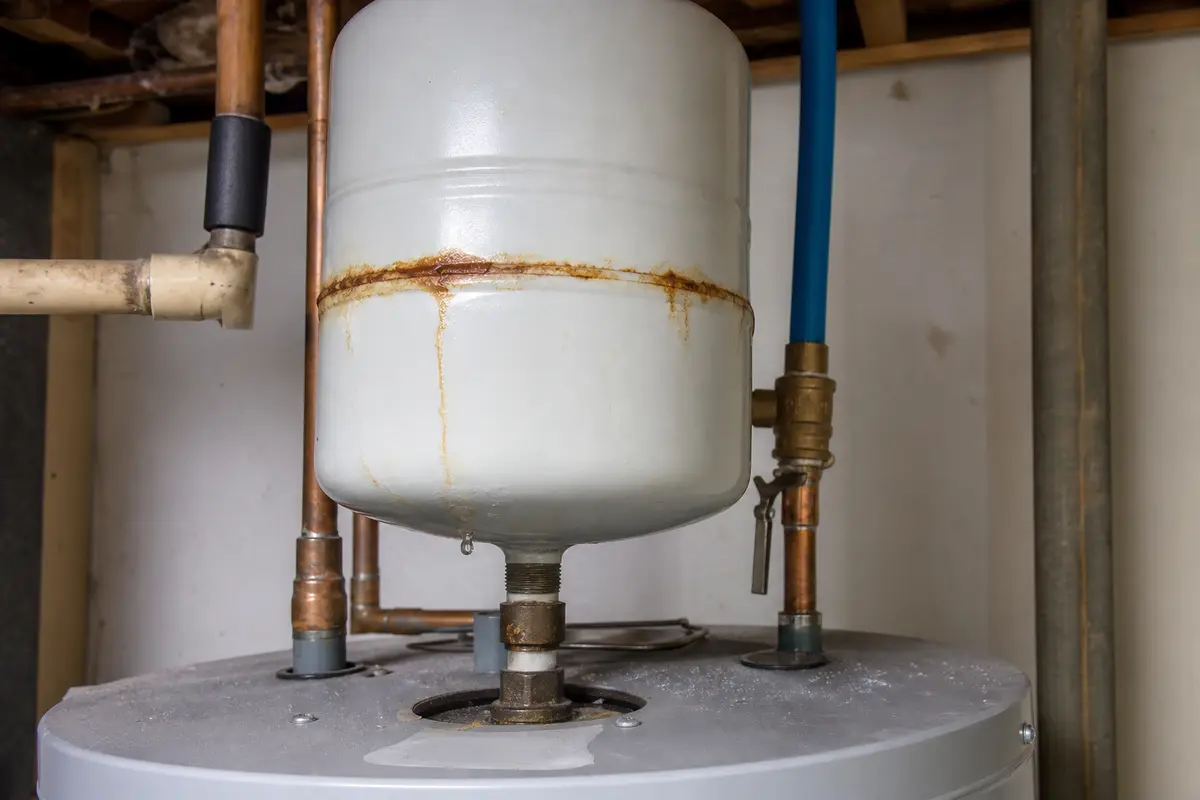
Dry the tank, cold-water pipe, and top fitting. Use a paper towel to trace the first wet spot. Even beads across the shell mean humidity gets handled before parts. A wet top fitting sends you to the threaded joint. Replace the tank only if the shell, seam, air valve, or waterlogged feel points that way. Match the model, connection size, potable-water rating, and pressure setup.
A water heater expansion tank can look guilty even when the water started somewhere else. Dry surfaces give you a clean read.
Most bad expansion tank repairs start before the leak point is proven. Keep the first pass slow and external.
This is the most useful homeowner check on the page. It costs almost nothing and keeps you from replacing the wrong part.
Once you know where the water starts, the next step is much narrower. Use the pattern instead of the puddle.
| What you see | What it usually means | Next move |
|---|---|---|
| Fine beads across the whole shell | Condensation on a cold tank | Improve airflow or humidity control and keep watching for a single-point drip |
| Top fitting gets wet first | Threaded connection or pipe joint leak | Shut water off, relieve pressure, support piping, and reseal only if you are comfortable |
| Water comes from air valve | Internal bladder has failed | Replace the expansion tank with the correct size and pressure setup |
| Wet seam, rust track, or pinhole on shell | Tank body has failed | Do not patch the shell; plan replacement and check support |
| Drip happens after reheating and relief valve also weeps | Thermal expansion or house pressure is likely | Have pressure checked before blaming only the tank |
Do not buy an expansion tank just because the area is wet. Replace it when water comes from the air valve, the shell or seam stays wet, or the tank still feels waterlogged after pressure is relieved.
Use tools only after the first wet spot points to a safe homeowner check. If the tank is heavy, overhead, or tied into stressed piping, make it a plumber visit.
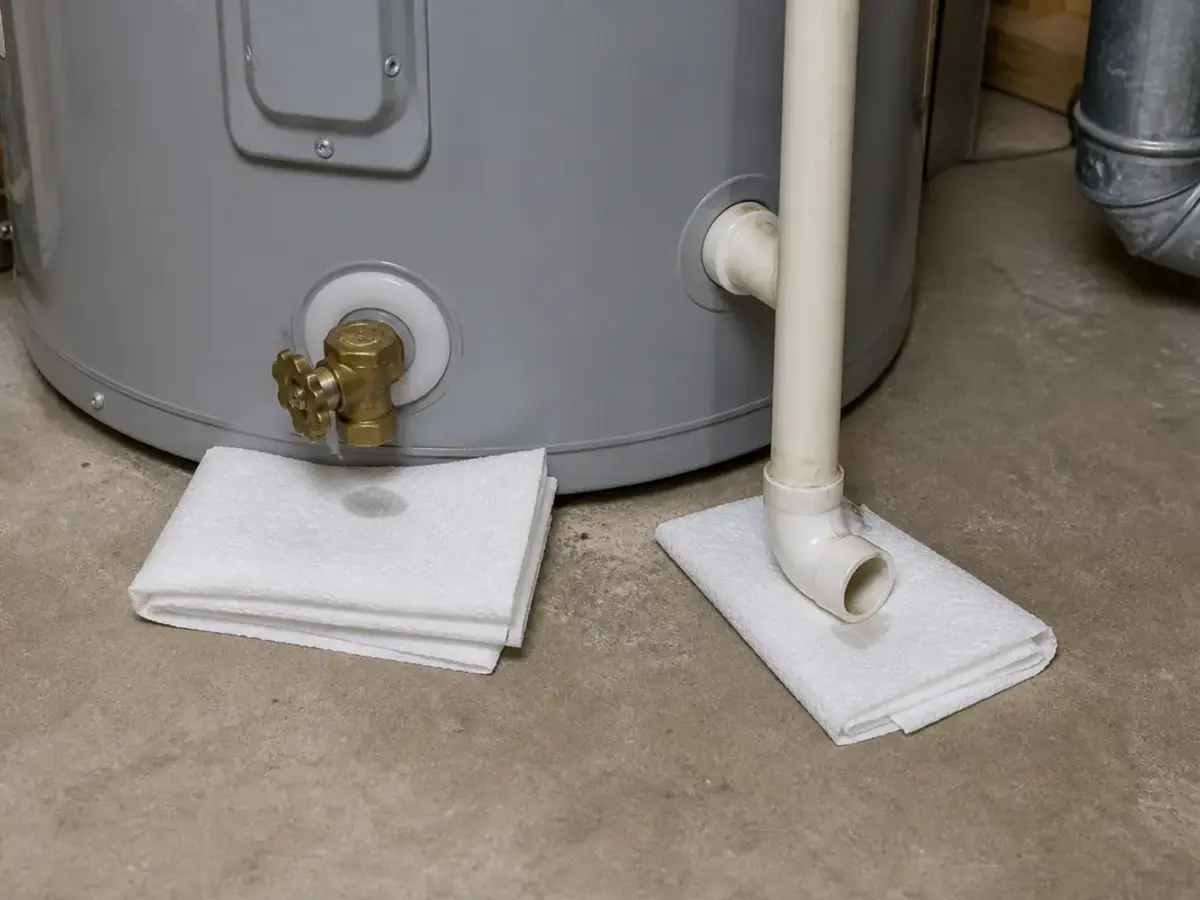
Helps when: You need to prove whether water starts at the top fitting, on the shell, or as broad condensation.
Skip it when: Water is spraying, hot discharge is active, or water is near electrical controls.
Compare shop towels on Amazon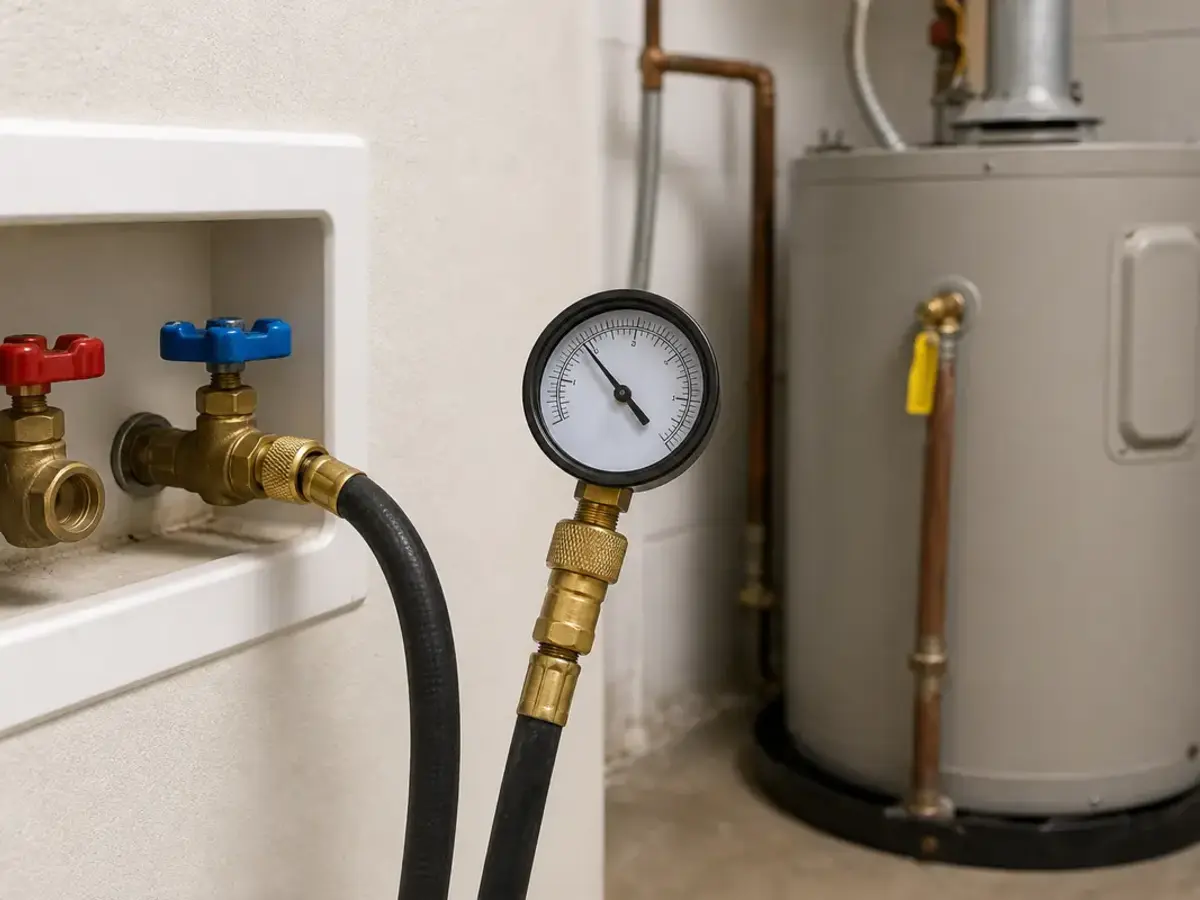
Helps when: The drip appears after reheating or the relief valve also drips, so house pressure needs a real reading.
Skip it when: You cannot safely access a hose bib or laundry faucet, or pressure symptoms are severe enough for a plumber now.
Compare water pressure gauges on AmazonAs an Amazon Associate I earn from qualifying purchases. Repair Riot may earn a commission at no extra cost to you.
Parts come after diagnosis. A connection leak, a sweating tank, and a failed bladder do not call for the same purchase.
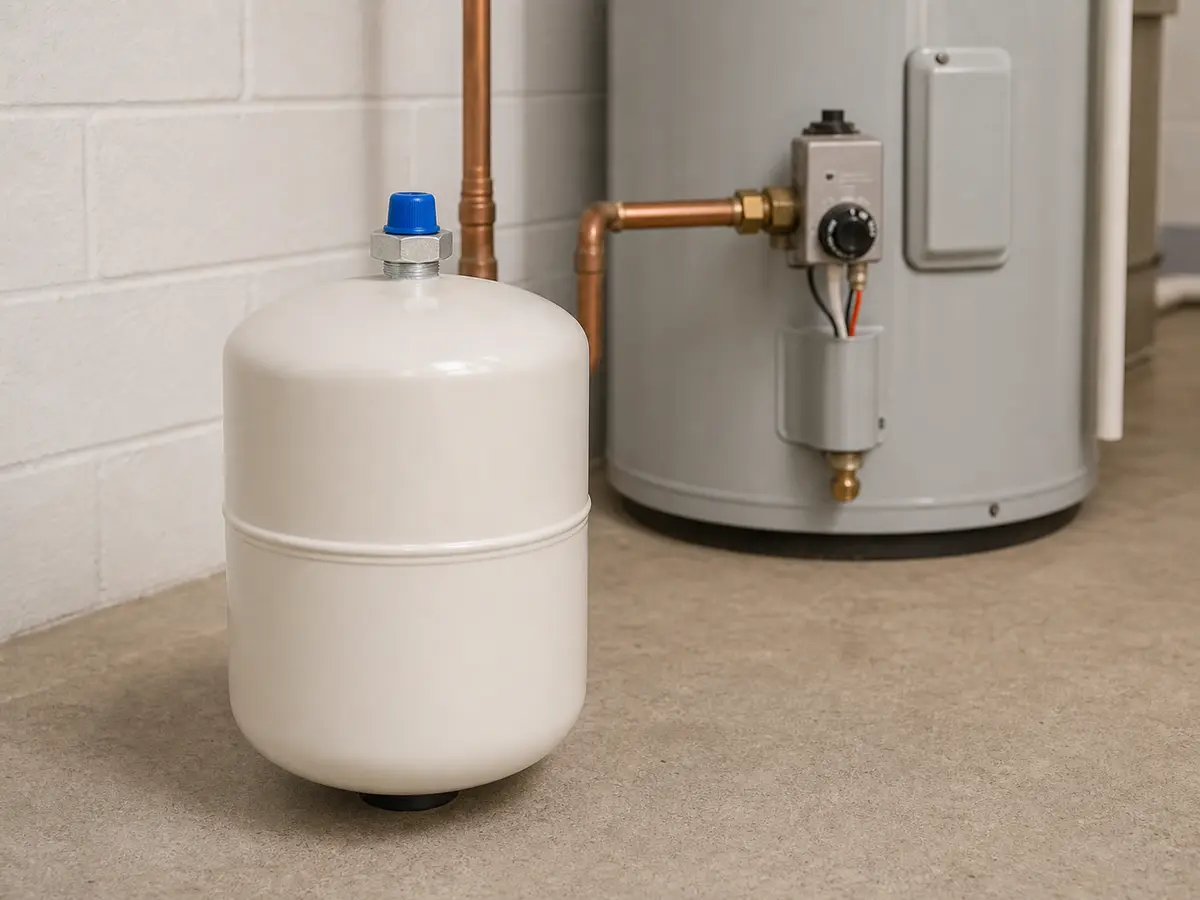
Helps when: The tank shell leaks, the seam stays wet, the tank is waterlogged, or water comes from the air valve after safe pressure relief.
Skip it when: The only confirmed moisture is condensation or a top threaded connection leak.
Compare water heater expansion tanks on Amazon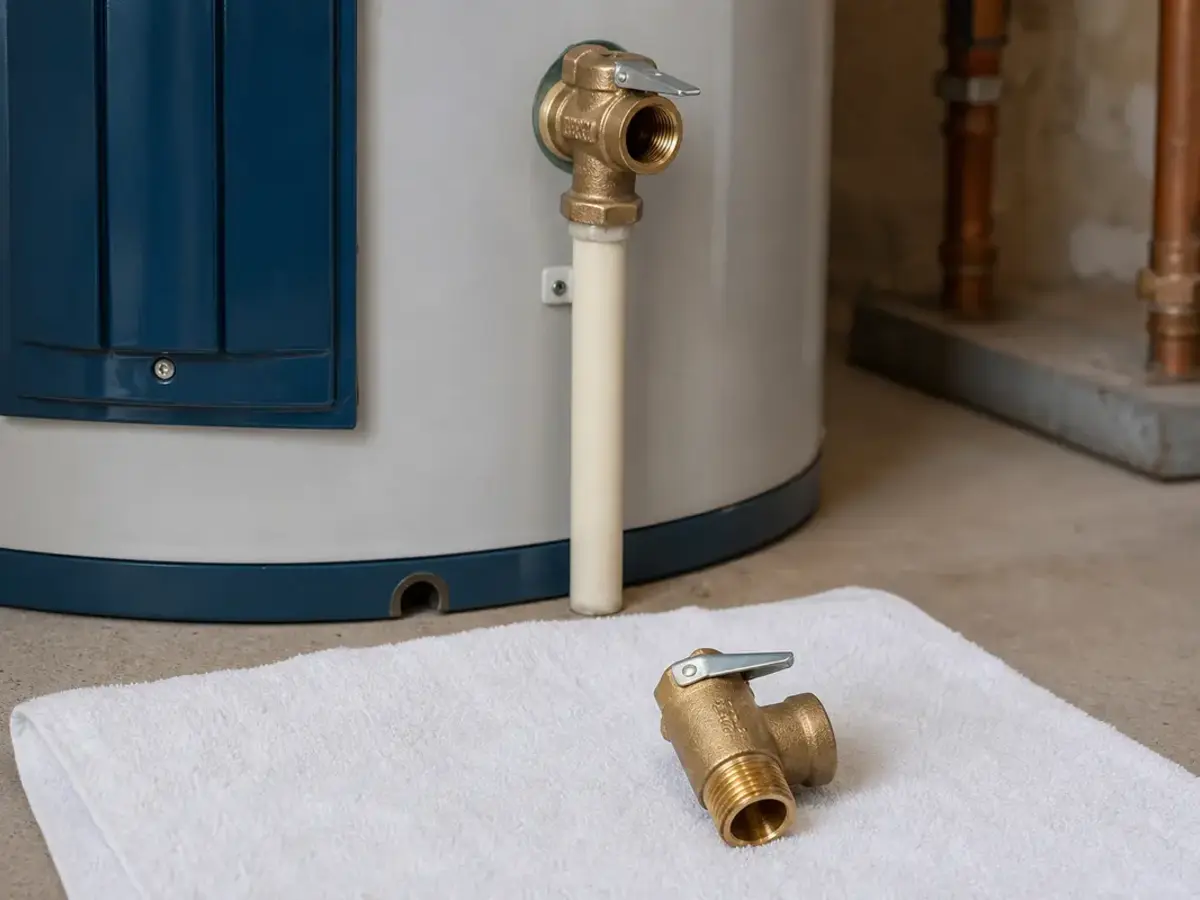
Helps when: The expansion tank issue is corrected. The relief valve still seeps during normal pressure and temperature conditions.
Skip it when: The relief valve is opening during a pressure rise. Fix the pressure cause first.
Compare water heater relief valves on AmazonAs an Amazon Associate I earn from qualifying purchases. Repair Riot may earn a commission at no extra cost to you.
No. A cold tank in a humid room can sweat. Dry the shell, nearby pipe, and valve area. Check the pattern as moisture returns. Even beads point to condensation. One wet fitting, seam, or shell spot is a real leak clue.
After pressure is relieved, tap the upper and lower parts of the tank and check the air valve. A waterlogged tank often sounds dull and heavy throughout, may feel full from top to bottom, and may release water from the air valve. Those clues point to a failed internal bladder.
Only if you have confirmed the leak is at the threaded connection and the piping is properly supported. Blindly cranking harder on the tank can twist the pipe or crack a fitting.
That timing usually points to pressure rise while the water heater reheats. Dry the tank after a shower. Check the top fitting, shell, and relief valve during recovery. A failed expansion tank or high house water pressure often shows up after heavy hot-water use.
Not automatically. Replace the relief valve only if it is the part actually dripping after the expansion tank issue is corrected. If both leak during heating, house pressure may need to be checked too.
It is better not to. Even a slow drip can rust fittings, damage finishes, and hide a pressure problem. If the shell or seam is leaking, plan on replacing the expansion tank soon.
That timing usually means pressure is rising as the water heats. Dry the tank before a recovery cycle. Check whether the top fitting, shell, air valve, or relief valve gets wet first. A waterlogged expansion tank, high incoming pressure, or a closed plumbing system without enough expansion control can make the drip appear after recovery cycles.
Call a licensed plumber if the tank is overhead, unsupported, badly rusted, tied into rigid stressed piping, or if you cannot shut off water at the valve and relieve pressure cleanly. Replace the tank yourself only when it is easy to reach, the size and pressure setup are known, and the piping can be supported while the tank comes loose.
Repair Riot starts with the visible symptom, then separates the simple checks from the stop points. These sources support the model, pressure, and water-heater safety details used on this page.