Battery-only alarm with no sound?
Match the exact battery type on the label, check polarity, cleanly seat the contacts, close the drawer, and hold TEST for several seconds.
If the test button does nothing, treat the alarm as unproven protection. Start with a fresh matching battery, a full button hold, hardwired power, and the manufacture date; replace the detector if those checks are clean and it stays dead.
If you hear no beep and see no light change after a proper hold, check battery fit and the breaker. With correct power and an in-date label, a dead unit points to a failed detector head, not the switch.
Sort battery-only and hardwired units first. Do not open splices or leave a sleeping area without a working alarm while you troubleshoot.
Don’t start with: Do not keep pressing the button, silence warnings, or take apart wiring. If you smell heat or see damage, turn the circuit off and call an electrician.
Match the exact battery type on the label, check polarity, cleanly seat the contacts, close the drawer, and hold TEST for several seconds.
Look for a dead power light, another dark alarm, and one clearly tripped breaker. Stop if the next step means exposed wiring.
Check the manufacture date, battery contacts, and whether the battery door fully latches. A past-service-life label, visible corrosion, or a loose door points to replacement rather than button repair.
Focus on that unit's battery fit, mounting lock, dust, age, and plug-in harness before blaming the whole circuit.
Treat it as lost circuit power or an interconnect issue. Leave wiring and repeated breaker trips to an electrician.
Leave the home first. Fresh air and emergency help come before any button, battery, or breaker check.
Look at the label and battery drawer first. Check polarity, the hardwired power light, the plug-in connector, vent dust, and the manufacture date. If a full button hold still gives no beep or light change, replace the unit or call an electrician for lost circuit power.
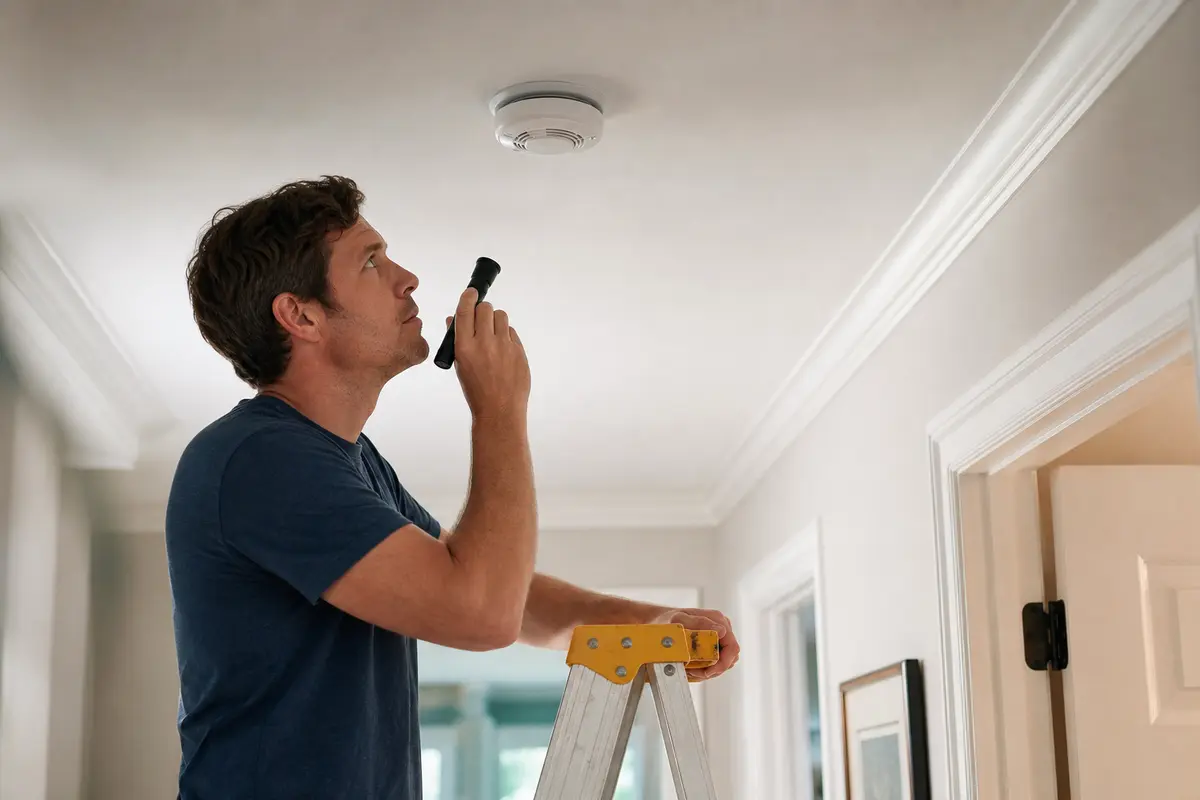
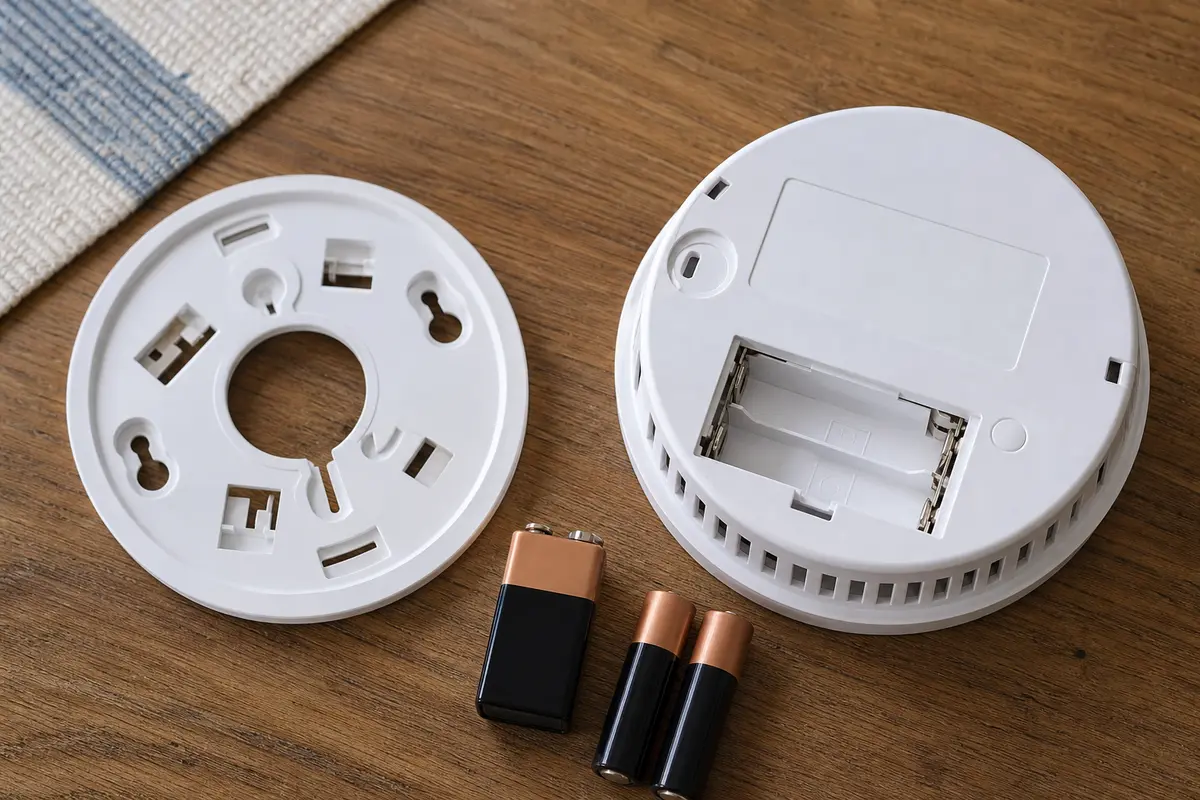
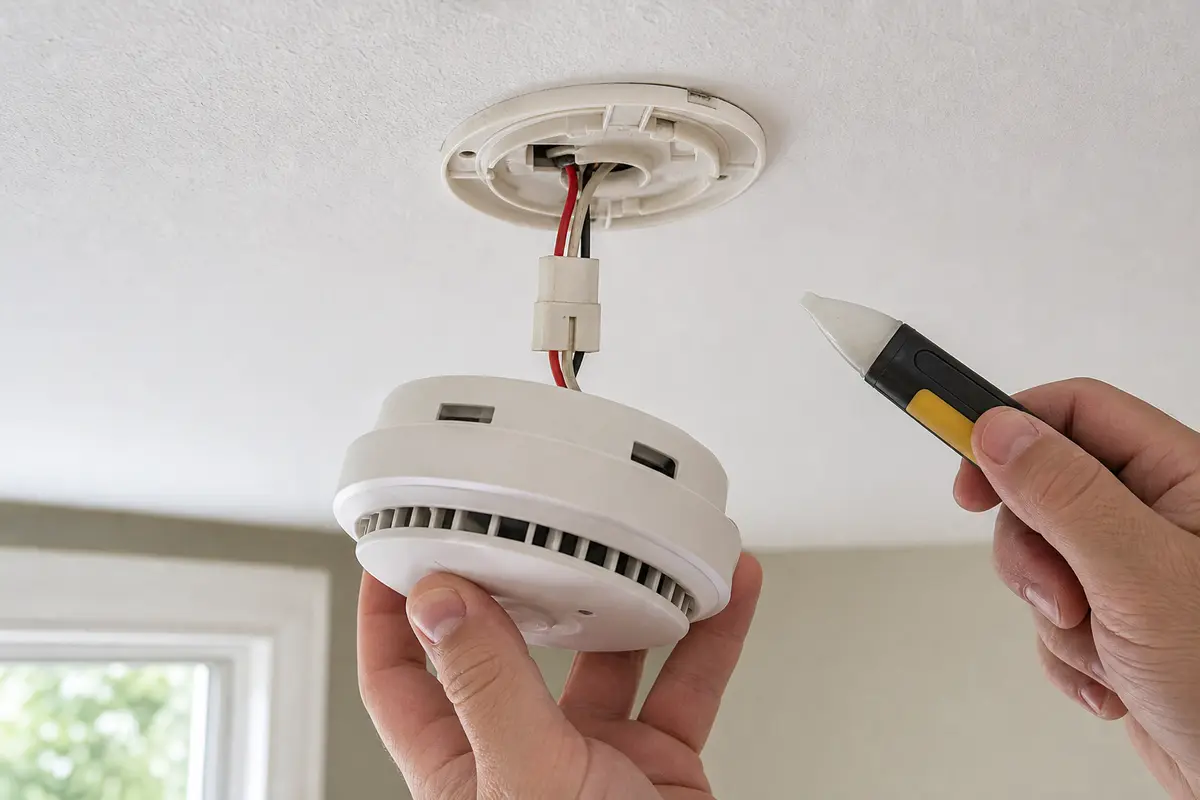
Do not buy a detector, battery, or mounting plate from the dead button alone. Check the battery drawer, house power, in-date label, and temporary alarm coverage first. If replacement is warranted, compare the model label, alarm purpose, power setup, interconnect, mounting plate, and manufacturer instructions.
A dead button is the symptom. If you hear no beep and see no light change after a full hold, check battery fit, hardwired power, age, vent dust, and the detector head before you blame the switch.
A non-responsive alarm is already a safety problem. Keep the home protected and avoid turning a simple replacement into a wiring issue.
Use the first visible result to pick the next move. The same dead button means different things on a battery alarm, a hardwired alarm, and an expired detector.
| What you find | What it usually means | Next move |
|---|---|---|
| No beep, no light, battery-only alarm | Battery is missing, wrong, weak, reversed, or not making contact | Install the exact battery type, close the drawer, and test again |
| Hardwired alarm has no power light | House power may be off to the alarm circuit | Check nearby alarms and one clearly tripped breaker; stop if wiring is exposed |
| Fresh battery and correct hold still do nothing | Detector may be expired, corroded, contaminated, or internally failed | Read the manufacture date and inspect contacts and vents |
| Only one alarm is dead while others test | Single unit failure is more likely than whole-home power loss | Replace that detector if age, battery fit, and mounting checks are clean |
| Several hardwired alarms are dead | Circuit power, interconnect wiring, or a shared installation issue may be involved | Call a licensed electrician if a breaker reset does not restore a normal alarm response |
| Any heat smell, scorching, or repeat breaker trip | Electrical overheating or a circuit fault is possible | Leave the circuit off and schedule electrical service |
Stay with exterior checks, labels, batteries, and plug-in connectors. Stop before house wiring or live electrical work.
These alarms are replacement devices. Once age, damage, or contamination is the clue, the repair path gets shorter.
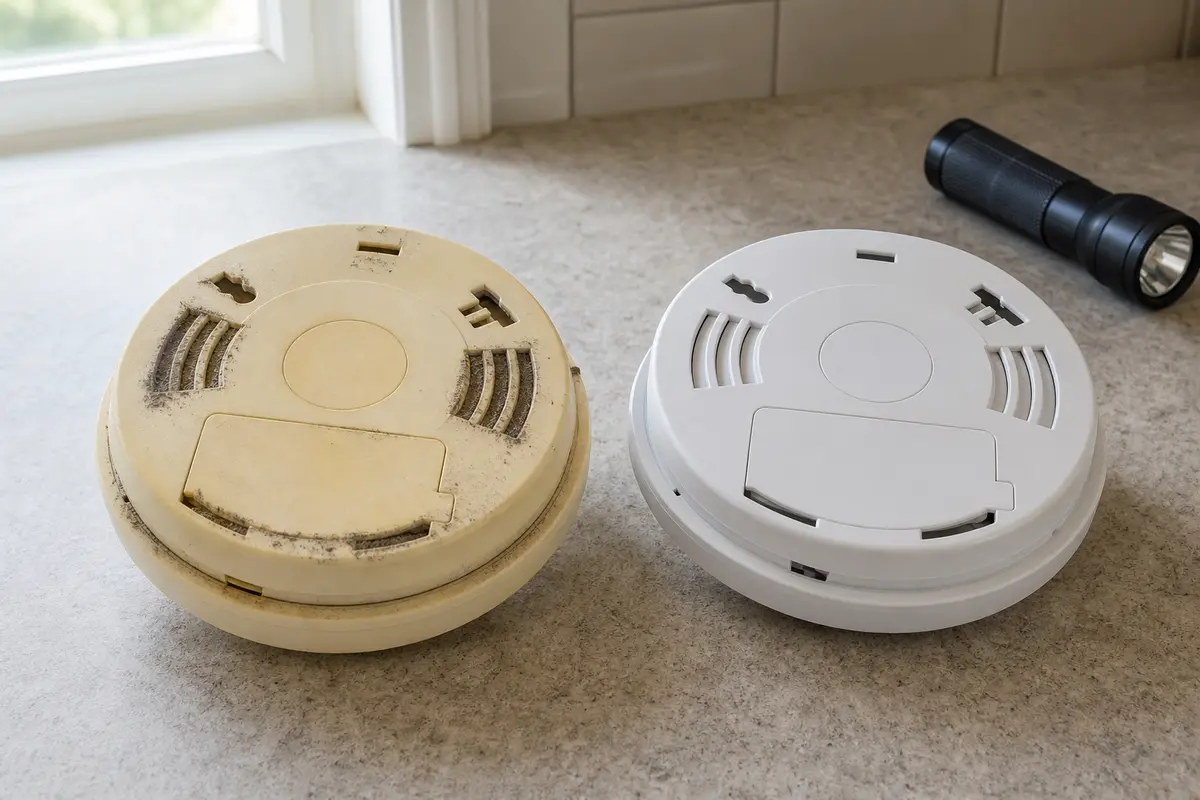
These tools support safe observation and light exterior cleaning. They do not make exposed wiring or a repeat breaker trip a homeowner repair.
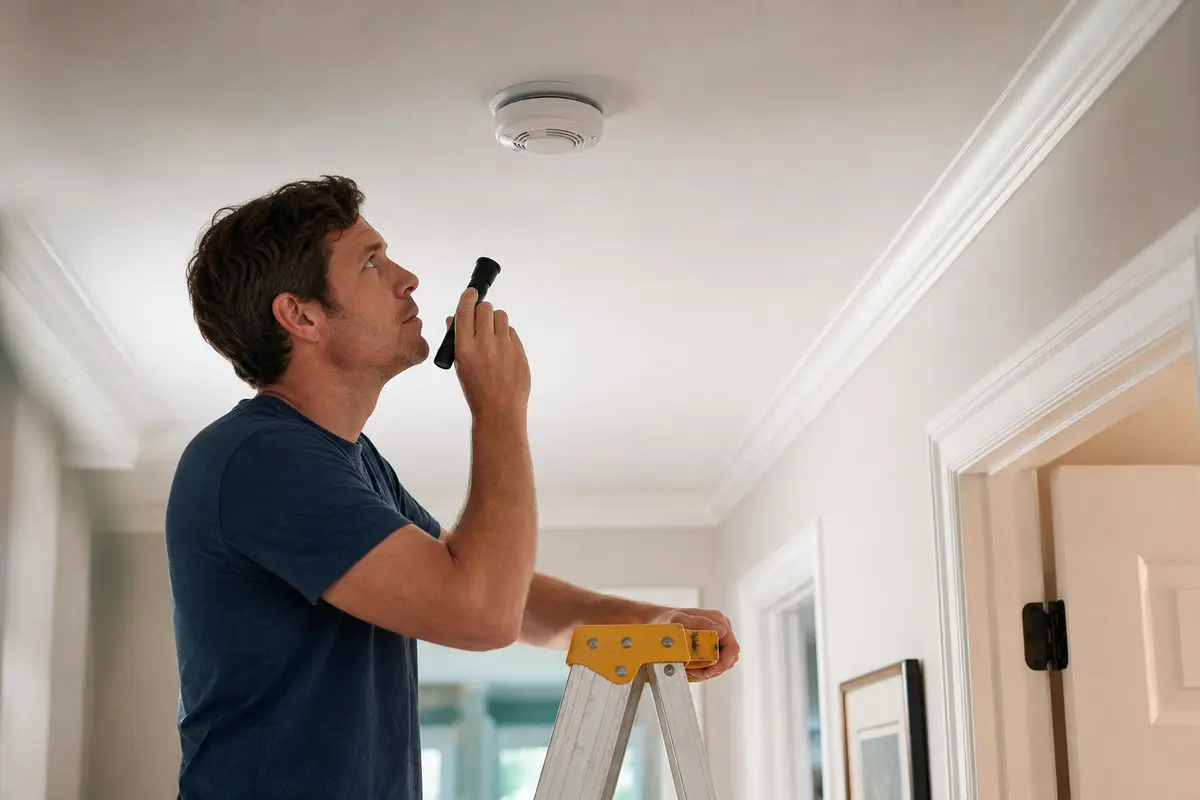
Helps when: You can reach the detector squarely without leaning, standing on furniture, or stretching from the top step.
Skip it when: The detector is over stairs, the ladder cannot sit level, or you cannot keep both hands free enough to twist the alarm safely.
Compare step ladders on Amazon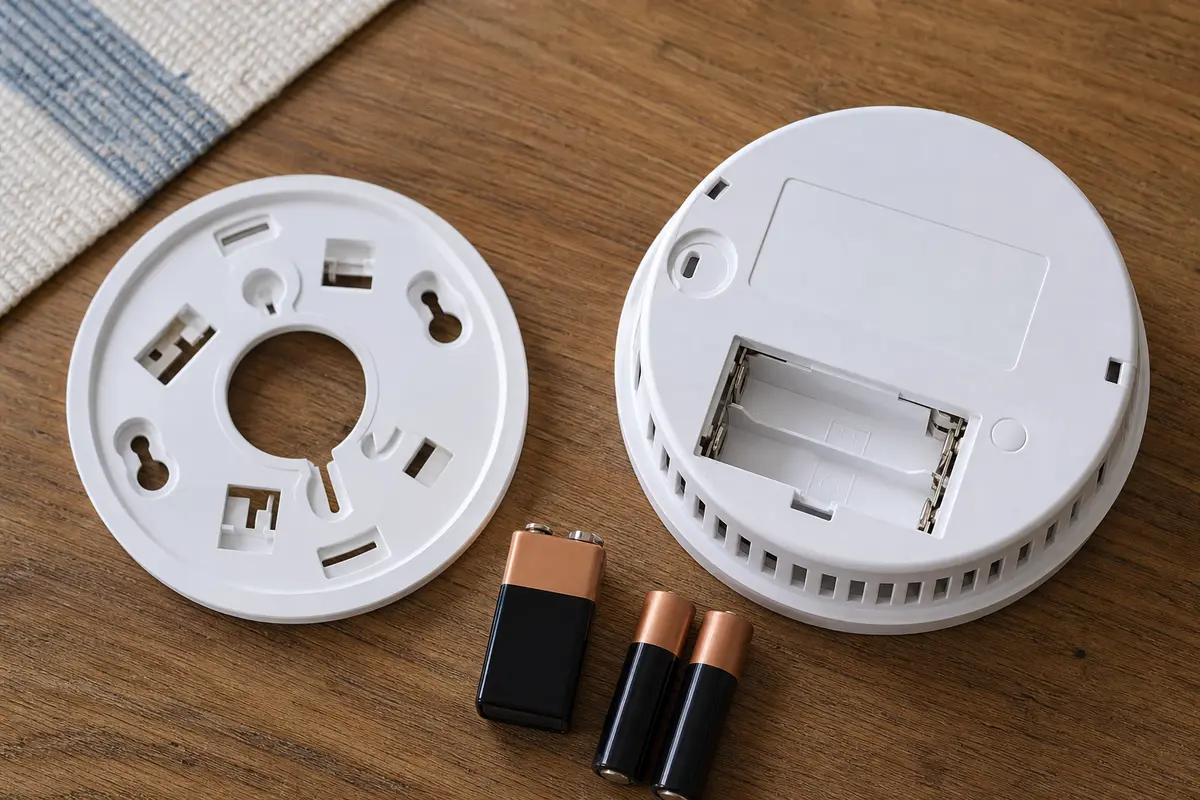
Helps when: You need to read the battery label, manufacture date, contacts, power light, and dust at the vents.
Skip it when: Better light still leaves the label unreadable or the next step would expose house wiring.
Compare inspection flashlights on Amazon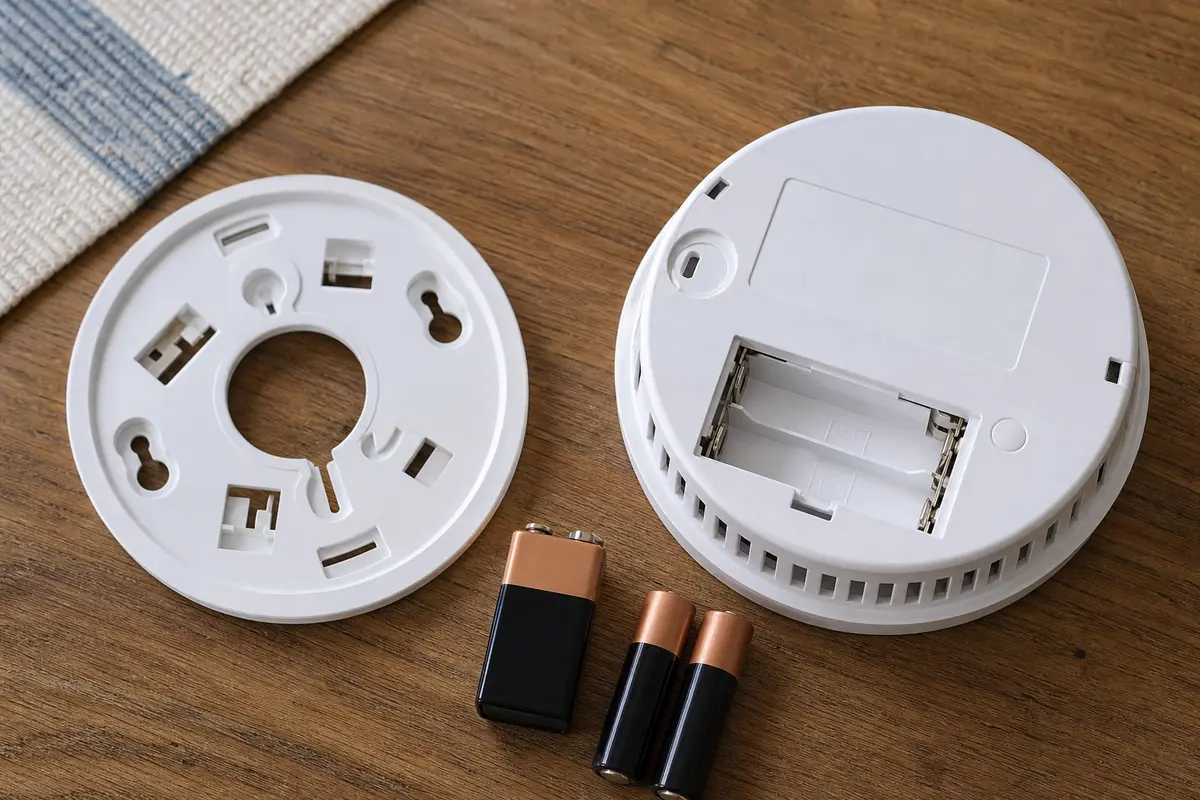
Helps when: The detector is in date and only has loose exterior dust at the vents.
Skip it when: The detector is painted, wet, insect-packed, melted, or still dead after clean power and a correct battery.
Compare soft brush attachments on Amazon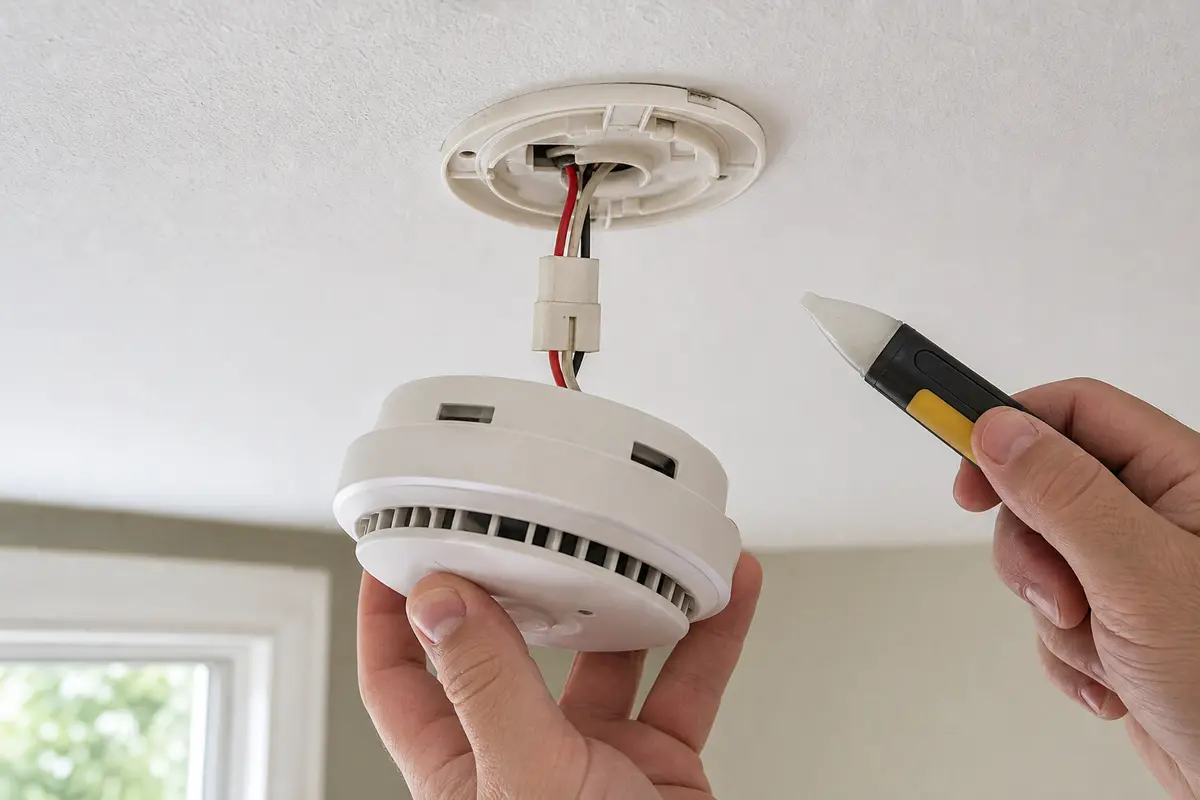
Helps when: You have already turned off the breaker and need a screening check before going near a hardwired mounting area.
Skip it when: The alarm circuit behavior is unclear, the tester still shows power, or any wiring work would be needed.
Compare voltage testers on AmazonAs an Amazon Associate I earn from qualifying purchases. Repair Riot may earn a commission at no extra cost to you.
Put a detector in the cart only after the checks point there: correct battery, clean contacts, seated harness, house power where it belongs, and an alarm that still will not run its test. Then match the alarm type and installation, not just the round plastic shape.
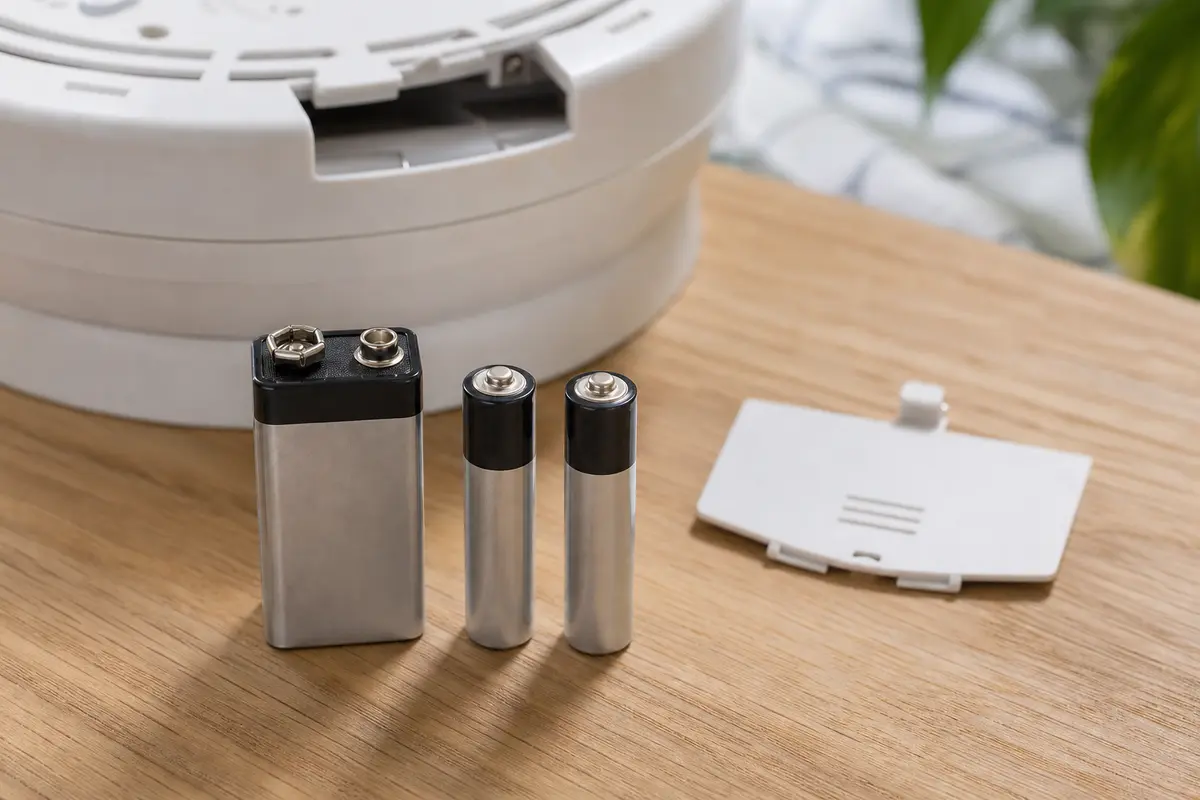
Helps when: The detector label calls for a replaceable battery and the old battery is weak, missing, leaking, wrong type, or not holding contact.
Skip it when: The detector is expired, damaged, corroded, painted, or still dead after the correct fresh battery.
Compare detector batteries on Amazon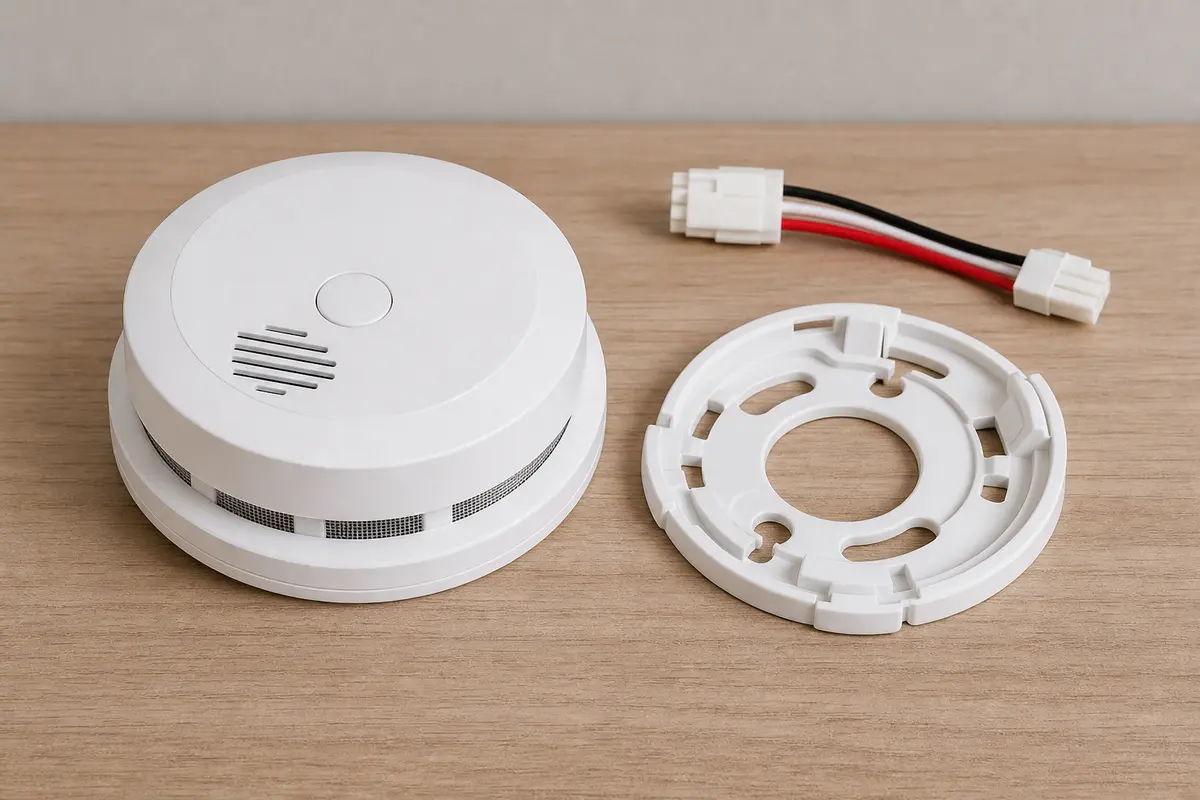
Helps when: A battery-only detector is expired, damaged, or dead after a correct battery and full button hold.
Skip it when: The old unit is hardwired, interconnected, or protecting a location that requires a different alarm type under the local rules.
Compare battery alarms on Amazon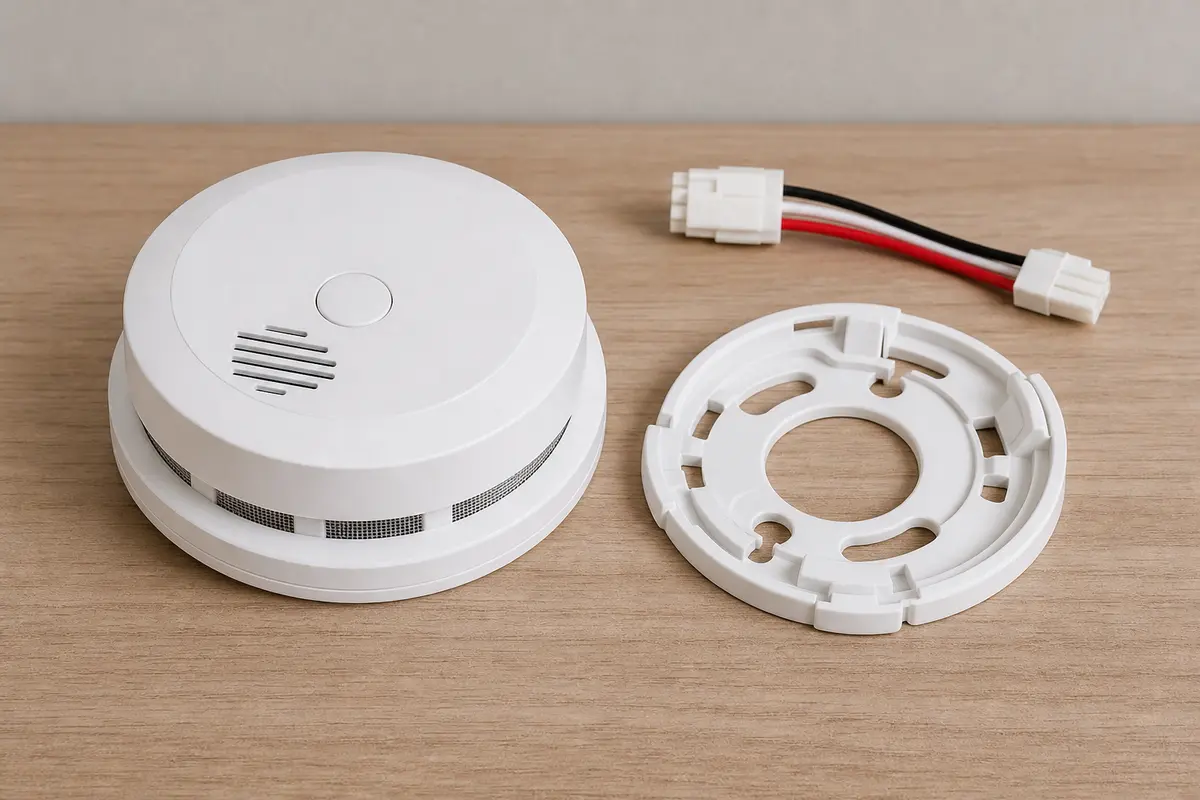
Helps when: A hardwired unit has house power, a seated harness, a fresh backup battery, and still will not run its built-in alarm cycle.
Skip it when: Multiple alarms are dead, the breaker trips again, wires are scorched, or you cannot match the wiring and interconnect setup.
Compare hardwired alarms on Amazon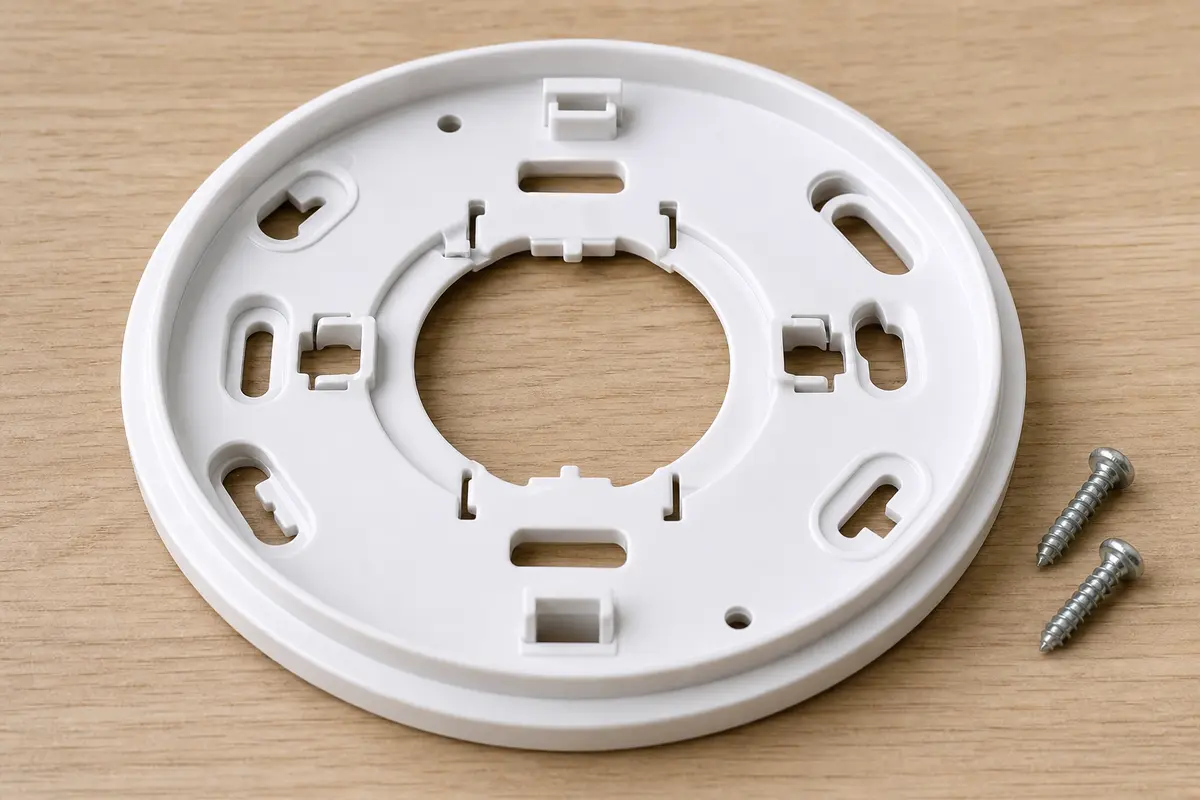
Helps when: The old plate is cracked, missing, warped, or does not lock the replacement detector securely.
Skip it when: The replacement alarm includes its own plate or the plate mismatch is really a hardwired adapter or wiring problem.
Compare detector mounting plates on AmazonAs an Amazon Associate I earn from qualifying purchases. Repair Riot may earn a commission at no extra cost to you.
No. A detector that will not respond to its built-in test is not protection you should count on. Restore coverage with a working alarm while you check battery fit, hardwired power, age, and condition.
Look at the label, not just the package. The battery may be the wrong size or chemistry, installed backward, not snapped in firmly, or blocked by a battery drawer that is not fully latched. After that, check the manufacture date and the contacts.
Yes, but treat it as a failed detector. If you hear no beep or see no light change after a proper hold, check battery fit and hardwired power. If both pass, replace the alarm instead of repairing the switch.
Most hardwired units also use a backup battery, and many will not behave normally if that battery is dead, missing, or not seated. Check the battery drawer, the power light, nearby alarms, and one clearly tripped breaker before replacing the unit.
Hold it for several seconds. Some alarms need more than a quick tap before the test cycle starts, so follow the label or manual and listen for the full normal response.
Check whether nearby hardwired alarms are also dark, then look for one clearly tripped breaker. Reset a tripped breaker once. If it trips again, multiple alarms stay dead, or the next step exposes house wiring, call a licensed electrician.
Replace one when one detector clearly failed and the others are in date, powered, and testing normally. Replace the group when several alarms are the same age, near end of life, or starting to fail one after another.
Look for dust or insect debris on the vent openings. Clean the exterior with a soft brush vacuum attachment only; do not push anything through the slots. Skip liquids, sprays, and canned chemicals. If fresh power and a proper hold still get no response, replace it.
Use the built-in test and the manufacturer's instructions first. If the button will not start a normal test response, do not rely on improvised smoke or aerosol testing to prove the alarm is safe.
Treat it as missing smoke and CO protection until a working alarm is back in place. If anyone has headache, dizziness, nausea, confusion, or a CO alarm is sounding, do not test or check the detector first. Get everyone to fresh air and call emergency help.
Repair Riot built this page around homeowner-safe observations: battery fit, hardwired power indicators, manufacture date, exterior dust, alarm coverage, and clear stop points for CO symptoms or wiring hazards. Manufacturer instructions and local code still control the exact alarm choice.