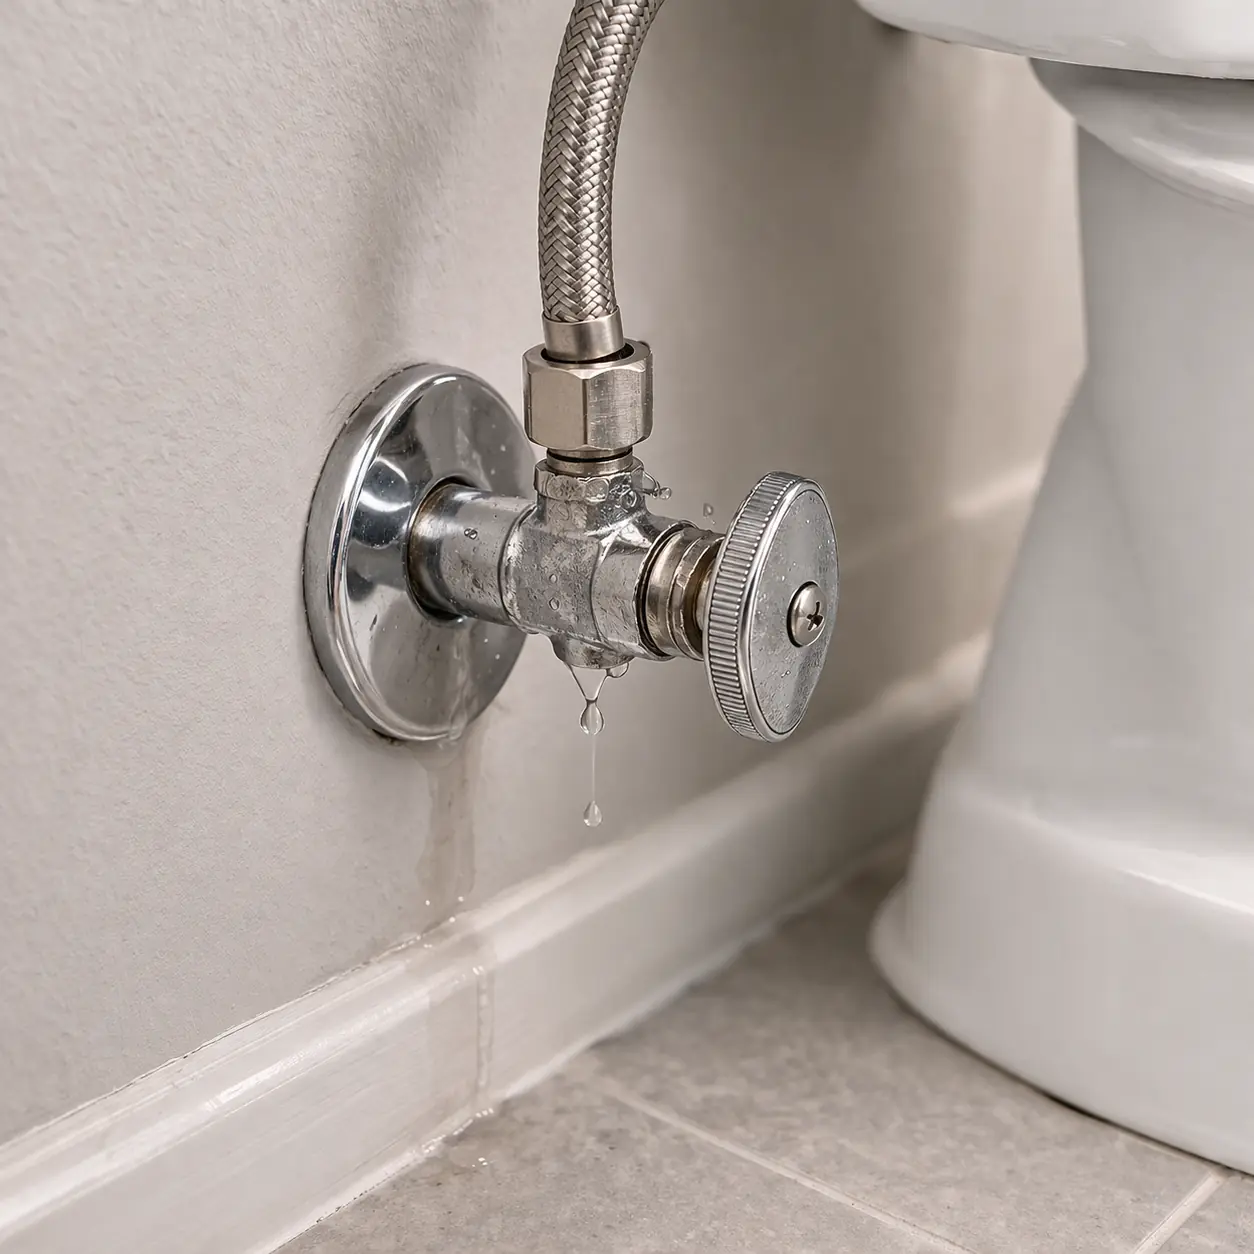
Wet right behind the handle?
Dry the stem, turn the handle gently once, and watch the packing nut. A tiny clockwise snug may stop stem seepage.
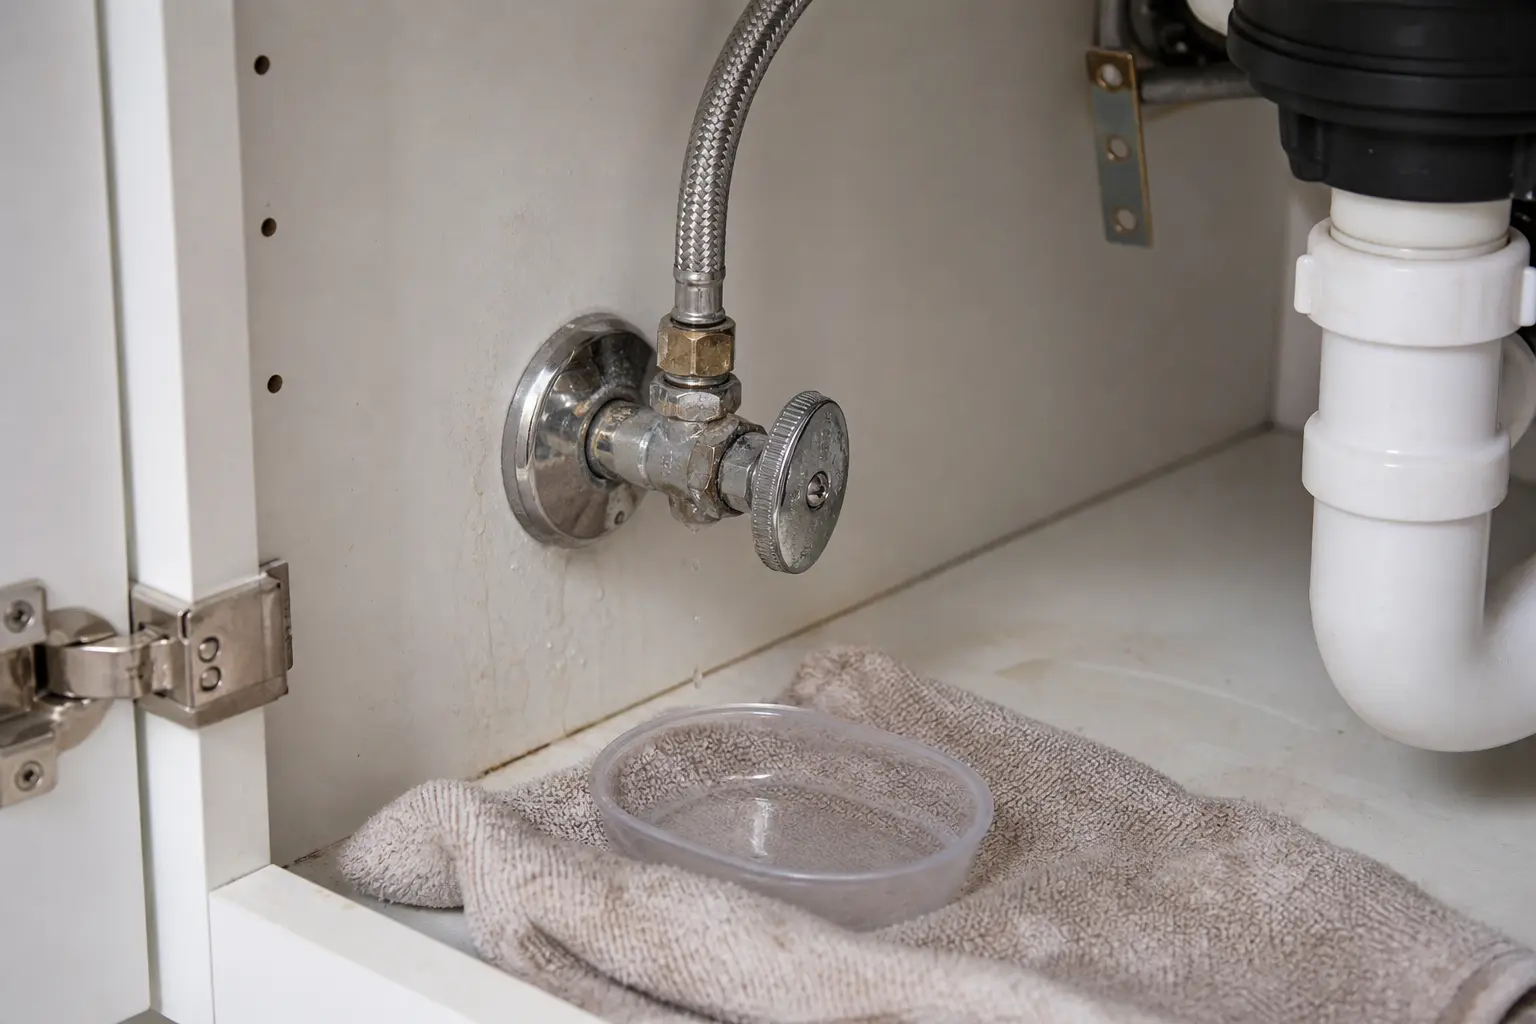
A shutoff valve leak usually starts at the handle stem, the supply-line outlet, the wall-side inlet, or the valve body. Dry the valve first, then watch for the first wet point before tightening or buying anything.
If water appears behind the handle after one gentle turn, check the packing nut first. If the first wet spot is at the braided connector, inspect the outlet nut and washer fit.
One dry paper towel can sort the repair faster than a cart full of lookalike valves.
Don’t start with: Do not force the handle, smear sealant on the valve body, or replace parts until you know where water shows up first.
Dry the stem, turn the handle gently once, and watch the packing nut. A tiny clockwise snug may stop stem seepage.
Support the valve body and inspect the outlet nut and supply-line end. The line or its seal may be the repair, not the valve body.
Dry the wall-side inlet, hold the valve body steady, and test one slight snug at the compression nut. If seepage returns or the pipe moves, shut water off upstream and plan replacement.
A body leak is not a packing-nut repair. Look for pitting, cracking, or mineral crust, then plan replacement or a plumber.
Control the leak first. Shut water off upstream when you can, dry the area, and call a plumber if damage is spreading.
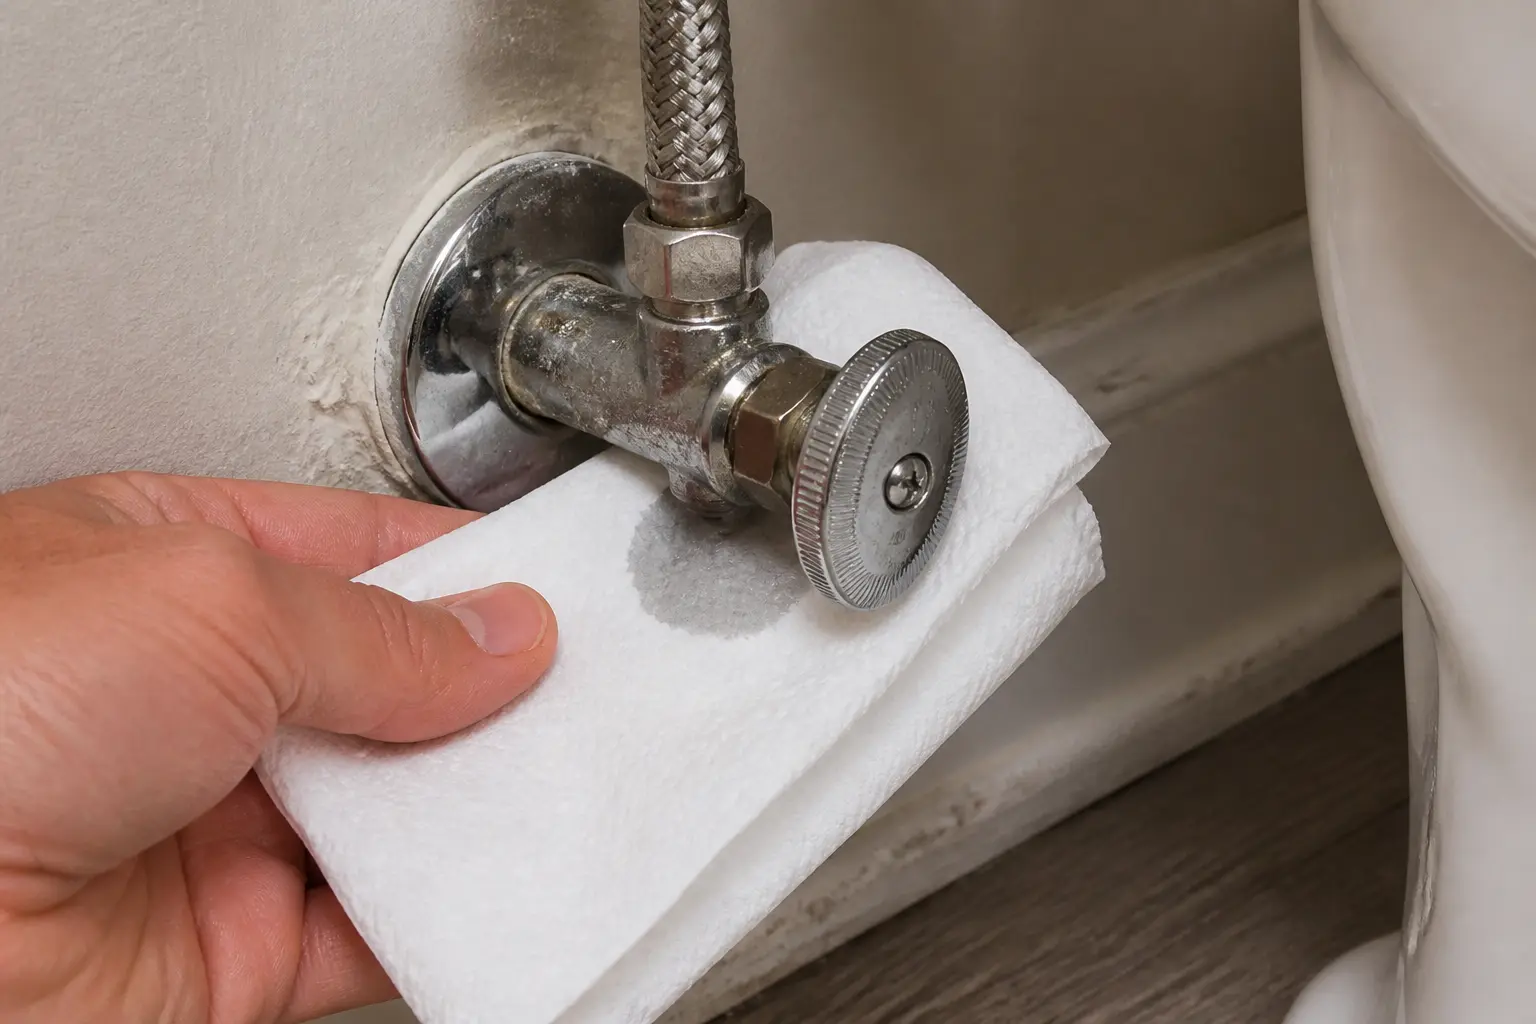
Water can run along chrome and braided hose before it drops. Dry the valve, wrap a fresh paper towel around each joint in turn, and let the first damp spot identify the repair area.
Do not buy a shutoff valve or supply line until the wet-point check supports it. Match the exact connection type, valve shape, pipe size, outlet size, and fixture end; plumbing stops that look alike can attach differently.
A shutoff valve leak is usually a location problem before it is a parts problem. Dry the valve, watch one spot at a time, and let the first wet mark lead the repair.
The wrong first move can make a small drip harder to control. Keep the diagnosis simple and keep force low.
Dry the valve until it is actually dry, then touch one location at a time with a clean paper towel. Watch the first mark, not the final drip.
| First wet point | What it usually means | Next move |
|---|---|---|
| Behind the handle | Stem packing is seeping after the valve moved. | Try a tiny packing-nut snug while holding the valve steady. |
| Outlet nut at the braided line | The supply-line connection or end seal is leaking. | Support the valve, snug lightly, then inspect the supply line. |
| Wall-side inlet nut | The inlet compression seal may be loose or worn. | Try only a slight snug. Stop if the pipe moves or seepage continues. |
| Middle of the valve body | The valve casting or internal seal is failing. | Plan replacement with water off upstream, or call a plumber. |
| Everywhere at once | Water is traveling too fast to diagnose safely. | Shut water off upstream and control the area before more work. |
Stem seepage is the small repair path to test before you replace the valve. Hold the valve body steady and stop if the pipe behind the wall starts to move.
A drip at the outlet can look like a bad valve, but the supply line often deserves the next look. This is common after cleaning, fixture work, or a bumped hose.
The wall-side connection and the valve body carry more risk because a failed move can leave you without a working local shutoff. Dry the stem and outlet first so this check is not confused by water running down.
These tools support diagnosis and light adjustment. Skip tool work when the pipe moves, the valve is cracked, or water cannot be shut off upstream.

Helps when: Lets you see the first bead at the stem, outlet nut, inlet nut, or valve body inside a dark cabinet.
Skip it when: The valve is spraying or water is already near electrical devices; control the leak before inspection.
Compare inspection flashlights on Amazon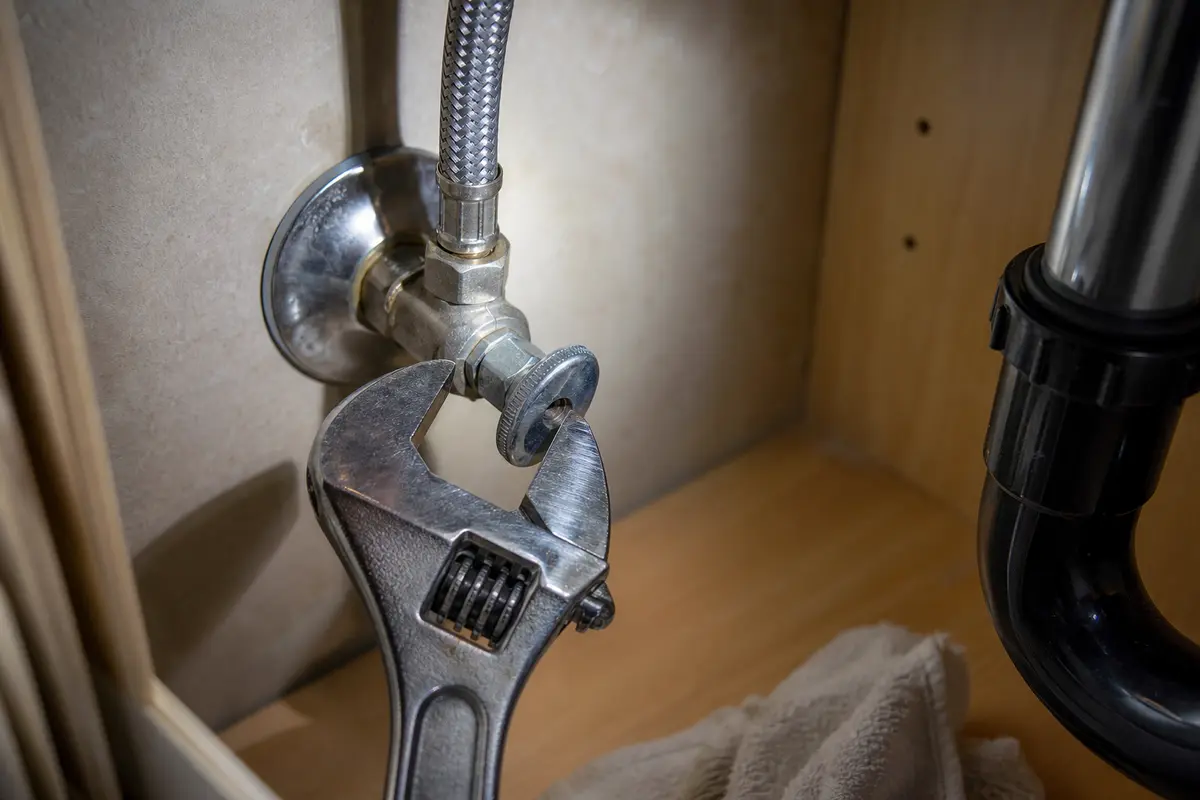
Helps when: Makes a tiny packing-nut or compression-nut adjustment while you keep the movement controlled.
Skip it when: The nut is seized, rounded, or needs heavy force to move.
Compare adjustable wrenches on Amazon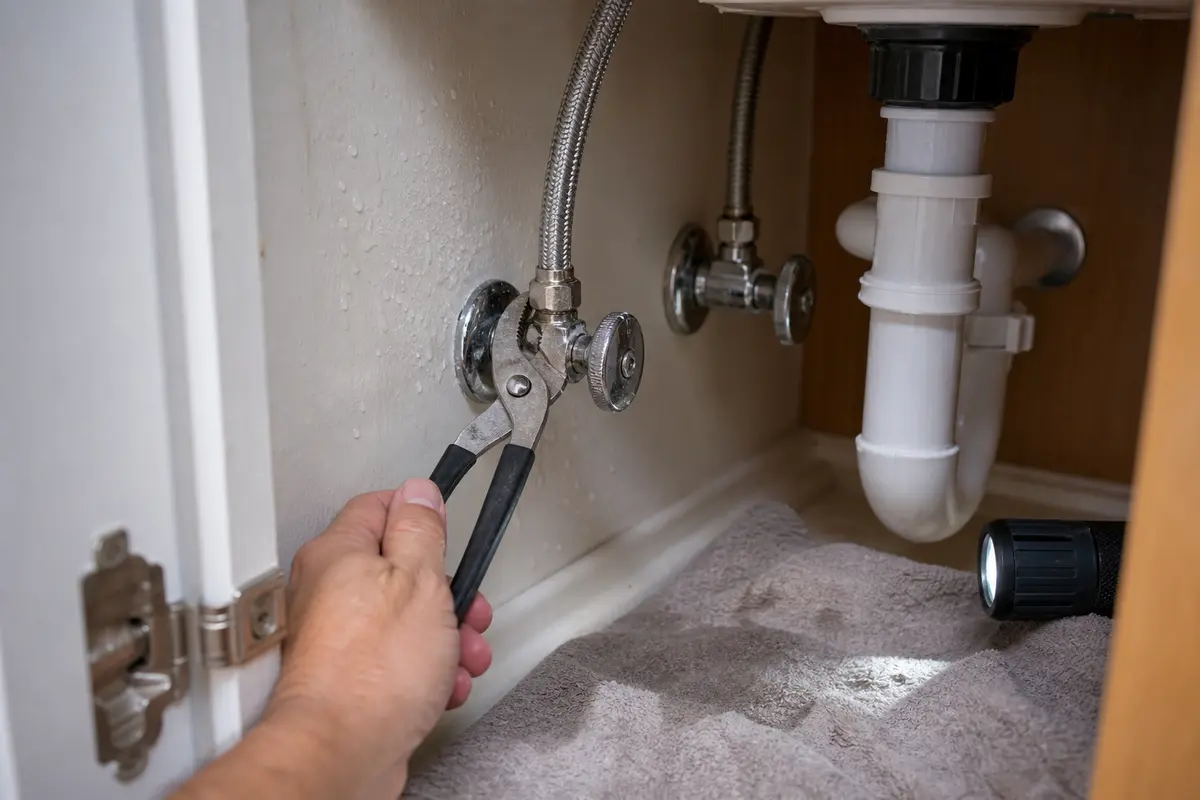
Helps when: Hold the valve body steady so tightening the nut does not twist the stub-out pipe.
Skip it when: The pipe flexes in the wall or floor when the valve is touched.
Compare slip-joint pliers on Amazon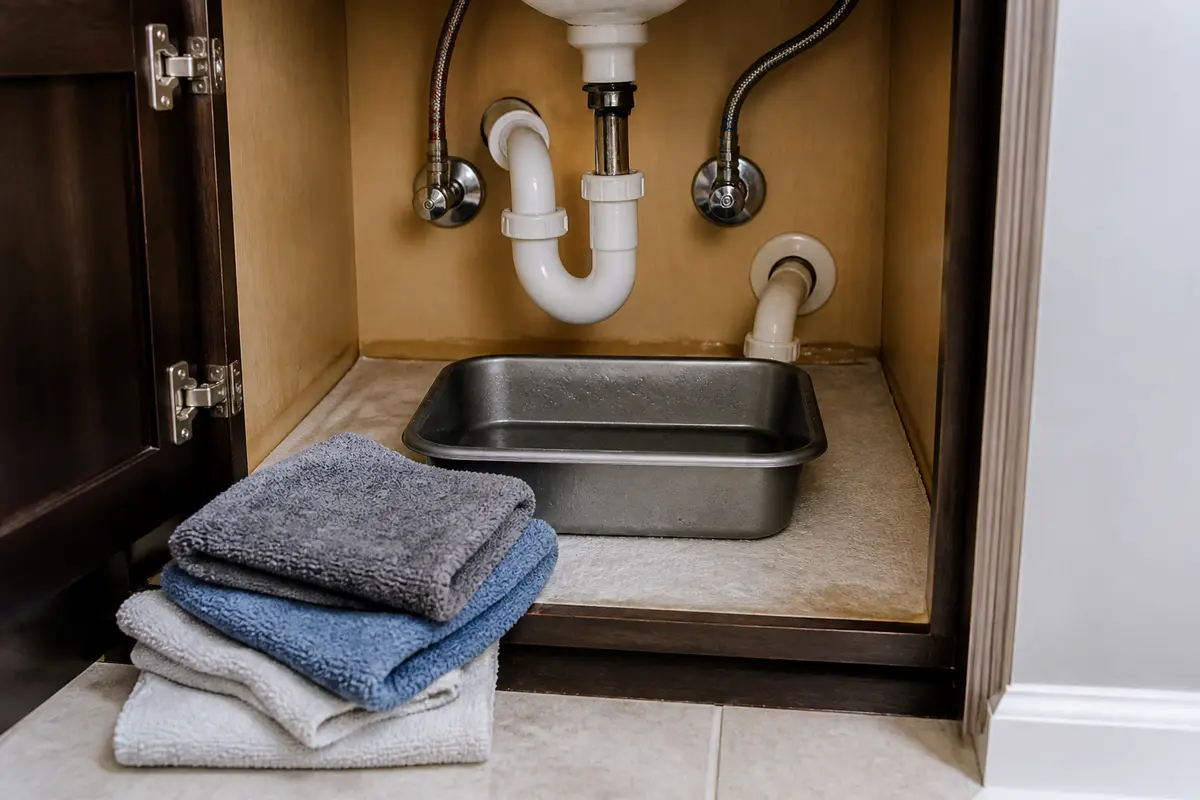
Helps when: Dry each suspected point and catch drips while you watch where water returns.
Skip it when: Water is arriving faster than towels can control; shut water off upstream first.
Compare shop towels and containers on AmazonAs an Amazon Associate I earn from qualifying purchases. Repair Riot may earn a commission at no extra cost to you.
Buy parts only after the wet-point result points there. Match the old connection, not just the photo on the listing.
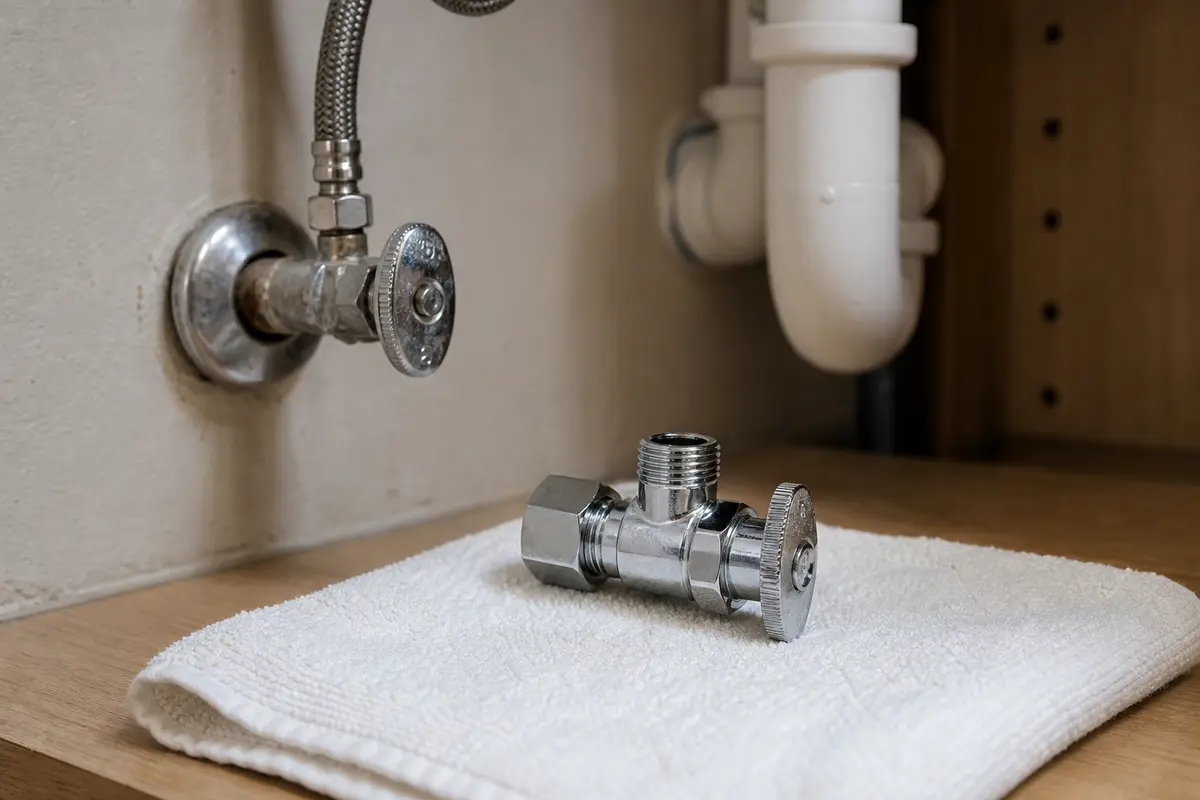
Helps when: The existing valve is an angle style and the body leaks, the inlet keeps seeping, or the stem will not seal after a light adjustment.
Skip it when: The only wet point is the braided supply-line outlet or the valve style and connection type are not confirmed.
Compare angle stop valves on Amazon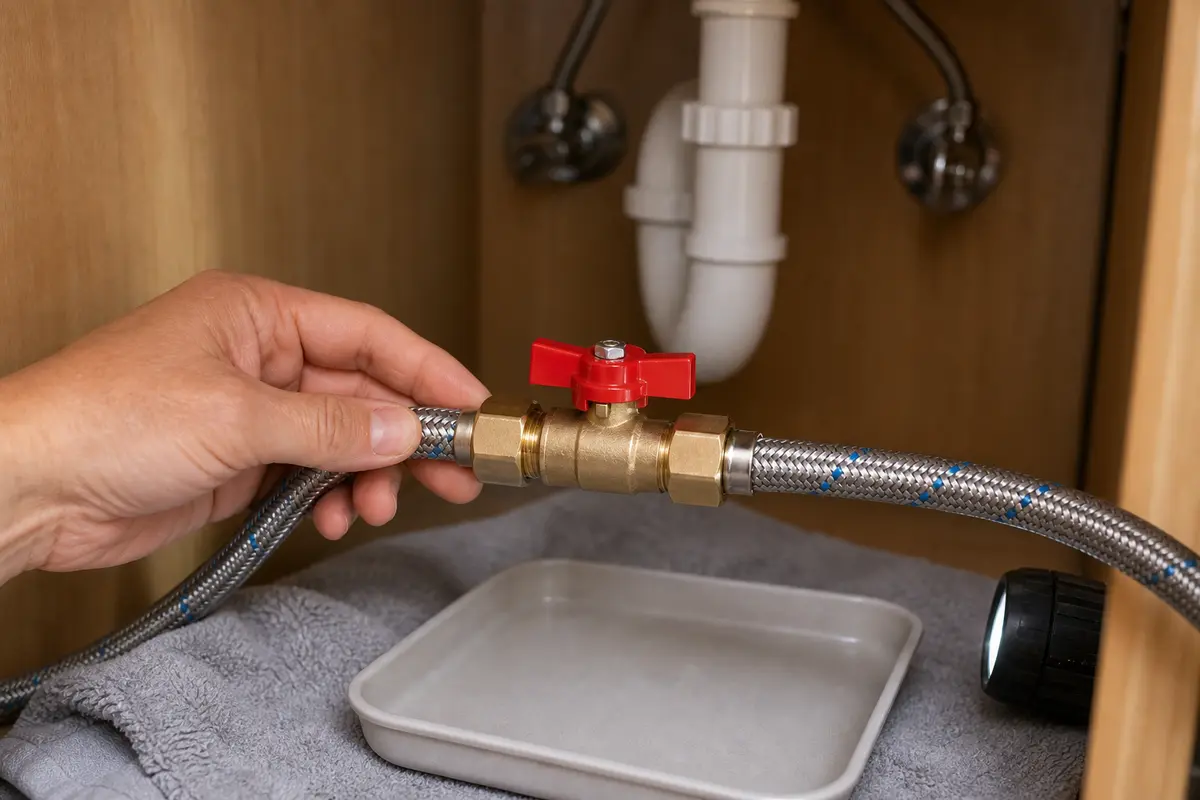
Helps when: The current valve is straight-through and the confirmed leak is at the valve body or inlet connection.
Skip it when: The current stop is an angle valve, or the leak is only at the fixture supply line.
Compare straight shutoff valves on Amazon
Helps when: The first wet point is the outlet connection and the braided line, washer, cone, or nut is damaged or still seeping.
Skip it when: Water appears from the valve body, wall-side inlet, or handle stem instead of the supply-line end.
Compare fixture supply lines on AmazonAs an Amazon Associate I earn from qualifying purchases. Repair Riot may earn a commission at no extra cost to you.
Sometimes, but only at the wet point. For stem seepage, dry the handle stem, turn the packing nut about an eighth turn, and recheck with a paper towel. If water comes from the valve body, cracked metal, or a joint that moves, stop tightening.
That timing usually points to the stem packing behind the handle. Dry the stem, move the handle gently once, and watch the packing nut before touching the supply-line connection.
A slow drip is not always an emergency, but it should not sit. Spraying water, a cracked valve, a moving pipe, or water near electrical devices makes it urgent.
Let the first wet point decide. Wetness only at the outlet connection points toward the supply line or outlet nut. Wetness at the valve body, inlet, or unsealable stem points toward the shutoff valve.
Yes. The inlet connection where the valve meets the wall or floor stub-out can seep. Try only a small snug with the valve supported, and stop when the pipe moves or seepage returns.
Many homeowners call a licensed plumber when the valve is old, corroded, soldered, threaded in an unfamiliar way, or impossible to isolate upstream. That is the safer call when the main shutoff will not hold.
No. Tape and paste belong on certain threaded joints, not on a cracked or seeping valve body. A body leak needs replacement, and water must be controlled upstream first.
After an eighth-turn snug, wipe the stem dry and turn the handle once. The handle should move smoothly and the pipe should stay still; if it binds, needs heavy force, or twists behind the valve, back off and stop.
Repair Riot built this page around visible leak clues: stem seepage, outlet-nut drips, inlet seepage, valve-body wetness, and the point where a homeowner should stop and call a plumber. EPA WaterSense materials support the broader leak-detection context; the shutoff-valve sequence is original diagnosis guidance.