Replace a window sash roller assembly when the roller clue is clear. One lower corner drags, the sash rides low, the wheel is flat-spotted or frozen, or the window moves easier when you lift that corner by hand. Match the wheel diameter, wheel width, housing shape, stem or shaft style, and screw position before reinstalling the sash.
Support the sash before it leaves the frame. Stop if the glass is cracked, the sash corner is separating, or the track is too bent for a new wheel to ride straight.
Before you start: Match the roller diameter, wheel width, housing shape, stem or shaft style, screw position, and window series before ordering. Stop if cracked glass, a separating sash corner, a bent track, rot, unsafe access, or loose mounting points change the repair.
Last reviewed: 2026-06-16
Make sure this is the right repair
Before replacing the window sash roller assembly, separate a bad roller from a dirty track, bent track, failed balance, or loose sash corner. Buy the assembly only after the old roller or window series gives you a real match.
This page fits
This page fits when: One lower sash corner drags, the wheel is cracked or frozen, the housing is loose, or the sash rolls easier when you lift that corner slightly.
Check something else when: If cleaning the track fixes the drag, or the track is bent where the wheel rides, solve that first. A new roller cannot correct a bad track.
Confirm the fit first
This page fits when: You can match the wheel diameter, wheel width, housing shape, stem or shaft style, screw location, and adjustment style against the old roller.
Check something else when: If the old roller is missing or too damaged to measure, look for the window brand, series, or sash label before ordering. If the replacement sits proud, misses the screw hole, or shifts the wheel off the track line, it will usually bind.
Stop for hidden damage
This page fits when: The sash corner is solid, the glass is secure, and the track gives the new wheel a straight surface to ride on.
Check something else when: Stop if you find cracked glass, a loose sash corner, rot, a badly bent frame, or unsafe access. Those conditions change the repair.
Check the failed roller and dry-fit the replacement
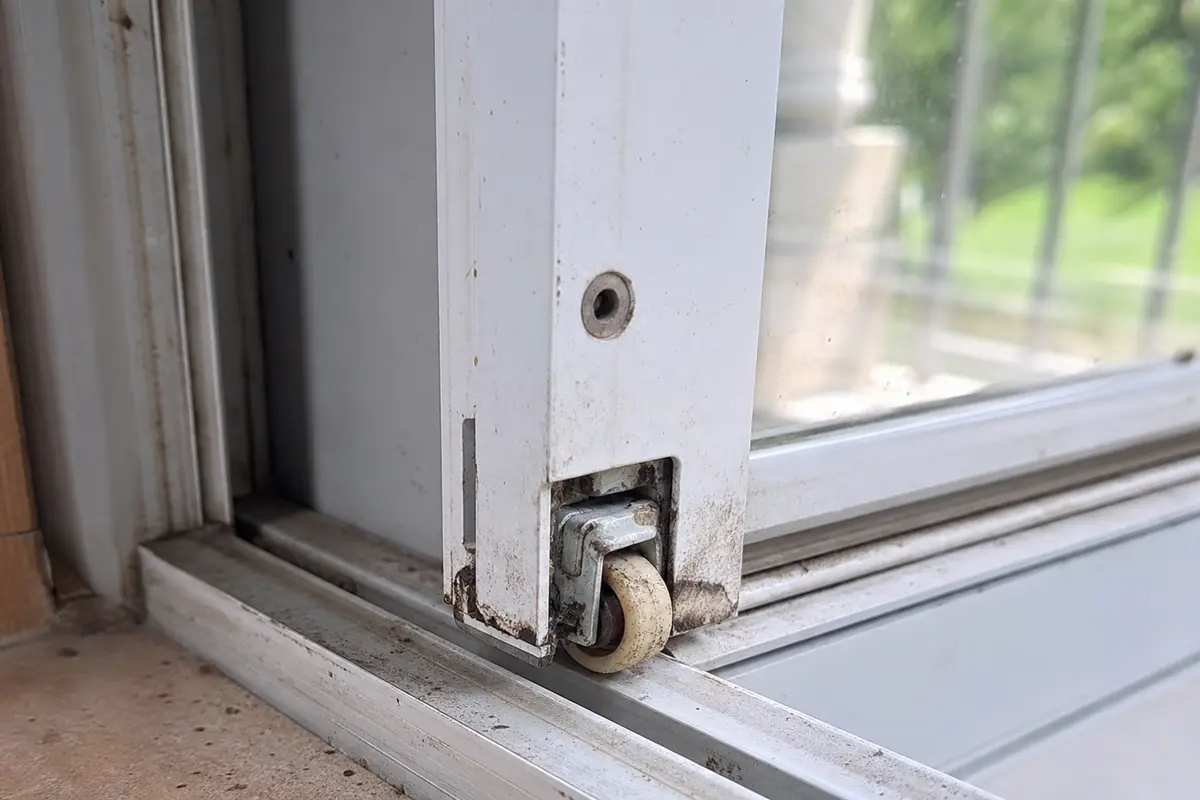
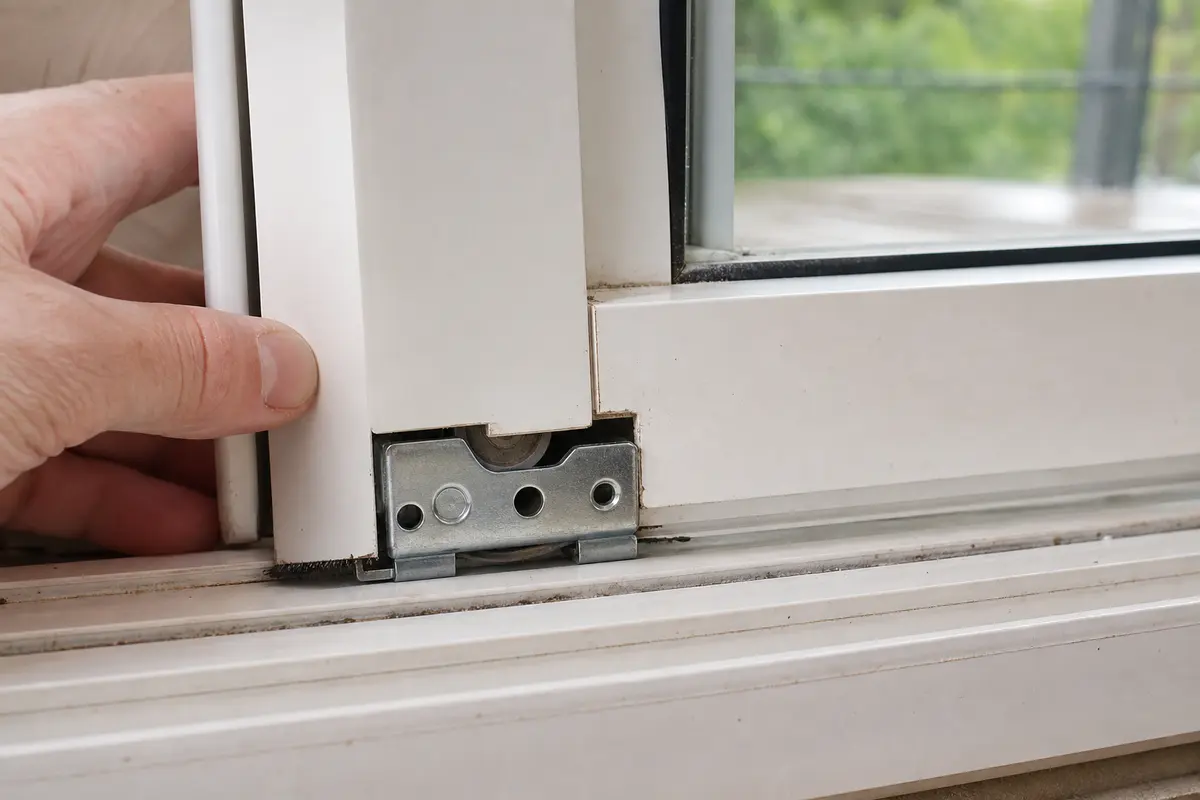
Use the photos as a field check: find the wheel or housing failure, then dry-fit the new assembly before the sash goes back in the frame. The wheel has to land on the same track line as the old one.
Look for a frozen wheel, flat spot, broken housing, or a low corner. Stop if the sash rail around the roller is cracked or spreading.Dry-fit before fastening. The housing should sit flat, the screw hole should line up, and the wheel should sit where the old wheel rode.
Safety first
Wear gloves when handling the sash and metal frame edges.
Support the sash with both hands whenever it is out of the frame.
Do not lean the sash where it can tip, twist, or put stress on one glass corner.
Get help lifting large or heavy sashes.
Stop and call a window repair pro if cracked glass, a separating sash corner, or a distorted frame makes the sash unstable.
Tools you may need
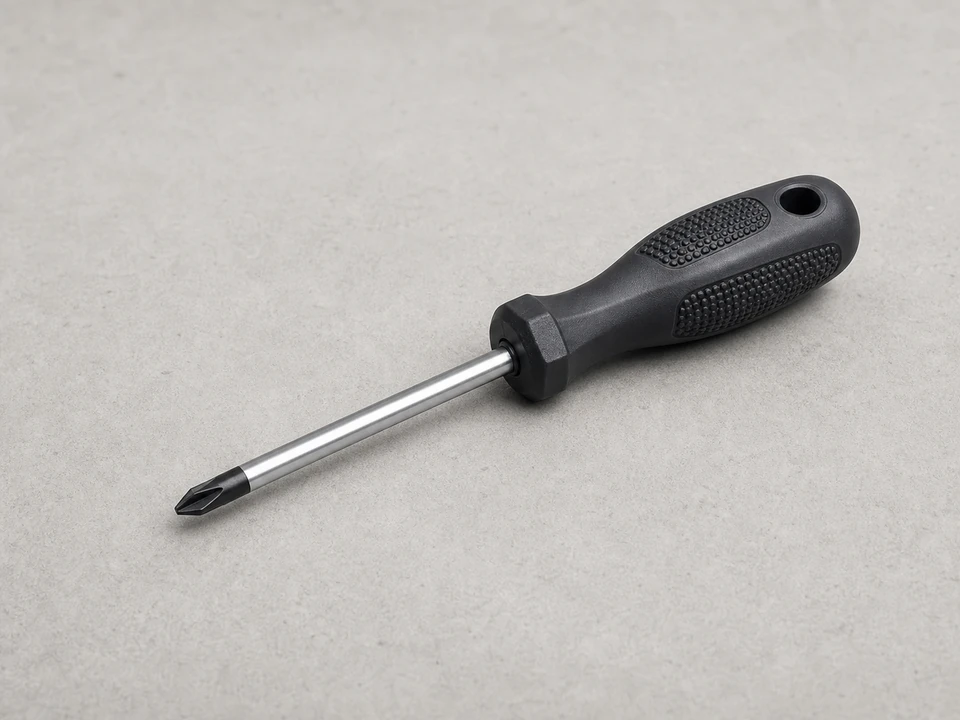
Phillips screwdriver
Use it for: If the screw still turns but the head is easy to chew up, use this for sash stops, access screws, and small roller fasteners.
As an Amazon Associate I earn from qualifying purchases. Repair Riot may earn a commission at no extra cost to you.
Step-by-step fix
Step 1: Confirm the roller assembly is the problem
Open and close the window slowly and watch how the sash moves in the track.
Look for dragging at one lower corner, a sash that sits low or out of level, scraping marks, or a wheel that does not turn freely.
Lift the sash slightly by hand. If the window suddenly moves easier when you take weight off one corner, a worn roller is a likely cause.
Inspect the track too. Packed dirt, bent aluminum, missing track caps, or a loose sash corner can feel like a bad roller.
If possible, compare both bottom corners. The bad side often sits lower, makes more noise, or has a wheel that wobbles instead of rolling.
Do not order a roller from the symptom alone. Plan to match the old assembly by measurement once it is out.
If it works: The roller, not just dirt in the track, is the likely reason the sash is dragging or sitting low.
If it doesn’t: If the sash moves smoothly after a thorough track cleaning, or the frame itself is bent or loose, address that issue before ordering parts.
Stop if:
The glass is cracked or loose in the sash.
The sash frame is badly bent, split, or separating at the corners.
The track is damaged enough that a new roller would not have a solid surface to ride on.
Step 2: Set up the area and remove the sash safely
Clear the floor and place a towel or cardboard nearby so you have a safe place to set the sash down.
Open the window enough to see the stops, anti-lift clips, take-out clips, or release points in the side channel. Mark their locations with tape if several pieces look alike.
Take a quick phone photo before removing hardware, then remove only the fasteners needed to free the sash. Keep left-side and right-side screws separated if they are different lengths; a long screw in the wrong hole can hit the track slot.
Check whether the sash must lift straight up, tilt inward, or pass a notch in the track. If the gap is tight, forcing the wrong motion can bend the frame or chip glass.
Watch the top guide and bottom roller at the same time as the sash releases. If one end hangs up, set the sash back down and find the catch point in the channel.
Before lifting, check whether one hand can stay on each side while the bottom rail stays level. Get a second person for wide sash or insulated glass.
Lay the sash flat on a towel or cardboard with the bottom rail facing you. Do not stand it on one corner while you work.
If it works: The sash is out of the frame, lying flat, and supported along the bottom rail so the glass is not carrying the repair load.
If it doesn’t: If the sash will not release, look again for hidden stops, anti-lift blocks, track notches, or painted-over fasteners before adding force.
Stop if:
The sash cannot be removed without prying against the glass, flexing the frame, or lifting more weight than you can control.
A stop, balance shoe, or frame piece breaks loose unexpectedly and leaves the sash unstable.
Step 3: Remove the old roller assembly
Locate the roller assembly near the lower corner of the sash where the wheel contacts the track.
Remove the mounting screw or screws, or release the retaining clip if your sash uses one.
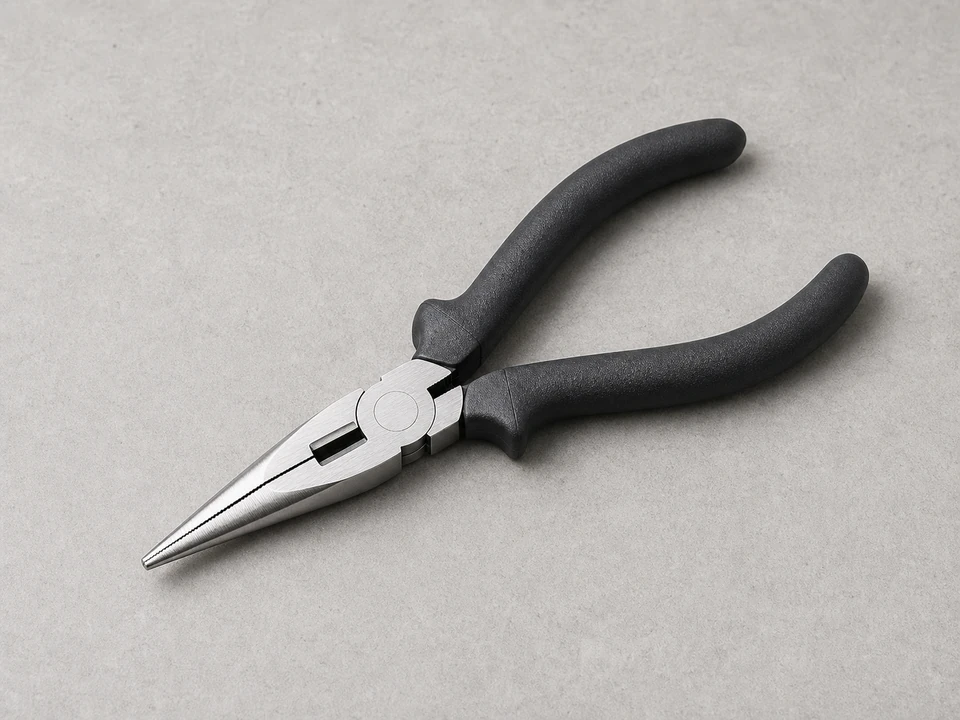
Slide or pull the old roller assembly out of its pocket. Use needle-nose pliers only if needed and avoid crushing the sash frame.
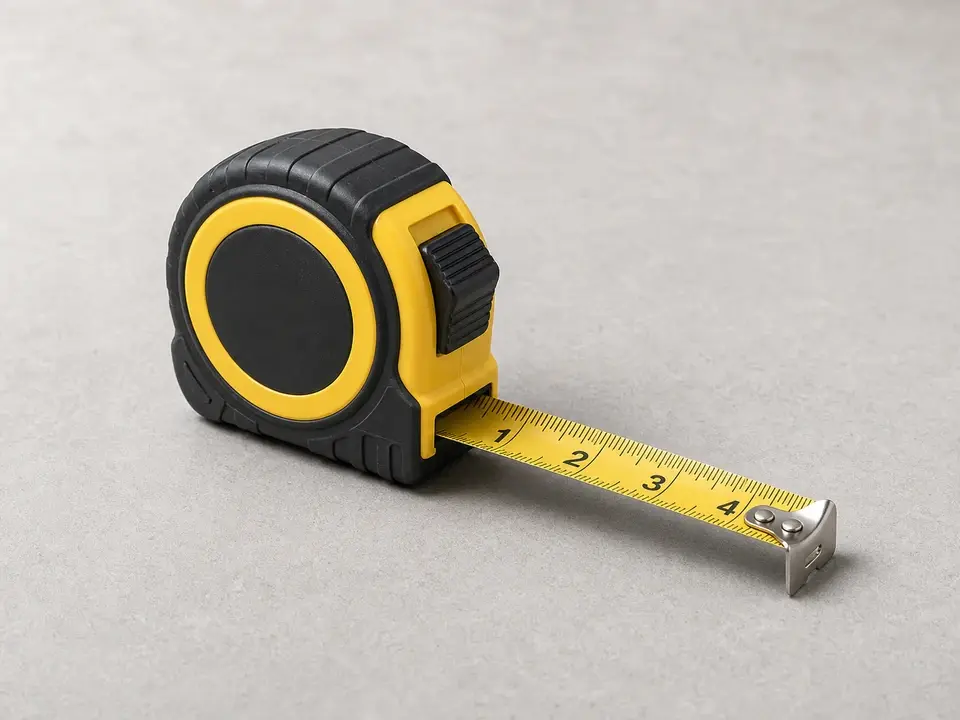
Set the old roller on the bench before it goes in the trash. Measure the wheel diameter, wheel width, housing length, housing height, mounting hole spacing, and stem or shaft style.
Compare the old roller assembly to the new one before installing anything. The wheel should land in the same place under the sash, not just look close from the side.
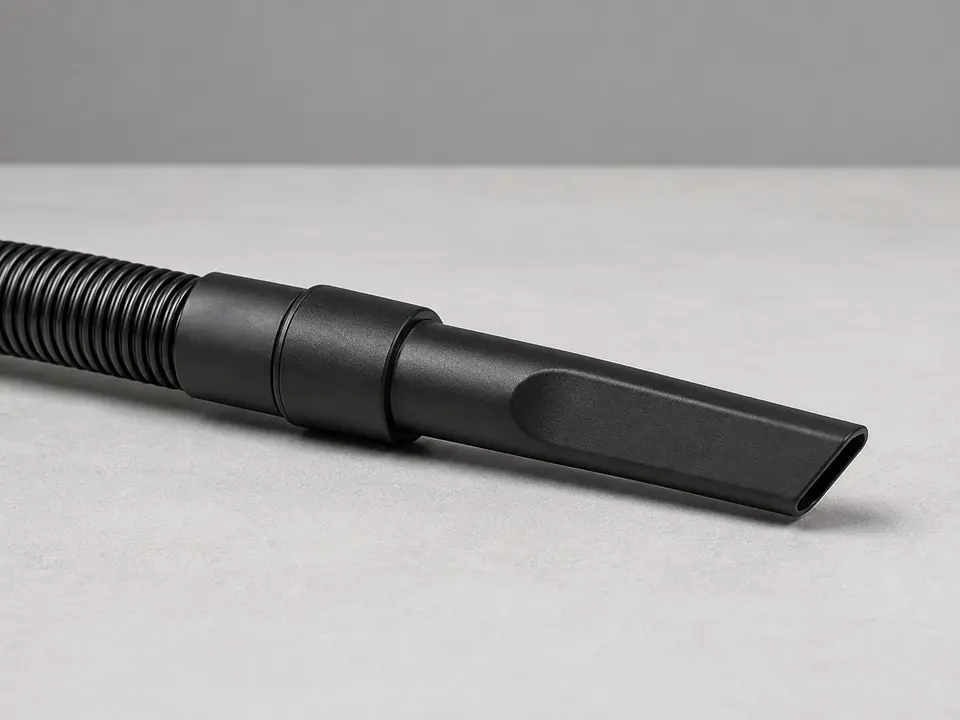
Vacuum the roller pocket and the lower track area, then look for burrs or packed grit that would keep the new housing from sitting flat.
If it works: The old roller assembly is out, the pocket is clean, and the replacement matches the original closely enough to put the wheel back on the same track line.
If it doesn’t: If the new roller assembly misses the screw hole, sits proud of the rail, or puts the wheel off-center, do not make it fit by force. Use the old assembly's measurements and window series to find a better match.
Stop if:
The roller pocket is cracked, enlarged, or too damaged to hold the new assembly securely.
Corrosion or damage has frozen the fastener in place and removal is starting to tear the sash frame.
Step 4: Install the new roller assembly
Dry-fit the new window sash roller assembly before tightening it. The housing should slide into the pocket without spreading the sash rail or shaving metal.
Check the wheel position against the old roller. The wheel should sit at the same height range and line up with the track, not rub the sash rail.
Reinstall the screw, screws, or clip and tighten just enough to hold the assembly firmly. Stop turning when the fastener seats; stripped aluminum or vinyl will not hold adjustment.
Spin the wheel by hand if you can reach it. It should turn freely, sit square in the housing, and not scrape the housing sides.
If the assembly has an adjustment screw, start near the middle of its range. That leaves room to raise or lower the sash after it is back in the frame.
Repeat on the other side only if that roller is also worn, cracked, flat-spotted, loose, or clearly not turning well.
If it works: The new roller assembly is flush, fastened, square to the sash rail, and ready to carry weight without rubbing the housing.
If it doesn’t: If the wheel binds after installation, remove the roller assembly and look at the fit again. Check for trapped debris, a crooked housing, the wrong wheel width, or a housing that is too tall for the pocket.
Stop if:
The new assembly will not sit flush, the screw hole does not line up, or the housing must be forced into the sash.
The mounting area strips out and will not hold the fastener.
The wheel rubs the sash rail before the sash is even reinstalled.
Step 5: Reinstall the sash and adjust the fit
Clean the track before the sash goes back in. A new roller should not start life grinding over old grit.
Lift the sash back into the frame carefully and guide both rollers onto the track. Keep the sash level so one roller does not climb over the track edge.
Reinstall any stops, anti-lift clips, or track pieces you removed earlier before testing the window at full travel.
Slide the sash back and forth several times with light hand pressure. If it catches at the same spot each pass, stop there and look for a track nick, a high screw, or a roller that is not seated.
If your sash has roller height adjustment, turn each adjuster in small equal moves until the sash rides level, clears the track, and meets the jamb evenly when closed.
Check the lock after adjustment. A good roller repair should let the latch line up without lifting the sash by hand.
If it works: The sash is captured in the frame, rolls on the track, sits level, and reaches the lock without a hand lift.
If it doesn’t: If the sash still drags on one side, recheck roller height, track damage, a proud mounting screw, and whether the opposite roller is also worn.
Stop if:
The sash keeps jumping out of the track or will not stay captured by the frame.
Adjustment will not level the sash because the frame or track is visibly out of shape.
The glass shifts in the sash while you adjust the roller height.
Step 6: Test the repair in normal use
Open the window fully, then close it fully several times at a normal pace. Do not slam it to make the latch catch.
Check that the sash does not scrape, stall, hop the track, or need to be lifted by hand to close.
Make sure the latch or lock lines up normally and the weatherstrip contact looks even from top to bottom.
Listen for grinding, clicking, or a repeated bump at the same point in the track. Mark that spot with tape and inspect it if the noise stays.
Watch the repaired corner during the last few inches of travel. That is where a bad fit usually shows up first.
If it works: The window slides smoothly, closes fully, and stays aligned in real use.
If it doesn’t: If the window still binds after the new roller is installed and adjusted, inspect the track, opposite roller, and sash frame for damage that needs a different repair.
Stop if:
The sash becomes unstable, the glass shifts, or the frame twists during operation.
The lock still will not align because the sash or frame is distorted rather than just riding poorly.
Match the roller diameter, wheel width, housing shape, stem or shaft style, mounting hole position, and window series before ordering.
As an Amazon Associate I earn from qualifying purchases. Repair Riot may earn a commission at no extra cost to you.
Verify the repair
The sash rolls without scraping the track.
The repaired corner no longer drops or drags.
The window closes fully without lifting the sash by hand.
The lock or latch lines up normally after adjustment.
FAQ
How do I know the window sash roller assembly is bad?
Look for dragging at one lower corner, scraping in the track, a sash that sits unevenly, or a wheel that is visibly worn, cracked, or stuck. Clean the track first. If the sash still moves easier when you lift that lower corner slightly, the roller is a strong suspect.
Can I replace just one roller assembly?
Yes, if only one side is clearly worn or broken. If the window is older and both rollers show wear, replacing both at the same time can help the sash ride more evenly.
What if I cannot find an exact replacement?
Use the old roller assembly as your guide. Match the wheel diameter, housing shape, mounting method, and stem or shaft style as closely as possible. A close visual and measurement match matters more than a generic description.
Why does the window still drag after I replaced the roller?
The track may still be dirty or bent, the opposite roller may also be worn, or the sash may need height adjustment. In some cases the sash frame itself is twisted or damaged, which a new roller will not fix.
Do I need to lubricate the new roller?
Usually a clean track matters more than lubricant. If the wheel rolls freely on a clean track, leave it dry. Heavy or sticky products can attract grit; if you use anything, keep it light and appropriate for window tracks.
Sources and reference notes
Use these related Repair Riot references when the first clue points somewhere other than the roller. The next check should come from what the sash does in the track, not from the part name alone.
Window won't close - Start here if the main symptom is a sash that will not close or lock. Watch the last few inches of travel: dragging at one lower corner supports a roller check, while a square sash that stops hard may point to a track or frame obstruction.
How to Replace a Sliding Window Roller - If the old roller is clearly a sliding-window roller, watch for a worn, cracked, frozen, or off-line wheel. Match wheel size, housing shape, and track alignment before ordering.