Replace a Vinyl Window Pivot Locking Shoe Without Dropping the Sash
Replace the window pivot shoe only after the sash drop or crooked tilt points to the shoe, not a bent pivot bar or weak balance. Support the sash, measure the shoe and track channel, match the cam opening and balance connection, and test that both shoes ride level before normal use.
Before either pivot bar leaves the cam, hold the sash level and check that both bottom corners are supported. A spring balance can jump when the shoe releases, so keep fingers out of the side track. Stop if the sash feels loose, a pivot bar is bent, the cam slot will not accept the bar, or the side channel makes you force the corner.
Before you start: Support the sash and compare the pivot locking shoe before opening the track. Track channel width, shoe thickness, cam shape, pivot bar slot, balance connection, stamped number, and handed style matter. Stop before the spring hardware moves if the sash or balance is not under control.
Last reviewed: 2026-06-14
Separate the shoe from the pivot bar and balance
The shoe is only one piece of the tilt-window support system. Before spring tension moves, compare both side tracks and decide whether the failure is the shoe, the sash pivot bar, or the balance.
Pivot shoe symptoms
This page fits when: The shoe body is cracked, cocked in the channel, missing its cam, sitting at a different height, or letting the pivot bar slip out when the sash tilts.
Check something else when: A loose bottom-corner pivot bar changes the repair. Tighten or replace that bar before ordering a shoe.
Balance symptoms
This page fits when: The balance cord, spiral rod, or channel carrier still has controlled tension, and the shoe is the broken connection point.
Check something else when: A snapped cord, loose spiral rod, or carrier that disappears into the jamb means the balance repair comes first.
Fit-match symptoms
This page fits when: The old and new shoes match channel width, body thickness, height, cam profile, pivot-bar slot, hook or clip, and handed side when used.
Check something else when: A close-looking shoe that drags in the channel or will not lock the cam is wrong for that window.
Match the pivot locking shoe before you open the track
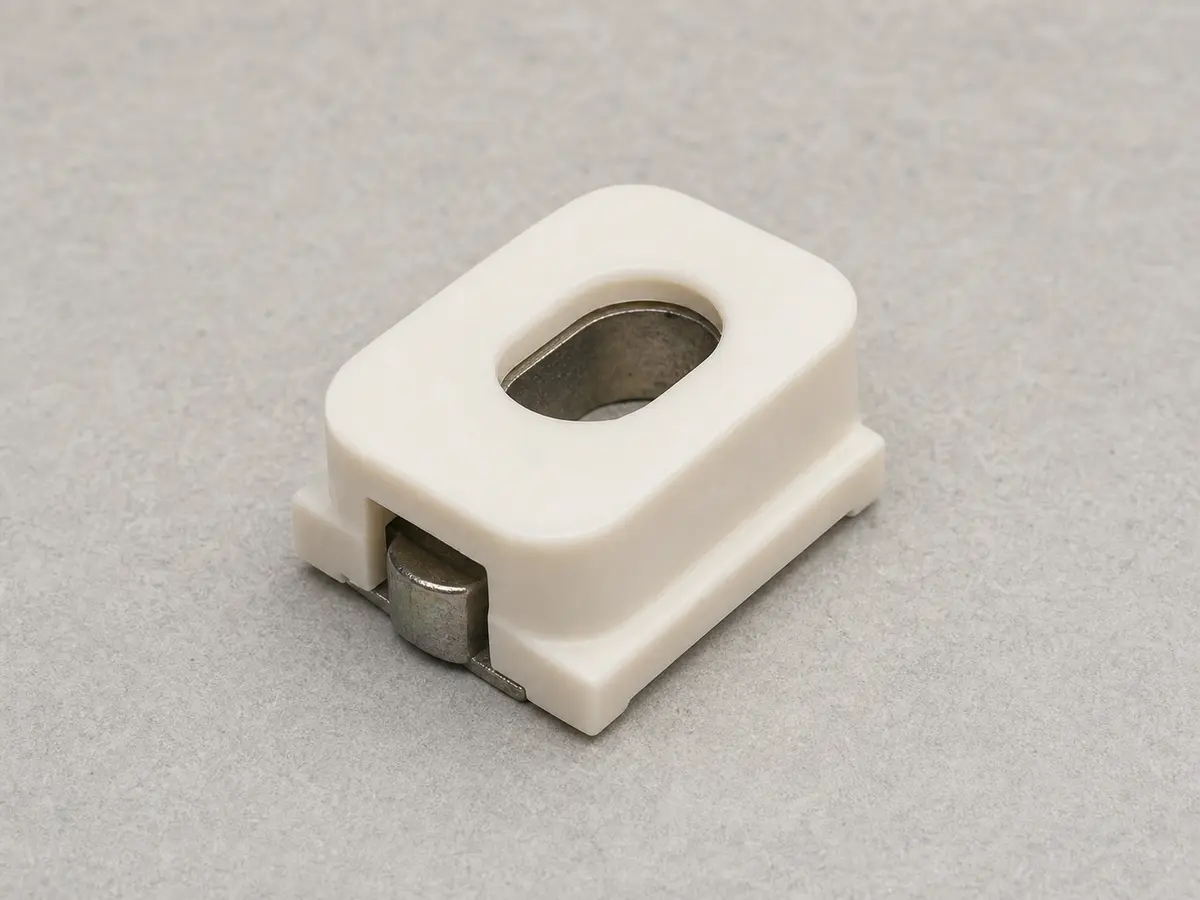
Use the photos and old shoe as your map. The replacement has to match the side channel, locking cam, pivot-bar slot, balance connection, and any handed shape.
Use the installed shoe photo to reset height and cam direction. The track channel, balance connection, and pivot-bar angle matter before spring tension goes back on.Put the loose shoe beside the replacement. Match body thickness, height, cam profile, hook or clip style, pivot-bar slot, and handed side before ordering.
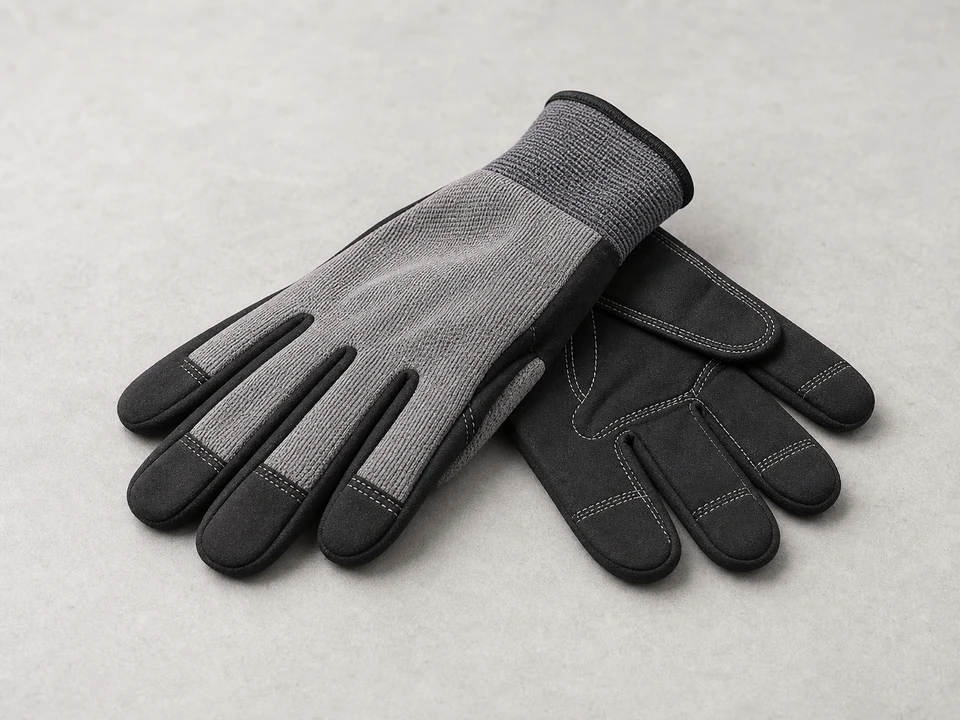
Safety first
Wear gloves and keep fingers clear of the side tracks, cams, and balance hardware.
Support the sash with both hands when tilting it in or removing it.
A loaded balance can move fast when the shoe releases; keep your hands out of the spring path.
Do not force a stuck sash or spring-loaded part; recheck the latch, stop, cam angle, and release height first.
Use a helper for a wide or heavy sash, and stop if the glass or vinyl corner starts to flex.
Work slowly around glass corners and sharp metal or vinyl edges.
Tools you may need
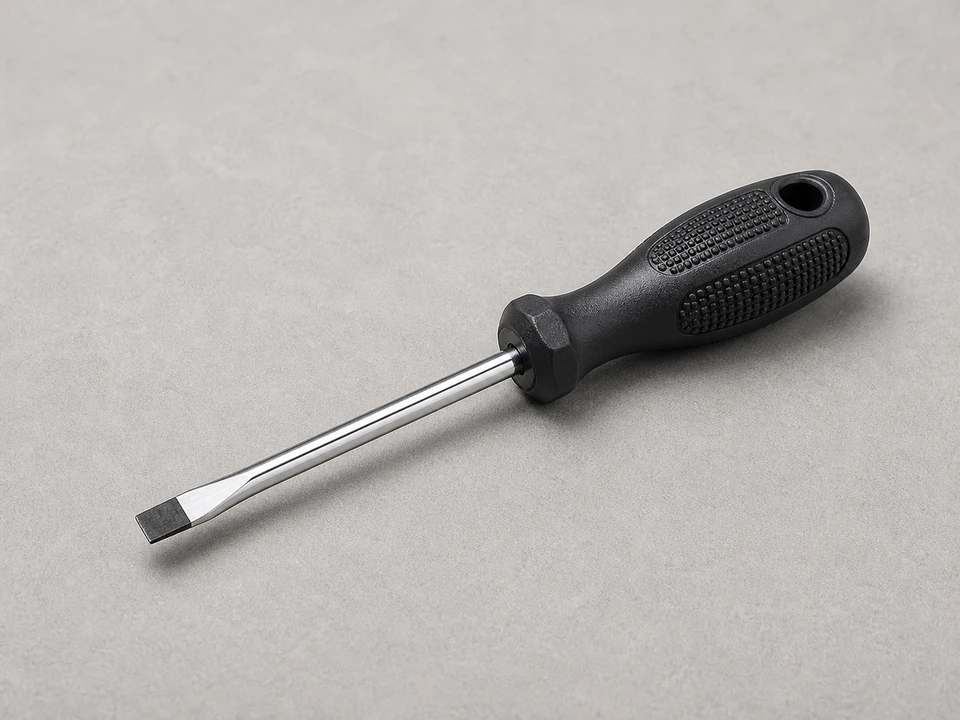
Flat screwdriver
Use it for: To turn the pivot-shoe cam, release small clips, or position the shoe without prying against the glass.
As an Amazon Associate I earn from qualifying purchases. Repair Riot may earn a commission at no extra cost to you.
Fit checks before ordering
A pivot shoe can look close and still fail in the track. Compare the old shoe under good light before the replacement goes in the cart.
Measure the shoe body width, thickness, and height, then compare those numbers with the track channel.
Match the cam profile and pivot-bar slot to the metal bar on the bottom of the sash.
Compare the balance hook, clip, spiral connection, or channel carrier connection before you load the shoe.
Check for a stamped number or handed shape. Color alone is not a reliable fit guide.
Step-by-step fix
Step 1: Confirm the pivot shoe is the problem
Open the window a few inches while holding the sash. Check whether it drops, tilts unevenly, or will not stay supported.
Tilt the sash inward if your window design allows it. Look near the lower side tracks for a cracked shoe body, jammed cam, twisted shoe, or missing shoe.
Check the metal pivot bar at the bottom corner of the sash. A bent bar, loose screw, pulled-out bar, or broken tip can mimic a bad shoe.
Compare both side tracks. Measure from the sill to each shoe. A lower shoe or reversed cam direction is a strong clue.
Take a photo of the old shoe before you move it. Capture the cam profile, track channel, balance hook or clip, stamped number, shoe width, and any left/right shape.
If it works: The pivot shoe is the likely fault when the shoe is cracked, jammed, misaligned, or no longer retaining the pivot bar. The pivot bar and balance should still look serviceable.
If it doesn’t: Bent pivot bars, pulled screws, or a broken balance change the repair path. Fix that fault before buying a shoe.
Stop if:
You can feel the sash shifting enough to fall out of the frame.
The frame or sash is cracked, badly warped, or pulling apart.
The pivot bar is broken off or ripped out of the sash corner.
Step 2: Remove the sash and make the area safe
Clear the floor and window stool, then set a padded table or towel nearby so the sash has a safe landing spot.
Unlock the window and raise it to the release height. Note the tilt-latch positions, take-out clips, and the point where the sash clears the side track.
Before tilting the sash, mark each shoe height on the side track with tape or a pencil line. Those marks give you a starting point when the new shoe is reset.
Swing the sash inward only as far as the latches allow. Check the side track, then lift one pivot bar at a time out of the cam slot. Keep the sash level, support the lower rail, and watch the bottom corners so the bars do not twist against the cams.
Compare both pivot bars as the sash comes out. Look for equal length, straight tips, tight screws, a sound sash corner, and a slot that has not been chewed up.
Set the sash flat on the padded surface with the glass supported and the pivot bars protected from bending.
If it works: You have the sash out, both pivot bars have been checked, and the shoe-height marks are still visible in the side tracks.
If it doesn’t: If the sash feels stuck, one bottom corner is usually still held by a tilt latch, stop, take-out clip, cam angle, or release height. Reset the sash level, look at that trapped corner, and find the release point before pulling harder.
Stop if:
A wide or heavy sash takes more than two hands; get a helper or call a window repair pro.
A pivot bar will not leave the cam while the sash corner is under load.
The vinyl corner, frame, or glass flexes enough that more force could crack it.
Step 3: Release tension and remove the old pivot shoe
Locate the balance connection in the side track and compare it with your photo before moving the shoe.
Use the take-out clip, service position, or proper balance tool for your window style to control tension before the shoe comes out.
Hold the shoe with the screwdriver or pliers on the shoe body, not with fingers in the slot, while you turn or slide the cam into its release position.
Watch the balance cord, spiral rod, or channel carrier as tension unloads. A jump, fray, or disappearing carrier means the balance is no longer controlled.
Slide or lift the old shoe out of the track only after the balance is captured and your hands are clear of the spring path.
Keep the old shoe for comparison, including height, width, thickness, cam opening, balance hook, pivot-bar slot, stamped number, and handed orientation.
If it works: The old pivot shoe is out and the balance hardware is controlled, not pulling loose or snapping up in the track.
If it doesn’t: If the shoe will not come free, recheck for a hidden clip, stop, or a cam that needs to be rotated to the release position.
Stop if:
The balance spring, cord, rod, or channel carrier snaps loose, frays, or disappears into the track.
The track is bent, split, or too damaged to hold a new shoe securely.
Step 4: Match and install the new window pivot shoe
Set the old and new shoes side by side before installing anything.
Measure the new shoe against the old one. Match height, width, body thickness, cam opening, pivot-bar slot, stamped number if present, and the balance hook or clip.
Check orientation before it enters the track. A handed shoe needs the same left/right shape and the cam opening must face the pivot bar.
Dry-fit the shoe in the side channel before reconnecting the balance. It should slide without shaving vinyl and lock when the cam is turned.
Reconnect the balance to the new shoe only after the hook, clip, or spiral connection seats fully.
Move the new shoe to the tape mark or to the same height as the opposite shoe before loading the sash.
Set the cam opening so the sash pivot bar can seat straight without forcing the corner.
If it works: The new pivot shoe is installed in the track and connected to the balance correctly.
If it doesn’t: If the new shoe does not fit the track smoothly, the cam will not lock, or the balance connection does not match, stop and identify the correct shoe.
Stop if:
The new shoe is clearly the wrong size or style.
The balance connection will not attach securely to the new shoe.
Step 5: Reinstall the sash and lock the pivot bars into the shoes
Hold the sash with both hands and line each bottom pivot bar up with the cam opening in each pivot shoe.
Insert one pivot bar, then the other, keeping the sash level so you do not twist the corners.
Gently lift each sash corner before moving the sash upright. Each pivot bar should stay seated in the cam.
Return the sash toward the frame and lower it into its normal operating position.
Watch the shoe heights during the first few inches of travel. Stop if one side climbs, drops, or pops loose from the marked height.
Open and close the window slowly a few times. Listen for a click, scrape, or pop that points to a cam angle or pivot-bar fit problem.
If it works: The sash sits back in the frame and both pivot bars stay engaged in the shoes without one corner popping loose.
If it doesn’t: One corner popping out means the shoe height, cam position, or pivot-bar alignment is still off. Remove the sash and recheck those points.
Stop if:
The sash will not seat evenly and forcing it could crack the frame or damage the pivot bars.
Step 6: Test the repair in real use
Raise the window to several positions and check that it stays where you leave it without drifting down.
Release the tilt latches, swing the sash inward, and return it to the frame to make sure the pivot bars re-engage cleanly in the cam slots.
Lock and unlock the window and check that the sash sits square in the frame when closed.
Listen for scraping, clicking, popping, or a sudden jump that suggests the shoe is misaligned or the balance is not seated.
Measure the repaired shoe height against the other side after a few cycles. Both shoes should ride at similar heights during normal sash travel.
If it works: The window opens, stays up, tilts back, and closes squarely without the sash dropping or twisting.
If it doesn’t: If the window still will not stay up, the balance may also be worn and need repair along with the pivot shoe.
Stop if:
The sash still drops suddenly or sits badly out of square after the new shoe is installed.
The balance hardware is not controlling the sash safely during testing.
Match the track-channel width, shoe body thickness, height, cam opening, pivot-bar slot, balance hook or clip, stamped number, and left/right hand before ordering.
As an Amazon Associate I earn from qualifying purchases. Repair Riot may earn a commission at no extra cost to you.
Verify the repair
The sash stays open at different heights without sliding down or jumping.
Both bottom corners remain engaged when you tilt the sash in and back out.
The window closes squarely and the lock lines up normally.
There is no new scraping, popping, clicking, or sudden movement from the side tracks.
Both pivot shoes sit at similar heights and the repaired shoe cam locks and releases cleanly.
FAQ
What does a window pivot shoe do?
It sits in the side track and connects the sash pivot bar to the balance system. That lets a tilt window stay supported, move smoothly, lock into the balance, and tilt in for cleaning.
How do I know if the pivot shoe is bad?
Look for a sash that slides down after you raise it. One bottom corner may drop lower, the sash may fight you as it tilts back into the frame, or the pivot bar may not stay in the cam. A cracked, rotated, or jammed shoe in the vinyl side track points to the same failure.
Do I need to replace both pivot shoes at the same time?
Not always. Compare the other side before ordering. Check whether the second shoe sits unevenly in the track, looks worn, or is the same age as the failed one. A sash that already rides crooked may need both shoes matched so the two sides travel together.
Can I replace a pivot shoe without removing the sash?
Usually no. Remove the sash first so you can see the shoe, keep the balance tension controlled, and seat the pivot bar in the cam. When the sash will not release cleanly, stop and find the latch, clip, stop, or release height before pulling harder.
Is a vinyl window pivot locking shoe the same as a pivot shoe?
In many parts listings, yes. Treat the name as less important than the fit: measure the track width, shoe thickness, and height, then compare the cam shape, pivot-bar slot, balance connection, stamped number, and any left/right orientation. If the locking cam does not take the pivot bar cleanly, the sash may pop out or refuse to stay up.
What if the new pivot shoe does not fix the window staying up?
If the repaired shoe locks but the sash still drops, inspect the balance spring, cord, spiral rod, or channel carrier next. The balance itself may be worn or damaged. A bad pivot shoe and a weak balance often show up together on older tilt windows.
Sources and reference notes
Repair Riot used related window failure pages and pivot-hardware repair pages to shape the sash support, balance tension, pivot-bar fit, and stop-condition guidance in this repair.