If a sliding window still drags after the track is vacuumed, check the lower sash corners before buying rollers. A flat-spotted wheel, seized wheel, loose housing, or one low corner points to roller work; a bent track, cracked glass, or twisted sash means stop and fix the frame problem first.
Remove the sash only after that first check still shows rough travel. Support the glass with two hands, mark the stop locations, and carry the old roller to the counter so the wheel diameter, housing profile, shaft or stem style, and mounting holes match.
Before you start: Before you remove the sash, clean the track channel, check the side gap, and feel whether one lower corner rides low. Match wheel diameter, tread shape, housing profile, shaft or stem style, mounting holes, and adjustment screw location. Stop if the glass is loose, the sash twists, or the track is bent away from the frame.
Last reviewed: 2026-06-14
Before you buy rollers
Clean the track first. If the window still drags at one lower corner or the wheel feels flat-spotted, seized, or loose, the roller path fits. If the track ridge, glass, or sash frame is bent, cracked, loose, or twisted, stop there; new rollers will not carry that repair.
This page fits
This page fits when: The window still drags after the track is clean, one lower corner rides low, or a wheel is cracked, seized, flat-spotted, or loose in its housing.
Check something else when: Check that the track ridge is straight and the bottom rail is solid. If those pieces are bent, cracked, or corroded, fix that damage before narrowing the job to rollers.
Confirm the fit first
This page fits when: You have a removed roller to compare against wheel diameter, tread shape, housing profile, shaft or stem style, mounting holes, and adjustment screw location.
Check something else when: If the old roller is missing or broken beyond recognition, identify the window brand or series before ordering. A close-looking housing can still sit too high, too low, or off the track.
Stop for hidden damage
This page fits when: The glass is tight in the sash, the lower rail is not twisted, and the sash is light enough to remove and reinstall with control.
Check something else when: Stop if the glass is loose, the sash is too heavy to handle, the track is pulling away, or the frame moves when you lift the sash.
Use the photos for the two fit checks
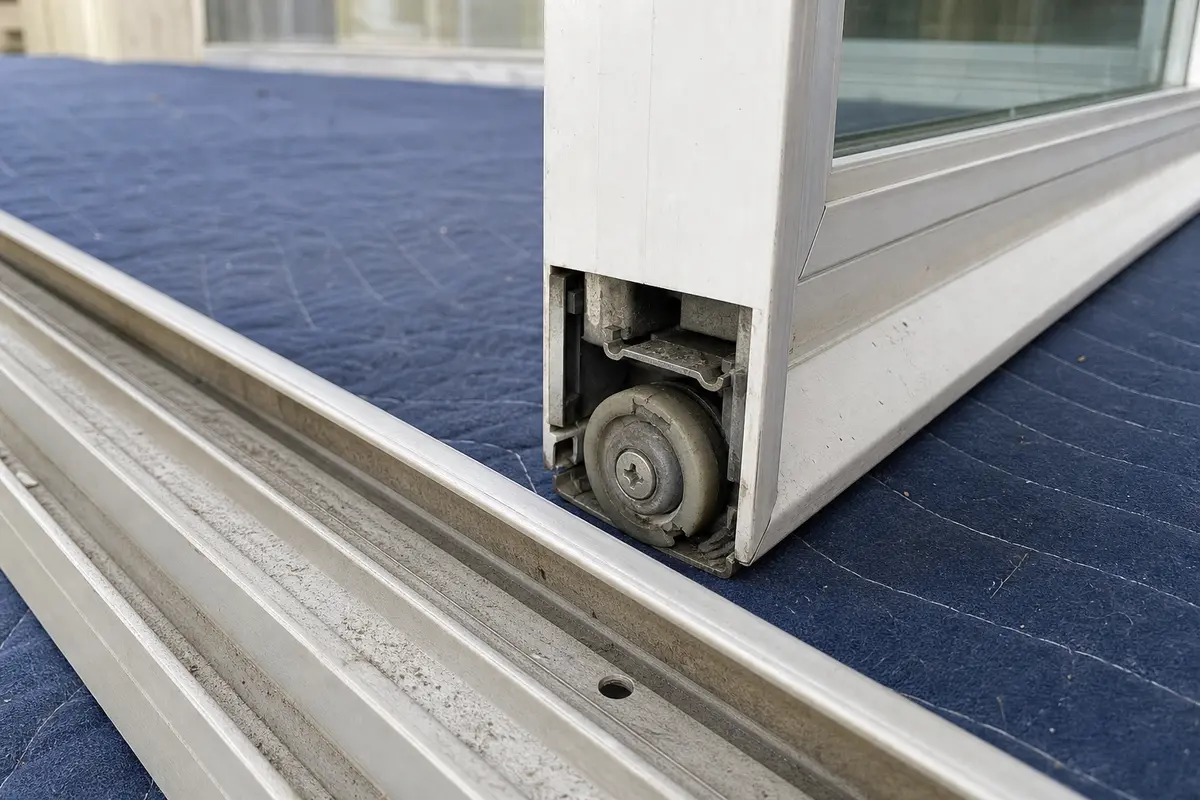
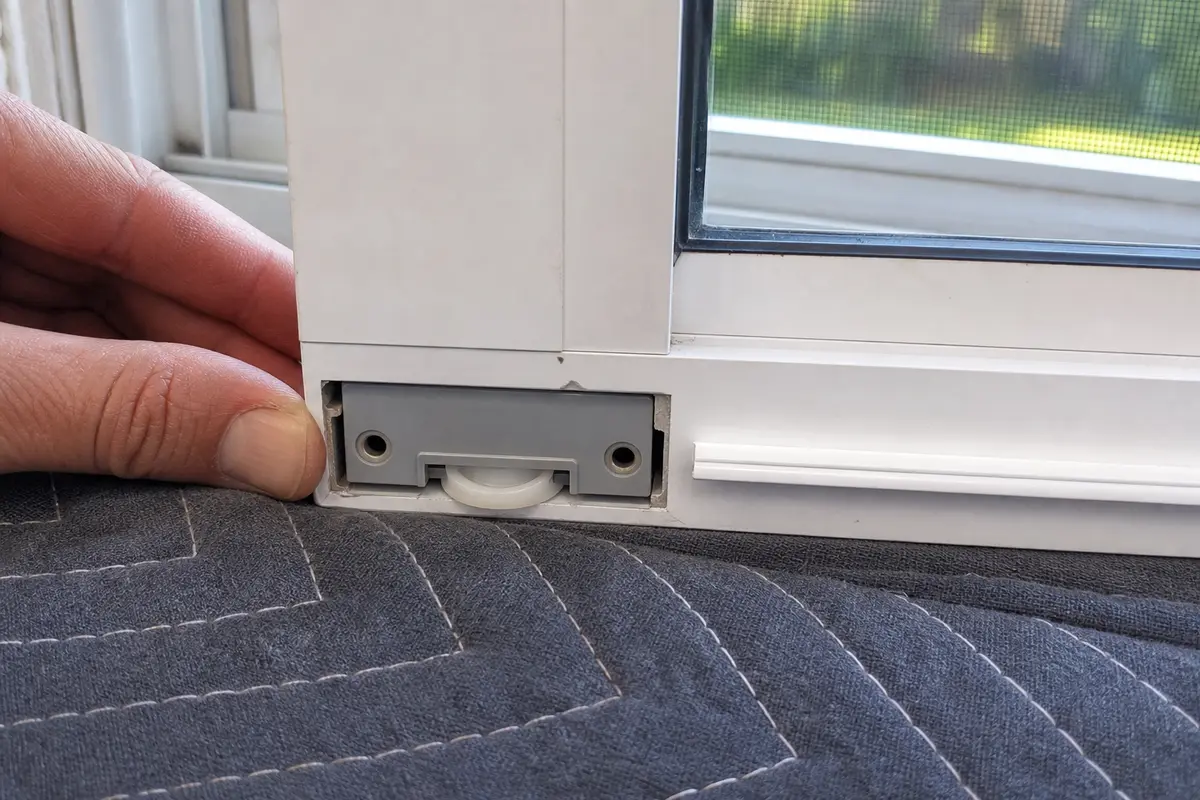
The useful views are the failed lower corner and the dry-fit. Look for the wheel damage first, then compare how the new housing sits in the slot before any fastener is tightened.
Start at the lower sash corner. A cracked wheel, seized wheel, or loose housing supports roller replacement only if the rail and track still look sound.Dry-fit before fastening. The housing should sit flush, the mounting holes should line up, and the wheel should face the same track ridge as the old roller.
Safety first
Wear gloves if the sash frame has sharp aluminum edges, and keep eye protection on while prying stops or clips.
Support the sash with both hands during removal and reinstallation so it does not twist or drop.
Get a helper if the sash is large, awkward, or above shoulder height.
Set the sash on a padded surface to protect the glass and frame corners.
Do not force stops, clips, or the sash itself if something still appears to be retaining it.
Tools you may need
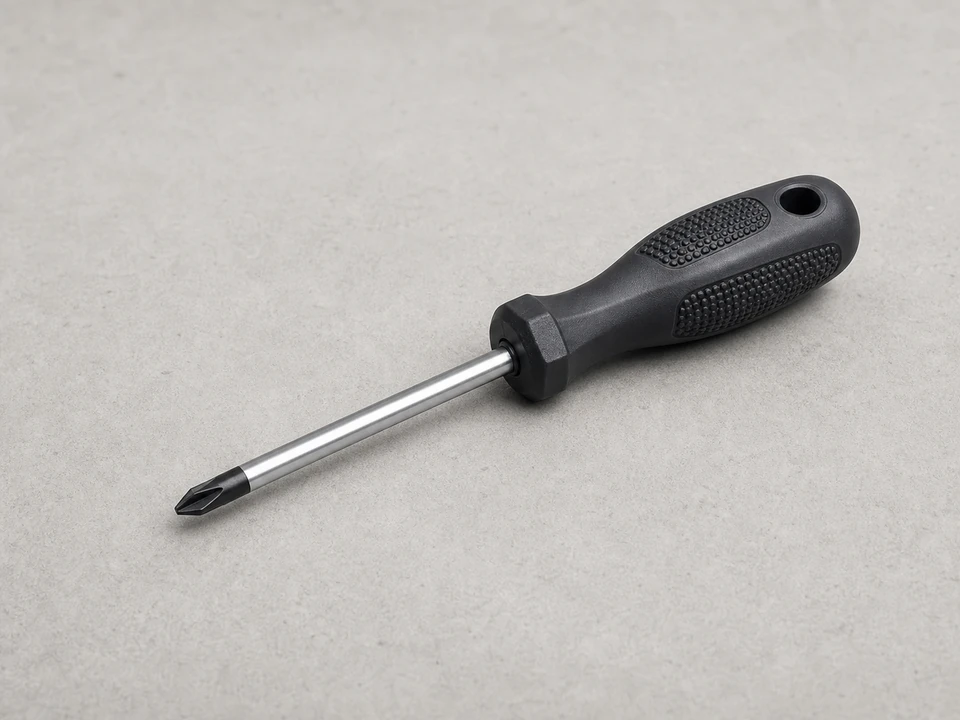
Phillips screwdriver
Use it for: Removing visible Phillips screws from sash stops, roller fasteners, and access covers. Check that each screw backs out cleanly so the stop can return to the same spot.
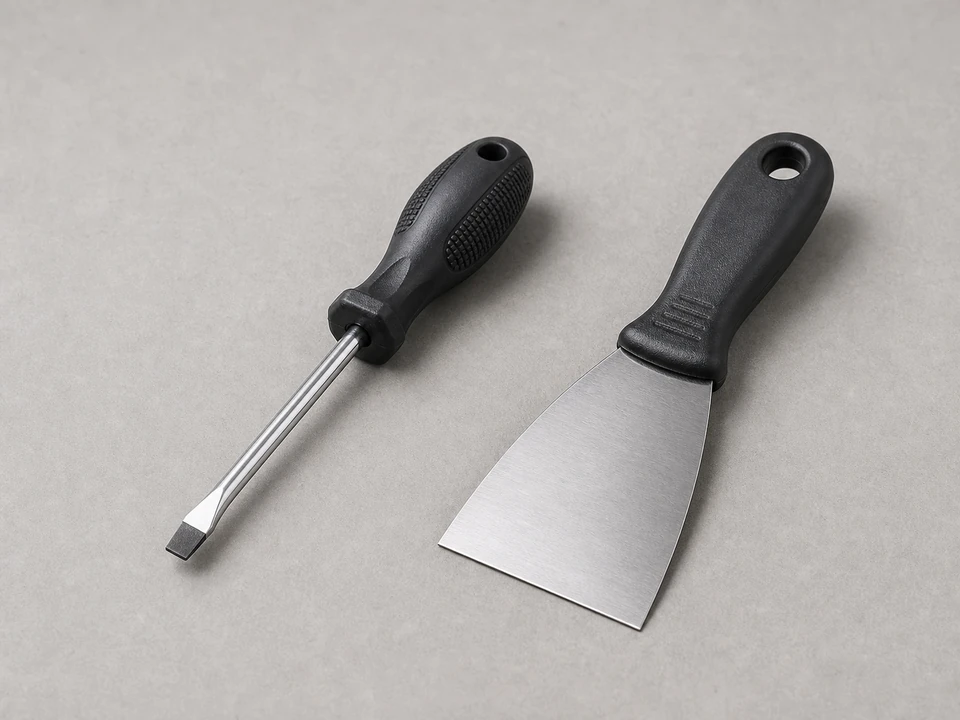
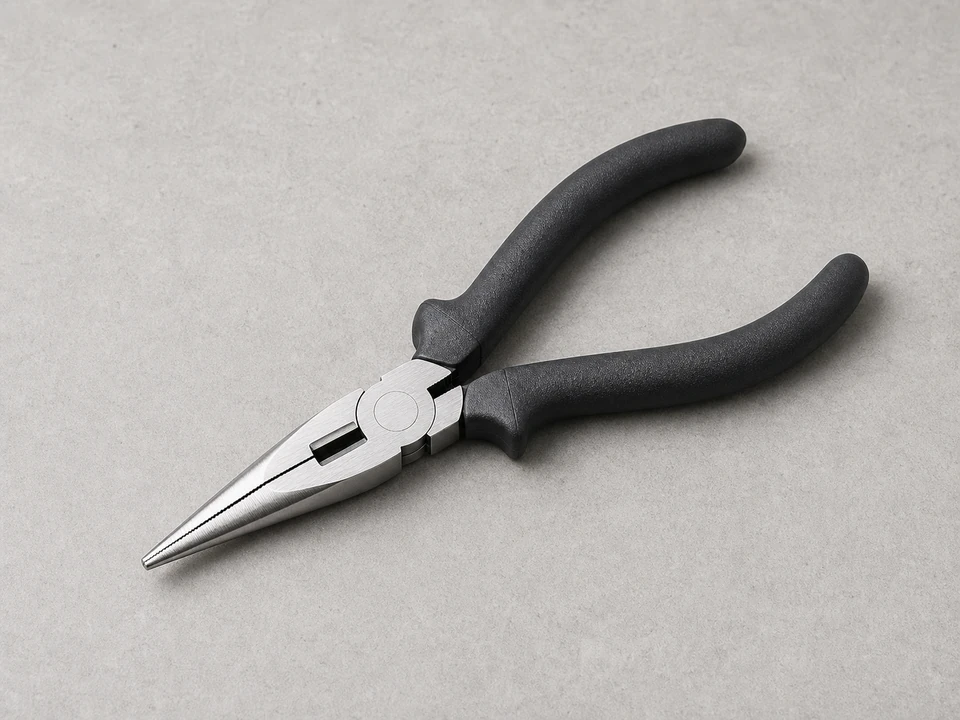
Use it for: Pulling visible clips or holding a roller fastener after you can see the retaining point. Check the lower sash corner and track before the pliers touch the glass edge.
As an Amazon Associate I earn from qualifying purchases. Repair Riot may earn a commission at no extra cost to you.
Step-by-step fix
Step 1: Make sure the rollers are the real problem
Open and close the window a few times and feel where the drag starts. A bad roller usually feels rough at the lower corners, while a dirty track feels gritty along the whole run. If the drag is everywhere, inspect and clean the track before you blame the rollers.
Look down the bottom track for packed grit, paint lumps, a bent ridge, loose screws, or a stop that is rubbing the sash.
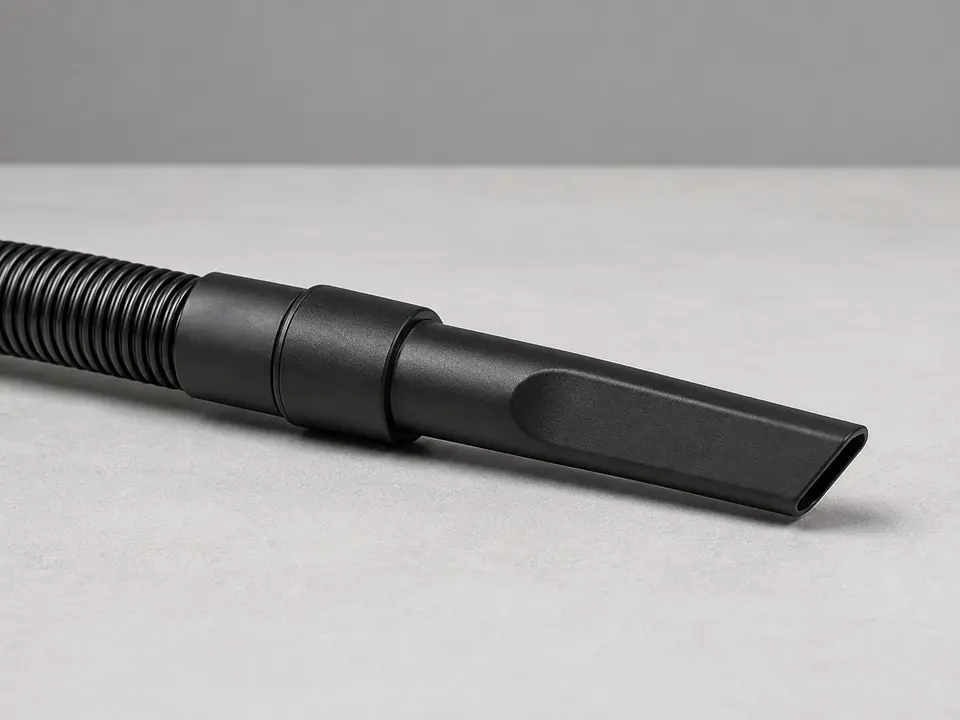
Vacuum the channel and wipe the track before taking the sash apart. If the window now slides cleanly, the rollers were not the failure point.
Check the side gap while the sash moves. One corner riding low, a grinding wheel noise, or a sash that needs to be lifted to latch is a stronger roller clue.
Look at the bottom rail and roller slot for cracks, corrosion, stripped fastener holes, or a widened pocket that would keep a new roller housing from sitting flush.
If it works: The window still drags after the track is clean, and the clue is at the lower sash corners: rough wheel movement, one low side, or a loose roller housing.
If it doesn’t: If the window slides normally after cleaning, stop here and keep the track maintained instead of replacing parts.
Stop if:
The glass is cracked or loose in the sash.
The sash frame is badly bent, split, or corroded.
The track ridge is crushed, broken, or pulling away from the frame, which means rollers alone will not solve it.
Step 2: Remove the sash and expose the old rollers
Clear a padded landing spot before you loosen anything. A folded towel on a table or floor protects the glass edge and keeps the sash from twisting.
Look for removable stops, anti-lift blocks, side-jamb clips, top-channel tabs, and retaining fasteners. Take a photo so each stop goes back in the same location and gap.
Remove the visible stops and screws slowly, then check that the sash can lift into the top channel without binding.
Lift the sash only as far as the design allows and watch the bottom edge. If one roller or corner catches in the track, lower it and find the retaining point instead of forcing it.
Set the sash on the padded surface with the bottom rail facing you. Keep the lower corners supported so the roller slots and glass frame do not flex.
If it works: The sash is out of the opening, the stops are saved, and the roller assemblies are visible at the bottom rail or lower corner slots.
If it doesn’t: If the sash will not come out after visible stops are removed, look again for a hidden screw, spring clip, anti-lift block, or top-channel retainer.
Stop if:
The sash feels too heavy or awkward to control safely by yourself.
You have to force the frame hard enough that the glass, bottom rail, or corner joint could crack.
You find concealed damage that makes the sash unstable once removed.
Step 3: Match and remove the old roller assemblies
Locate the roller assemblies at the bottom of the sash. They may use a screw, tab, spring clip, sliding housing, or adjustment screw.
Take a close photo before removal and mark which side faces the glass. Orientation matters when the housing has an offset wheel or an adjustment screw.
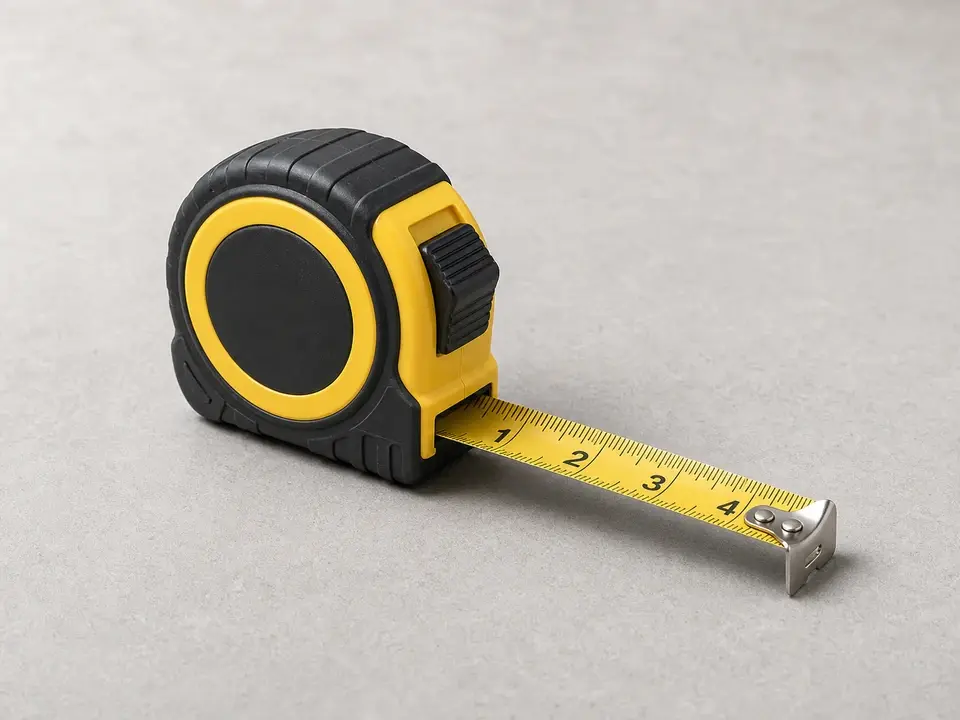
Remove one assembly at a time and measure the wheel diameter, wheel width, housing length, housing depth, and mounting hole spacing.
Compare the wheel tread to the track ridge. A flat wheel, rounded wheel, or grooved wheel needs to match the profile it rides on.
Compare the shaft or stem style, clip shape, screw slot, and fastener location before ordering. Check both ends of the sash because some windows use left- and right-hand housings.
Clean the roller pocket and look for cracks, stripped fastener holes, swollen vinyl, or corrosion that would stop the new housing from seating flush.
If it works: The removed roller gives you a clear match: wheel diameter, tread shape, housing profile, shaft or stem style, adjustment side, and mounting holes.
If it doesn’t: If the replacement does not match those points closely, pause and source by the removed roller assembly instead of shaving, drilling, or forcing the sash.
Stop if:
The roller mounting area in the sash is cracked, stripped out, or too damaged to hold a new assembly securely.
The replacement wheel is clearly the wrong diameter or the housing will not seat without modification.
Step 4: Install the new sliding window rollers
Dry-fit the new roller assembly in the same orientation as the removed one. The housing should sit flush in the slot and the mounting holes should line up without drilling.
Start the fastener by hand and snug it only enough to hold the housing. Overtightening can distort a plastic or aluminum roller pocket.
Press lightly on the housing and watch for rocking. A loose pocket, cracked rail, or stripped screw hole will let the roller shift under sash weight.
Repeat the same fit check on the other side. If the old rollers have the same wheel profile and similar wear, replace the pair so both lower corners start from the same height.
If the rollers have adjustment screws, set both sides near the same height. Leave enough gap that the sash does not rub the top channel or sit low on the latch side.
Spin each wheel by hand if you can reach it, then recheck that the wheel turns without scraping the housing.
If it works: Both rollers sit flush, the fasteners hold, the wheels spin freely, and the adjustment screws start from an even baseline.
If it doesn’t: If a roller binds right after installation, remove it and check the slot depth, trapped debris, crooked housing, or wrong wheel profile.
Stop if:
A mounting screw will not tighten because the sash material is stripped or broken.
The new roller sits crooked or rubs the sash frame even when installed correctly.
Step 5: Clean the track and reinstall the sash
Vacuum the full track channel and wipe the ridge where the wheels ride. Paint flakes, grit, and old lubricant can ruin new rollers quickly.
Run a fingertip along the track ridge and look for a bent lip, sharp burr, flat spot, or screw head standing proud of the channel.
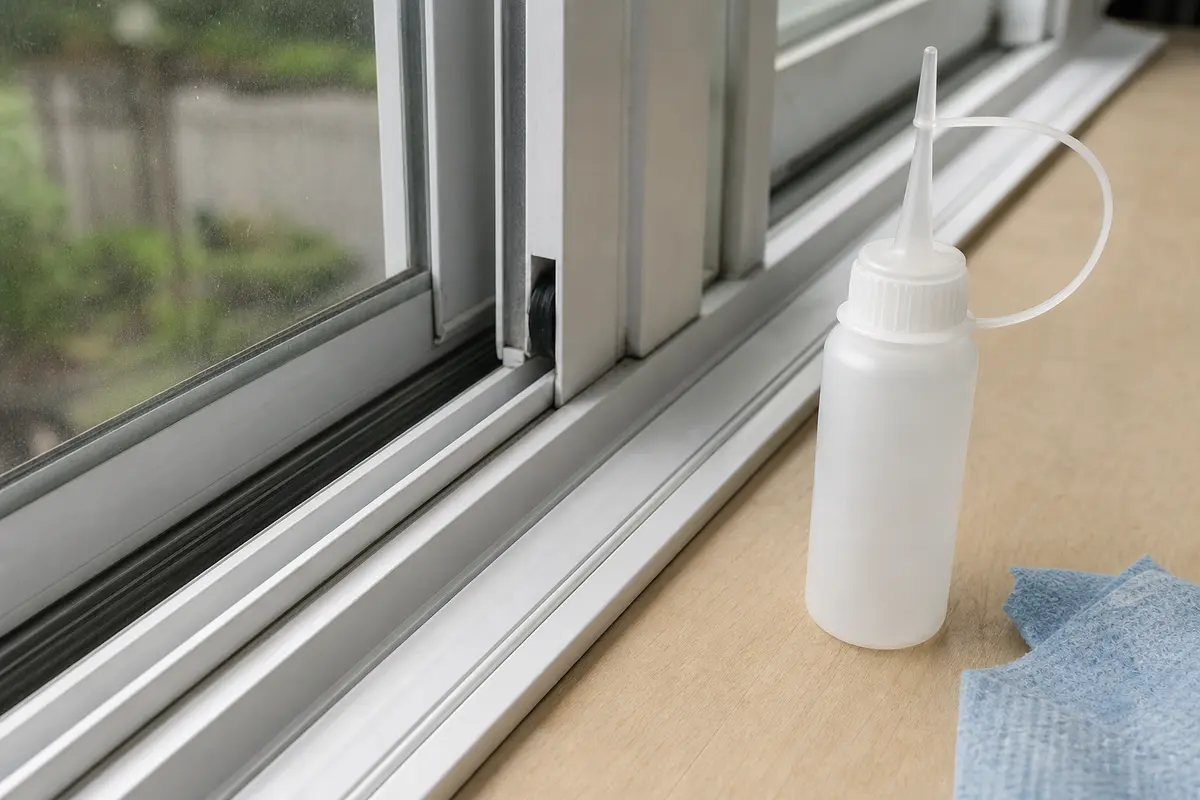
Use a light coat of silicone-based lubricant only after the track is clean. Wipe off excess so it does not hold grit against the wheels.
Set the sash back into the frame with the bottom edge level. Watch that both wheels land on the same track ridge instead of beside it.
Reinstall the stops, anti-lift blocks, side clips, and retaining screws in their marked locations before you test the latch.
Close the window slowly and compare the side gap from top to bottom. If one side drops, adjust the roller height a small amount and recheck the gap.
If it works: The sash is retained, both wheels ride on the track ridge, and the side gaps stay even as the window moves.
If it doesn’t: If the sash sits low on one side or rubs, adjust the roller height in small turns, then recheck the side gap and latch alignment.
Stop if:
The sash will not seat in the frame without force.
The track ridge is bent badly enough that the new wheels cannot ride on it.
The window can be lifted out too easily after reassembly because a stop, anti-lift block, or retainer is missing or damaged.
Step 6: Test the repair under normal use
Open and close the window several times from fully closed to mostly open, then compare the side gaps at the frame.
Check for smooth travel, even gaps, and a latch keeper that lines up without lifting or shoving the sash.
Listen for grinding, clicking, or a scrape in the bottom channel. That noise can mean one roller is off the ridge or rubbing its housing.
Lock the window, then unlock it and start the sash again. A good repair should move without a hard first shove.
Leave the window closed for a few minutes, then open it again and watch that the sash does not sag into the track.
If it works: The window slides smoothly, the side gaps stay even, and the latch lines up without dragging, grinding, or dropping on one side.
If it doesn’t: If the window still drags, recheck roller height, track damage, wheel profile, and whether the housings match the originals.
Stop if:
Check the side gap and listen for the scrape after height adjustment. If both stay in the same spot, that points to frame or track damage rather than a simple roller replacement.
The lock no longer aligns because the sash or frame is distorted.
Match wheel diameter, tread shape, housing profile, shaft or stem style, mounting holes, and track ridge before ordering.
As an Amazon Associate I earn from qualifying purchases. Repair Riot may earn a commission at no extra cost to you.
Verify the repair
The sash opens and closes with noticeably less effort than before the repair.
Both sides of the sash ride evenly with matching side gaps and no corner dragging in the track.
The lock or latch lines up normally when the window is fully closed.
No screws, stops, or clips were left out during reassembly.
FAQ
Do I need to replace both sliding window rollers or just the bad one?
Replace both if the failed side is worn and the other roller has the same wheel profile or similar wear. A mismatched pair can leave one lower corner sitting low and make the sash track unevenly.
How do I know which replacement rollers to buy?
Match the removed roller by wheel diameter, wheel tread shape, housing profile, shaft or stem style, mounting holes, and adjustment screw location. Bringing the roller with you is the safest way to avoid a close-looking mismatch.
Can I just lubricate the track instead of replacing the rollers?
Lubricate only after the track is clean and the wheels still spin smoothly. If a wheel is cracked, flat-spotted, seized, scraping its housing, or badly worn, the window may improve briefly, but the rollers still need replacement.
Why is my sliding window still hard to move after new rollers?
The track may still be dirty, bent, or burred, or the sash may be out of adjustment. It is also possible the new rollers are close but not exact in wheel profile, housing depth, or mounting hole position.
Is this a DIY repair or should I call a pro?
This is reasonable DIY work when the sash lifts out with control, the glass is tight, and the frame and track stay solid. Call a pro if the sash is too heavy to handle safely, the glass is damaged, or the frame or track is bent, broken, loose, or pulling away.
Sources and reference notes
The reference path is diagnosis first: clean the track, watch whether one lower corner rides low, then match the roller assembly only after the wheel or housing fails that check.
Repair Riot - replace a sliding window roller - Use this to compare wheel diameter, housing profile, shaft or stem style, mounting holes, and roller orientation after one assembly is out.