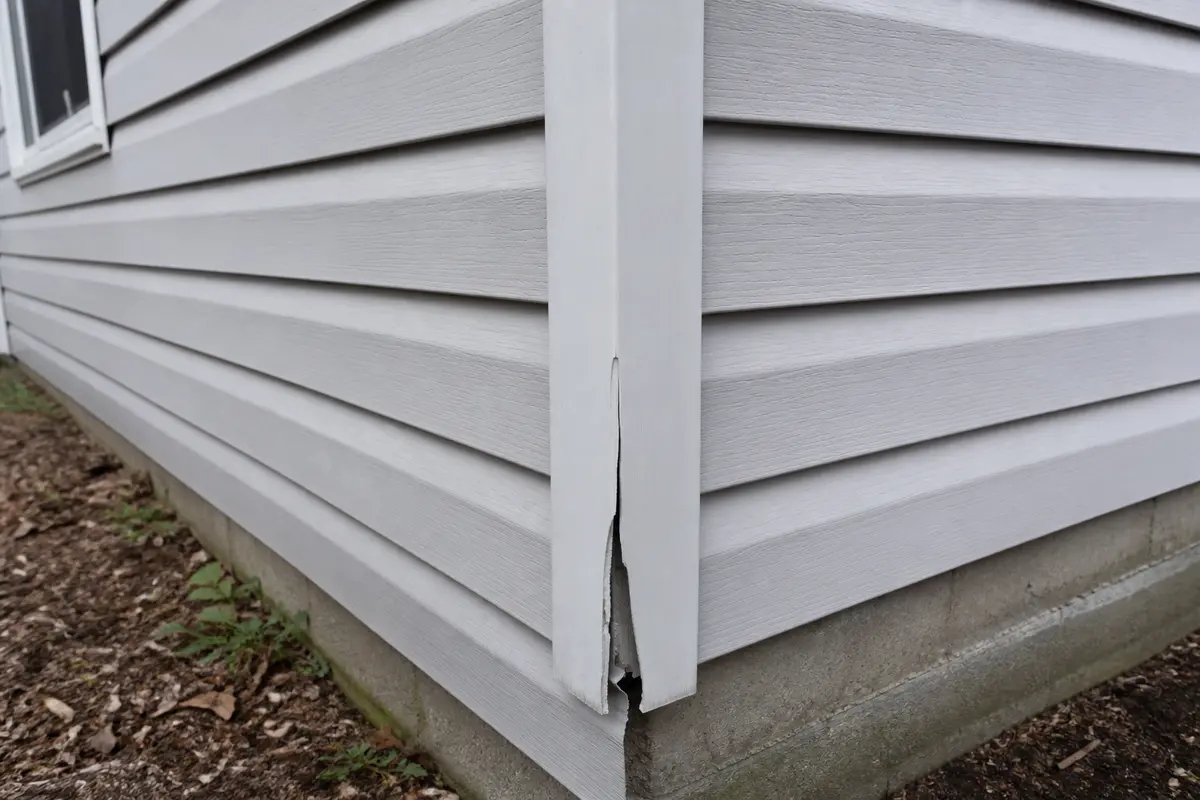
Replace siding corner trim only after the trim itself is cracked, bent, loose, or missing and the wall behind it is dry and firm. Remove the damaged piece without tearing the siding. Dry-fit a matching profile, fasten it flat without crushing the material, and check that rain runs down the outside face instead of behind the corner.
Corner trim protects the outside edge where two siding runs meet. Stop before removal if the siding is rotted, the sheathing feels soft, or the repair would require working above a stable ladder height.
Before you start: Match the new siding corner trim to the old profile, face width, return depth, material, length, color, and fastener layout before ordering. Use the old piece, photos, and visible fastener pattern as your fit check. Stop if hidden damage, unsafe access, active leaks, rot, missing backing, or loose mounting points change the repair.
Last reviewed: 2026-06-16
Make sure this is the right repair
Start at the failed corner: check whether the trim is damaged, whether the backing still feels firm, and whether the new profile can slide into the same space. Do not buy trim, hardware, or a kit until rot, water entry, and profile mismatch are ruled out.
This page fits
This page fits when: The siding corner trim is visibly cracked, bent, missing, loose, punctured, or no longer covering the outside corner, and the surrounding siding still feels sound.
Check something else when: If the sheathing, framing, housewrap, flashing, or siding edge is damaged, fix that condition before narrowing the job to the trim.
Confirm the fit first
This page fits when: You can confirm the face width, return depth, material, profile shape, length, color, and fastener layout before ordering or cutting anything.
Check something else when: If the old trim is missing or the fit is uncertain, compare the opening to an intact corner before ordering. Identify the siding system first; guessing creates a second repair.
Stop for hidden damage
This page fits when: The repair area is dry, solid, accessible, and safe to work on with normal hand tools.
Check something else when: Stop if you uncover rot, active leaks, missing backing, structural movement, or unsafe access.
Check the failure point and dry-fit before fastening
Use the visible damage and dry-fit check to confirm the siding corner trim is really the piece to replace. Compare alignment, backing, profile shape, and stop conditions before ordering trim or fastening anything.
Start at the failed siding corner trim, then check the siding edge and wall behind it. Move ahead only when the surrounding material still feels dry and firm.Dry-fit the new siding corner trim before final fastening. It should sit flat, line up cleanly, and not force nearby siding out of position.
Safety first
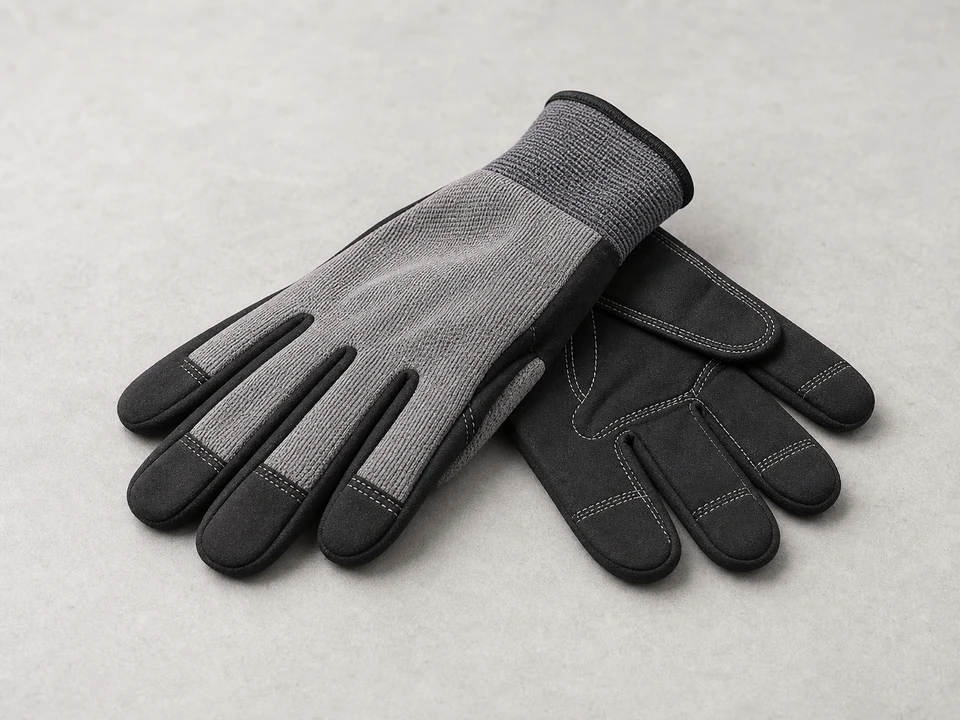
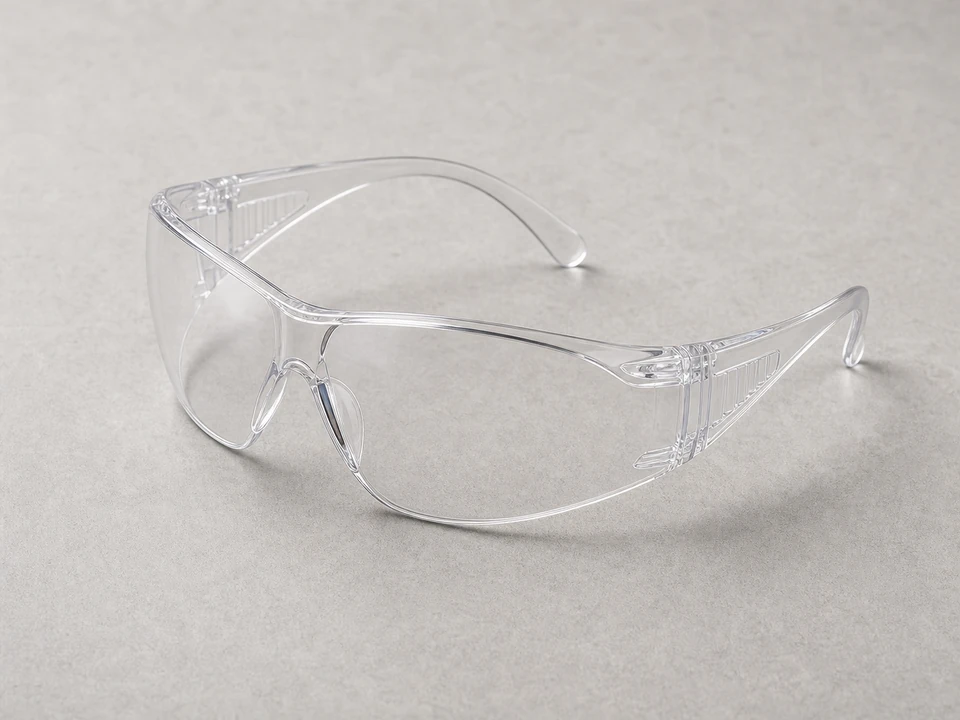
Wear gloves and eye protection when removing old trim and fasteners.
Use a stable ladder on level ground if the repair is above reach, and do not lean around the corner to pry or fasten.
Be careful around sharp metal or vinyl edges, cut ends, and old fastener points.
Stop if you uncover rot, mold, active water entry, missing backing, or unstable wall material behind the trim.
Call a siding or exterior-envelope pro if the corner trim is tied into flashing details you cannot identify.
Tools you may need
Work gloves
Use it for: Protects your hands from sharp trim edges and old fasteners.
As an Amazon Associate I earn from qualifying purchases. Repair Riot may earn a commission at no extra cost to you.
Step-by-step fix
Step 1: Confirm the corner trim is what failed
Look closely at the outside corner and identify whether the corner trim itself is cracked, split, bent, punctured, badly dented, loose, or missing.
Check the siding panels next to the corner. If the siding itself is broken but the trim is intact, this is not the main repair you need.
Press gently around the damaged area and look for soft sheathing, staining, mold, or signs that water has been getting behind the trim. Do not disturb moldy or rotten material; stop there and open the repair plan beyond a trim swap.
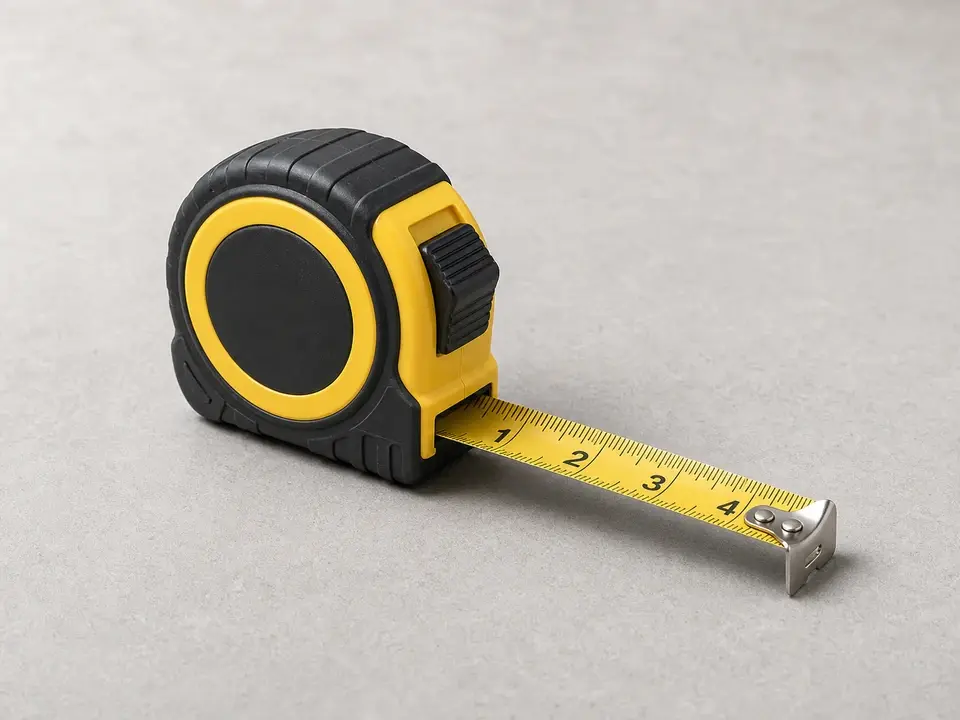
Measure the visible face width, the return that tucks behind the siding, and the overall length. Take a photo of the profile and fastener pattern before you remove anything.
If it works: The siding corner trim is the failed piece, and the surrounding wall feels dry, firm, and square enough for a trim-only repair.
If it doesn’t: If the trim looks fine but the siding panels are cracked or loose, switch to the siding repair instead of replacing the corner trim.
Stop if:
The wall behind the trim feels soft or rotten.
Stop if you see active leaks, heavy mold, insect damage, or structural movement at the corner.
The trim appears tied into flashing, housewrap, or a larger water-management detail you cannot expose without opening a larger section of siding.
Step 2: Set up the area and loosen the damaged trim
Put on gloves and safety glasses before handling the siding corner trim or old fasteners.
Measure a clear work zone around the corner and move furniture, hoses, mulch, and plants far enough back that you can see the full height of the trim.
Check access before you pry. If the damaged area is above comfortable reach, set a stable ladder on level ground and keep your belt buckle between the rails.
Look for nail or screw heads and compare them to the old trim photo or fastener pattern you recorded. If the heads disappear under paint or caulk, cut that line first and pry at the fastener locations instead of pulling on unsupported trim.
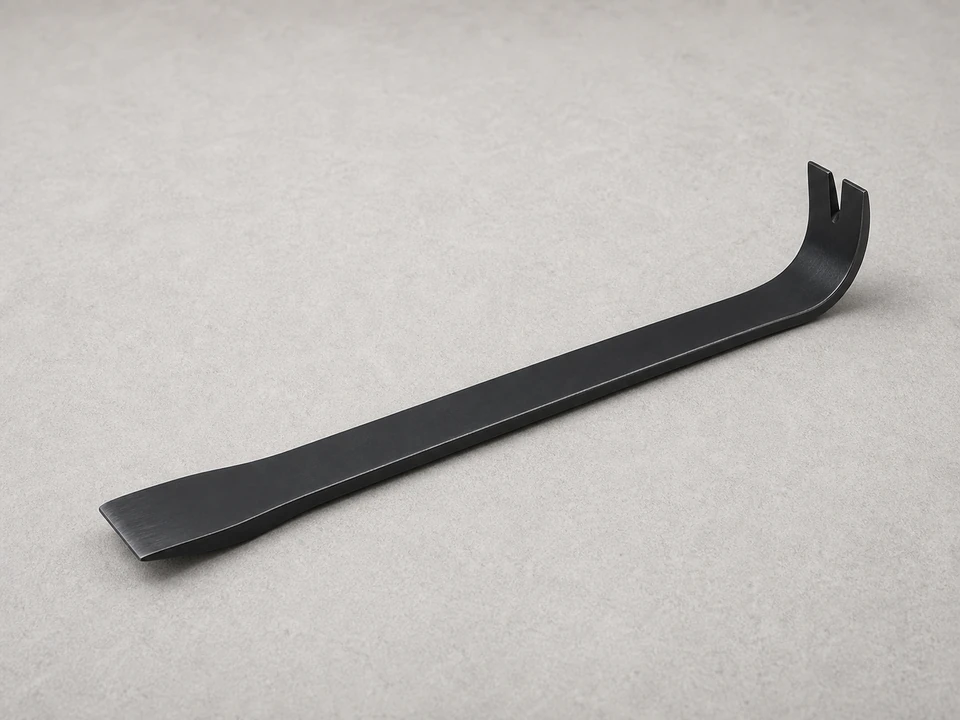
Cut any paint bridge or brittle caulk line before prying. If the siding edges overlap tightly, use the flat pry bar only to loosen the trim near a fastener. Nearby panels should flex slightly, not crack or crease.
Watch the siding edge while you loosen the trim. Stop and inspect again if a panel starts to bow, split, or open a gap at the corner.
Work from top to bottom and loosen each fastener before pulling the piece free. A partially attached corner trim can twist and tear the siding edge if one nail is left tight.
If it works: The work area is clear, the siding edges are protected, and the damaged trim is loose enough to remove without forcing it.
If it doesn’t: If the trim will not budge, look again for hidden fasteners, painted seams, or caulked joints and free those first instead of prying harder.
Stop if:
Adjacent siding starts cracking, buckling, oil-canning, or pulling away from the wall.
You cannot access the fasteners without removing a much larger section of siding than expected.
The ladder setup forces you to lean around the corner instead of working square to the wall.
Step 3: Remove the old corner trim and inspect the corner
Pull the remaining fasteners and lift the old trim away carefully.
Remove leftover nails, screws, broken trim fragments, burrs, and old sealant that would keep the new siding corner trim from sitting flat.
Inspect the exposed corner for damp sheathing, loose housewrap, crushed foam, missing backing, or stains that run downward from the top of the corner.
Hold a straightedge or the old trim against the corner if the wall looks wavy. The new trim needs backing where it will be fastened.
Wipe away dirt and debris so the new trim has a clean surface to rest against.
If it works: The old trim is off and the corner is clean, solid, and ready for the new piece.
If it doesn’t: If you find loose wrap, proud fastener heads, or surface dirt, secure or clean those before moving on so the new trim can sit flat.
Stop if:
The sheathing is rotten, crumbling, or visibly water-damaged.
The corner framing is loose or out of line.
There is hidden damage that needs wall repair before new trim can be installed.
Step 4: Cut and dry-fit the replacement trim
Measure the opening again at the top, middle, and bottom. Use the shortest reliable length if the old trim was crushed or stretched.
Measure and compare the new siding corner trim against the old piece before cutting. Face width, return depth, profile shape, material thickness, color, and screw slots or holes need to match closely enough that the siding can land in the same place.
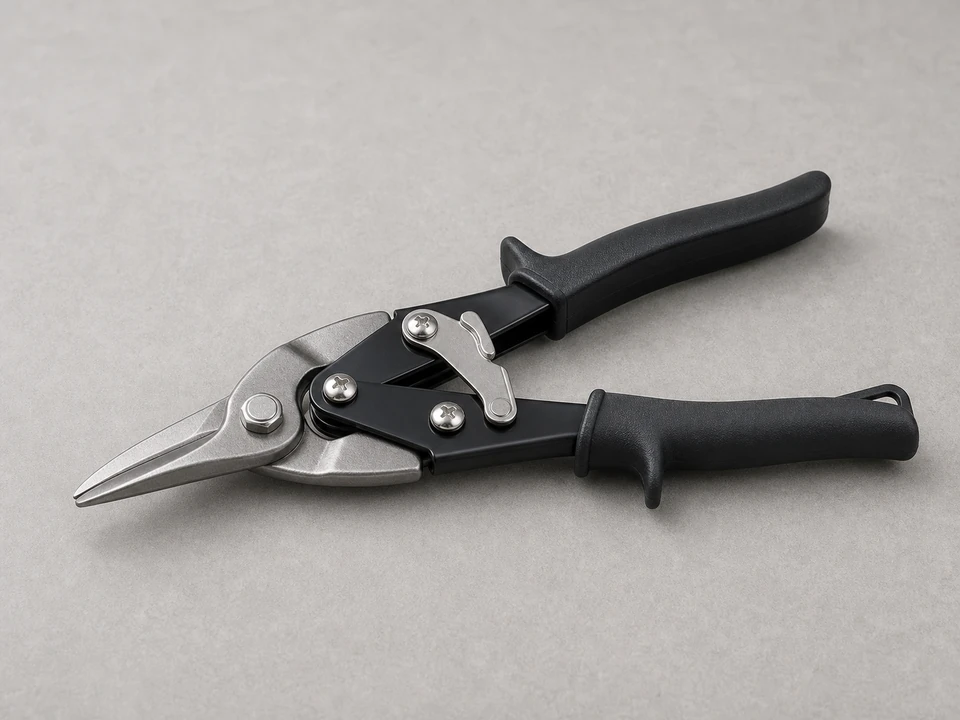
Mark the cut line square and cut the trim with tin snips or another tool suited to the material. Smooth sharp burrs before the piece goes on the wall.
Set the new trim in place without fastening it and check that it covers the corner evenly from top to bottom.
Look down both siding runs. The edges should meet the trim cleanly, and the new trim should not push panels outward, pinch them tight, or leave a gap where rain can enter.
If the trim style uses slotted holes, confirm the planned fasteners land near the center of the slots so the trim can move with temperature changes.
If it works: The new siding corner trim fits the corner cleanly, sits flat, and leaves the siding edges aligned without twist, pinch, or open water paths.
If it doesn’t: If the fit is off, trim, deburr, or recut the piece now. A clean dry-fit is much easier than trying to force the corner straight after fastening.
Stop if:
You cannot match the trim profile closely enough for the siding to meet it cleanly.
The corner is so out of square that the new trim cannot sit flat.
Step 5: Fasten the new siding corner trim
Hold the siding corner trim in its final position and start the top fastener first to keep the piece from sliding while you check alignment.
Step back before adding more fasteners. The trim should look plumb, the reveal should stay even, and the siding edges should still sit relaxed against it.
Add the remaining corrosion-resistant fasteners in the same general locations as the original trim or the manufacturer's instructions for that siding system.
Drive each fastener snug enough to hold the trim, but leave the material flat. Do not crush vinyl, dish metal trim, or pull the corner tight enough to trap siding movement.
After every few fasteners, run your hand down both edges and look for a new bulge, sharp gap, or fastener head that sits proud.
If it works: The new siding corner trim is secure, straight, and attached without crushed edges, proud fasteners, or siding panels forced out of line.
If it doesn’t: If the trim bows or shifts, back out the last fastener, realign the piece, and refasten before continuing.
Stop if:
Fasteners will not hold because the material behind the trim is weak, wet, or missing.
The trim keeps oil-canning, buckling, or pulling the siding out of place even after realignment.
You need to fasten through flashing in a way that would puncture a water barrier you do not understand.
Step 6: Check the repair in real conditions
Stand back and look down the corner from both directions. Check that the trim reads as a straight line and that the siding edges sit neatly against it without waves, pinched spots, or a shadow gap.
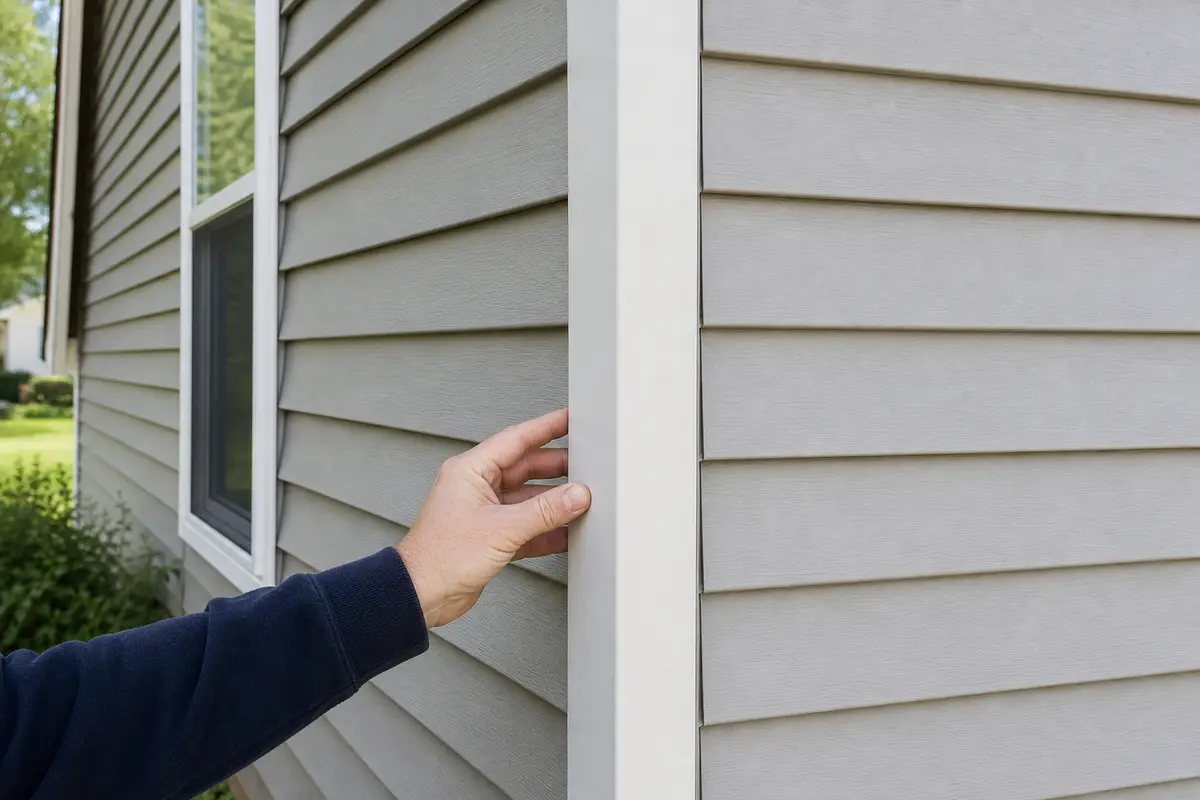
Run your hand lightly along the trim to check for loose spots, sharp cut edges, proud fasteners, or sections that are not seated.
Use a gentle hose spray only if the siding system and weather allow it. Spray from above and from the side like wind-driven rain, not upward behind the siding laps.
Watch the corner during the hose check or after the next rain. Water should run down the outside face and leave the wall behind the trim dry.
Recheck the area the next day for movement, new gaps, stained siding edges, or dampness near the repaired corner.
If it works: The siding corner trim stays secure, looks aligned, and sheds water down the outside face in normal weather.
If it doesn’t: If you notice new gaps or water getting behind the corner, remove the trim and correct the fit, fastener, or backing issue before the damage spreads.
Stop if:
Water still gets behind the corner after the replacement.
The repair loosens quickly, which usually points to hidden wall damage or the wrong trim profile.
Buy trim only after the dry fit checks out on profile, face width, return depth, material, color, length, and fastener layout.
As an Amazon Associate I earn from qualifying purchases. Repair Riot may earn a commission at no extra cost to you.
Verify the repair
The new siding corner trim sits straight and flat from top to bottom.
Adjacent siding is not cracked, pinched, bowed, or pushed out of alignment.
Fasteners are corrosion-resistant, seated evenly, and holding without crushing the trim.
Cut ends are smooth enough not to catch a glove or leave a sharp exposed edge.
Water sheds down the outside face of the corner without getting behind the repair.
FAQ
Do I need to replace the whole corner trim if only one section is damaged?
If the damage is limited and you can remove and replace only that section while keeping the overlap and water-shedding path intact, a partial replacement can work. If the trim is one continuous piece or the damage affects the way water moves at the corner, replacing the full piece is usually the better repair.
Can I reuse the old fasteners?
Use new corrosion-resistant exterior fasteners. Old fasteners may be bent, rusted, or too loose to hold the new trim tight without distorting it.
What if the new trim does not match exactly?
Measure and compare the old and new pieces before you cut. The profile, face width, return depth, and material need to match closely enough that the siding meets the trim cleanly and water still sheds down the outside face. If the new shape is noticeably different, do not force it into place. Get a closer match.
Should I caulk around the new corner trim?
Check the existing detail or siding manufacturer before you add sealant. Do not rely on caulk to cover a poor fit, missing backing, or hidden wall damage. Fasten the trim so it sits flat and sheds water correctly before any bead of sealant is added.
How do I know if there is hidden damage behind the trim?
Soft sheathing, staining, mold, crumbling material, loose framing, or fasteners that will not hold are common signs. If you find any of those, stop and repair the wall condition before installing new trim.
Sources and reference notes
Repair Riot used siding installation references for fit, fastening, clearance, and stop-point checks on this corner-trim repair.