Check the dry threshold first. If water tracks under the door and the vinyl sweep is cracked, stiff, curled, loose, or missing, replace the sweep after matching the door thickness and bottom profile.
Dry the threshold, close the door, and look for daylight under the sweep, a split drip fin, or water running from one low corner. Compare both bottom corners before you buy anything. If the leak starts at a wall joint, fixed panel, hinge, or badly sagging door, stop and fix that leak path first.
Before you start: Before you order, dry the threshold, check the first drip, and measure the door thickness or channel. Match the sweep to the channel style, length, and fin shape, and stop if the glass is chipped, the door is unstable, or the leak starts somewhere else.
Last reviewed: 2026-06-13
Make sure this is the right repair
Before replacing the shower door sweep, confirm the leak starts at the bottom edge and the door can close squarely. Do not order trim by length alone; the profile and glass thickness matter.
This page fits
This page fits when: Water first appears under the door, and the sweep is cracked, stiff, curled, loose, short, or missing at that same spot.
Check something else when: If the first wet mark is at a wall joint, fixed panel, handle opening, hinge side, or side jamb, chase that seal before changing the bottom sweep.
Confirm the fit first
This page fits when: You can match the length, glass thickness or rail width, attachment style, and fin shape against the old sweep.
Check something else when: If the old sweep is missing, measure the glass and threshold gap, then identify the door brand or rail style before guessing at a profile.
Stop for hidden damage
This page fits when: The glass edge is unchipped, the rail is straight, the door is stable, and the threshold is solid enough for a light seal contact.
Check something else when: Stop if the glass is cracked, the rail is loose, the door sags badly, or water is coming from behind the surround.
Check the leak path and dry-fit before trimming
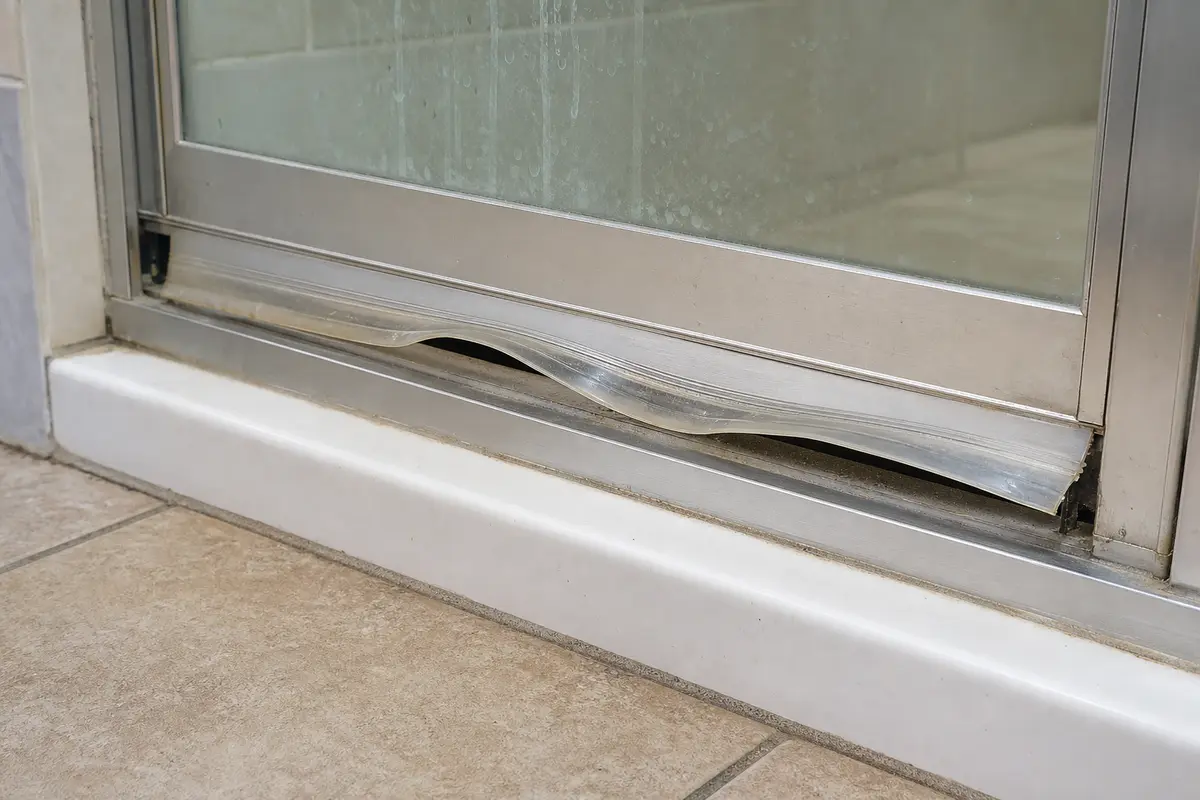
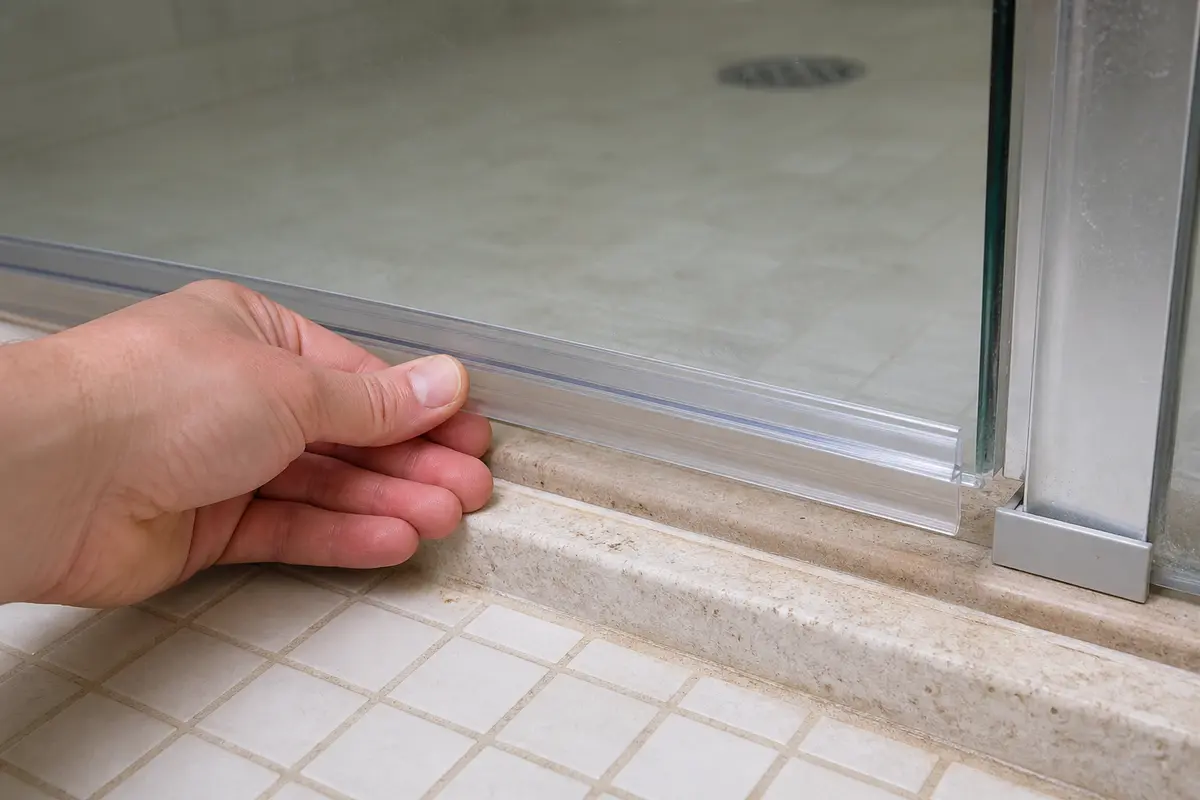
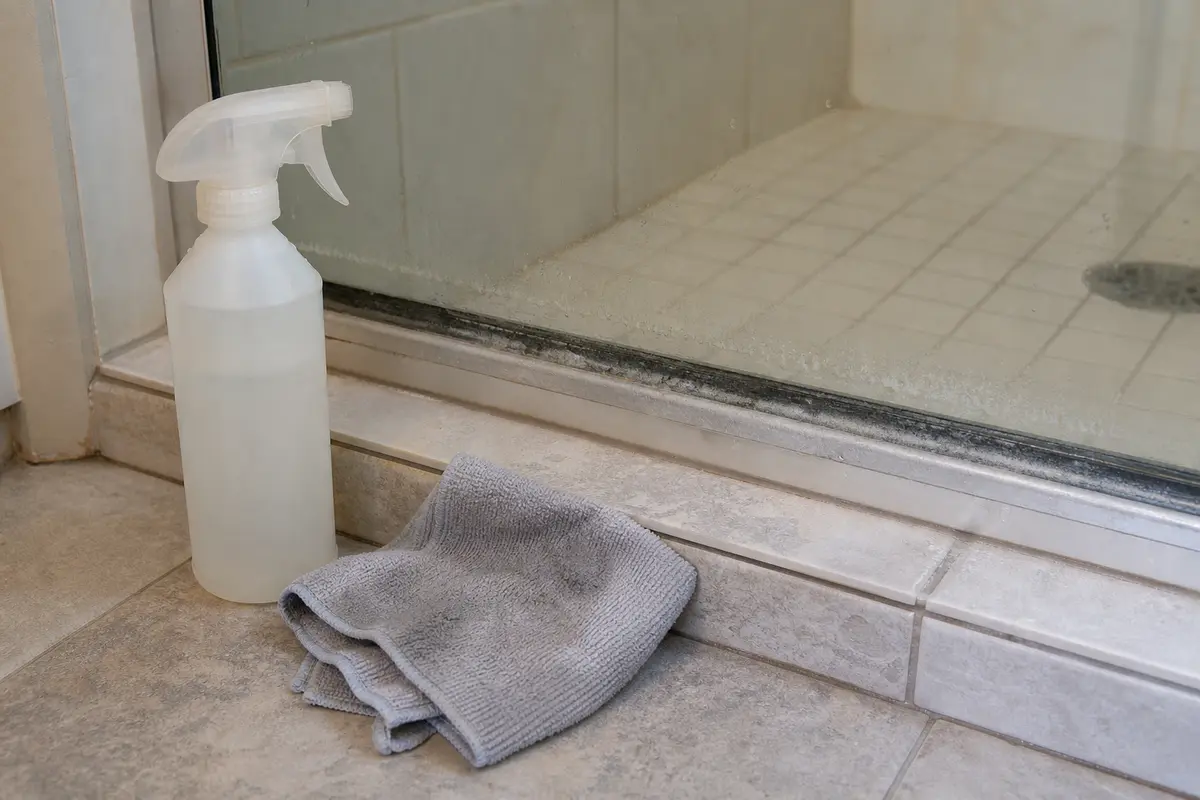
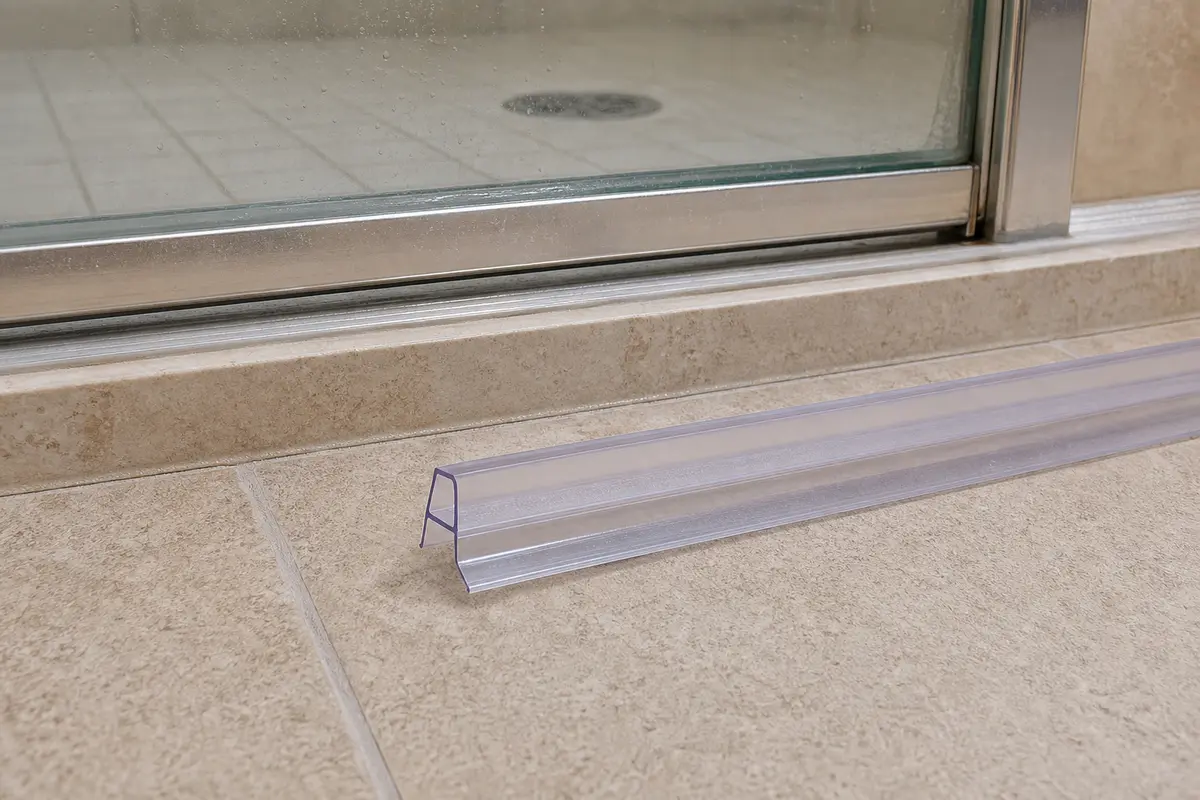
Use the failure photo to compare cracked vinyl, curled fins, and bottom-corner gaps. Use the dry-fit photo to check orientation and threshold contact before you cut the new sweep.
Look for the first wet spot, not just old vinyl. A split fin or lifted end matters most when it lines up with the leak path.Dry-fit before trimming. The grip should sit straight on the glass, and the fin should brush the threshold without folding.
Safety first
Wear gloves if the old sweep has hardened edges or if the metal channel is sharp.
Do not pry hard against shower glass, twist the door, or use a metal tool against the exposed glass edge.
Keep the floor dry while you work so you do not slip getting in and out of the shower.
Tools you may need
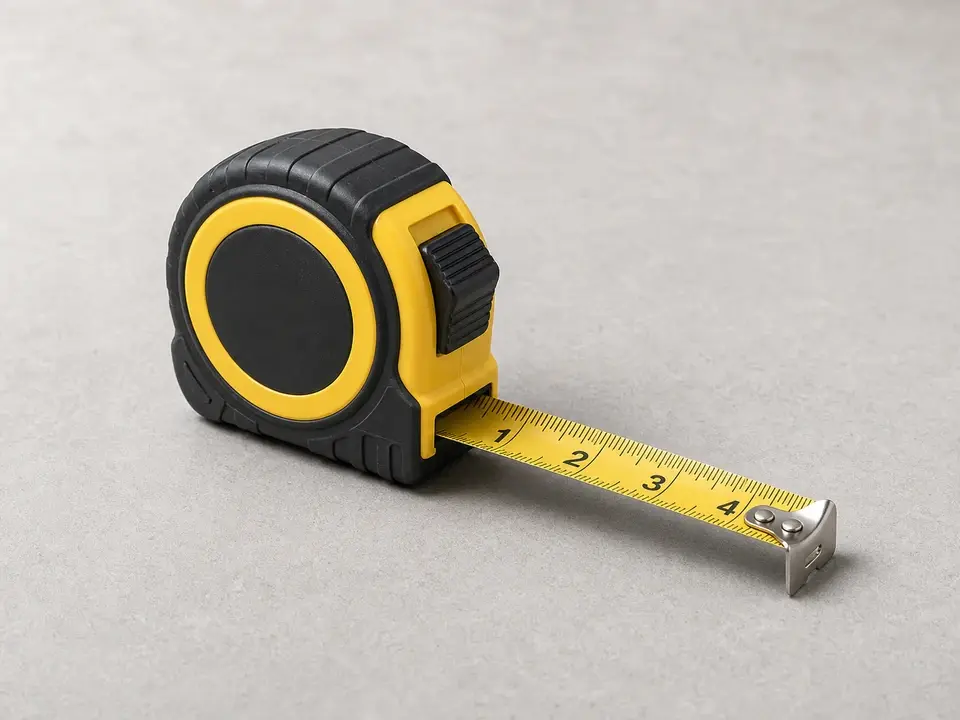
Tape measure
Use it for: To measure the old sweep length and the door thickness or channel size before buying a replacement.
As an Amazon Associate I earn from qualifying purchases. Repair Riot may earn a commission at no extra cost to you.
Step-by-step fix
Step 1: Confirm the shower door sweep is the problem
Dry the threshold and the outside floor, then close the shower door against the stop.
Look along the full bottom edge from inside and outside the shower for a torn vinyl fin, hardened strip, curled end, loose grip, or missing section.
Run a short shower test with water aimed at the lower door panel, not directly at the side jamb. Mark where the first drip appears.
Check the door gap at both bottom corners. If one corner has a much larger gap, the door may need hinge or roller adjustment before a new sweep can seal it.
If it works: The first water appears at the bottom edge, and the sweep has visible wear or poor threshold contact.
If it doesn’t: If the first drip comes from a side seal, wall joint, fixed panel, handle hole, or a sagging door gap, follow that leak path before buying a sweep.
Stop if:
The glass door is cracked or chipped near the bottom edge.
The door is loose, sagging badly, or the hinges or frame feel unstable.
Water is clearly entering from another failed seal, not the bottom sweep.
The door scrapes the frame, lifts, or drops as it closes.
Step 2: Match the replacement before you remove the old one
Measure the old sweep from end to end before trimming or throwing it away.
Check the attachment style: slip-on U channel over bare glass, insert strip in a metal rail, adhesive-backed strip, or a sweep made for a framed door.
Measure the glass thickness or the inside width of the metal channel. A slip-on sweep that is too wide will fall off, and one that is too tight can stress the glass edge.
Compare the bottom shape of the old sweep to the new one: single drip fin, dual fins, bulb seal, or angled deflector.
Check the threshold height and the direction the door swings so the new fin sheds water inward instead of dragging outward.
If it works: The new sweep matches the old length range, glass or channel size, attachment style, and bottom profile.
If it doesn’t: If the profile is uncertain, keep the old sweep intact and compare the end shape to the replacement before ordering. Check which side the fin points toward; a close-looking sweep can leak if that fin lands on the wrong side of the threshold.
Stop if:
The replacement is obviously the wrong style, too loose, or too tight for the door edge.
The shower door has a manufacturer-specific rail or magnet seal you cannot identify.
Step 3: Remove the old sweep carefully
Open the shower door and support it so it cannot swing while you pull on the old sweep.
Start at the end with the most access and pull a slip-on sweep straight down or sideways, following how it releases from the glass.
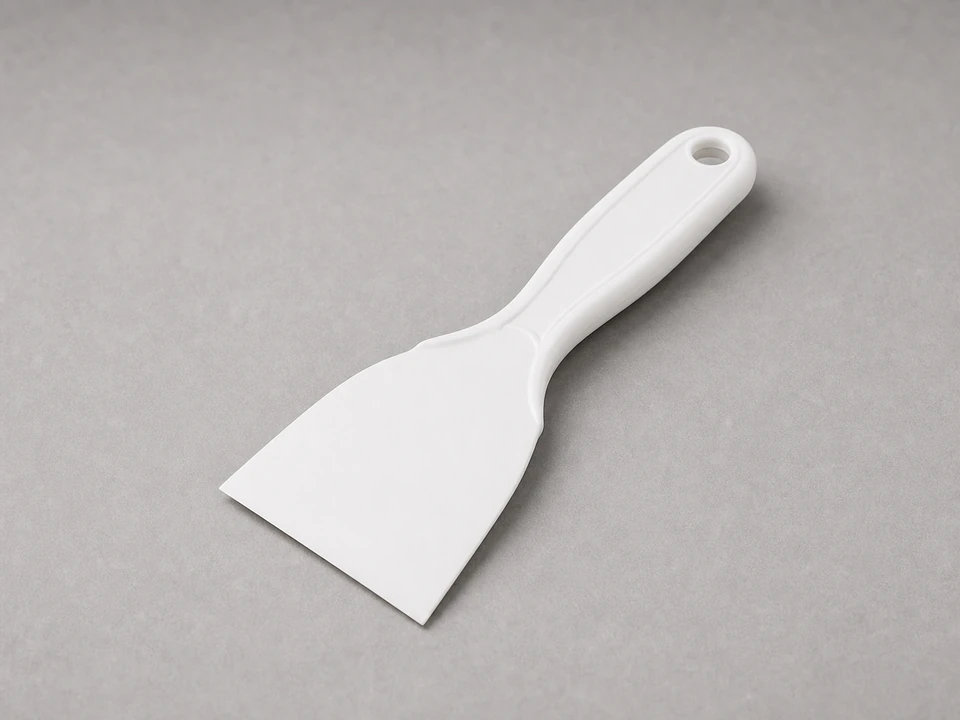
If the vinyl is stuck by soap scale, work a plastic scraper under only the vinyl edge and move a few inches at a time. Do not lever against bare glass.
For a metal channel, look for a removable end, screw, crimp, or stop before sliding the strip out. Forcing a crimped rail can bend it.
Keep the old sweep in one piece if possible so you can compare length, notch locations, and the fin direction before trimming the new sweep.
If it works: The old sweep is off, the glass edge or rail is still straight, and you still have the old profile for comparison.
If it doesn’t: If the sweep will not move, soak the soap scale with mild cleaner, wait a few minutes, and pull again with steady hand pressure. Clean and check the exposed edge as it releases, and stop before heat, a metal pry tool, or door-twisting force can chip the glass.
Stop if:
The glass flexes noticeably while you are pulling on the sweep.
A metal channel is bent, loose, or separating from the door.
You need to pry against bare glass hard enough that it could chip or crack.
Step 4: Clean and prep the bottom edge of the door
Clean the full bottom edge of the glass or the inside of the mounting channel with mild bathroom cleaner.
Scrape only softened soap film or mineral crust with the plastic scraper, keeping the blade flat so it does not nick the glass edge or rail finish.
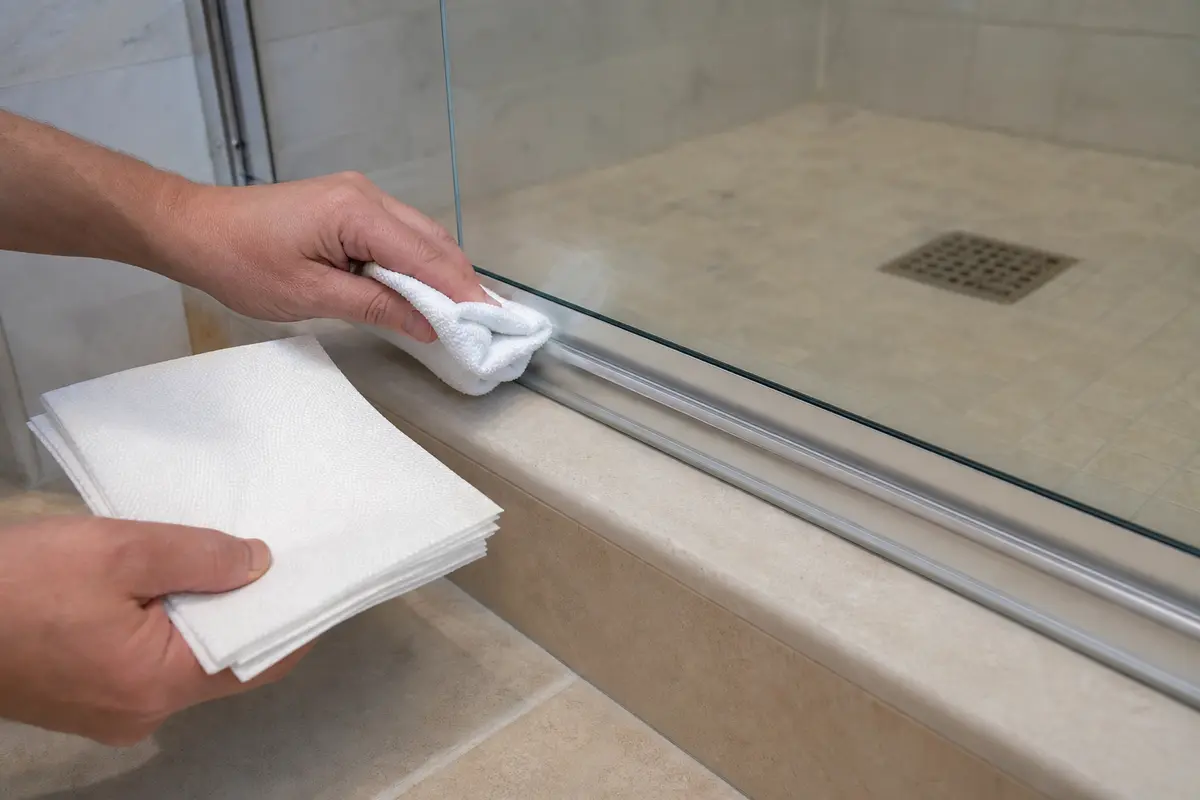
Wipe out the corners and end stops where grit often keeps a new sweep from seating all the way.
Dry the edge with a clean cloth, then check the channel width or glass thickness measurement against the sweep package before installing it.
Run a fingertip along the channel to feel for burrs, old adhesive, bent metal, or grit that would keep the profile from sitting flush.
Dry-fit the sweep against the cleaned edge and watch for rocking, tilting, or a fin pointed away from the shower side.
If it works: The glass edge or channel is clean, dry, smooth, and matched to the sweep size before the final install.
If it doesn’t: If buildup remains, look for raised scale or grit that keeps the test fit from sitting flat, then keep cleaning before installation. A sweep installed over that ridge often sits crooked and leaves a thin leak gap at the threshold.
Stop if:
You find damage at the bottom edge that could cut the new sweep or make the door unsafe to use.
A metal rail is loose from the glass or has sharp bent edges.
Step 5: Install and trim the new shower door sweep
Dry-fit the new sweep before cutting. Compare the end view with the old sweep, measure the seated length, and put the drip fin on the same side and angle, usually aimed toward the inside of the shower.
Start at one end and press or slide the sweep on in short sections so the grip seats evenly across the glass or rail.
Line up the ends with the door edge, hinge clearance, and latch side. Do not leave a long tail that can catch the jamb.
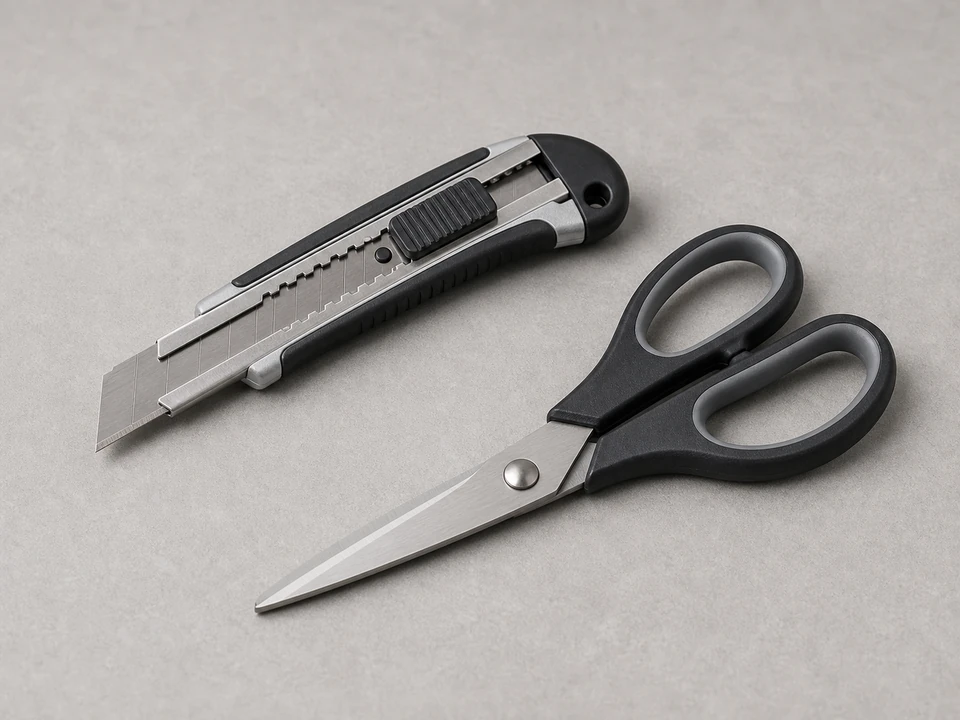
Mark the final length with the sweep seated, then remove it if needed and cut the end square with scissors or a sharp utility knife.
Close the door slowly and watch the fin as it reaches the threshold. It should make light, even contact, not fold under, buckle, or shove the door out of line.
Open and close the door several times before the water test. A sweep that walks sideways during dry operation will not stay put in use.
If it works: The new sweep sits straight, grips the door, clears the jambs, and brushes the threshold without forcing the door.
If it doesn’t: If the sweep bunches up, slides off, whistles through a visible gap, or drags hard on the threshold, remove it and recheck the profile, orientation, and trim length.
Stop if:
The new sweep requires force that could stress the glass.
The door will not close because the replacement profile is clearly too large or the wrong shape.
The sweep makes the glass flex or the hinge side bind.
Step 6: Test the repair in real use
Dry the outside floor, close the door, and run the shower at normal pressure.
Aim water at the lower door panel for a short test, then aim it away and watch whether water still appears outside the threshold.
Look at both bottom corners. A corner drip can mean the sweep is too short, notched wrong, or missing the side seal by a small gap.
Open and close the door several times and check that the sweep has not slid sideways or curled under.
After the next full shower, wipe the threshold and check for a new water track before calling the repair done.
If it works: Water stays inside during normal spray, the threshold dries without a trail outside the door, and the sweep remains straight after door cycles.
If it doesn’t: If water still escapes, follow the first wet spot. A side seal, fixed panel seal, low threshold, door alignment problem, or spray aimed directly at a corner gap can mimic a bad sweep.
Stop if:
Water is still leaking heavily even though the new sweep sits straight, the fin brushes the threshold evenly, and both bottom corners are sealed. Dry the floor and threshold, then run a short spray test. Watch for the first wet line. If it starts at the side jamb, fixed panel, wall joint, low threshold, or corner gap, leave the sweep alone and chase that leak path.
Buy only after the leak starts at the bottom edge and the sweep matches your glass thickness, rail style, length, and fin shape.
As an Amazon Associate I earn from qualifying purchases. Repair Riot may earn a commission at no extra cost to you.
Verify the repair
The new sweep matches the old attachment style, glass or channel size, and fin direction.
The door opens and closes without the sweep folding, scraping hard, walking sideways, or popping off.
No water track appears outside the threshold during a normal shower.
The sweep stays straight and secure after several door cycles.
FAQ
How do I know if the shower door sweep is bad?
A bad sweep is usually cracked, stiff, curled, loose, or missing pieces. Dry the threshold, check both bottom corners, and watch the first drip during a short shower test; a sweep leak usually starts along the bottom edge.
Do I need to remove the shower door to replace the sweep?
Usually no. Many shower door sweeps slide off and on with the door still installed. Open the door, check that the hinge side feels stable, support the door so it cannot swing, and stop if the glass is cracked or the gap is too tight to work safely.
Can I cut a shower door sweep to fit?
Yes, many sweeps are sold a little long and can be trimmed. Dry-fit first, mark the seated length, and cut the end square so it does not snag the jamb.
Why is water still leaking after I replaced the sweep?
The leak may be coming from another seal, a gap at a fixed panel, or a door alignment problem. It can also happen if the replacement sweep is the wrong profile for your door.
Should the new sweep touch the threshold?
Light contact is common, but it should not fold under, drag heavily, or keep the door from closing. It should guide water back into the shower without stressing the door.
Sources and reference notes
Repair Riot uses related field pages and source references to keep the fit, safety, and stop-condition guidance grounded in real repair situations.
shower door sweep - Repair Riot source page that references this repair topic.
shower door sweep - Repair Riot source page that references this repair topic.