To replace a refrigerator light socket, first test a known-good appliance bulb and press the door switch. Then unplug the refrigerator, remove the cover and bulb, compare terminal width, cup depth, and mounting slots, transfer the wire connectors, and test for steady light.
If the good bulb flickers, stays dark, or lights only when the bulb base is nudged, check the center contact, brass side shell, terminal blades, screw ears, snap tabs, and plastic cup. Stop at burned insulation, arcing marks, loose harness connectors, a voltage warning after unplugging, or a liner gap that will not let the socket sit flush.
Before you start: Match the socket to your exact refrigerator model before ordering. Compare terminal width, cup depth, cover slot fit, and whether the socket face sits flush with no forced gap. Stop if the damage continues into the wire harness, liner, door switch circuit, or cabinet wiring.
Last reviewed: 2026-06-14
Make sure this is the right repair
Check a known-good appliance bulb and press the door switch before you replace the refrigerator light socket. If the bulb and switch pass, compare the new socket to the model tag, bulb base, wattage label, terminal blade width, cup depth, mounting slot, and liner opening.
This page fits
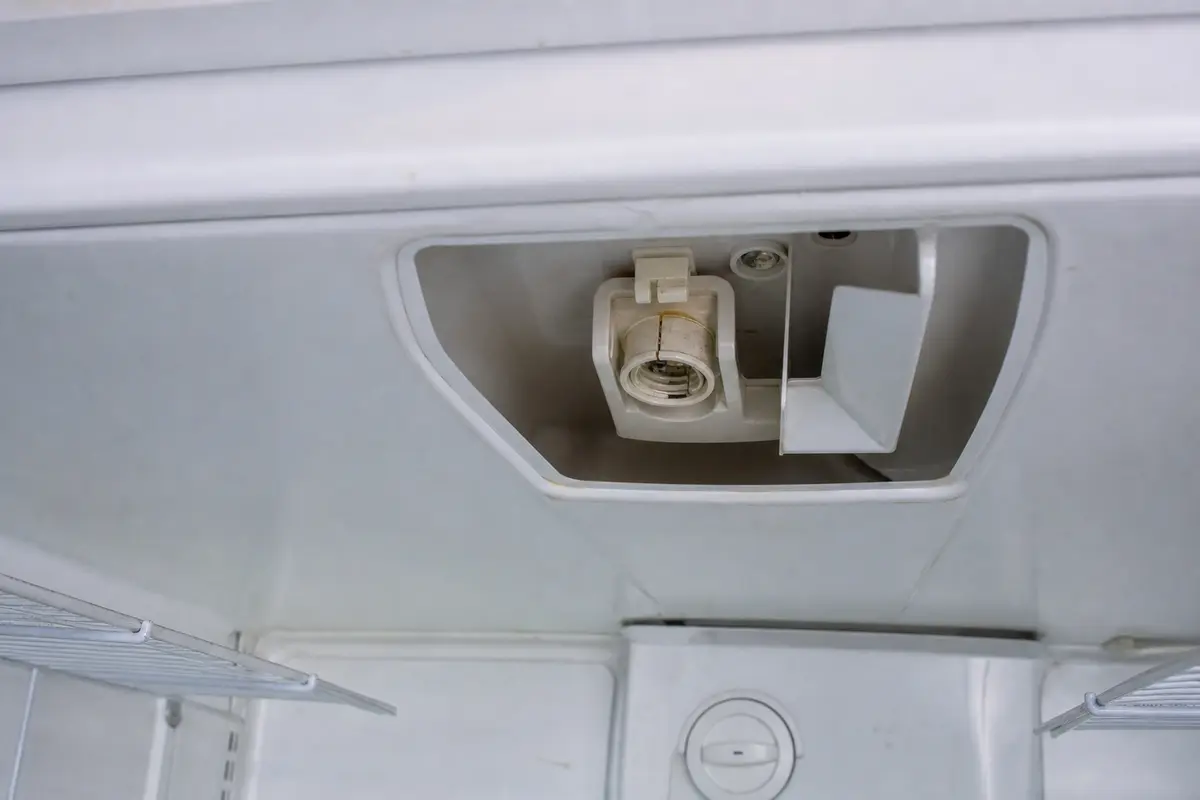
This page fits when: A known-good appliance bulb still flickers or stays dark after the door switch responds normally. Look for a flattened center button, loose side shell, scorch mark, green corrosion, cracked cup, or weak terminal grip at the socket.
Check something else when: If the bulb works when the door switch is pressed but fails only with door movement, test the door switch. Check hinge-area wiring next.
Confirm the fit first
This page fits when: The new socket matches the full refrigerator model number, bulb base, wattage rating, terminal blade width, terminal angle, screw ears or snap tabs, and cup depth.
Check something else when: Dry-fit it before fastening. The rim should sit flush in the liner opening with no gap at the cover slot.
Stop for wiring damage
This page fits when: DIY replacement fits when the liner is intact. The socket should pull out without tearing the harness, and the wire connectors should stay clean and tight.
Check something else when: Stop and call an appliance tech for burned insulation, melted connectors, arcing marks beyond the socket, voltage where it should be dead, or a circuit that trips after plug-in.
Check the socket damage and dry-fit
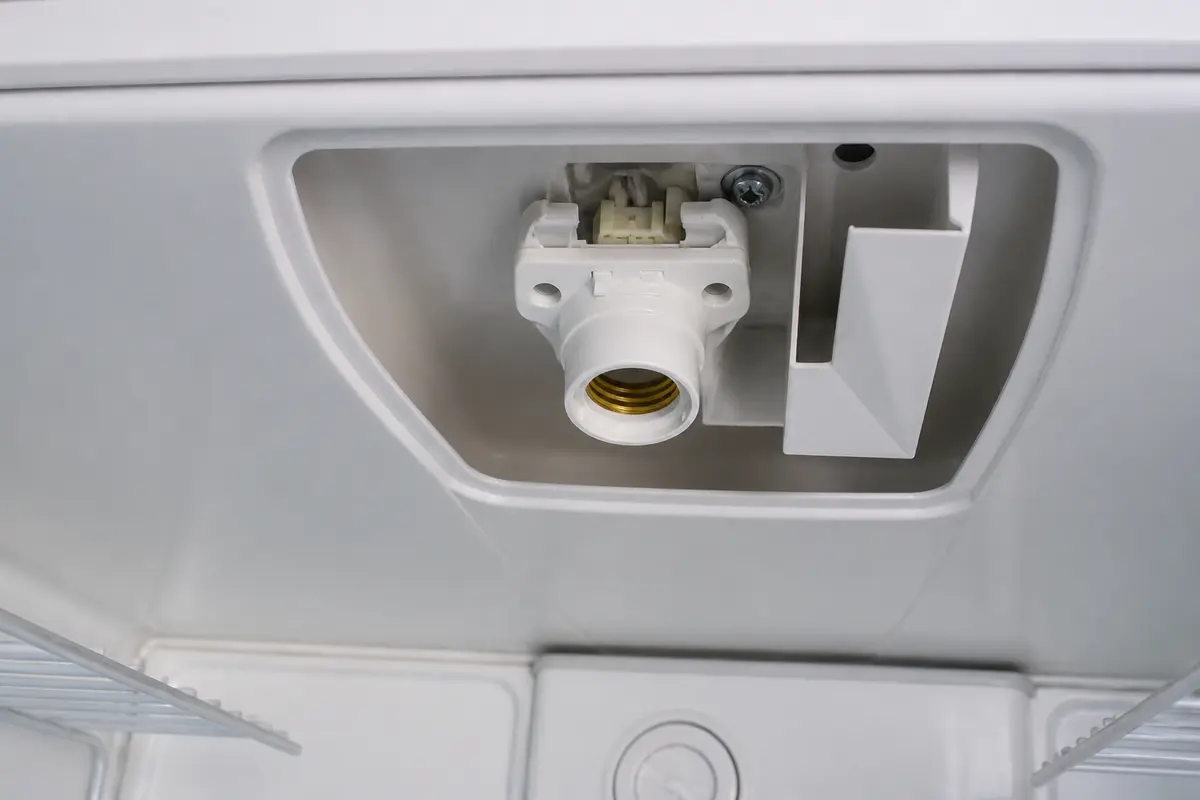
Use the visible socket damage and dry-fit check to confirm the job before final assembly. Compare the bulb base, terminal blades, tabs, screw holes, and housing depth before you fasten the new socket.
Start at the failed socket. Move ahead only when the liner, harness insulation, and nearby door switch wiring still look clean and solid.Dry-fit the new socket before final fastening. The tabs, screw holes, and terminal angle should line up without forcing the liner or harness.
Safety first
Always unplug the refrigerator before removing the light cover or touching the socket wiring.
Handle broken bulbs carefully and wear gloves around sharp plastic or metal edges.
Stop if you find burned wires, melted connectors, or signs of arcing beyond the socket itself.
Use only a model-matched socket and a refrigerator-rated bulb that match the bulb base and wattage limit.
Tools you may need
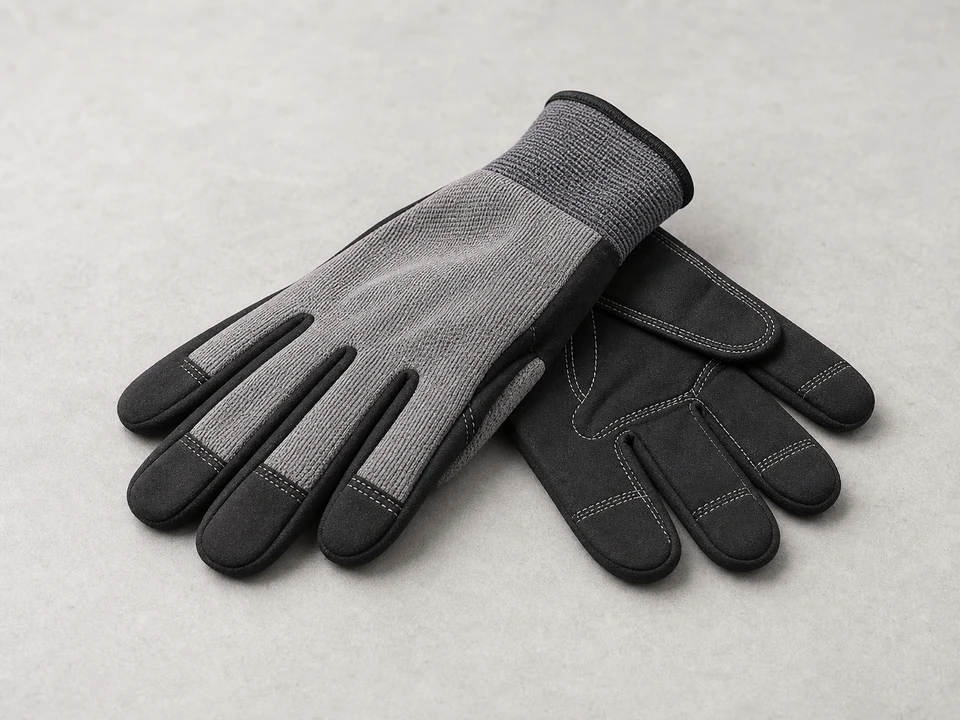
Work gloves
Use it for: Protect your hands from sharp plastic edges, sheet metal, and broken bulb glass.
As an Amazon Associate I earn from qualifying purchases. Repair Riot may earn a commission at no extra cost to you.
Step-by-step fix
Step 1: Make sure the socket is the likely problem
Open the refrigerator door and check the light before touching parts. Look for no light, a one-time flicker, a bulb that works only when twisted, or a bulb that feels loose in the socket.
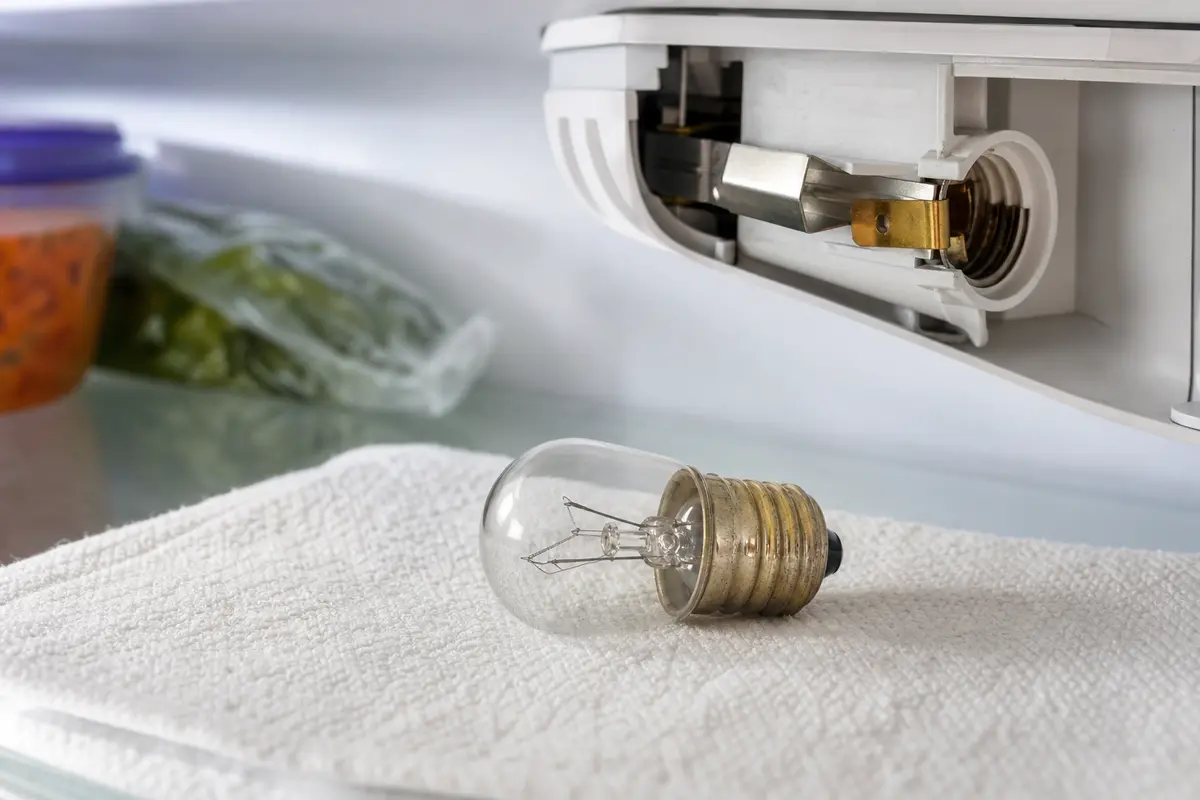
Match a known-good refrigerator appliance bulb to the same base style and wattage limit shown near the light housing. A failed bulb is the cheaper first split.
Press and release the door switch by hand several times and watch the bulb. If the light turns on and off without flicker, check the socket next; if it stays dark with a known-good bulb, the switch and wiring still need diagnosis.
With power still connected only for this check, watch for flicker when the bulb base is gently nudged. Do not touch any bare metal or damaged socket material.
Unplug the refrigerator before touching the socket, then inspect the center contact, side shell, terminal blades, and plastic body for flattening, scorch marks, green corrosion, cracks, or heat warping.
If it works: The symptom and visible damage point to the refrigerator light socket, not just the bulb.
If it doesn’t: If a new bulb fixes the light, stop here. If the light still fails and the socket looks clean and tight, diagnose the door switch or cabinet wiring before ordering a socket.
Stop if:
You smell burning, see melted wiring, or find charring beyond the socket area.
The light problem appears tied to a larger electrical issue such as repeated tripping, sparking, or intermittent power in other refrigerator functions.
Step 2: Unplug the refrigerator and clear the work area
Unplug the refrigerator from the wall outlet before removing the light cover or touching the socket terminals.
Move only the shelf, drawer, or food bin that blocks your hand from reaching the light cover; lift shelves out of their slots instead of prying against the refrigerator liner.
Set a towel under the light housing to catch screws, cover tabs, or bulb glass before they drop into the cabinet.
Put on gloves, and if the bulb is broken, lift loose glass out with the power disconnected before you reach for the socket.
Check the cord, plug, outlet, water line if equipped, and floor path before pulling the refrigerator for access.
Leave enough gap behind the refrigerator to reach the outlet while keeping the cabinet level and the water line relaxed.
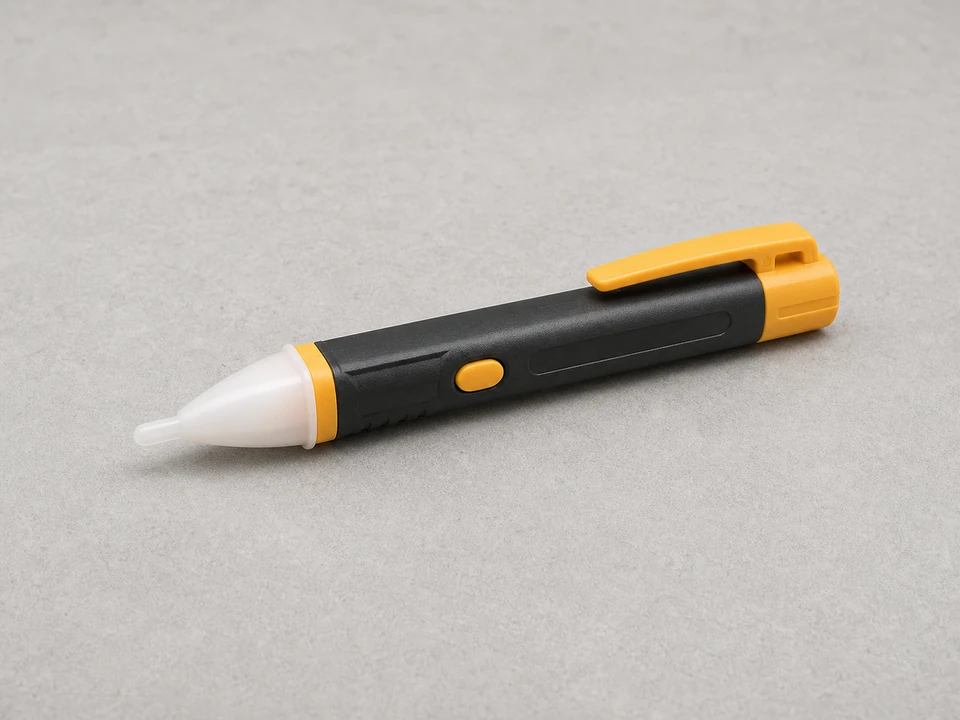
Check the socket opening with a non-contact voltage tester after unplugging if the cord or outlet was hard to see.
If it works: The refrigerator is unplugged, the shelf space is clear, and the socket opening can be reached without bending the liner or harness.
If it doesn’t: If you cannot reach the plug safely, pull the refrigerator straight out just far enough to access the outlet without dragging the cord or kinking a water line.
Stop if:
You cannot disconnect power safely.
There is standing water, damaged insulation, or exposed wiring around the light housing.
Step 3: Remove the light cover, bulb, and old socket
Release the light cover tabs or remove the cover screws, then check the tab slots for cracks before setting the cover aside.
Unscrew the bulb and compare the bulb base to the socket shell. Blackened glass, a loose base, pitted threads, or a crushed center button points to poor contact.
Photograph the old socket before removal, including screw position, locking tabs, wire colors, terminal angle, and how deep the socket cup sits in the liner.
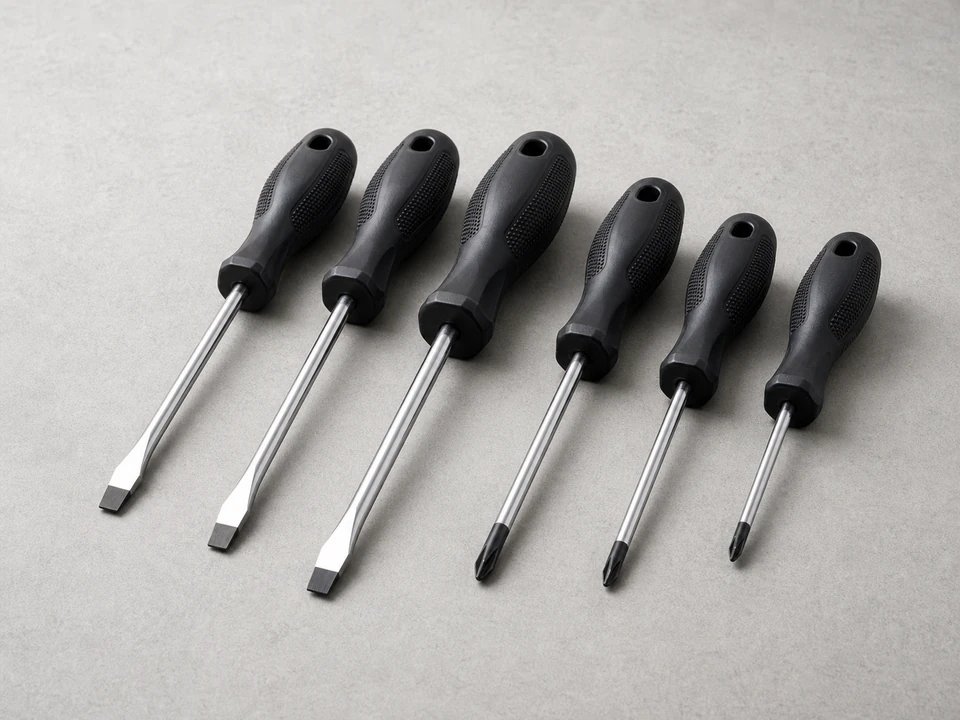
Check whether the socket is held by Phillips screws, spring ears, a twist-lock body, or plastic snap tabs before you pull on it.
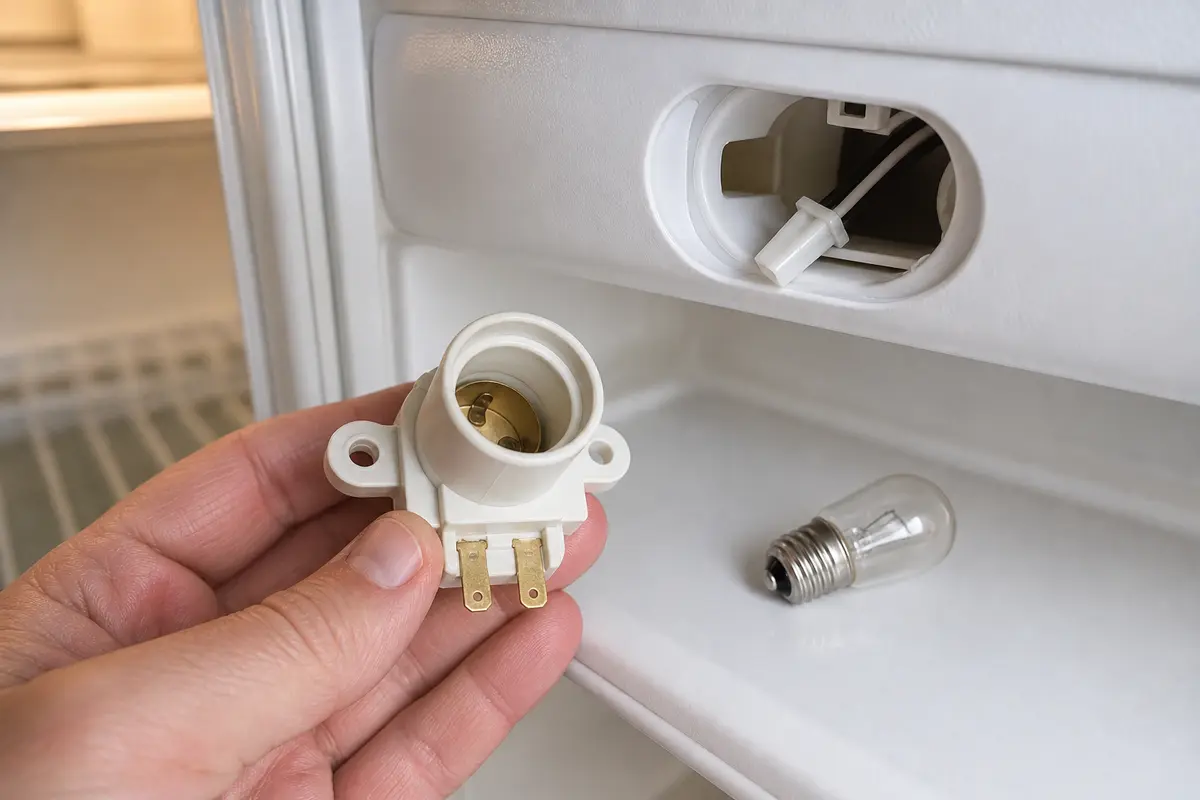
If the old socket has no readable part number, measure or photograph the terminal blade width and socket cup depth before ordering the replacement. Also check the socket rim; a gap at the liner points to a cracked liner slot, so dry-fit the new socket before fastening.
Remove the screws or release the retaining tabs, then pull the socket out only far enough to expose the insulated wire terminals and strain relief.
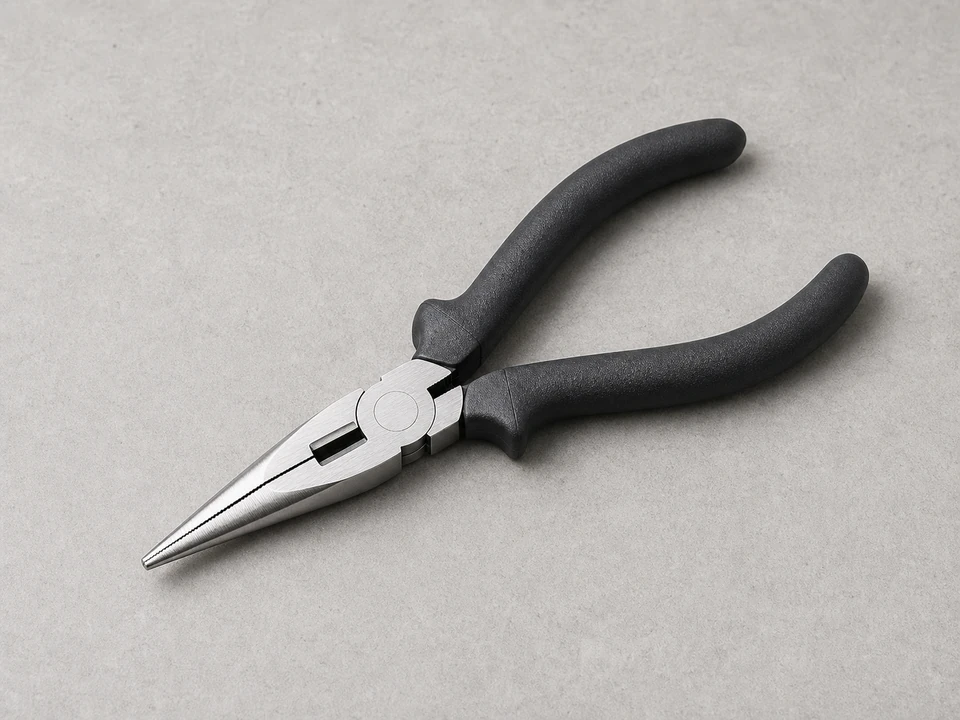
Disconnect the wires by gripping each terminal with needle-nose pliers and pulling straight off the blade; do not yank the wire insulation.
If it works: The old socket is out and the wire terminals are accessible for the new socket.
If it doesn’t: If the socket will not come free, check again for a hidden screw, locking tab, or mounting clip you may have missed.
Stop if:
The wire terminals are fused to the socket, badly burned, or the wire insulation crumbles when touched.
The housing or liner around the light assembly is cracked badly enough that the new socket will not mount securely.
Step 4: Install the new refrigerator light socket
Compare the new socket to the old socket for bulb base size, screw holes or snap tabs, terminal blade width, terminal angle, and housing depth.
Check the refrigerator model tag and parts listing if the socket shape is close but the tab position or terminal layout is different.
Push each wire connector onto the matching terminal blade until it seats firmly and does not slide back off with light finger pressure.
Dry-fit the socket in the liner opening before tightening screws or snapping tabs. The body should sit flat without twisting the harness.
Mount the socket in the same position as the old one, then tug lightly on the housing to confirm the screws, ears, or tabs hold.
Thread in the bulb by hand. If the old bulb has a darkened envelope, loose base, or pitted contact, install a matching refrigerator-rated appliance bulb.
Reattach the light cover without overtightening screws, cracking tabs, or trapping the wire harness behind the cover.
If it works: The new socket sits flat, the wire terminals grip, and the bulb and cover fit without strain.
If it doesn’t: If the new socket does not match the old socket closely, pause and verify the refrigerator model number before forcing a terminal, tab, or screw hole.
Stop if:
The new socket does not fit the housing, bulb base, mounting tabs, screw holes, or terminal layout.
A wire connector is too loose to stay attached securely.
Step 5: Restore power and test the light
Plug the refrigerator back in while keeping your hands away from the socket opening.
Open the door and press the door switch by hand so you can watch the light turn on and off several times without moving the bulb.
Watch for flickering, delayed lighting, buzzing, or a bulb that works only when touched or twisted.
Let the light stay on briefly with the door open, then check for a hot electrical smell, sparking, or discoloration around the socket rim.
Close the door and make sure the light goes out. If the cover lets you see through a small gap, check from the side; otherwise use the door switch test.
If it works: The light comes on reliably, turns off with the door switch, and stays steady without flickering.
If it doesn’t: If the new socket and a good bulb still do not fix the light, the next likely checks are the door switch, wiring, or control issue.
Stop if:
Unplug the refrigerator if the new socket gets hot quickly, sparks, or shows any sign of arcing.
The light still fails and you find damaged wiring deeper in the cabinet.
Step 6: Confirm the repair holds in normal use
Use the refrigerator normally for a day or two and notice whether the light comes on at the first door opening, not after a tap or twist.
Open both fresh-food and freezer doors if the same light circuit or door switch affects more than one compartment on your model.
Check that the light cover stays clipped in and does not rub the bulb, socket rim, cover gap, or door switch plunger.
Recheck the bulb by hand with the refrigerator unplugged if it looks tilted or loose after normal door openings.
Look once more for heat discoloration, buzzing, plastic odor, or a warm spot around the light housing after regular use.
If it works: The light works consistently in real use and the new refrigerator light socket is holding its position and contact.
If it doesn’t: If the problem returns, recheck bulb fit and wire connections, then move on to diagnosing the door switch or wiring.
Stop if:
The same socket area overheats again or the replacement shows fresh burn marks.
You find recurring electrical damage that points to a larger wiring problem.
Match the socket to your exact refrigerator model before ordering.
As an Amazon Associate I earn from qualifying purchases. Repair Riot may earn a commission at no extra cost to you.
Verify the repair
The interior light turns on when the door opens.
The light turns off when the door switch is pressed.
The bulb sits firmly in the new socket without wobbling.
There is no flickering, buzzing, sparking, or hot electrical smell from the light housing.
FAQ
How do I know if the refrigerator light socket is bad?
A bad socket often leaves visible clues: scorch marks, corrosion, looseness, or a center contact that looks flattened or burned. Try a known-good appliance bulb and press the door switch by hand first. If the bulb still will not light and the switch gives a clean on/off response, the socket moves up the list.
Can I replace the socket without replacing the bulb?
Yes, if the bulb is still in good shape. But if the bulb is darkened, loose at the base, or questionable, it makes sense to replace it while the light assembly is already apart.
Do I really need to unplug the refrigerator for this repair?
Yes. The socket wiring is part of the refrigerator's electrical system, so disconnecting power is the safe way to work on it.
What if the new socket does not fix the light?
Next, check the door switch, damaged wiring, or a control fault. If those checks point away from the socket, the socket was probably not the root cause.
Can a bad light socket damage the bulb?
Yes. A loose or heat-damaged socket can cause poor contact, flickering, and overheating that shortens bulb life.
Sources and reference notes
Use these related Repair Riot pages when the light failure points away from the socket. Start with bulb condition and door-switch behavior, then move to hinge-area wire-harness damage or a deeper electrical fault if the socket is clean, fits flush, and the light still fails.