How to Replace a Pressure Washer Thermal Relief Valve After Confirming the Leak
Replace the pressure washer thermal relief valve only when a cool, depressurized pump leaks from that valve or its threads after you have ruled out the inlet, outlet, unloader, and pump body.
The expensive mistake is forcing a small brass valve into the wrong pump port. Dry the pump, find the first wet spot, then match the thread, sealing style, and temperature rating before a wrench touches the new valve.
Before you start: Confirm the leak is from the thermal relief valve itself, not the pump body, inlet fitting, unloader, or hose connection. Let the pump cool, relieve pressure, and match the valve thread, temperature rating, pump model, and sealing style before ordering.
Last reviewed: 2026-06-12
Confirm the thermal relief valve leak
Dry the pump first. A drip that runs down from a hose fitting, unloader, casting seam, or freeze crack can look like a thermal relief valve leak from a few feet away.
Thermal relief pattern
This page fits when: The first fresh bead of water forms at the small brass relief valve or around its threaded connection.
Check something else when: If water starts at a hose fitting, pump head seam, garden-hose inlet, or unloader body, follow that leak instead of buying a valve.
Overheat behavior
This page fits when: The valve dumped hot water after the washer sat running with the trigger released, then kept dripping after cooldown.
Check something else when: If it only opens during long idle pauses and reseals after cooling, shorten the bypass time before blaming the part.
Valve match
This page fits when: The new valve matches the pump model, thread diameter, thread pitch, threaded length, sealing shoulder, and temperature rating.
Check something else when: If the old valve is seized or the pump threads look chewed up, forcing removal can turn a valve job into a pump replacement.
Stuck-open valve
This page fits when: The valve opens, will not reseat cleanly, or drips from a cool pump with the water supply on.
Check something else when: If the pump also surges, chatters, loses pressure, or gets hot quickly, check inlet flow and the unloader before treating the valve as the only fault.
Find the valve before blaming the pump
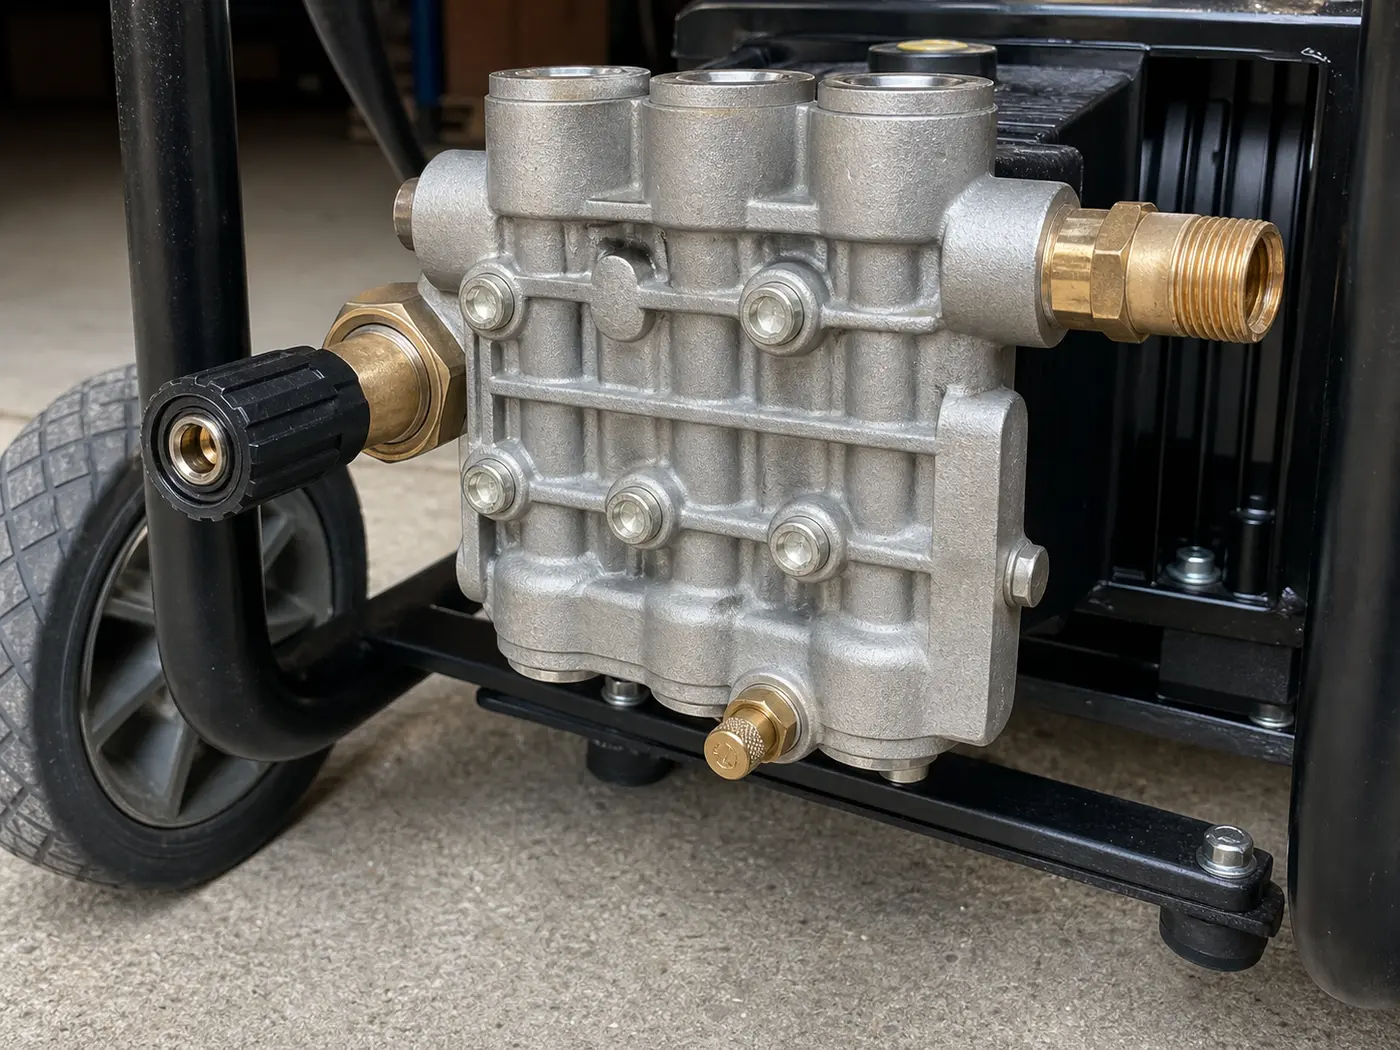
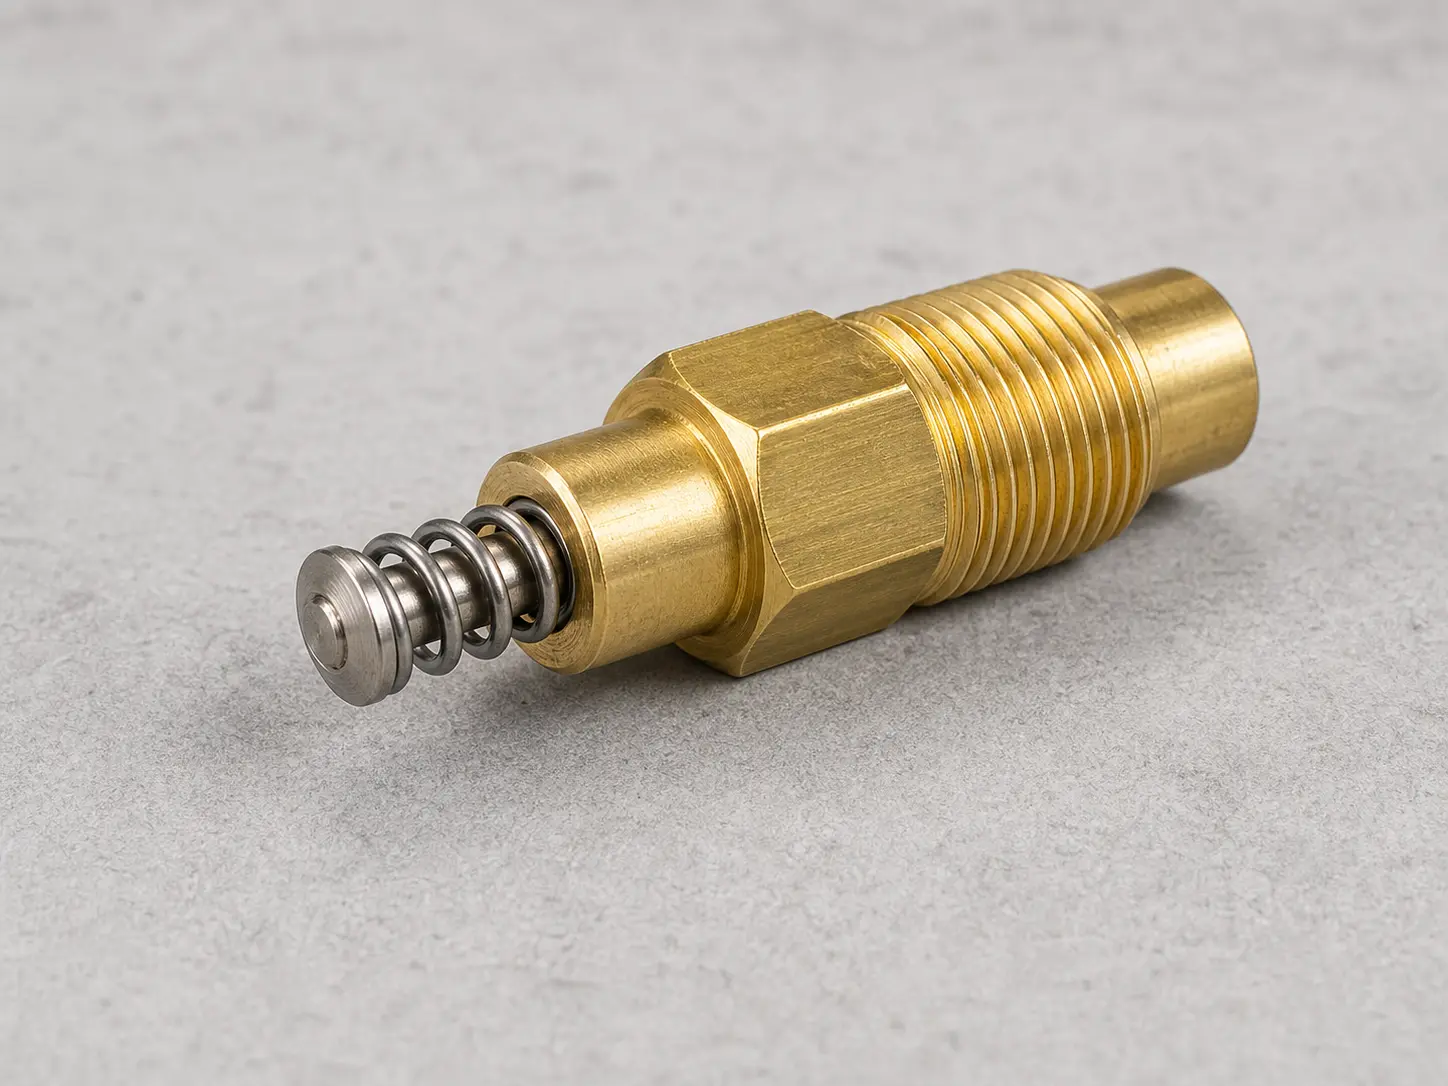
The thermal relief valve is the small brass safety fitting threaded into the pump body. Use the pump photo to find the area, then use the loose valve photo to compare threads, shoulder, spring end, and sealing style before ordering.
Dry this lower pump area before testing. Water should appear first at the brass relief valve or its threads, not at the inlet fitting, outlet fitting, unloader, casting seam, or freeze crack.Match the old valve against the new one before installation: thread diameter, thread pitch, threaded length, hex flats, shoulder shape, spring end, and temperature rating all matter.
Safety first
Work only on a cool pump. Thermal relief valves can release very hot water after the washer sits in bypass.
Relieve pressure at the spray gun before loosening any pump fitting, and keep hands away from any pressurized leak.
Disconnect the spark plug wire or unplug the unit before putting tools near the pump.
Do not force a stuck valve hard enough to crack the pump housing or strip the aluminum pump threads.
Stop testing if water sprays toward the engine, motor, electrical cord, or switch housing.
Tools you may need
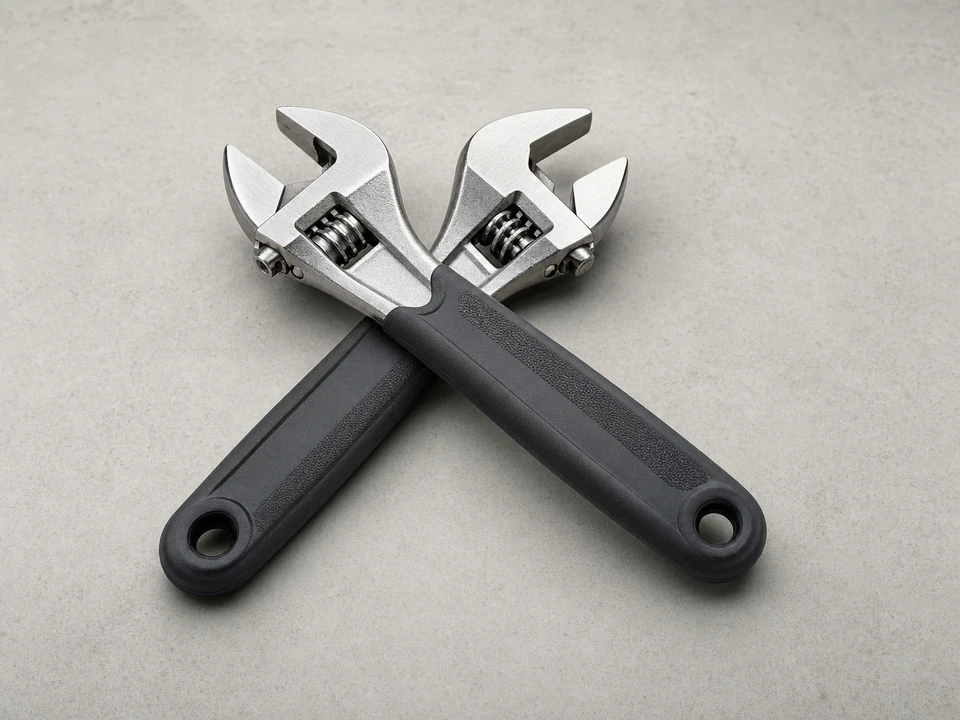
Adjustable wrench
Use it for: Loosening the old valve only after the pump is cool, depressurized, and the leak starts at that valve or its threads. Keep the jaws square on the flats so the brass does not round.
Use it for: Handling the pump only after the brass valve and nearby fittings are cool enough to touch. They also protect against sharp edges and grime, but they are not a reason to work on a hot or pressurized pump.
As an Amazon Associate I earn from qualifying purchases. Repair Riot may earn a commission at no extra cost to you.
Step-by-step fix
Step 1: Confirm the thermal relief valve is the likely problem
Let the pressure washer cool completely if it was recently running.
Dry the pump face, lower casting, inlet, outlet, unloader area, and thermal relief valve with a towel so the first new drip is easy to see.
Turn the garden hose supply on with the engine or motor still off, then watch the valve area from the side instead of reaching under the pump.
Check that water starts at the small relief valve or its threads, not above it at a hose connection, cracked fitting, unloader, or pump seam.
Watch the timing of the drip. A bad or stuck thermal relief valve often opens after the machine sits running with the trigger released, then keeps dripping after the pump cools. If it reseals once cool, shorten the bypass time and test again before ordering a valve.
If this is a belt-drive pressure washer, trace the pump body carefully. Do not assume the relief valve is in the same spot as a direct-drive homeowner unit.
Inspect the valve and nearby pump body for obvious cracks, stripped threads, or impact damage.
If it works: You have good reason to believe the leak is coming from the thermal relief valve itself, not another pump fitting.
If it doesn’t: If the water is coming from a hose fitting, unloader area, or a crack in the pump body, fix that issue instead before replacing this valve.
Stop if:
The pump housing is cracked.
The valve port threads in the pump look stripped or broken.
You cannot clearly identify where the leak starts.
Step 2: Shut the machine down and relieve pressure
Turn the engine or motor off.
Shut off the water supply to the pressure washer.
Point the spray gun in a safe direction and squeeze the trigger until trapped pressure and water flow are gone.
Keep the trigger squeezed a second time after the hose relaxes; a stiff hose or kick at the gun means pressure is still trapped.
Disconnect the spark plug wire on a gas unit, or unplug an electric unit so it cannot start accidentally.
Wait until the brass valve, pump face, and nearby fittings are cool enough to touch with a gloved hand.
Place a towel under the pump area to catch any remaining water.
If it works: The pressure washer is off, depressurized, and safe to work on.
If it doesn’t: If the spray gun still feels pressurized, keep the water supply off and squeeze the trigger again until flow stops.
Stop if:
The pump or valve is still too hot to touch safely.
Step 3: Remove the old thermal relief valve without wrecking the pump
Wipe dirt away from the valve, flats, and pump port so grit does not get dragged into the threads.
Before you loosen it, take a phone photo. If you can see the threads or shoulder, measure the visible thread length or shoulder position. Then identify the sealing style: thread sealant, thread tape, an O-ring, a washer, or a machined shoulder.
Put the wrench fully on the valve flats, keep it square to the brass body, and turn counterclockwise with steady pressure.
Watch for movement at the pump casting while you pull. The valve should turn; the pump port should not twist, flex, or crumble around it.
If the valve is stuck, stop and use penetrating oil and time before adding force. A snapped valve or stripped pump port is a bigger repair than this page covers.
Unscrew the valve by hand once it breaks free.
Compare the removed valve to the new one for sealing method, mineral buildup, crushed threads, a damaged seal, and a spring or seat that will not move cleanly.
If it works: The old thermal relief valve is out and the pump port is accessible.
If it doesn’t: If the valve is stuck, stop and reset the wrench before you pull harder. Heat, cheater bars, and hard yanks are how pump threads get ruined.
Stop if:
The valve will not loosen and the pump fitting starts to twist or deform.
The pump threads come out damaged with the old valve.
The wrench is slipping badly enough to round the valve flats.
Step 4: Clean the port and prepare the new valve
Use a rag and small brush to clean the threaded port and sealing surface on the pump.
Remove old thread seal tape or sealant completely so the new valve can seat cleanly against the pump.
Hold the old and new valves side by side. Compare thread diameter, thread pitch, threaded length, nose length, hex size, shoulder shape, and temperature rating.
Lightly mesh the old and new threads together outside the pump. They should line up cleanly without rocking or crossing.
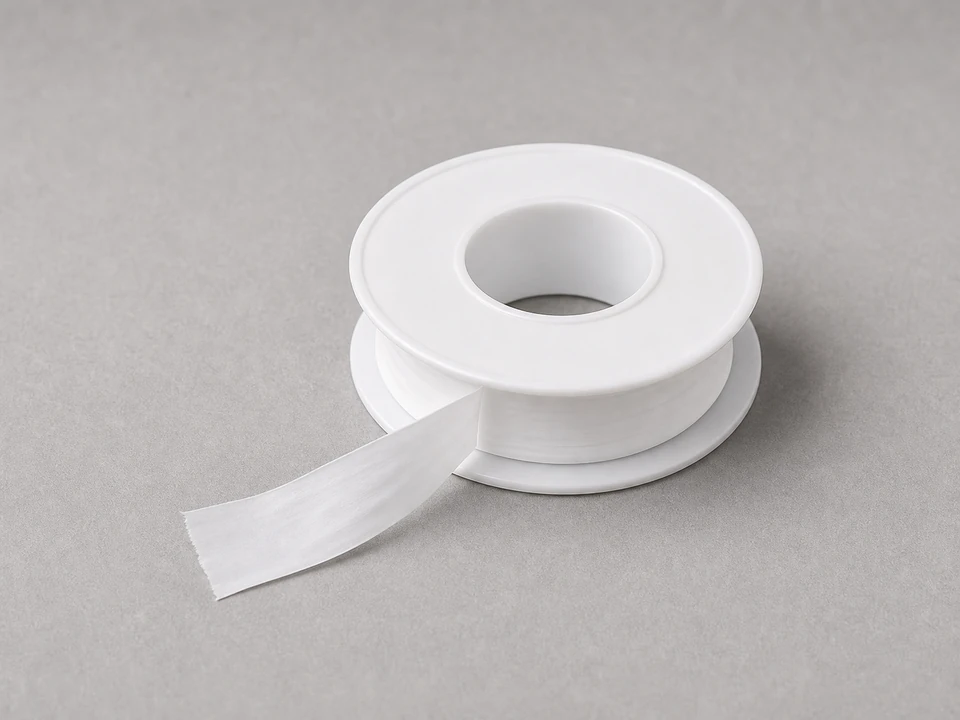
If the replacement uses tapered threads, wrap the threads with thread seal tape neatly and keep the first thread or two clear so tape does not enter the pump.
If the new valve seals with an O-ring or washer instead of thread sealant, install it as supplied and do not add tape unless the valve design calls for it.
If it works: The pump port is clean and the new valve matches before it ever touches the threads.
If it doesn’t: If the new valve does not match the old one closely, pause and verify fit before threading it into the pump.
Stop if:
The replacement valve has different threads or will not start by hand.
Step 5: Install the new thermal relief valve
Start threading the new valve into the pump by hand with the wrench set aside.
Back it out and restart if it feels crooked, gritty, or tight before it has made several smooth hand turns.
Turn it in until the sealing surface or tapered threads seat, then tighten it with the wrench only until snug.
Do not chase a drip by overtightening. If the valve bottoms out crooked or still seeps, the fit or sealing method needs rechecking.
Wipe the area dry so any new leak will be easy to spot during testing.
If it works: The new thermal relief valve is installed straight and snug with a clean, dry area around it.
If it doesn’t: If the valve feels crooked or binds early, back it out and start again by hand before tightening.
Stop if:
The valve will not thread in smoothly by hand.
The pump body shows cracking or thread damage while tightening.
Step 6: Test it like a pressure washer, not like an idle engine
Reconnect power or the spark plug wire.
Turn the water supply on first with the machine off, then check whether the first drop forms at the valve threads, the valve outlet, or somewhere else on the pump.
Start the pressure washer and use the spray gun normally for a few minutes.
Watch the valve area while spraying and again right after a brief trigger release.
Do not leave the machine sitting in bypass just to see what happens. If you need a pause, shut the machine off instead of cooking the pump.
Shut the machine off and inspect the area one more time for fresh drips.
If it works: The valve area stays dry during normal spraying and after shutdown, showing the replacement solved the leak.
If it doesn’t: If it still leaks, remove the valve and recheck the fit, sealing method, and pump port condition. If the leak source is actually elsewhere on the pump, diagnose that next.
Stop if:
Water is leaking from a crack in the pump body.
The new valve leaks immediately even though it is the correct part and installed correctly.
The pressure washer runs poorly or develops a separate pump problem during testing.
Buy this only after the leak starts at the valve or its threads. Match the exact pump model, thread diameter, thread pitch, threaded length, sealing style, and temperature rating.
As an Amazon Associate I earn from qualifying purchases. Repair Riot may earn a commission at no extra cost to you.
Verify the repair
With the water on and the machine off, the valve area should stay dry.
During normal spraying, there should be no steady drip from the valve outlet or around the valve threads.
After a short test run and shutdown, the pump should not leave a fresh puddle under the valve.
The new valve should sit straight in the pump and feel secure, not loose, crooked, or cross-threaded.
If the valve opens only after a long idle pause, change the operating habit before replacing more pump parts.
FAQ
What does a pressure washer pump thermal relief valve do?
It protects the pump from overheating when water sits inside the pump and gets hot. If the water temperature rises too much, the valve opens to release hot water and protect the pump.
How do I know the thermal relief valve is bad instead of doing its job?
A normal valve may release a little hot water after the machine has been left running without spraying. A bad valve may drip constantly, leak when the pump is cool, or fail to seal again after opening.
Do I need thread seal tape on the new valve?
Only if the valve design uses tapered threads and does not rely on an O-ring or sealing washer. Match the sealing method used by the new valve rather than adding tape automatically.
What if the new valve still leaks?
First check that you have the correct valve and that it was started by hand without cross-threading. Then inspect the pump port for damaged threads, debris, or a crack in the pump body.
What if the old thermal relief valve is stuck in the pump?
Do not muscle it until the pump fitting twists or the valve snaps. Let the pump cool, relieve pressure, clean the area, use penetrating oil, and work the valve with steady pressure on the flats. If the pump port starts to deform, stop.
Is a belt-drive pressure washer thermal relief valve replaced the same way?
The basic steps are the same, but the valve location, thread, and sealing style may be different from a direct-drive pump. Match the pump model, not just the pressure washer brand or engine.
Sources and reference notes
Repair Riot used related pressure-washer leak pages and the local how-to source database to keep this repair focused on leak source, bypass heat, pump-thread damage, and part fit.