Replace a pressure washer carburetor only after the engine symptoms point to fuel mixing. If it surges, stalls, leaks fuel, or only runs with choke after fresh fuel, shut the machine down and let it cool. Remove the air cleaner, disconnect the fuel line and linkage, install the matching carburetor, and test the engine under spray load.
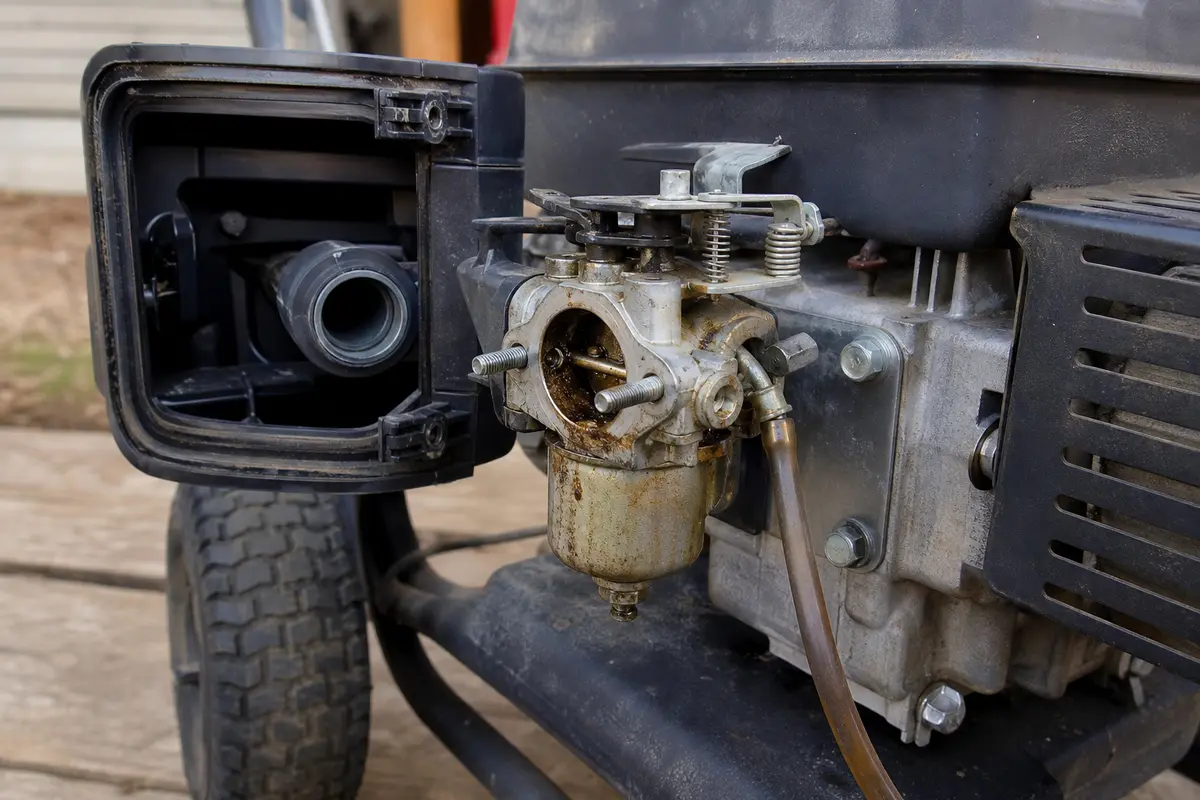
Start with visible clues. Look for varnish, leaking around the bowl, a stuck choke plate, or throttle linkage that does not move cleanly. Take photos before disassembly so the spring, governor link, gasket, and spacer go back in the same order.
Before you start: Match the replacement carburetor to the engine model, mounting studs, fuel inlet, choke layout, and linkage holes before ordering. Work outside or in a well ventilated area. Keep fuel away from ignition sources, catch drips in a small container, and stop if the fuel line or tank is leaking.
Last reviewed: 2026-06-15
Make sure this is the right repair
Before replacing the pressure washer carburetor, confirm the engine symptoms point to fuel mixing instead of spark, compression, stale fuel, blocked water flow, or a bad pump load. Do not buy a carburetor until the engine model and linkage layout match.
This page fits
This page fits when: The engine surges, stalls, only runs on choke, leaks from the carburetor, or will not stay running after fresh fuel and basic fuel-flow checks.
Check something else when: If there is no spark, low compression, a blocked nozzle, or a pump problem loading the engine, solve that before replacing the carburetor.
Confirm the fit first
This page fits when: You can match the engine model, mounting pattern, fuel inlet location, choke control, throttle linkage holes, gasket, and spacer order.
Check something else when: If the old carburetor is missing or the linkage layout is unclear, use the engine model and clear photos before ordering.
Stop for hidden damage
This page fits when: The engine is cool, the spark plug wire is off, fuel is controlled, and the machine is outside or in a well-ventilated work area.
Check something else when: Stop if fuel keeps leaking, fumes build up, the fuel tank is cracked, or the throttle linkage sticks after installation.
Check the carburetor and dry-fit the replacement
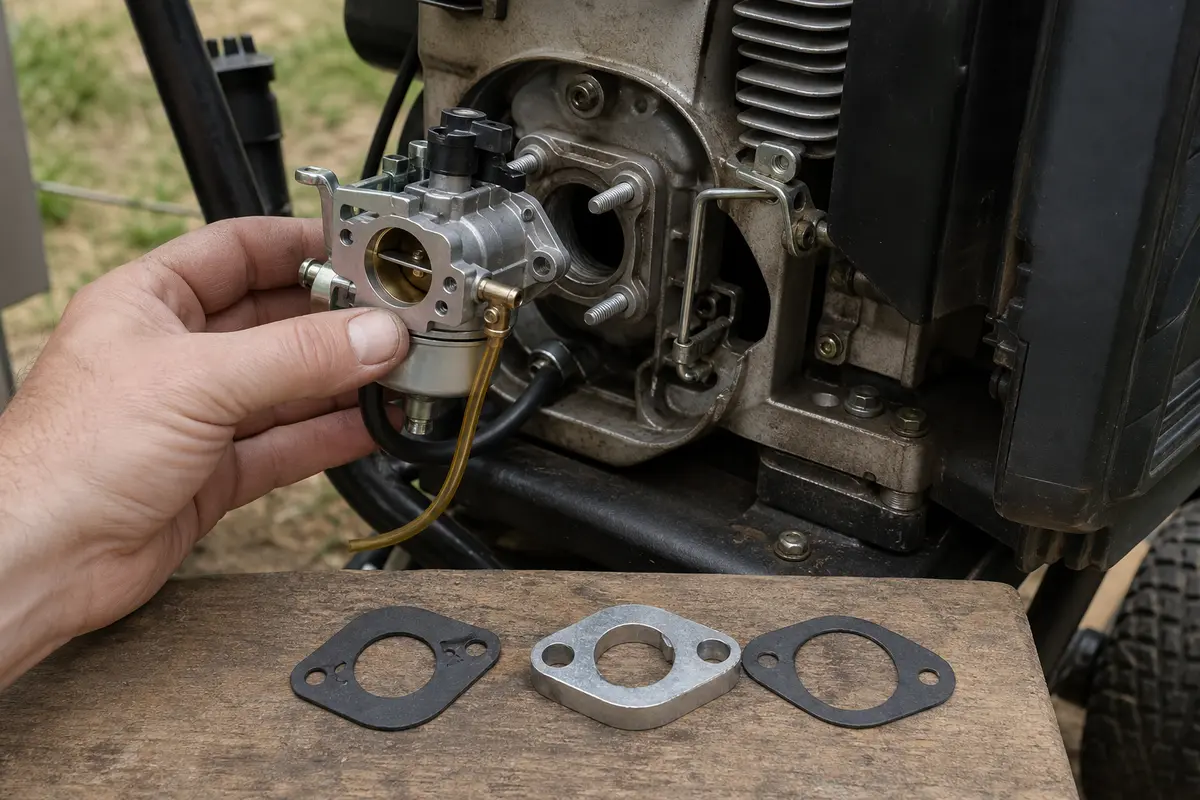
Use the visual check and dry-fit to confirm the carburetor matches the engine before fuel goes back on. Compare the mounting studs, gasket order, fuel inlet, choke plate, and linkage holes.
Start with the air cleaner off and look for varnish, leakage, damaged linkage, or a carburetor body that no longer matches the symptoms.Dry-fit the replacement before tightening. The gasket and spacer order, fuel inlet, and linkage holes should match the old carburetor.
Safety first
Work outside or in a well-ventilated area away from flames, heaters, or anything that can ignite fuel vapors.
Let the engine cool before removing the fuel line or working near the muffler.
Disconnect the spark plug wire before your hands go near the carburetor linkage.
Clean up spilled fuel right away and keep rags away from hot engine parts.
Tools you may need
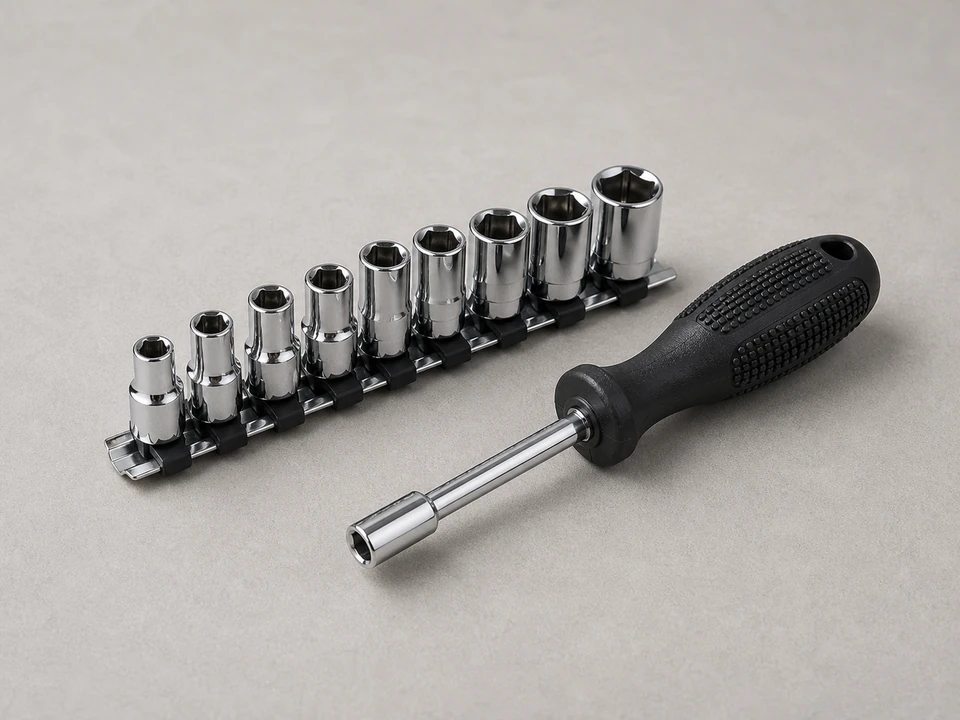
Socket set or nut driver
Use it for: Removes the air cleaner housing and carburetor mounting fasteners.
As an Amazon Associate I earn from qualifying purchases. Repair Riot may earn a commission at no extra cost to you.
Step-by-step fix
Step 1: Confirm the carburetor is the likely problem
Move the pressure washer to a flat, well-ventilated work area and let the engine cool fully.
Check that there is fresh gasoline in the tank and that the fuel shutoff valve, if equipped, is open.
Think through the symptoms. A bad carburetor is a likely cause if the engine surges, stalls at idle, runs only with choke, or will not keep running after old fuel sat in the machine.
Remove the air filter cover and look for obvious signs of fuel varnish, dirt buildup, or leakage around the carburetor area.
Take a quick photo of the carburetor, linkage, springs, and fuel line routing before disassembly.
If it works: The engine symptoms, varnish or leakage check, and linkage photo all point back to the carburetor before you remove parts.
If it doesn’t: If the engine has no spark, no compression, or a blocked pump or nozzle issue instead of an engine-running issue, troubleshoot that problem before replacing the carburetor.
Stop if:
You smell strong fuel fumes indoors or do not have a safe ventilated place to work.
The fuel tank, fuel line, or mounting area is cracked or badly damaged.
The engine problem clearly points to a different failure, such as no spark or severe internal engine damage.
Step 2: Shut off fuel and open up the carburetor area
Turn the engine switch off and close the fuel valve if your machine has one.
Disconnect the spark plug wire so the engine cannot start accidentally while your hands are near the linkage.
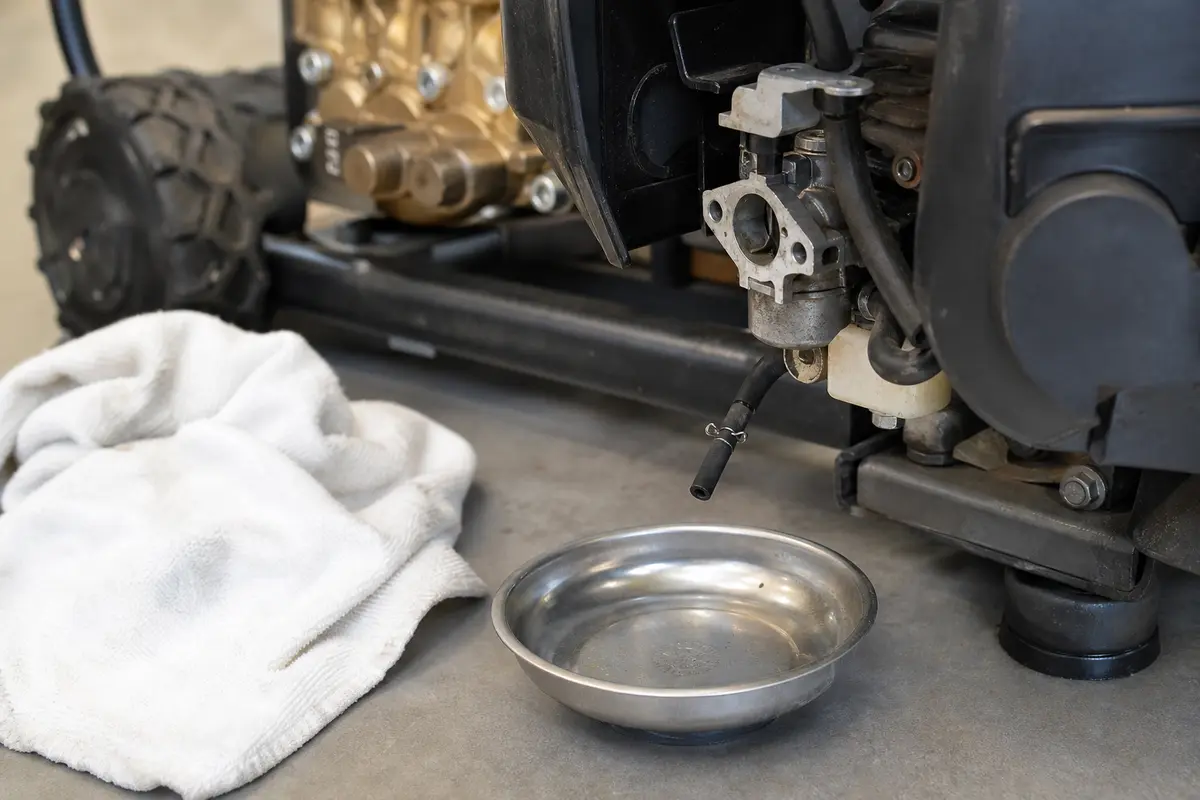
Place a rag or small container under the carburetor side of the engine.
Remove the air filter cover, air filter, and air cleaner housing so the carburetor is fully exposed.
Set the screws and small parts aside in the order you removed them.
If it works: The carburetor is exposed, the machine cannot start accidentally, and you are ready to disconnect fuel and linkage cleanly.
If it doesn’t: If the housing will not come off, look for a hidden screw or nut at the back of the air cleaner base and remove that before forcing anything.
Stop if:
Fuel is leaking steadily and will not stop when the valve is closed or the tank is drained.
A fastener is seized badly enough that forcing it may break the intake studs or housing.
Step 3: Remove the old carburetor
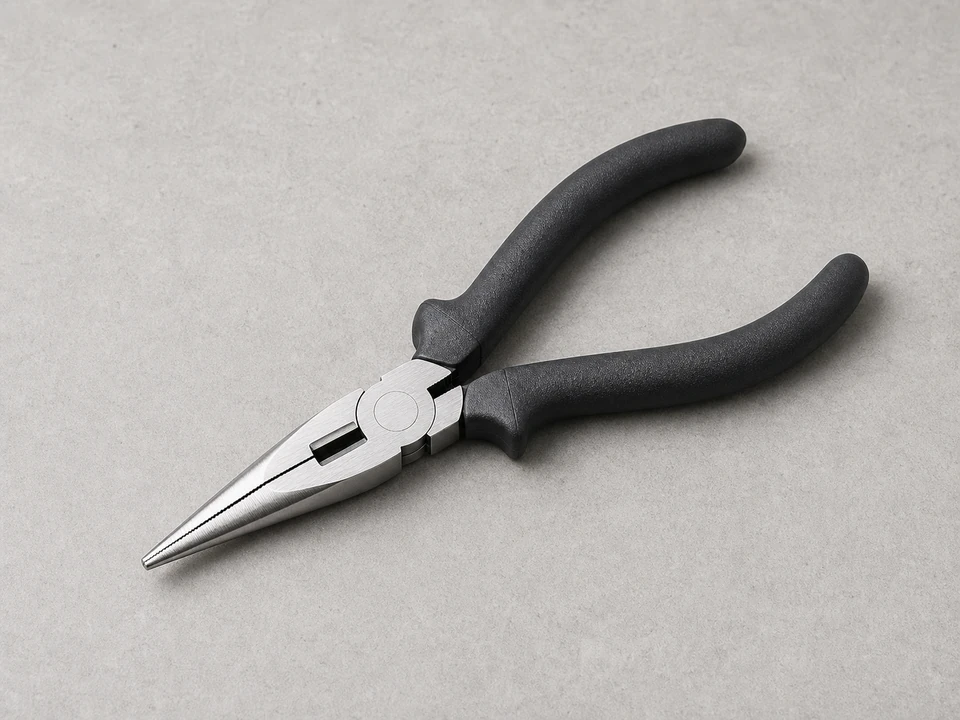
Pinch the fuel line clamp with pliers, slide it back, and pull the fuel line off the carburetor nipple. Catch any fuel drips with the rag or container.
Remove the carburetor mounting nuts or bolts and support the carburetor as it comes free.
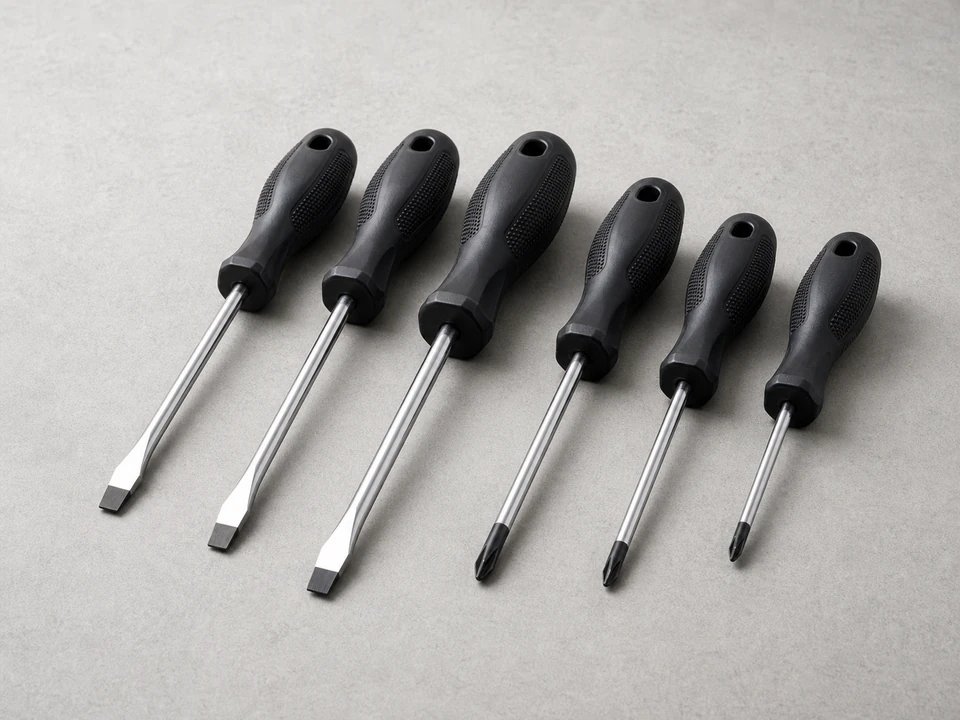
Unhook the throttle linkage and any governor spring carefully, noting which hole each one uses. Use your photo if needed.
Slide the carburetor off the mounting studs or intake tube.
Remove the old gasket or spacer pieces and keep their order straight so the new carburetor goes back the same way.
If it works: The old carburetor is off, and you know the exact order of the linkage, gasket, and spacer parts.
If it doesn’t: If the linkage feels confusing, pause and take another close photo before removing the last connection so you can match it during reassembly.
Stop if:
The intake mounting studs are loose in the engine or the intake surface is cracked.
The gasket surface is badly warped, broken, or covered with damage that will prevent a good seal.
Step 4: Install the new pressure washer carburetor
Compare the new carburetor to the old one. Match the mounting pattern, linkage locations, fuel inlet position, and overall shape before installing it.
Transfer any reusable parts that did not come with the replacement, such as a spacer, gasket, or drain bowl hardware, only if they are in good condition.
Position the gasket and spacer pieces in the same order as the original setup.
Reconnect the throttle linkage and spring to the new carburetor, then slide the carburetor into place on the studs or intake tube.
Reinstall and snug the mounting fasteners evenly so the carburetor sits flat without twisting.
Push the fuel line onto the carburetor fitting fully and move the clamp back into its original position.
If it works: The new carburetor is mounted squarely, the linkage moves freely, and the fuel line is secure.
If it doesn’t: If the new part does not match the old one closely, stop and verify fit before tightening everything down.
Stop if:
The replacement carburetor does not match the original mounting or linkage layout.
The fuel line is brittle, split, or too loose to seal safely on the carburetor fitting.
Step 5: Reassemble the air cleaner and prepare for startup
Reinstall the air cleaner housing, air filter, and cover.
Reconnect the spark plug wire.
Open the fuel valve if equipped and wait a minute while you watch for seepage around the fuel line and carburetor bowl area.
Move the throttle and choke controls through their range to make sure nothing binds or rubs.
If the engine has a primer bulb, use it as normal. Then start the engine following the machine's usual cold-start procedure.
If it works: The engine starts or at least attempts to start normally, and there are no visible fuel leaks around the new carburetor.
If it doesn’t: If the engine will not start, recheck the linkage placement, gasket order, fuel flow, and that the spark plug wire is fully seated.
Stop if:
You see any fuel leak from the line, bowl area, or gasket surfaces.
The throttle linkage sticks open or does not return smoothly.
Step 6: Test the repair under real use
Let the engine warm up for a minute, then move the choke to the run position if needed.
Listen for a steady idle and smooth throttle response without hunting or surging.
Connect water, start the spray gun, and run the pressure washer under normal load for several minutes.
Watch for stalling, surging, fuel leaks, or hesitation when the pump is engaged and disengaged.
Shut the machine down and do one final leak check around the carburetor and fuel line.
If it works: The engine runs smoothly at idle and under spray load, and the repair holds without leaks or repeated stalling.
If it doesn’t: If it still surges or stalls, check for stale fuel, a restricted fuel cap vent, dirty air filter, intake air leak, or governor issue before replacing more parts.
Stop if:
The engine races uncontrollably, leaks fuel, or backfires heavily after installation.
The machine still has the same symptoms with fresh fuel and a correctly installed matching carburetor, suggesting a different root cause.
Match the engine model, mounting studs, fuel inlet, choke layout, linkage holes, gasket, and spacer order before ordering.
As an Amazon Associate I earn from qualifying purchases. Repair Riot may earn a commission at no extra cost to you.
Verify the repair
The engine starts without needing excessive choke or repeated priming.
Idle is steadier and the engine no longer surges or dies after a short run.
The pressure washer runs under spray load for several minutes without stalling.
There are no fuel leaks at the hose connection, bowl area, or mounting gasket surfaces.
FAQ
How do I know the carburetor is bad instead of just dirty?
If old fuel sat in the machine, look for varnish in the throat, leaking around the bowl, or a choke plate that does not move cleanly. Cleaning may work for light debris. Replacement makes more sense when the engine only runs on choke, surges badly, or the carburetor is leaking or corroded.
Do I need to drain the fuel tank first?
Not always, but it makes the job cleaner and safer. At minimum, close the fuel valve if your machine has one and be ready to catch a small amount of fuel from the line.
Can I reuse the old gasket?
Only if it is flat, intact, and seals well. If the old gasket is torn, compressed, or fuel-soaked, replace it so you do not create an intake or fuel leak.
Why does the engine still surge after I replaced the carburetor?
Surging can also come from stale fuel, a restricted fuel cap vent, an air leak at the intake, a dirty air filter, or governor problems. Recheck the installation and rule out those causes next.
Should I clean the old carburetor instead of replacing it?
You can clean it when the bowl has light debris and the gaskets still look usable. Replace it when the passages are varnished, the bowl leaks, the choke or throttle shaft sticks, or you cannot get the small parts clean without damaging them.
Sources and reference notes
Repair Riot uses related pressure-washer symptom pages and fit checks to keep this carburetor guide focused on safe, visible homeowner decisions.