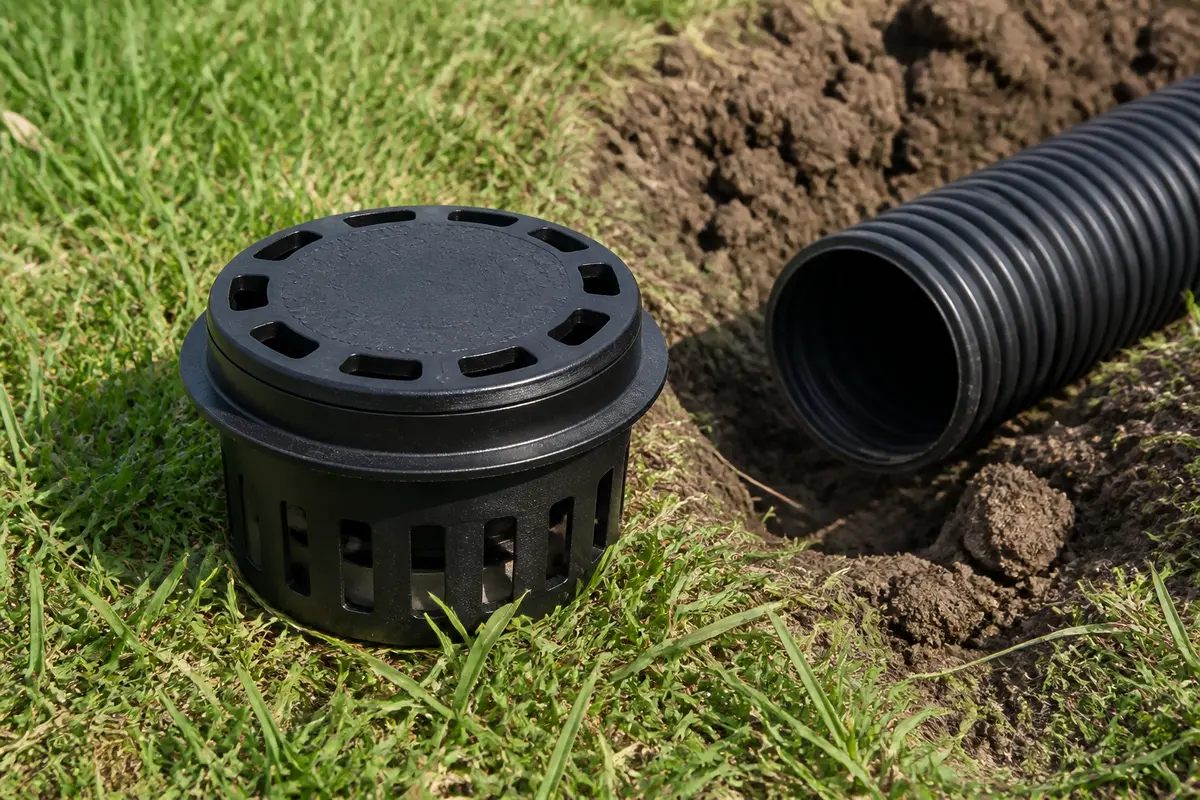
Check the cap and test the line first. Replace the pop up emitter when water reaches the outlet but the cap, hinge, body, or collar is cracked, stuck, loose, or unable to close. Dig by hand until the pipe connection is visible. Match the new emitter to the pipe, set the cap at finished grade, backfill by hand, and test flow before you cover it.
Test the line before blaming the cap. Run water into the connected downspout or drain opening and check that it reaches the outlet. Stop if the downspout backs up, water bubbles out of the yard before the emitter, or the pipe is crushed below grade. Those clues point to a blocked or damaged underground drain line, not a cap that needs swapping.
Before you start: Before buying, measure the pipe size and compare the collar depth, connection style, and cap height. Stop if water backs up upstream. Stop if the buried line is crushed, root filled, or crossing utilities, irrigation wiring, or unsafe digging conditions.
Last reviewed: 2026-06-01
Make sure this is the right repair
Treat the emitter as the last outlet. Check the cap, body, collar, and water flow before you buy. If flow never reaches the outlet, inspect the buried drain line first.
Replace the emitter
This page fits when: Look for a cracked cap, broken hinge, split body, loose collar, or lid that sticks after cleaning.
Check something else when: Test with a hose. If the cap moves but water backs up, clean or inspect the underground line.
Confirm the fit first
This page fits when: Measure the pipe or adapter. Compare diameter, collar depth, roundness, and smooth or corrugated fit before ordering.
Check something else when: Stop if the pipe is crushed, too short, out of round, or missing a usable adapter.
Set the grade
This page fits when: Dry-fit the cap at finished grade. Check that the lid opens and water can leave without ponding around it.
Check something else when: Correct the grade if the outlet sits in a low bowl, mower path, or washed-out soil.
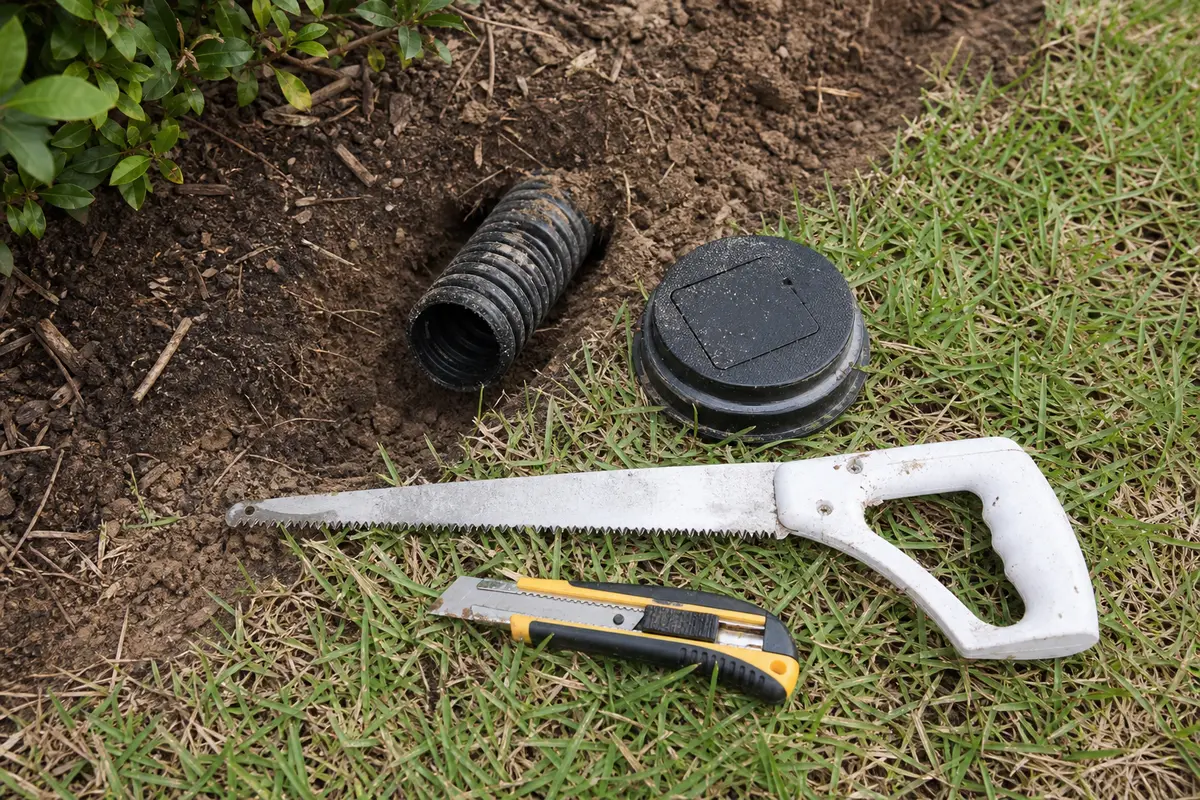
What the pop-up emitter connects to
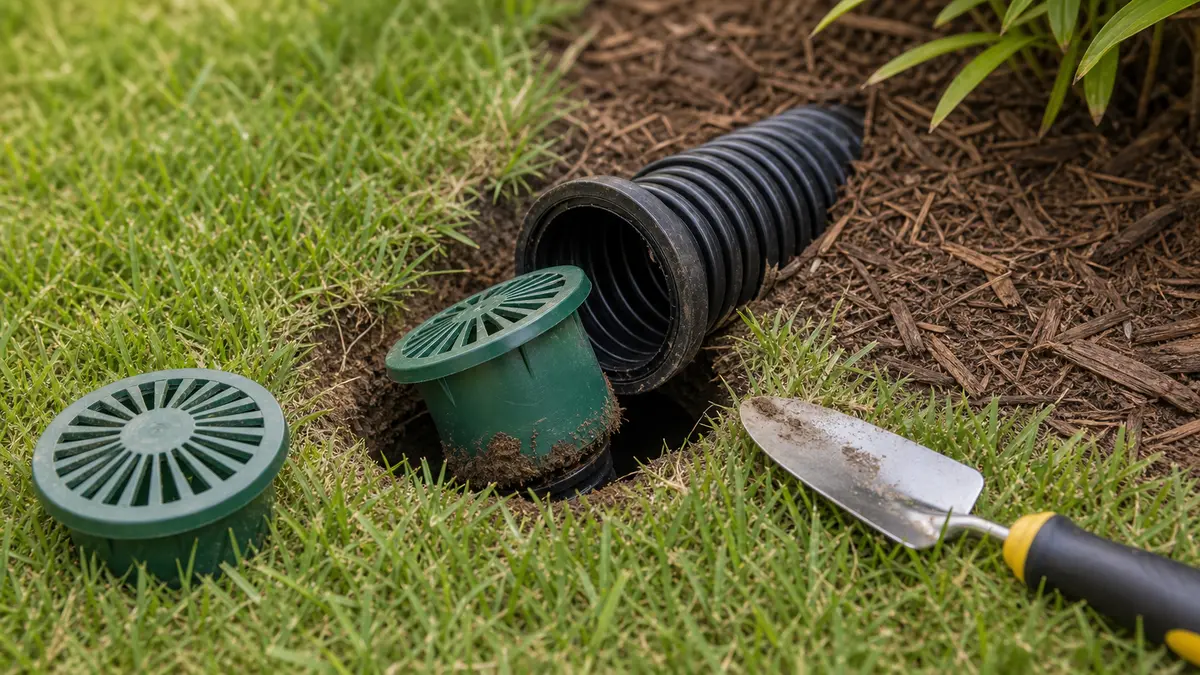
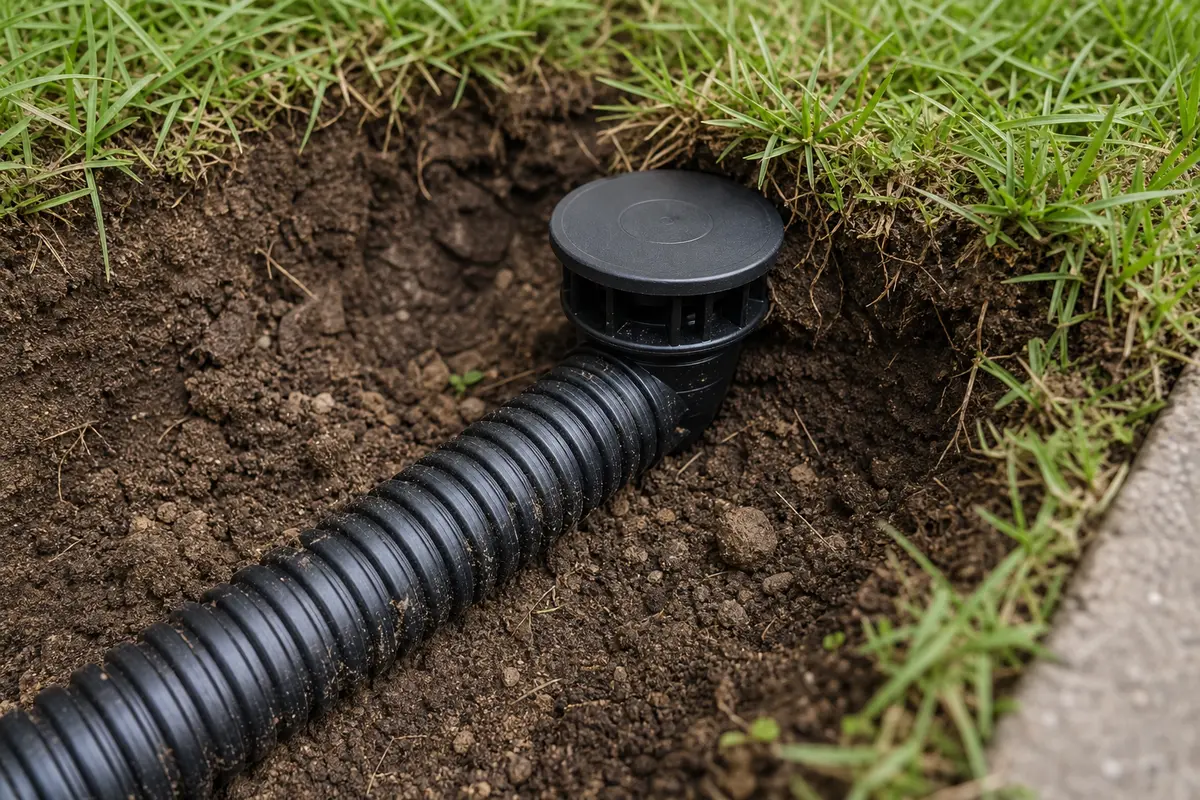
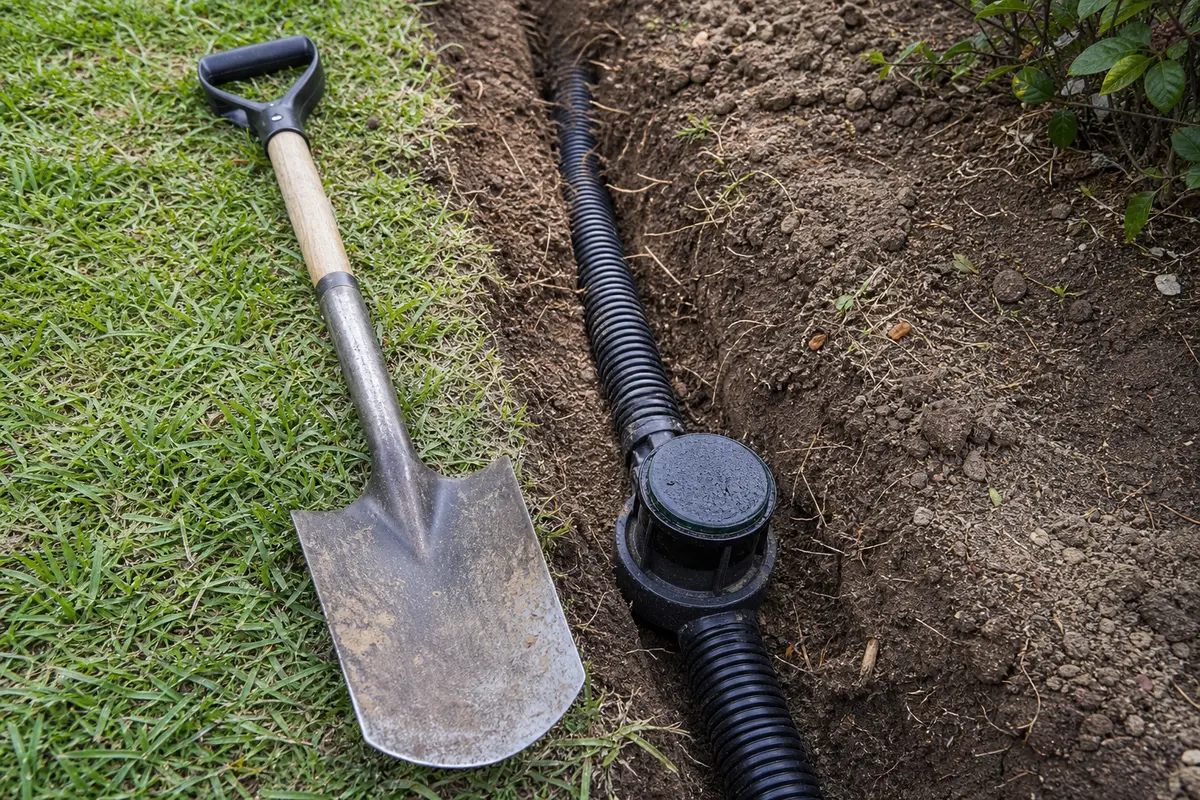
Use the photos to compare the pipe end, collar fit, and cap height before soil hides the connection.
Clean the pipe end and compare the collar before you set the new emitter back at lawn grade.Dry-fit the cap at finished grade and check lid clearance before backfilling around the pipe.
Safety first
Call your local utility locating service before digging if you are not certain the outlet area is clear.
Dig by hand around the emitter and keep the drain pipe supported so you do not crack a hidden joint.
Wear gloves when handling wet debris, roots, and broken plastic edges.
Stop if you uncover marked utilities, irrigation wires, electrical cable, or a pipe you cannot identify.
Do not test with high pressure that could separate weak underground pipe joints.
Keep the emitter top near grade so it does not become a trip or mower hazard.
Tools you may need
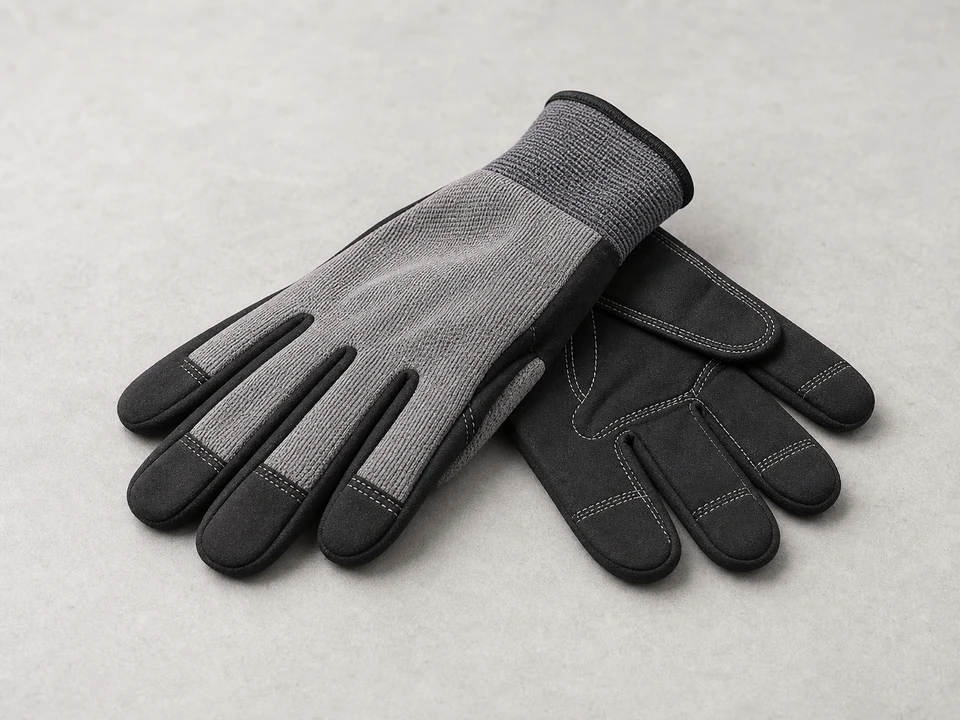
Work gloves
Use it for: Protects your hands while digging, lifting wet debris, and handling cracked plastic edges.
As an Amazon Associate I earn from qualifying purchases. Repair Riot may earn a commission at no extra cost to you.
Step-by-step fix
Step 1: Make sure the pop up emitter is the actual problem
Start with the cap uncovered. Clear leaves, mulch, and packed soil from the hinge area, then press the lid down and lift it by hand. Look for a stuck lid, grinding hinge, or cap that stays open instead of settling closed.
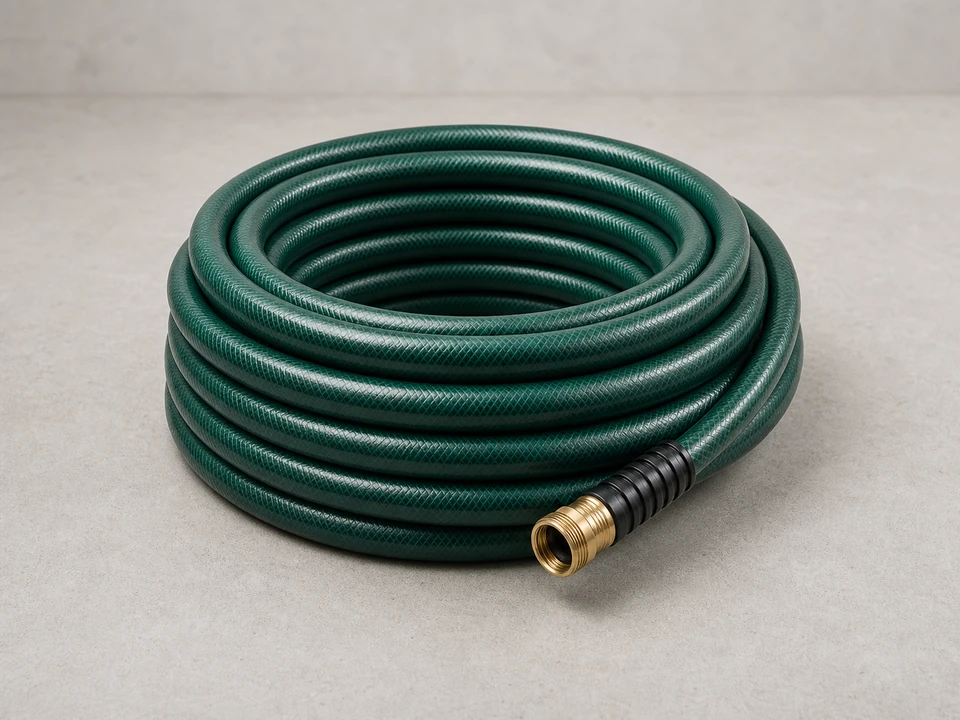
Run a garden hose into the connected downspout or upstream drain opening and watch whether water reaches the emitter at all.
Look for a cracked cap, broken hinge pin, split body, loose collar, or a lid that sits crooked and cannot close flat after cleaning.
Check where water appears. Discharge from under the cap points to a working outlet. Bubbling around the buried collar points to a damaged body or loose pipe connection.
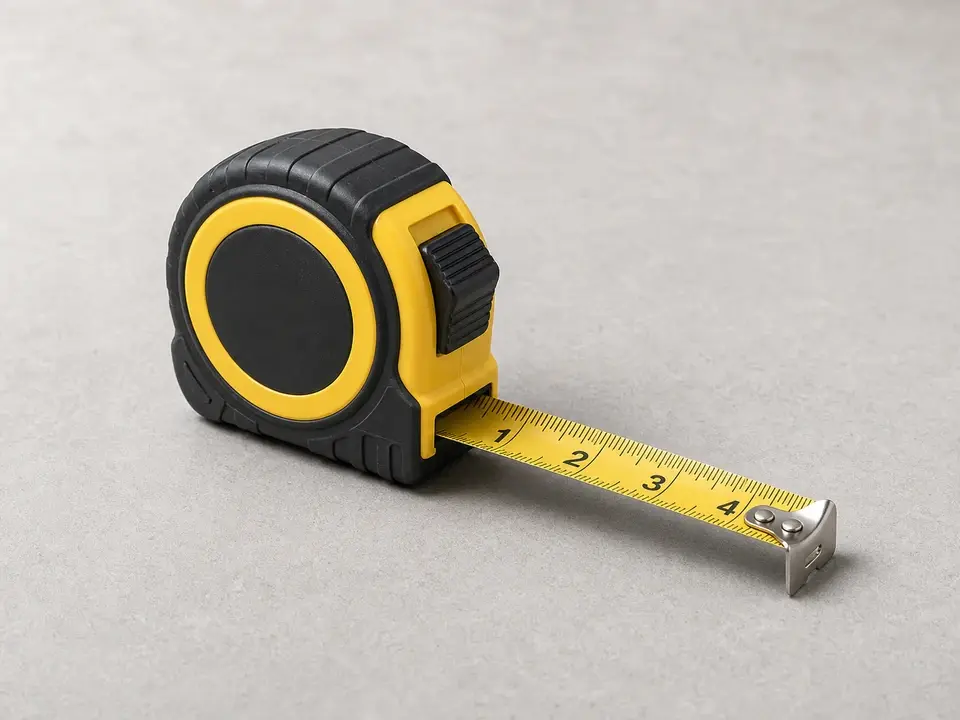
Measure the exposed pipe collar, or save the old emitter for comparison. The new emitter needs to match the pipe or adapter, not just the cap color.
If it works: Water reaches the outlet and the emitter has a visible cap, hinge, body, or collar failure that a replacement can fix.
If it doesn’t: If cleaning lets the cap open and close and water discharges cleanly, flush the line and watch the next rain before buying a new emitter.
Stop if:
Water backs up at the house, downspout, or upstream drain opening. Stop there and inspect or clean the underground line before replacing the cap; that clue points to a clog, belly, or collapsed drain line instead of only a bad emitter.
Water surfaces from the yard before it reaches the outlet, or you find the drain line crushed, separated, or full of roots near the emitter.
Step 2: Expose the emitter and protect the drain line
Before you dig below mulch or turf, check the spot for marked utilities, irrigation wires, and landscape-lighting cable.
Scrape back mulch or cut sod as a flap. Keep the finished-grade line visible so the cap height can match it later.
Dig by hand around the emitter body until the pipe, adapter, or collar is visible on all sides.
Widen the hole enough for both hands. Leave soil under the pipe so the line stays supported.
Brush the joint clean. Compare the slip-fit collar, corrugated-pipe adapter, glued PVC joint, or short riser before pulling.
Check for a gap at the collar, water stains in the soil, or a pipe sag that could leak during the flow test.
If it works: The pipe end, collar depth, and connection style are visible. The pipe is supported instead of hanging loose in the hole.
If it doesn’t: Dig wider and brush again before pulling. If you cannot see the joint, you are still guessing.
Stop if:
The pipe is cracked below the emitter, the soil has washed out enough to leave the line unsupported, or the outlet has settled into a low pocket.
You uncover a buried utility, irrigation control wire, electrical cable, or anything else you cannot identify safely.
Step 3: Remove the old emitter
Take a quick photo of the old height and connection before removing it, especially if the pipe disappears below turf or mulch.
Grip the emitter body or collar, not the hinged cap, and twist or pull it straight off if it is a slip-fit style.
If the old emitter is glued or cracked tight to a short adapter, cut only the damaged emitter or adapter section. Leave as much straight, round drain pipe as possible.
Clean mud, roots, old adhesive, and burrs from the pipe end so the new collar can slide on squarely.
Dry-fit the new emitter and check for a snug seat without wobble, forcing, or a gap at the shoulder.
If it works: The old emitter is off, the pipe end is clean and round, and the replacement dry-fits without forcing the joint.
If it doesn’t: Recheck the pipe diameter, collar depth, and smooth or corrugated connection style before you cut more or force the emitter on.
Stop if:
The remaining pipe is too short, split, crushed, or out of round to hold a new emitter securely.
Roots, mud, or standing water inside the pipe show that the outlet problem continues farther back in the drain line.
Step 4: Install the new pop up emitter at the right height
Compare the old and new emitters. Check pipe diameter, collar depth, cap diameter, hinge clearance, and finished height.
Dry-fit before glue or backfill. Do not glue a slip-fit emitter unless the pipe connection is made for solvent cement.
Press the collar until it seats squarely. Sight down the body so the emitter lines up with the drain line.
Set the cap close to finished grade. Keep it slightly proud of loose soil or mulch, but low enough to miss mower wheels.
Open and close the cap by hand. Check for rubbing on grass, edging, stone, or the sidewall of the hole.
If it works: The emitter is straight, seated, and close to flush with grade. The cap opens without rubbing before soil goes back in.
If it doesn’t: Pull it back off and correct the fit. A buried gap or tilted collar can turn into a leak path.
Stop if:
Stop if the pipe size, collar depth, or connection style does not match after you measure and compare the old fitting.
Stop if the outlet sits in a low spot. Correct the grade before the cap gets buried or hit by mower wheels.
Step 5: Backfill and shape the area for drainage
Check the pipe support before backfill. Pack soil under the pipe shoulder so the outlet does not sag.
Backfill around the pipe and collar in small handfuls, firming by hand instead of stomping on the drain line.
Measure the cap height against the surrounding grade as the hole fills. Keep the lid close to flush, with no soil on the hinge.
Open the cap after each lift. Watch for a gap at the collar, a tilted lid, or soil pushing the cap sideways.
Shape the surrounding soil so water leaves the emitter and moves away from the house. Do not leave a low bowl around the cap.
Replace sod or mulch lightly, keeping loose material below the moving cap and out of the hinge area.
If it works: The cap stays close to flush with grade, the lid still opens, and the surrounding soil sends water away from the outlet.
If it doesn’t: Pull back soil and reset the height if the cap rubs, rocks, sinks, or starts to disappear below mulch or turf.
Stop if:
Stop if fresh water keeps loosening the fill or the ground keeps collapsing into the hole.
Stop if covering the pipe would bury the cap or create a low bowl that holds water around the emitter.
Step 6: Test the repair under real flow
Run a steady hose flow into the connected downspout or drain opening, not directly onto the new emitter cap.
Watch for the lid to lift, water to discharge from the outlet, and the cap to settle back down when flow stops.
Check the buried collar and fresh backfill for leaks, soft spots, bubbling water, or soil washing out around the base.
Run a second, stronger hose flow if the line can handle it so you can see how the cap behaves under heavier runoff.
After the test, clear any grit from the hinge and close the lid by hand so it is not left propped open.
If it works: Water reaches the new emitter, the lid opens and closes cleanly, and the soil around the fitting stays stable during the test.
If it doesn’t: Recheck for a blocked line, a loose collar, a cap set too low in the soil, or a pipe joint leaking before water reaches the outlet.
Stop if:
Water does not reach the emitter, backs up at the downspout, or surfaces from the yard before the outlet, which means the underground drain line likely needs separate cleaning or repair.
Buy this after the cap, hinge, body, or collar has failed and water reaches the outlet. Match the drain pipe diameter, smooth or corrugated connection, collar style, and cap height to the removed emitter.
As an Amazon Associate I earn from qualifying purchases. Repair Riot may earn a commission at no extra cost to you.
Verify the repair
The emitter lid opens when water reaches the outlet and does not rub soil, grass, or edging.
The lid closes back down after flow stops and is not held open by grit or mulch.
Water exits at the emitter instead of leaking around the buried collar or surfacing upstream.
The surrounding soil stays in place without fresh sinkage, bubbling, or washout after testing.
The cap sits close to finished grade without becoming a trip point or mower target.
FAQ
How do I know if I need to replace the pop up emitter instead of just cleaning it?
Replace it if the body is cracked, the hinge is broken, the lid stays stuck after cleaning, the collar is loose, or water leaks around the fitting instead of lifting the cap. If leaves or packed soil are the only problem, cleaning and a flow test may be enough.
Can I replace a pop up emitter without digging much?
Usually not. Dig until you can see the drain pipe, adapter, or collar on all sides, not just the visible cap. Check the connection and compare the finished-grade height before backfill. That room lets you support the pipe and set the emitter without prying against buried plastic.
What size pop up emitter do I need?
Match the existing drain pipe or adapter, not just the visible cap. Measure the pipe opening when you can, save the old emitter for comparison, and check whether the connection is smooth PVC, corrugated pipe, a slip-fit collar, or a glued adapter. The new cap also has to sit close to finished grade.
Should I glue the new emitter in place?
Only if the replacement and existing drain pipe connection are made for solvent cement. Many emitters use a slip-fit collar or adapter instead. Dry-fit it first. Check that the collar seats squarely without wobble, forcing, or a gap at the shoulder, then use the same connection style the line already has.
Why does the new emitter still not pop up during testing?
The underground line may still be clogged, crushed, or holding water before it reaches the emitter. The emitter can only open if water actually gets to it with enough flow.
Sources and reference notes
Repair Riot used related pop-up emitter and downspout-drain references to keep this repair focused on the visible outlet, pipe fit, and flow test.