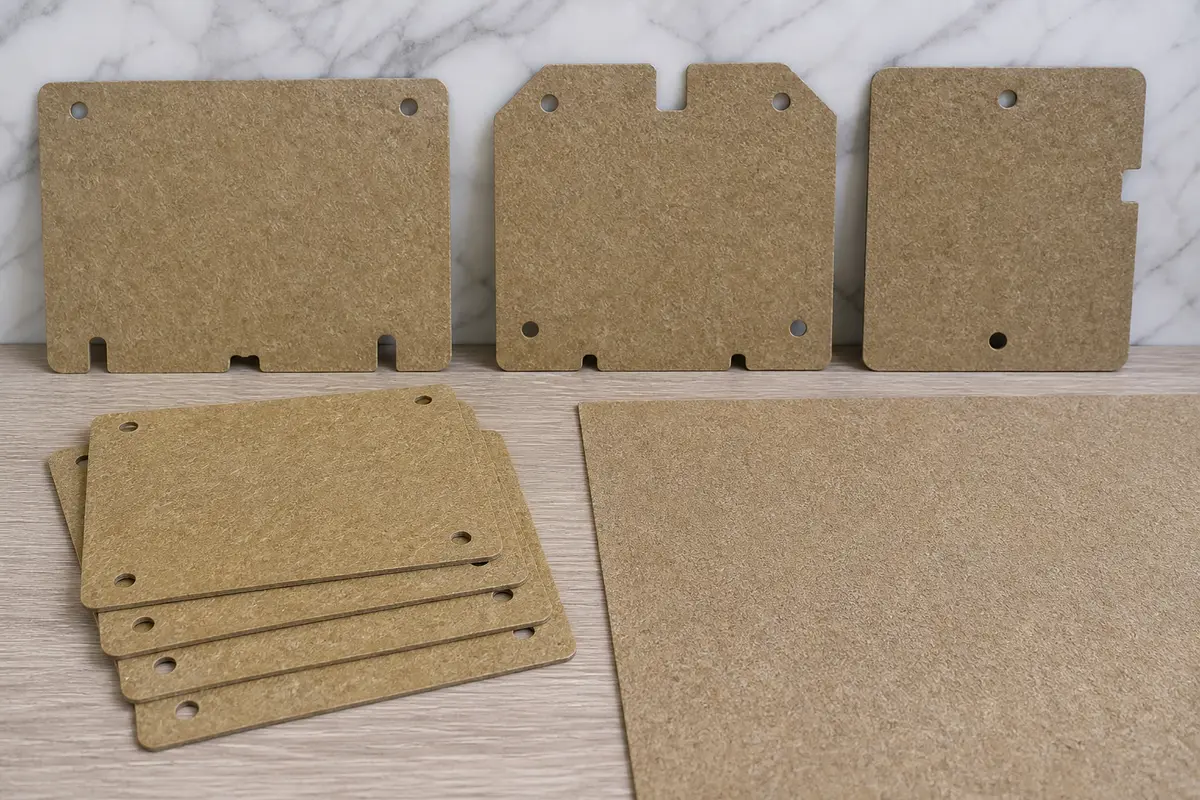
How to Replace a Microwave Waveguide Cover Without Sparking
A waveguide cover is a good DIY swap when only the mica or fiber panel is burned. Check the screw boss, tab slots, and cavity paint. Stop if the metal is pitted, melted, or burned through.
Work from inside the cooking cavity. Unplug the microwave and save the old cover as a pattern. Compare the outline, thickness, screw hole, notches, and tabs before you press the new cover in. Test with water before normal use.
Before you start: Match the replacement cover to your exact microwave model, cavity location, shape, and thickness. Check the screw or tab layout, then confirm whether it is a Sharp style mica cover or a cut to fit mica sheet. Stop if the cavity metal is melted, deeply pitted, burned through, or the door, hinge, or latch is damaged.
Last reviewed: 2026-05-30
Make sure this is the right repair
A burned waveguide cover can look like a bigger microwave failure. Sort the symptom first, then buy a cover only if the damage is limited to the removable mica or fiber panel.
This page fits
This page fits when: The sparking or burn smell came from the waveguide cover area, and the cover is cracked, charred, warped, soft, holed, missing, or grease-soaked.
Check something else when: Unplug the microwave and inspect the surrounding cavity metal before ordering. Look for soot that wipes away and a clean, flat metal seat; that usually means the cover can be replaced from inside the cavity.
Confirm the fit first
This page fits when: You can match the full model number, cover outline, thickness, screw hole, tab notches, and cavity location to the old cover or parts listing.
Check something else when: If the old cover is missing or crumbled, use the microwave model number and the cavity opening shape. Do not guess from a similar-looking cover.
Stop for cavity damage
This page fits when: The cavity paint and metal around the opening are intact after soot and grease wipe away.
Check something else when: Stop if you find melted paint, pitted metal, a burned-through edge, loose metal flakes, door damage, or sparking that continues after a correct cover is installed.
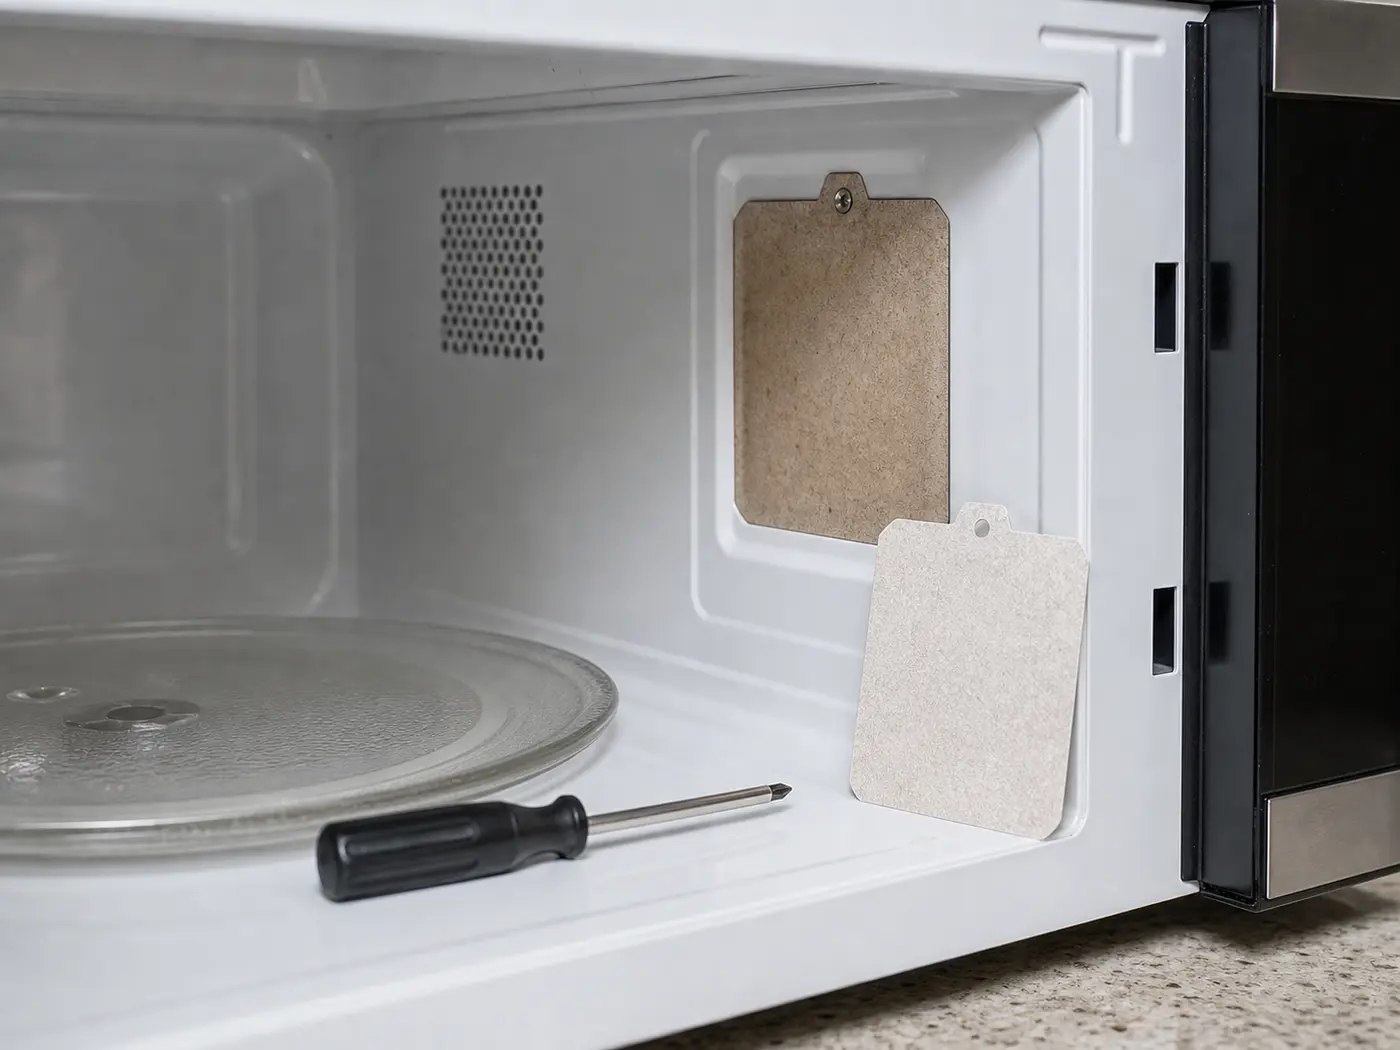
Where the waveguide cover sits inside the microwave
The useful inspection happens inside the cooking cavity. Find the mica or fiber cover, compare it with the new piece, and decide whether the surrounding metal is still clean enough to hold the repair.
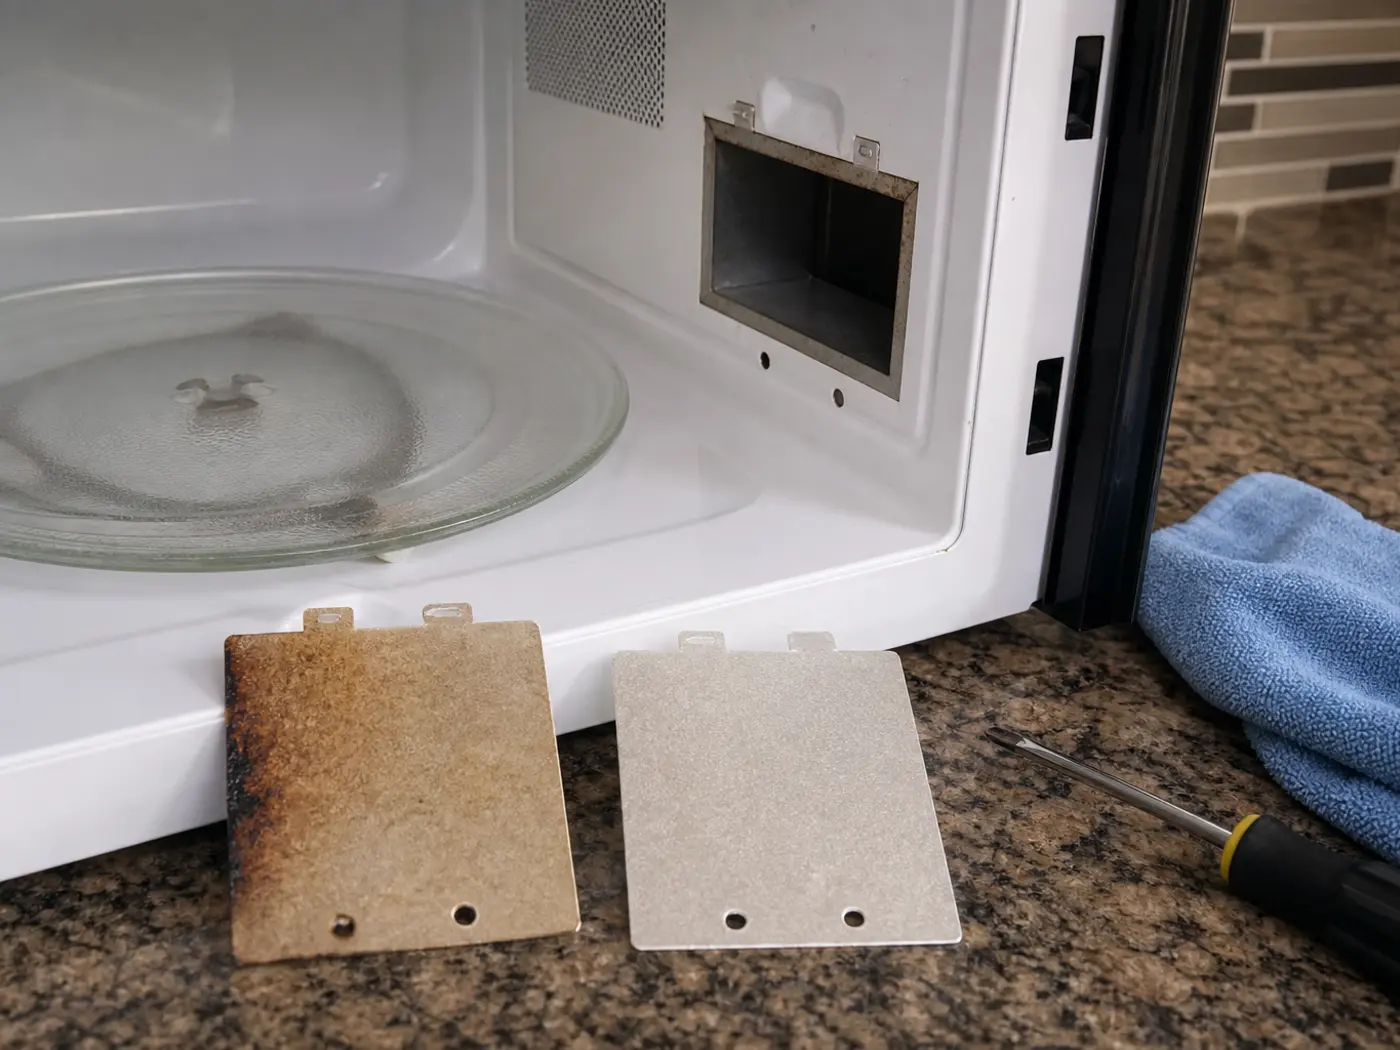
Match the old cover by shape, tab or screw layout, and model fit. Clean grease and soot before the new cover goes in.Compare the old cover to the new mica piece before fastening it. The outline, holes, tabs, and thickness need to match before the test run.
Safety first
Always unplug the microwave before removing the old waveguide cover or cleaning around it.
Do not remove the outer cabinet for this repair. Internal microwave parts, including the high-voltage section, can remain dangerous even when the appliance is unplugged.
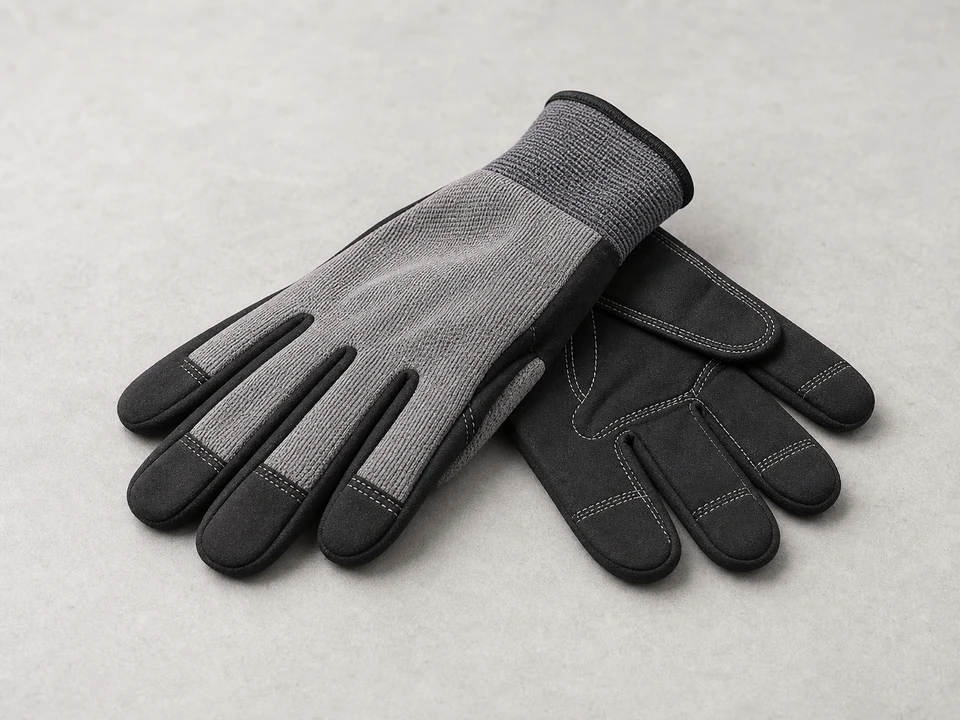
Wear gloves when working inside the cavity because sheet metal edges can be sharp.
Never test a microwave empty. Use a microwave-safe cup or bowl of water for each test run.
Stop using the microwave if sparking continues after the new cover is installed or if the cavity metal is burned through.
Tools you may need
Work gloves
Use it for: Protects your hands from sharp metal edges inside the cavity.
As an Amazon Associate I earn from qualifying purchases. Repair Riot may earn a commission at no extra cost to you.
Step-by-step fix
Step 1: Confirm the waveguide cover is the problem
Unplug the microwave before putting your hands inside the cooking cavity.
With the microwave unplugged, open the door and look for the waveguide cover. It is usually a thin mica or fiber panel on a side wall or on the cavity ceiling.
Look for a blackened spot, charring, cracking, bubbling, soft mica, a missing corner, or a pinhole in the cover.
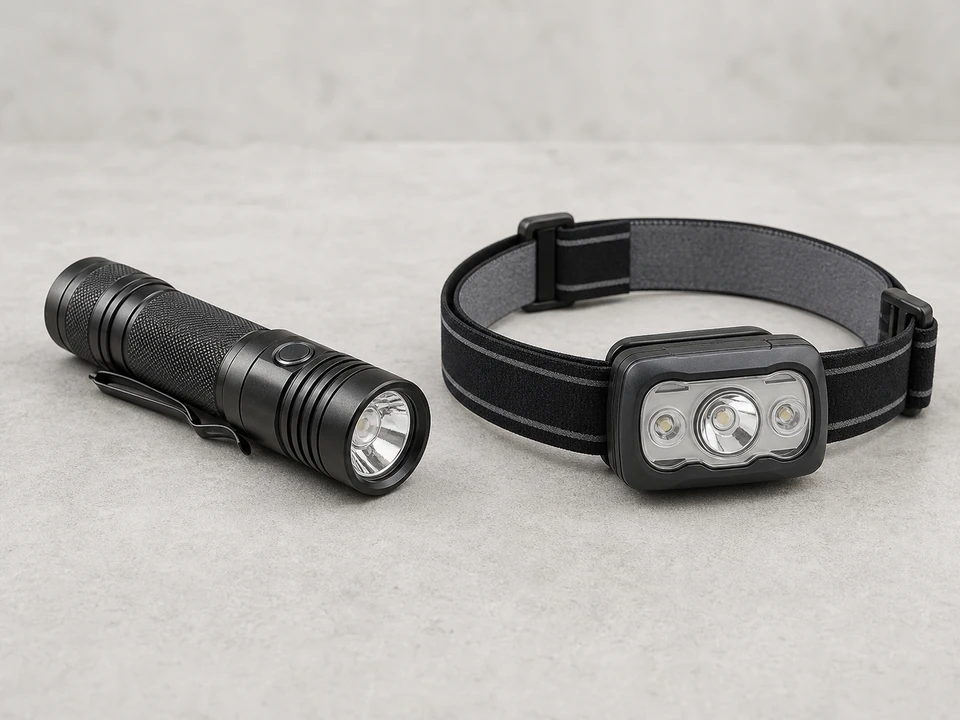
Use a flashlight to compare the cover with the metal around it. Light soot can clean off; melted paint, pitted metal, or a burned edge at the opening is a stop sign.
If the sparking, popping, or burning smell came from this exact panel, inspect the cover for a black spot, pinhole, or soft mica. If the flash came from a metal rack support or chipped cavity paint elsewhere, chase that clue instead.
If it works: You found visible damage on the waveguide cover and the repair matches the symptom.
If it doesn’t: If the cover looks intact and the sparking came from a rack support, metal trim, or damaged cavity paint somewhere else, this is probably not the right repair.
Stop if:
The metal cavity behind or around the cover is melted, deeply pitted, or burned through.
You see damage beyond the cover that suggests the microwave cavity itself is failing.
The microwave was recently dropped or has door, hinge, or latch damage.
Step 2: Remove the damaged cover
Put on gloves and make sure the microwave stays unplugged.
Take a quick photo before removal so you can see which edge tucks into the slot and which side faces the cavity.
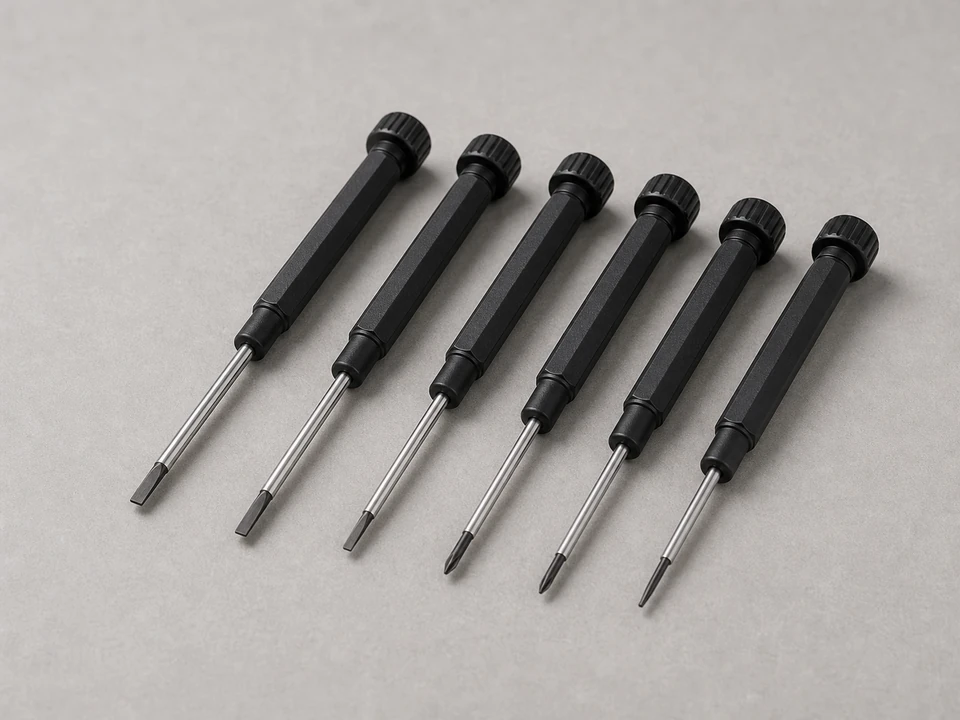
If the cover is held by a screw, remove it and set the screw in a tray so it does not disappear under the turntable.
If the cover uses tabs or slots, check the slide direction before you flex it. Many covers lift, bow slightly, then slide out of a lower slot.
Pull the old cover out slowly so brittle mica pieces do not fall into the waveguide opening.
Lay the old cover flat and compare the long edge, short edge, screw hole, notch, tab, and thickness. Those details are the fit pattern.
If it works: The old waveguide cover is out, the opening is clear, and you know whether the new cover needs a screw, tabs, slots, or a cut-to-fit outline.
If it doesn’t: If the cover will not release, look again for a hidden screw, clip, or slide direction rather than prying harder.
Stop if:
The cover is fused in place because the surrounding cavity metal is distorted or badly burned.
Removing the cover exposes loose metal fragments or severe internal damage at the opening.
Step 3: Clean the area before installing the new cover
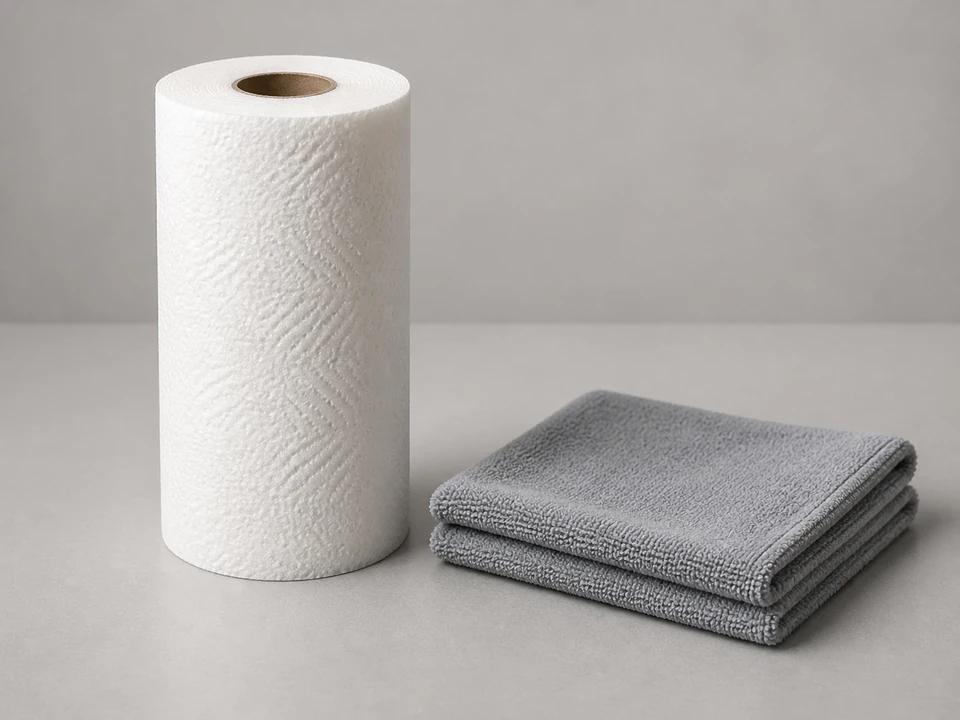
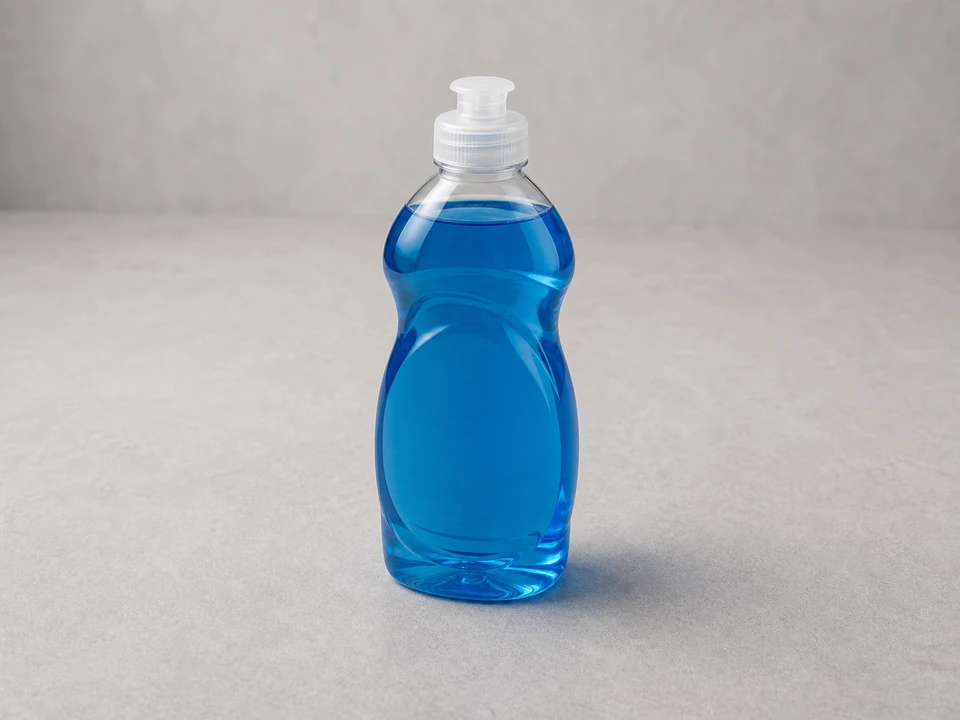
Wipe the cavity wall around the opening with a soft cloth dampened with warm water and a little dish soap. Keep liquid out of the waveguide opening.
Clean the cover ledge, screw boss, tab slots, and nearby turntable area. Watch for black grit, greasy film, and shiny burn marks.
Use the cloth as a check. If it still picks up carbon from the opening edge, keep cleaning gently before you install the cover.
Dry the area fully with a clean cloth or paper towel, then shine a flashlight across the seat.
Compare the old cover to the cleaned seat, then press a dry cloth over the area. The screw hole, tab slot, and cover edge should land on solid cavity material with no flaking paint, sharp corrosion, or loose metal.
Stop if the opening edge crumbles, the screw boss is burned away, or the tab slot can no longer hold the cover.
Hold the new cover in place without fastening it. It should touch a clean flat seat all the way around.
If it works: The mounting area is clean, dry, and the cover can sit flat without trapping loose carbon.
If it doesn’t: If residue keeps smearing or the surface is flaking, clean again gently and reassess whether the cavity itself is damaged.
Stop if:
Paint or cavity coating is peeling away in large sections around the waveguide opening.
You find sharp corrosion, holes, or heavy burn damage under the old cover.
Step 4: Match and install the new waveguide cover
Compare the new microwave waveguide cover to the old one before it goes in. Check the outline, corner radius, thickness, mica face, screw hole, tab cutouts, and any printed model fit.
For a cut-to-fit mica sheet, trace the old cover and cut cleanly with sharp scissors. Do not leave fuzzy edges, cracks, or an oversized corner that rides on the cavity wall.
Position the new cover the same way the old one sat, with the tabs, slots, screw hole, or retainer aligned before you press it flat.
Slide or press the cover into place gently, or reinstall the retaining screw until it is snug. Do not crush the mica.
Check all four edges. The cover should sit flat against the cavity wall without a bowed center, loose corner, or visible gap into the opening.
If it works: The new cover is secure, flat, and matched to the old cover's mounting style.
If it doesn’t: If the cover does not line up cleanly, stop and recheck the full microwave model number and old-cover outline before trimming or ordering again.
Stop if:
The replacement cover is clearly the wrong shape or cannot be mounted securely.
The cavity wall or retainer is too damaged to hold the new cover safely.
Step 5: Do a short test run with a cup of water
Close the door and plug the microwave back in.
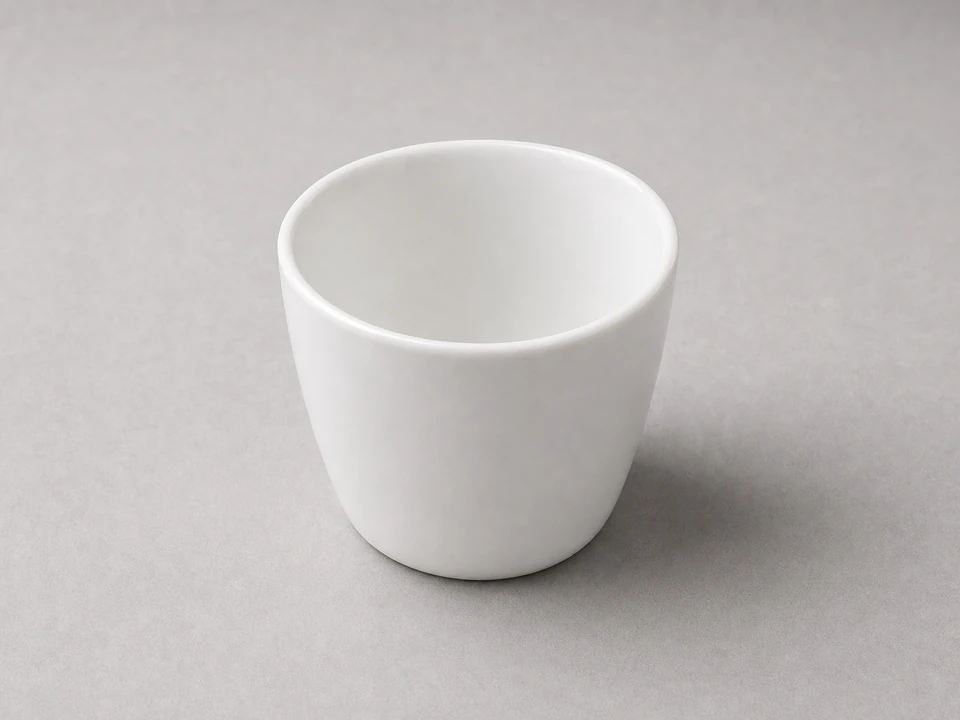
Place a microwave-safe cup or bowl with water inside. Do not run the microwave empty.
Run a short heating cycle, about 30 seconds, while watching through the door from a normal standing position.
Listen for popping and watch the waveguide cover area. The water should warm without flashes, smoke, or a hot electrical smell.
If the first 30 seconds are clean, run one more short water test before putting food back in the microwave.
If it works: The microwave heats water normally and the new cover does not spark or scorch.
If it doesn’t: If the microwave still sparks or smells hot in the same spot, unplug it and recheck the cover fit and the cavity area for deeper damage.
Stop if:
You see any bright flashes, smoke, or repeated sparking during the test.
The new cover starts discoloring immediately.
The microwave makes unusual loud buzzing along with burning smells.
Step 6: Verify the repair holds during normal use
After the water tests pass, heat a small normal load and stay nearby for the first use.
Check the waveguide cover area again after it cools. Look for a new tan spot, black dot, smoke track, loose screw, or shifted edge.
Wipe splatter from the cavity after messy heating, especially near the cover edge. Grease on mica can burn into the cover, so clean new spots before they bake on.
If the microwave stays quiet, heats normally, and the cover remains clean, flat, and secure, the repair held.
If it works: The microwave works in real use without sparking, burning smells, or new damage at the cover.
If it doesn’t: If symptoms return after a normal use cycle, stop using the microwave and have the cavity and internal components checked.
Stop if:
New burn marks appear on the cover or cavity after normal use.
Stop using it and unplug it if the microwave stops heating properly or begins sparking again.
Match the replacement cover to your exact microwave model, cavity location, shape, thickness, screw or tab layout, and whether it is a Sharp-style mica cover or a cut-to-fit sheet.
As an Amazon Associate I earn from qualifying purchases. Repair Riot may earn a commission at no extra cost to you.
Verify the repair
The new waveguide cover matches the old one and sits flat without gaps.
The microwave heats a cup of water without sparking, popping, or a burning smell.
No fresh scorch marks appear around the waveguide opening after testing.
The cover stays secure during normal use.
FAQ
What does a microwave waveguide cover do?
It covers the waveguide opening inside the cooking cavity and helps keep grease, moisture, and food splatter out of that area while still allowing microwave energy to pass through.
Can I keep using the microwave with a burned waveguide cover?
No. Unplug the microwave and leave it off. A burned or carbonized cover can keep sparking and can quickly get worse, so replace it before using the microwave again.
Why did my waveguide cover burn in the first place?
The usual cause is grease or food residue soaking into the cover and carbonizing over time. Once that happens, the cover can spark and overheat in the same spot.
Do I need to remove the microwave cabinet to replace the cover?
No. This repair is done from inside the cooking cavity. Do not remove the outer cabinet for this job.
How do I replace a Sharp microwave waveguide cover?
Unplug the microwave, remove the old cavity cover from its tabs or screw, clean away soot and grease, then install a Sharp-compatible cover that matches the model, shape, and mounting style. Test with a cup of water and stop if it sparks again.
Can I clean and reuse the old waveguide cover?
If it is only lightly dirty, some covers can be cleaned gently. But if it is burned, cracked, warped, or has a hole, replacement is the better fix.
Sources and reference notes
Repair Riot uses related field pages and source references to keep the fit, safety, and stop-condition guidance grounded in real repair situations.