Replace the microwave roller ring only after the tray support points to it. Unplug the microwave, lift out the glass tray, match the full model number and wheel pattern, clean the circular path, and test with a cup of water.
A cracked wheel, flat spot, melted ring, or food-packed track can make the tray wobble while the motor still turns. Stop at sparks, burning smells, damaged cavity coating, a visible gap under one wheel, or a tray that will not sit level on the coupler.
Before you start: Match the full microwave model number before ordering, then dry fit the ring for diameter, wheel count, wheel width, wheel profile, tray groove contact, and center coupler clearance. Stop if the glass tray is cracked, the interior coating is damaged, or the tray still will not sit level after a correct dry fit.
Last reviewed: 2026-06-13
Confirm the turntable support problem
A wobbling microwave tray can come from the roller ring, the glass tray, the center coupler, or debris packed into the circular track. Read the model tag, compare the old ring to the new one, watch how the tray moves by hand, and stop if the cavity coating is damaged.
Roller ring symptoms
This page fits when: The ring has a cracked frame, a missing wheel, a melted spot, a flat wheel edge, or a shape that no longer sits evenly under the glass tray. Measure the outside diameter and wheel width, then compare the wheel count and spacing.
Check something else when: If the ring looks sound and the tray still will not move, check the center coupler for stripped drive lugs before blaming the ring.
Tray fit
This page fits when: The glass tray center is not chipped, the underside groove still rides on the rollers, and the tray sits level on the coupler. Watch for the tray climbing at one spot, rubbing the wall, or leaving a gap over one wheel.
Check something else when: If the tray is cracked, warped, or from a different microwave, replace the tray. A good ring cannot keep the wrong tray centered.
Track condition
This page fits when: The circular roller path is clean, smooth, and free of hardened food that can lift one wheel as the tray turns. Check the back half of the track with a fingertip and a light.
Check something else when: If melted plastic, exposed rust, or damaged interior coating interrupts the track, stop and address the cavity damage before testing.
Part fit
This page fits when: Look for the model tag on the door frame, control-side frame, or rear label; it should lead to the same roller style you removed. If the tray climbed at one spot or left a gap over one wheel, compare that support point before ordering. A universal ring still needs the same diameter, wheel height, wheel profile, tray-groove contact, and coupler clearance.
Check something else when: If the old ring is missing, use the full model number and tray diameter instead of guessing from a photo.
Check the damage and dry-fit the ring
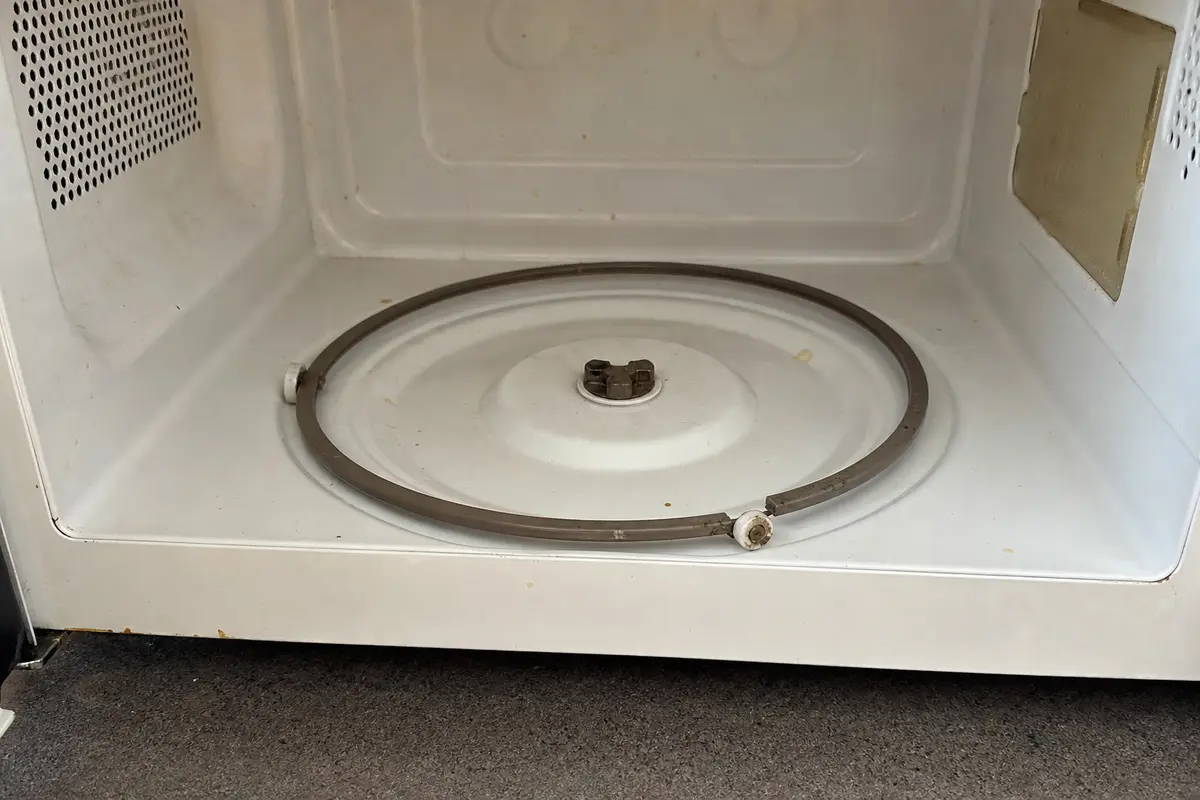
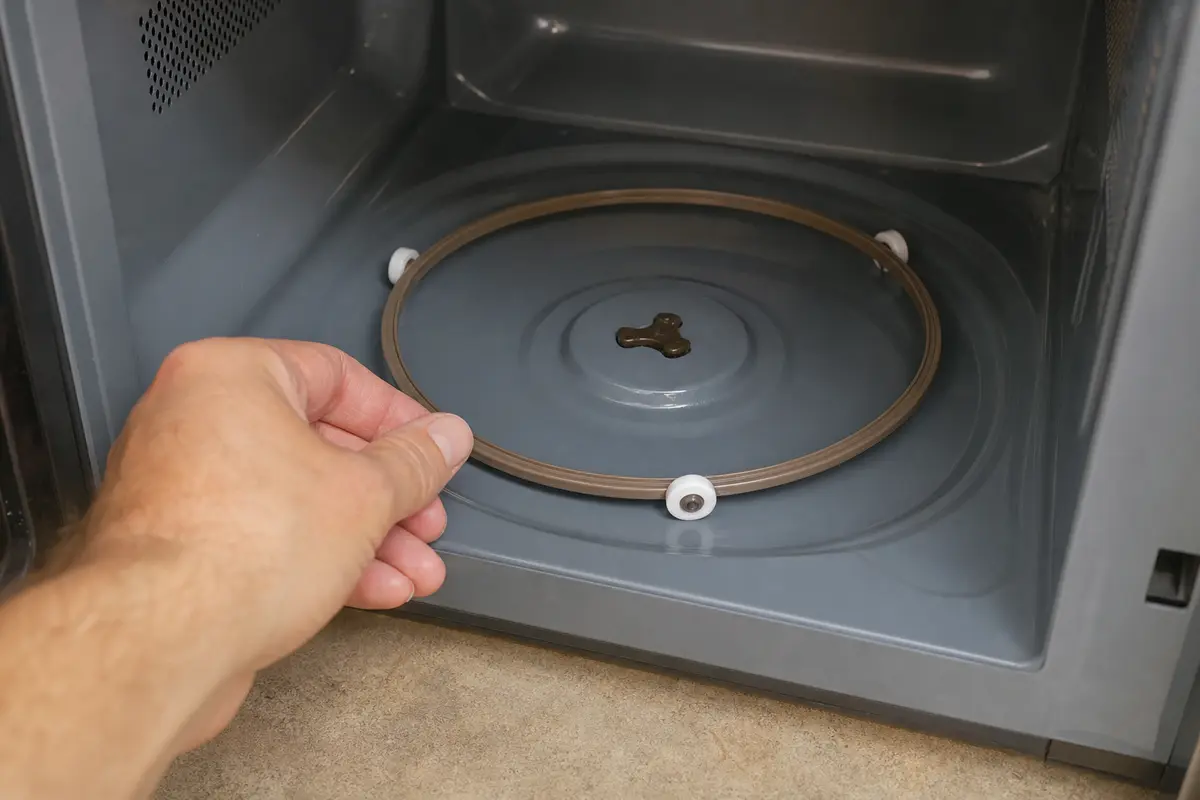
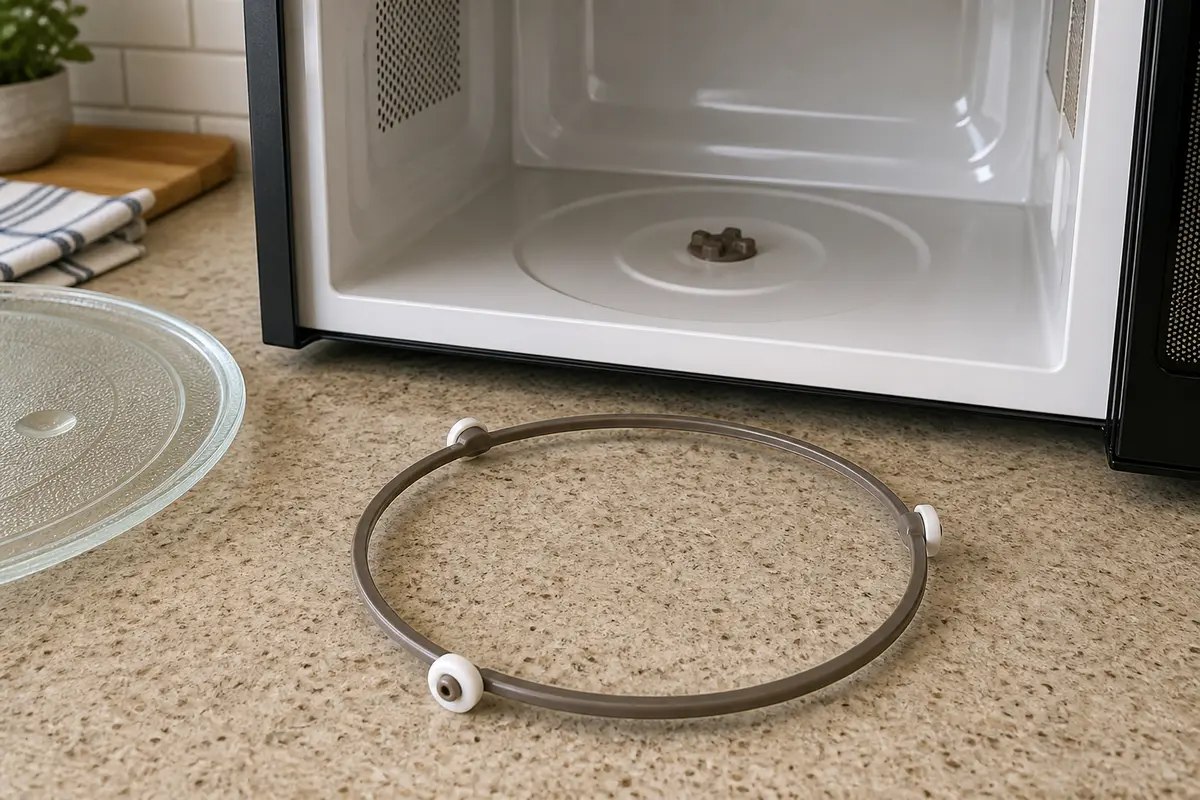
Use the failure photo as a parts check, then use the dry-fit photo as a fit check. The goal is a ring that sits flat in the roller path and keeps the glass tray centered on the coupler.
Look for the failed support point: a cracked frame, missing wheel, melted spot, or flat wheel edge. Also check that the microwave floor coating is still sound before you test.Dry-fit the new ring before testing. It should sit flat around the coupler, keep every wheel on the track, and let the tray turn by hand without a hop or wall rub.
Safety first
Unplug the microwave before removing the tray and roller ring.
Do not remove the microwave cabinet for a roller-ring repair. Internal microwave parts can hold dangerous voltage even after the unit is unplugged.
Handle the glass tray carefully to avoid chips and cuts.
Do not run the microwave if you notice sparking, burning smells, exposed metal, rust-through, or damaged interior surfaces around the tray area.
Use only mild cleaners inside the microwave and dry the support area before testing.
Tools you may need
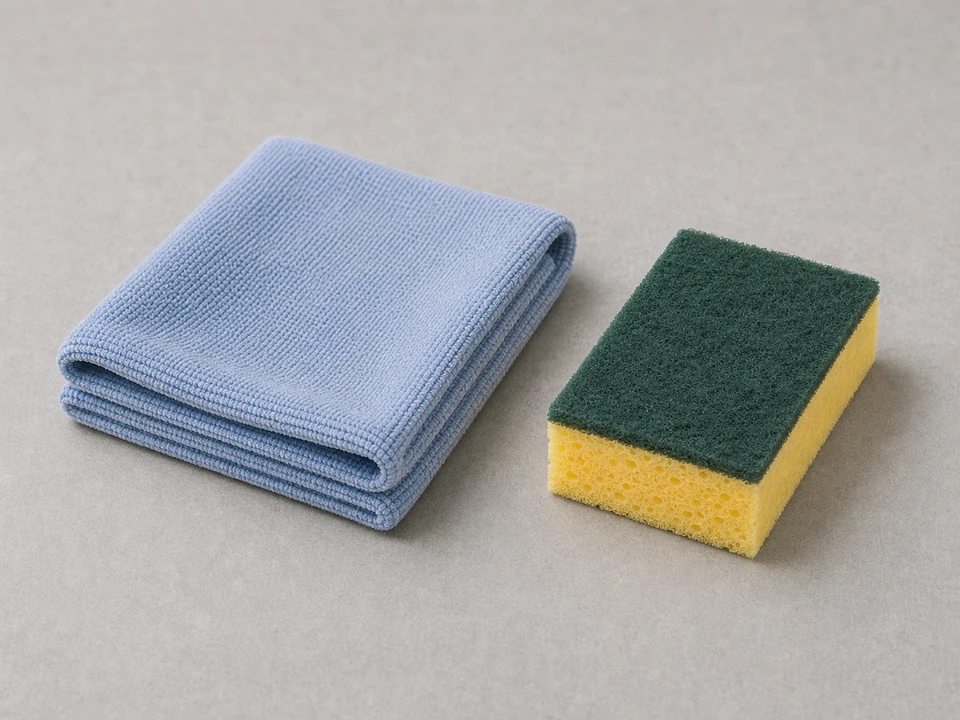
Soft cloth or sponge
Use it for: To wipe grease and loose food from the microwave floor and the underside of the glass tray.
As an Amazon Associate I earn from qualifying purchases. Repair Riot may earn a commission at no extra cost to you.
Step-by-step fix
Step 1: Confirm the roller ring is the problem
Open the microwave and lift out the glass tray with both hands.
Look at the roller ring for cracks, flat wheel edges, missing wheels, warping, melted plastic, or food packed around the axles.
Check the tray symptom you saw before removal. Rocking points to support height, so look for a high wheel or gap. Scraping points to the track or tray edge. No rotation can point to the center coupler or motor drive.
Set the old ring on a flat counter and press lightly near each wheel. Watch whether one side lifts. That uneven support can show up as tray wobble, so compare the low or high spot to the replacement before installing it.
Find the full model number on the microwave label before ordering if the old ring is missing, distorted, or not original to the unit.
Compare the new ring against the old one for outside diameter, wheel count, wheel spacing, wheel height, wheel edge shape, and clearance around the center coupler.
If it works: The old ring shows a support failure, and the new ring matches the parts of the old one that control fit.
If it doesn’t: If the ring looks fine, inspect the glass tray center and the plastic drive coupler. A stripped coupler can leave the tray still while the motor runs, and a chipped tray hub can make a good ring look bad.
Stop if:
The microwave interior floor is cracked, badly burned, rusted through, or deformed around the tray support area.
The replacement ring is clearly the wrong diameter, uses a different wheel pattern, has taller wheels than the original, or will not clear the center coupler.
Step 2: Unplug the microwave and clear the tray area
Unplug the microwave from the outlet. Do not remove the outer cabinet for this repair.
Check that the cord is clear of the outlet before your hands go back inside the cavity, and keep the outer cabinet closed.
Set the glass tray on a towel with the cooking side up so the center hub and underside groove do not chip against the counter.
Lift out the old roller ring and note which side faced up if one side has taller wheel posts or a raised center profile.
Measure the outside diameter and wheel width before the old ring goes in the trash, then compare the ring to the tray groove. A quick photo beside the model number gives you a fit record if the first replacement is wrong.
Look for a bent wheel post, a wide gap under one wheel, or a frame that no longer sits flush on the microwave floor.
Remove loose crumbs from the microwave floor and the center coupler area.
If it works: The microwave is unplugged, the glass tray is protected, and the old roller ring is out without forcing the coupler, tray groove, wheel posts, or cavity floor.
If it doesn’t: If the ring is stuck from grease or melted residue, soften the buildup with a warm damp cloth and lift straight up. Do not pry against the painted interior floor.
Stop if:
The glass tray is cracked, sharply chipped, or no longer sits flat on the coupler.
You find melted plastic fused to the microwave floor, exposed metal, or damaged interior coating that cleaning will not correct.
Step 3: Clean the roller path before installing the new ring
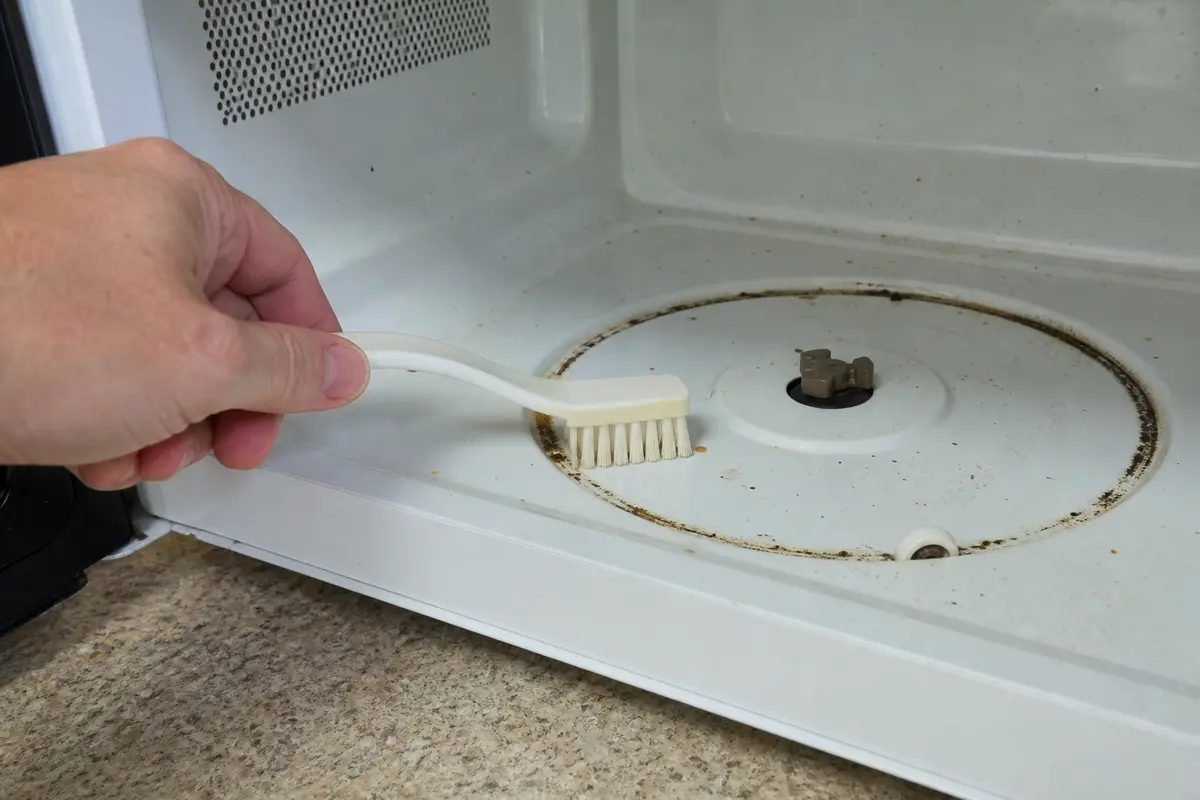
Wipe the microwave floor with a damp cloth, warm water, and a small amount of dish soap.
Trace the circular roller path with your fingertip. Stop and clean again wherever you feel a raised spill, grit, sticky patch, or rough spot as wide as the wheel tread.
Scrub only the wheel path with the nylon brush. Pay attention to hardened sugar, grease ridges, and crumbs trapped at the back edge.
Check the center coupler area for crumbs without pulling up on the coupler.
Compare the cleaned path to the old wheel marks. The new wheels should land on the same smooth circle, with no gap caused by a raised spill or dried sugar ridge.
Look across the microwave floor at eye level, then dry the cavity floor fully. The track should look flush and dry, not shiny with soap water.
Clean the underside of the glass tray, especially the groove or flat band that rides on the rollers.
If it works: The roller path, coupler area, and tray underside are clean, dry, and smooth enough for the wheels to roll instead of drag.
If it doesn’t: If your cloth still catches on residue, keep cleaning before installing the ring. A new ring will wobble if one wheel climbs over old spill buildup.
Stop if:
The interior coating is peeling badly, rusted through, or damaged enough that the tray support surface is no longer sound.
Step 4: Set the new roller ring in place
Place the new roller ring in the same circular path as the old one, with the wheels facing the same direction as the original design.
Center the ring around the drive coupler so it sits flat and does not ride up on the coupler base, a raised seam, or leftover debris.
Press gently near each wheel. Each wheel should touch the microwave floor without one corner hanging in the air.
Set the glass tray back on top and seat the tray center on the drive coupler.
Turn the tray by hand through a full rotation in both directions. Feel for a hop at the same spot, scraping at the wall, or the ring walking toward the center.
If it works: The new ring sits flat, the tray stays centered on the coupler, and hand rotation feels even all the way around.
If it doesn’t: If the tray binds or rocks, remove it and reseat the ring. If the same problem remains, recheck diameter, wheel height, tray groove contact, coupler clearance, and whether the glass tray is original to the microwave.
Stop if:
The tray cannot sit level on the new ring and center coupler.
The new ring rides into the center coupler or hits the cavity wall instead of staying in the roller path.
Step 5: Test the microwave with a short heating cycle
Place a microwave-safe cup of water near the center of the glass tray. Never test an empty microwave.
Plug the microwave back in.
Run it for about 30 seconds and watch through the door without walking away.
Listen for smoother operation and check that the tray turns steadily without jerking, scraping, or shifting off the coupler.
If it works: The tray rotates normally during the water test and the microwave runs without the old dragging, rattling, or tray wobble.
If it doesn’t: If the tray still does not turn correctly, remove the tray and ring again. Check whether the center coupler turns, whether the tray hub is damaged, whether the ring is drifting out of its path, or whether the replacement is a near-match instead of the right fit.
Stop if:
You see sparking, smell burning, hear harsh grinding, or the tray jumps off the coupler during the test.
Step 6: Verify the repair holds in normal use
Run one more short cycle with a normal microwave-safe dish after the water test passes.
Watch for the tray staying centered under a real load instead of drifting toward one side.
Open the door after the cycle and check that the ring still sits in the roller path, all wheels are upright, and the tray support area looks clean.
Wipe spills from the tray track after they cool so sticky residue does not flatten a wheel or pull the ring out of position.
If it works: The microwave tray turns smoothly in real use, stays centered, and leaves the new roller ring in the same track after the cycle.
If it doesn’t: If the problem returns quickly, compare the tray, coupler, and turntable motor path before ordering another ring.
Stop if:
The new ring shows immediate melting, severe wear, repeated misalignment, or a burning smell after a correct dry fit.
Buy only after the model number or old ring confirms the fit. A close looking ring can still fail if the wheel height, wheel profile, tray groove contact, or coupler clearance is different.
As an Amazon Associate I earn from qualifying purchases. Repair Riot may earn a commission at no extra cost to you.
Verify the repair
The glass tray sits level on the new roller ring and center coupler.
The tray turns by hand through a full circle without scraping, hopping, or drifting.
A short test cycle with water shows steady tray rotation.
The roller ring stays centered after normal use.
FAQ
What does a bad microwave roller ring look like?
Common signs are cracks, melted spots, missing wheels, flat spots, or a ring that no longer sits flat. You may also hear scraping or rattling as the tray turns.
Can I use the microwave without the roller ring?
No. The glass tray needs proper support to turn correctly. Running it without the roller ring can make the tray bind, wobble, or damage other turntable parts.
How do I know which replacement roller ring fits?
Use the full microwave model number first. Then compare the overall diameter, wheel count, wheel width, wheel shape, wheel height, and how the ring clears the center coupler. If the old ring is available, compare it directly to the new one before testing.
Why is the tray still not turning after I replaced the roller ring?
The problem may be with the glass tray, the center drive coupler, or the turntable motor. A dirty support track can also keep the tray from moving smoothly.
Do I need tools to replace a microwave roller ring?
Usually no special tools are needed. Lift out the tray, clean the support area, and dry-fit the new ring by hand; every wheel should touch the track before you run the water test.
Sources and reference notes
Repair Riot uses related field pages and source references to keep the fit, safety, and stop-condition guidance grounded in real repair situations.